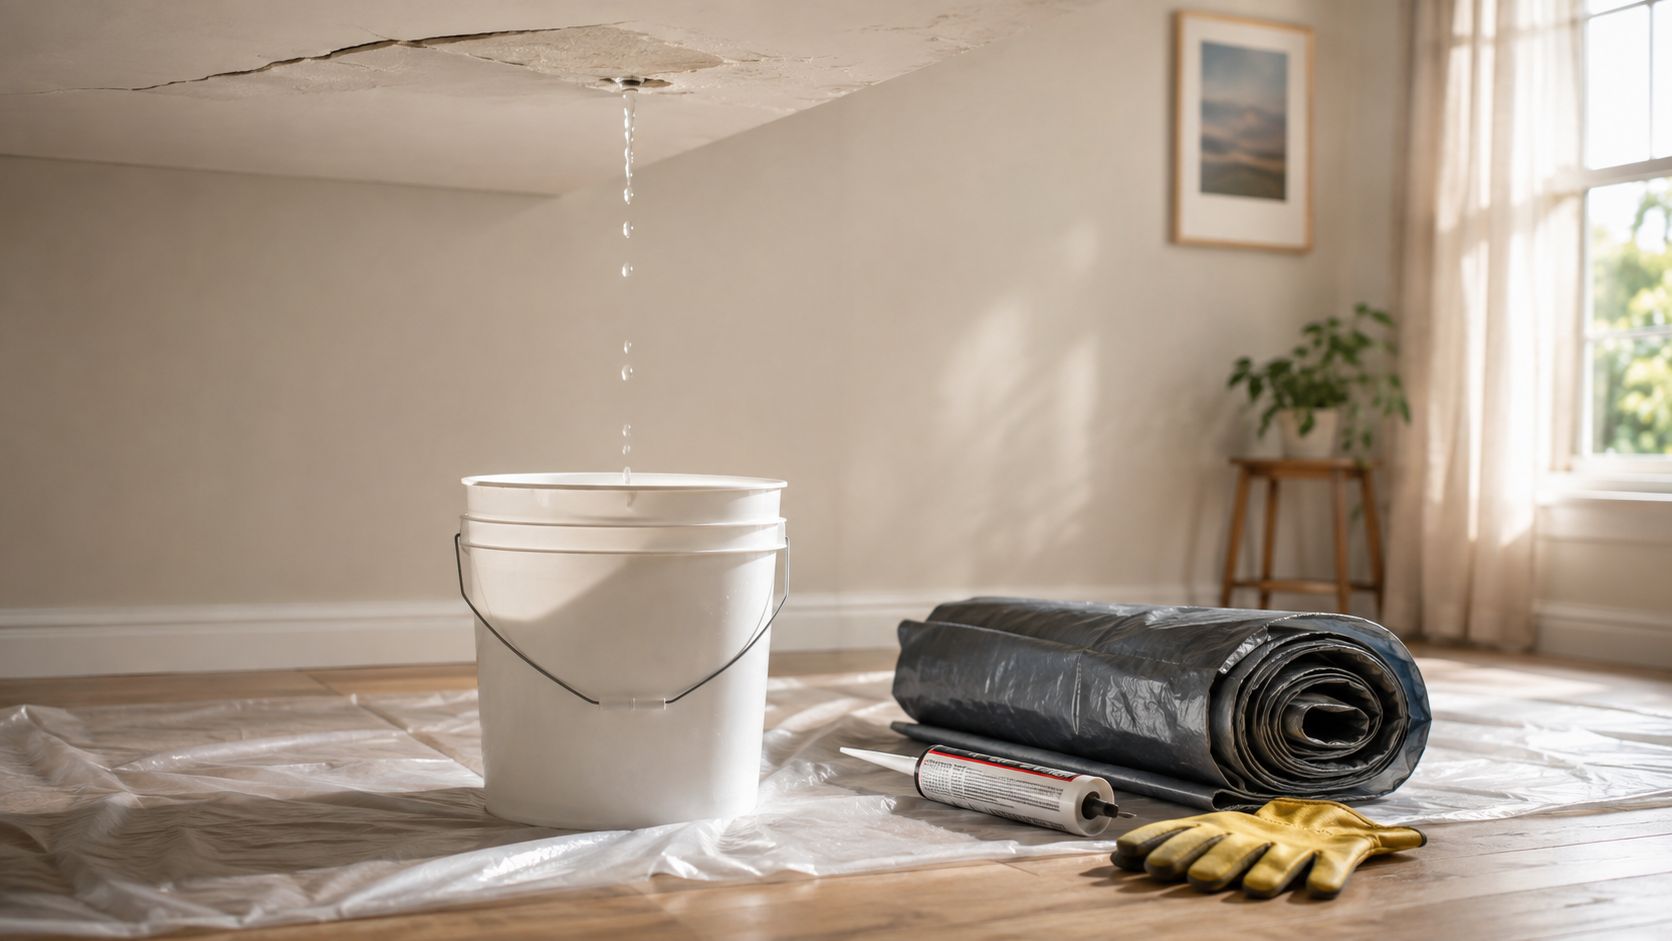
At midnight, a drip starts above the kitchen table. Then it becomes a steady stream, the ceiling begins to swell, and every bucket in the house suddenly has a job. In South Florida, storm pressure can turn a small roof opening into an interior cleanup problem before daylight.
Emergency leak repair starts inside, not on the roof. Contain the water, remove immediate electrical and slip hazards, then protect the damaged roof only when conditions are safe. The temporary work buys time. It doesn't replace a diagnostic inspection or permanent repair.
The financial stakes explain why speed matters. Verisk reported that U.S. roof repair and replacement cost value reached nearly $31 billion in 2024, up almost 30% since 2022, while roof-related line items represented more than a quarter of residential claim value (Verisk roof-loss context). A leaking roof deserves a controlled response, not panic and not a rushed climb.
Table of Contents
- When Water Starts Coming In What to Do First
- How to Contain Water Inside and Stay Safe
- Temporary Roof Protection That Holds Until Help Arrives
- Drying Out Fast and Beating the 48 Hour Mold Clock
- Documenting Damage and Understanding Emergency Costs
- When to Call a Professional and What Happens Next
When Water Starts Coming In What to Do First
A homeowner called after a storm because water was dripping through a bedroom light fixture. The roof was the obvious suspect, but the first danger was inside the room. Electricity, wet drywall, soaked furniture, and a slick floor created a more immediate problem than the missing roof covering outside.
That's why I treat every emergency leak repair as a two-stage job:
- Contain the water indoors. Protect people, furniture, electronics, flooring, and electrical systems.
- Create temporary weatherproofing outdoors. Stop additional rain from reaching the opening until a roofer can investigate and repair it properly.
Water rarely stays directly below the roof defect. It can travel along decking, rafters, insulation, wiring, and ceiling framing before it appears as a stain or drip. A small visible mark may therefore sit below a larger hidden wet area, especially where insulation and drywall absorb moisture.
Practical rule: The first successful repair is the one that limits damage. A patch that hides the stain but leaves the source open isn't a finished repair.
If water is coming through a ceiling light, recessed fixture, or electrical box, stay clear and shut off the affected circuit if you can do so safely from a dry location. Don't touch wet switches, outlets, or appliances. Guidance on handling water from overhead fixtures is also available in this ceiling leak repair resource from Restore Heroes.
Emergency work is temporary by design. Tarping, patching, and moisture containment can protect the property while weather clears, an inspection is arranged, and a permanent scope is prepared. The right sequence prevents a common mistake, spending time on exterior work while water continues damaging the room below.
How to Contain Water Inside and Stay Safe
Start with the area people can control without climbing. Keep children and pets away from the affected room, then move anything valuable out of the water path. Prioritize electronics, upholstered furniture, books, documents, rugs, and items made from wood because moisture can stain, swell, or distort them.
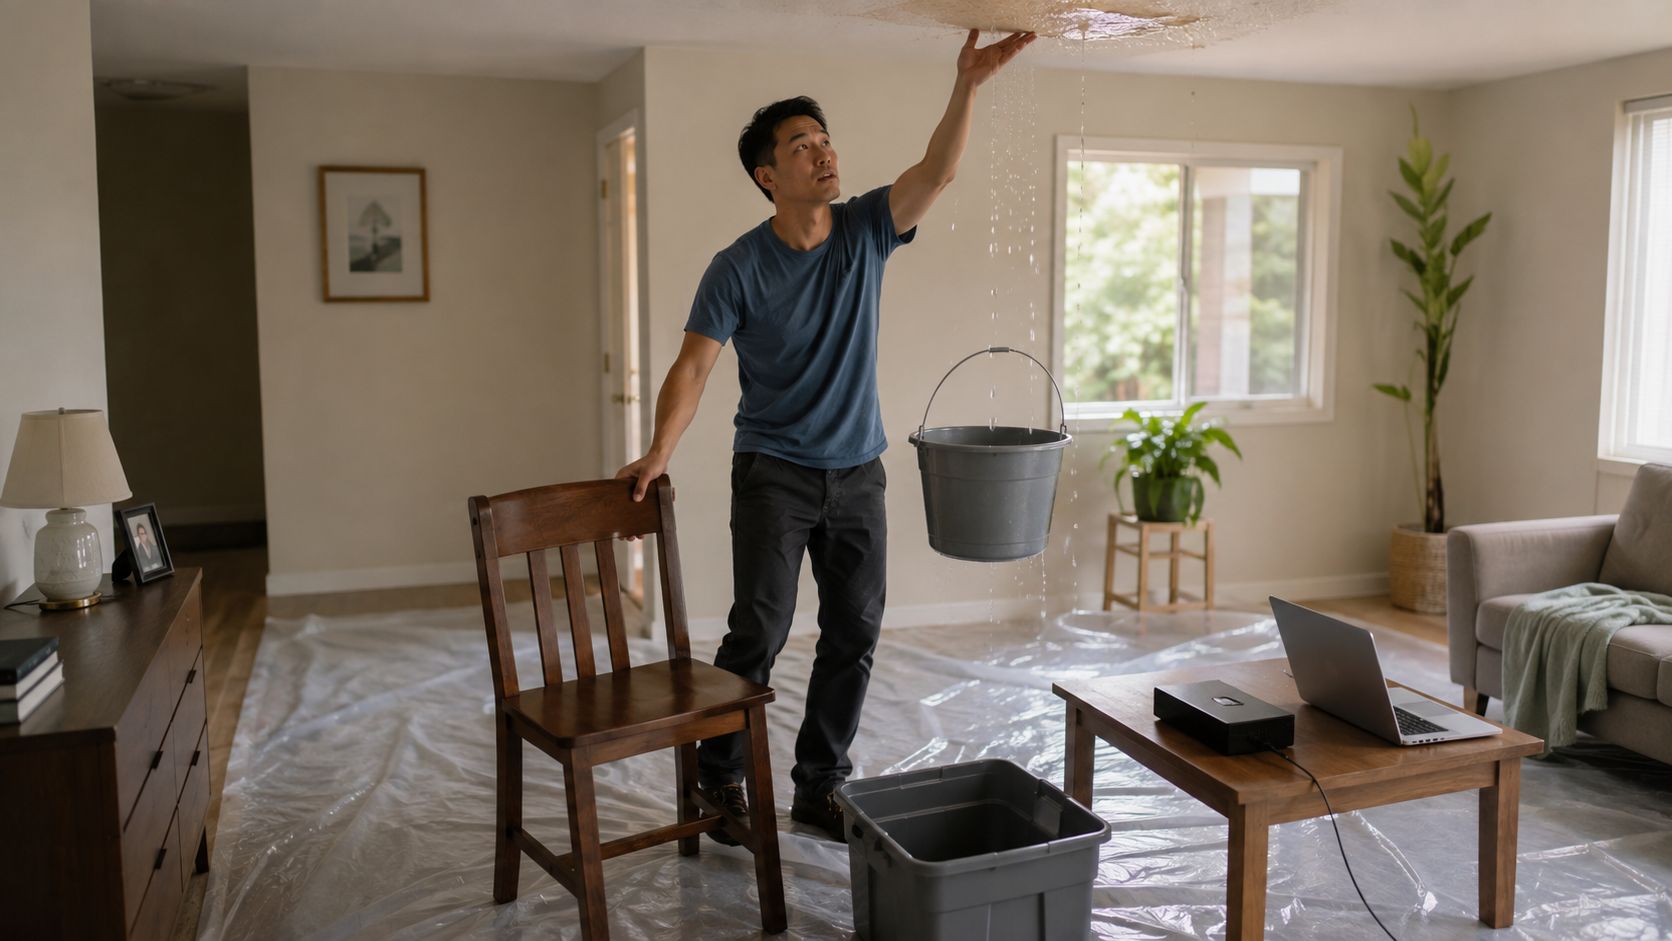
Place a bucket, storage bin, or sturdy pan directly beneath an active drip. Put plastic sheeting beneath and around the container to catch splashback, and use towels only around the edges where they won't become a slipping hazard. If the container fills quickly, use a second one so you can switch them without standing beneath the leak for long.
Handle a bulging ceiling carefully
A soft, sagging bulge can indicate trapped water above the drywall. Keep people out from underneath it. If the bulge is clearly holding water and you can work from a stable, dry position, a small opening at the lowest point may release the water in a controlled stream into a bucket. Don't puncture a flat ceiling because it has a stain, and don't stand directly below a swollen section.
Water near electrical equipment changes the response. Shut off power to the affected circuit from a dry location if you know which breaker controls it. If water is near a main panel, you can't safely reach the breaker, or you see sparking, smoke, or heat, leave the area and contact emergency services or a qualified electrician.
Reduce secondary damage
Clear floor drains if they're safe to access, and remove standing water with towels or a wet vacuum on circuits that are dry and safe. Don't use household fans where cords, plugs, or outlets are wet. A roof leak that starts as a ceiling problem can become an electrical or slip hazard when people rush.
For a visual reference while organizing the room and roof response, this emergency roof leak repair image shows the kind of ceiling damage that deserves prompt assessment. Keep your actions limited to interior stabilization until the roof surface is dry, visible, and safe for professional access.
Temporary Roof Protection That Holds Until Help Arrives
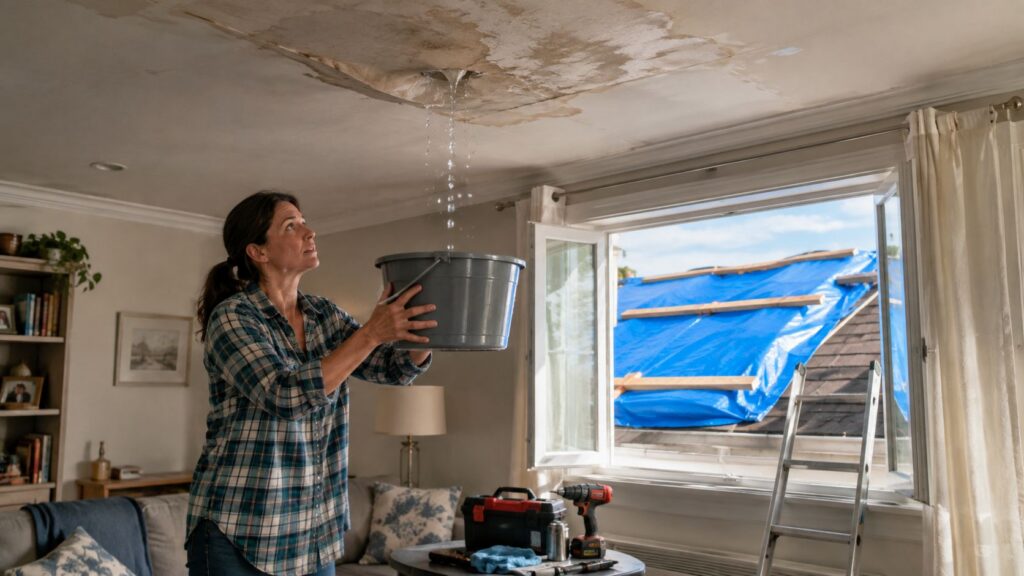
A tarp can work. A loose sheet thrown over shingles usually doesn't. Temporary weatherproofing succeeds when it covers the opening generously, directs water downslope, and stays secured without creating fresh punctures.
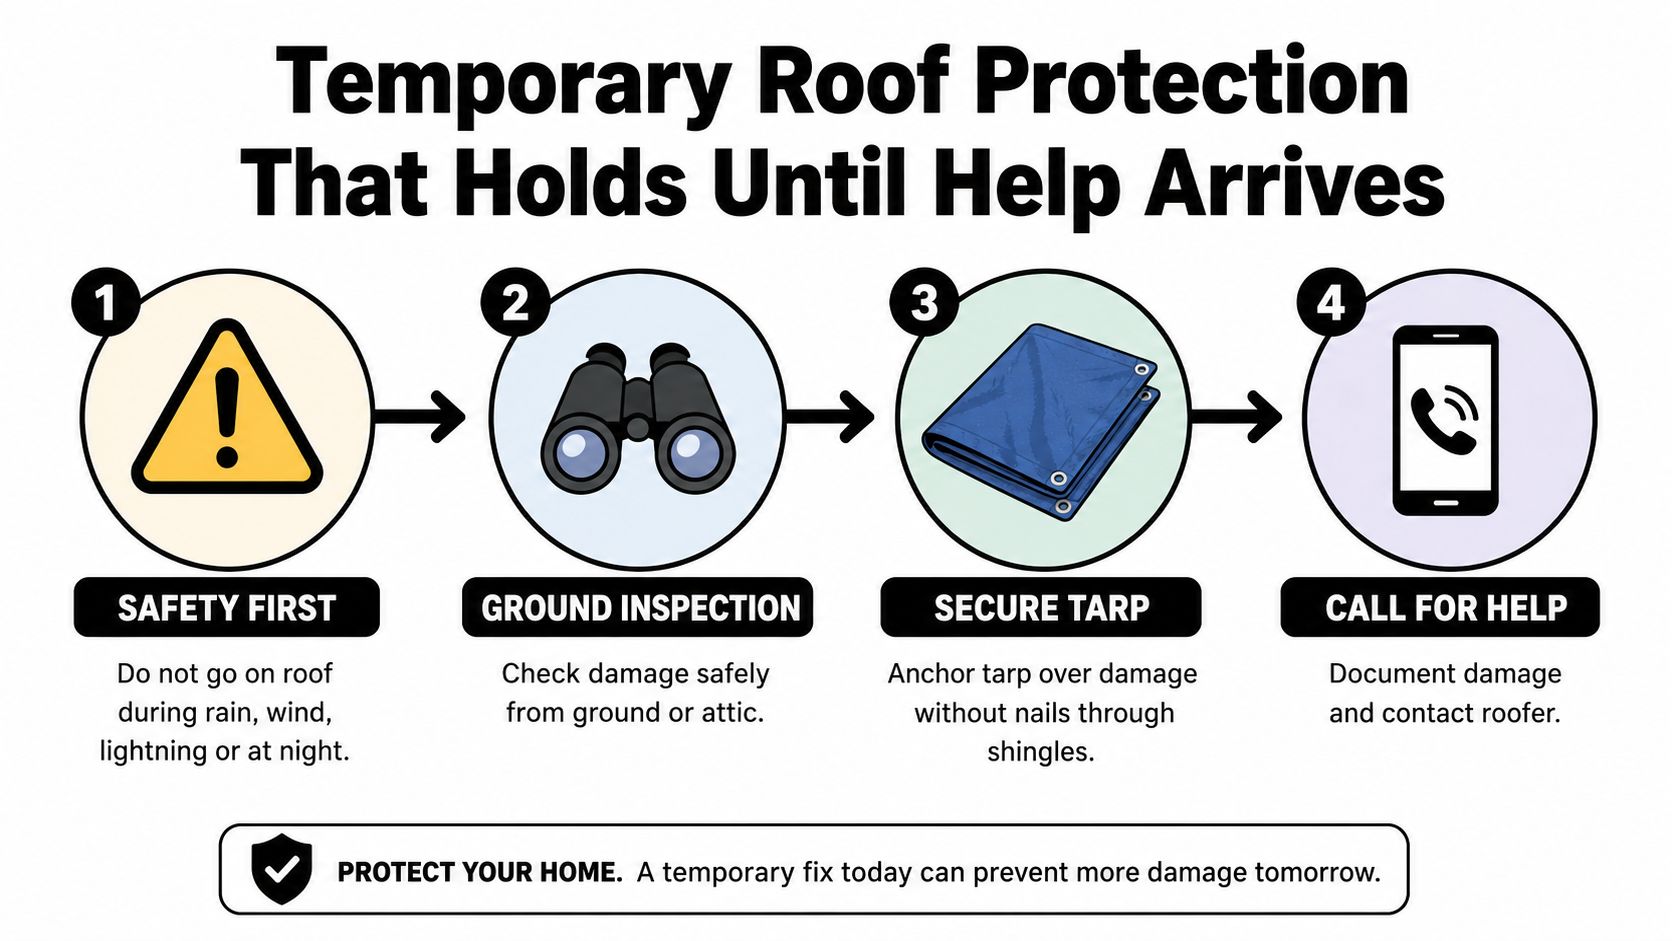
Don't go onto the roof during rain, wind, lightning, or at night. Wet shingles, tile, metal, and roof coatings become unpredictable walking surfaces. In storm conditions, a homeowner can create a serious injury while trying to prevent a leak. Inspect from the ground, from a safe attic location, or through accessible roof-edge views instead.
Build a barrier without making new holes
If a qualified person assesses the roof as safe, use a heavy-duty tarp that extends at least 4 feet beyond the damaged area on all sides (temporary roof protection guidance). Position it so water flows over the damaged section and away from the structure. On sloped roofs, the upper portion must sit high enough that runoff can't travel underneath the tarp.
Anchor the tarp with boards, edge wraps, or another method designed to grip the material. Don't nail or screw through the tarp center. Direct fasteners can make new leak points, especially when they penetrate shingles, underlayment, or roof decking.
Small patches require the same discipline. Sealants and repair tape won't bond reliably to surfaces covered with dust, loose granules, or moisture. Clean and dry the substrate first, then overlap cracks by at least 2 inches, following the product requirements. A patch applied to a wet surface may look finished while water continues beneath it (temporary leak-fix guidance).
Roofing reality: A tarp is a weather barrier, not a diagnosis. It can stop rainfall from entering while the roofer traces the actual failure.
Don't use bricks, random rocks, or improvised weights where they can slide or damage the roof. Don't tape over a dirty seam and assume the leak is solved. Temporary work should protect the building without complicating the permanent repair.
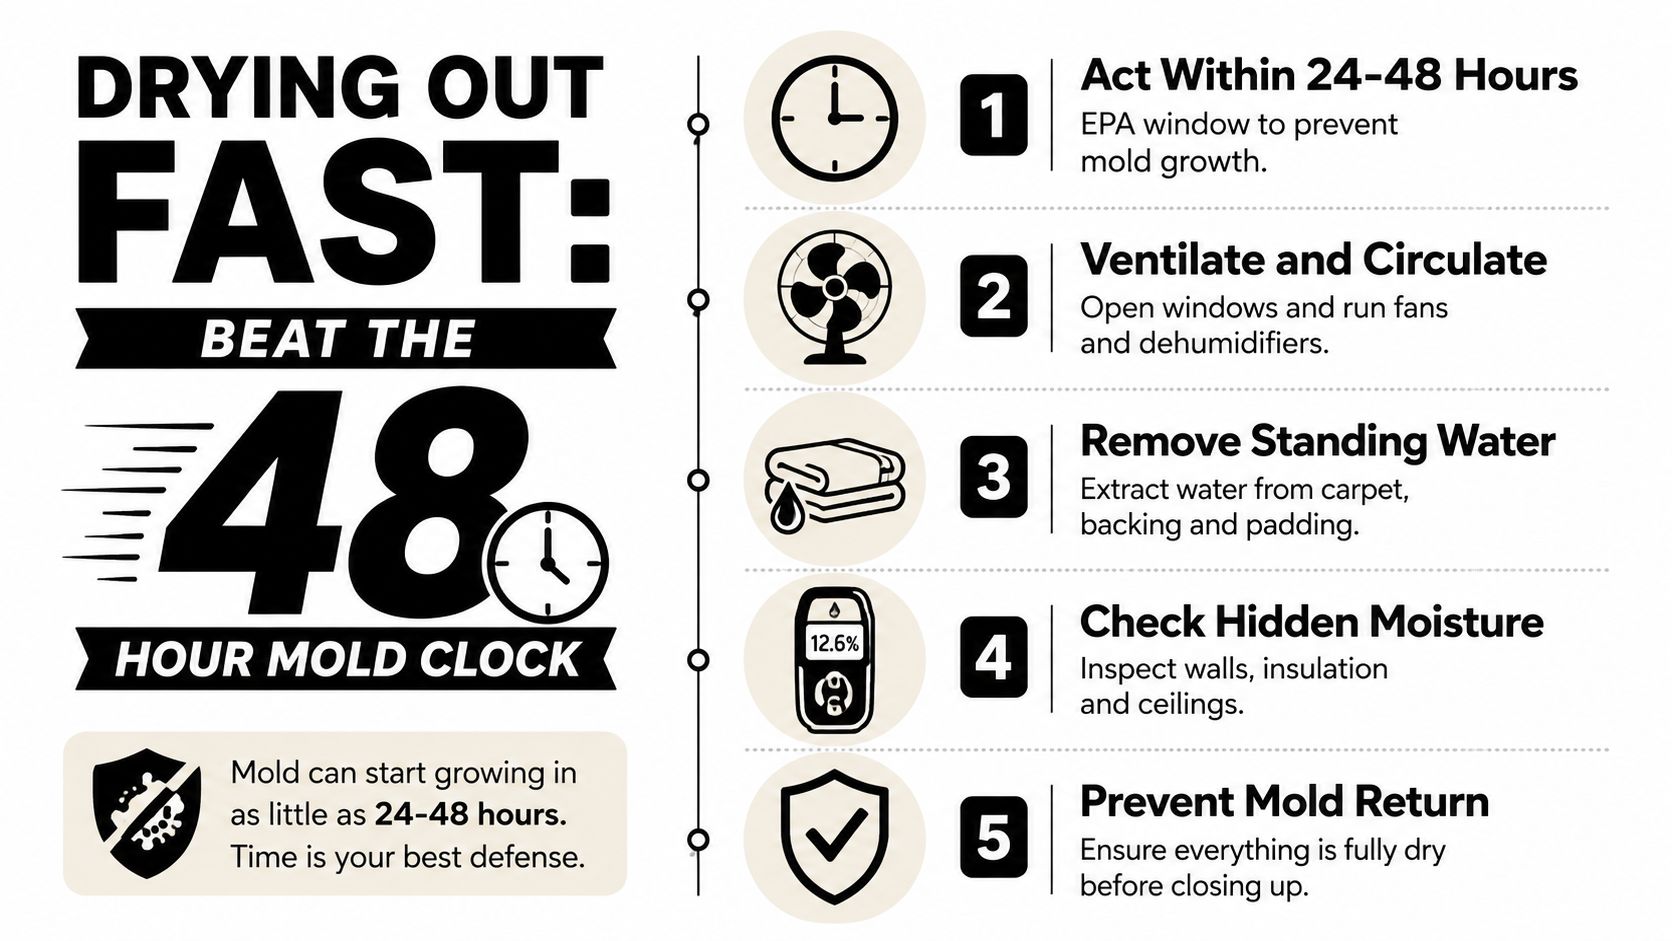
Drying Out Fast and Beating the 48 Hour Mold Clock
Stopping the drip is only half the emergency. The building still contains moisture, and soaked carpet, backing, drywall, insulation, and contents can remain wet after the roof appears dry.
The EPA says water-damaged carpet and backing should be dried within 24 to 48 hours, and that drying wet or damp materials in that window will, in most cases, prevent mold growth (EPA drying guidance). That makes drying a timed operation, not a task to postpone until the roofer completes the exterior repair.
Start with extraction
Remove pooled water first. A wet vacuum can extract water from hard flooring, carpet, and other suitable surfaces, but only use electrical equipment where the power supply and surrounding outlets are dry and safe. Wet carpet padding often holds water beneath the visible surface, so lifting an edge may be necessary for a proper assessment.
Increase air movement with fans where electricity is safe, and use dehumidification to pull moisture from the room. Airflow alone may move damp air around without lowering the moisture load, particularly in humid South Florida homes. Air conditioners and dehumidifiers can help, but they won't replace removal of soaked materials.
Look behind the visible stain
Ceilings can hide wet insulation and framing. Walls can hold moisture around the leak path even when the drip stops. Openings made for inspection, moisture-meter readings, and professional assessment help identify whether the water is confined to a surface or has entered concealed materials.
EPA guidance for buildings states that materials wet for more than 48 hours should be handled using more formal remediation guidance, while even materials dried within that window may still have mold growth (EPA mold remediation guide). Home guidance likewise calls for immediate removal and drying when a roof leak sends water indoors (EPA home mold guidance).
If the property can't be dried within 24 to 48 hours, EPA disaster-cleanup guidance says occupants should assume mold growth has occurred and recommends rapid extraction and drying (EPA disaster cleanup guide). At that point, the job is no longer just emergency leak repair. It includes moisture mapping, material decisions, and possible remediation.
Documenting Damage and Understanding Emergency Costs
Storm damage is easiest to explain when the record starts before cleanup. Photograph each affected room from several angles, then capture close-ups of stains, active drips, the water path, damaged belongings, and visible exterior damage from the ground. A short video with a spoken description can show timing and location more clearly than separate photos.
Keep receipts for tarps, buckets, plastic sheeting, drying equipment, cleanup supplies, and other reasonable mitigation purchases. Write down when the leak began, the weather conditions, rooms affected, and steps taken to limit further damage. This documentation connects the emergency response to the condition an adjuster or contractor later sees.
Coverage questions can differ from roof-diagnosis questions. Homeowners sorting roof-related water intrusion from flood damage can review this flood coverage help from Florida All Risk while checking their policy.
Emergency leak repair cost and time snapshot
| Service Type | Typical Cost Range | Typical Time |
|---|---|---|
| Standard roof repair | $380 to $1,770, according to consumer roof repair guidance | Larger repairs can take hours or days |
| Simple emergency patching | $100 to $300 emergency-service fee, with total cost potentially up to twice a standard repair | 20 to 30 minutes for simple patching |
| Interior mitigation | Varies with the amount of water and affected materials | Extraction and drying begin immediately |
Emergency work costs more because crews respond outside normal scheduling, work around weather, and protect the building before the permanent scope is known. Paying for quick containment can still reduce the cost of soaked insulation, drywall, flooring, and contents.
The invoice is only one part of the file. Pair it with photographs, receipts, inspection notes, and a written account of what the contractor found. Documentation also shows whether the first stage, containing the water, was followed by temporary weatherproofing and a plan for permanent repair.
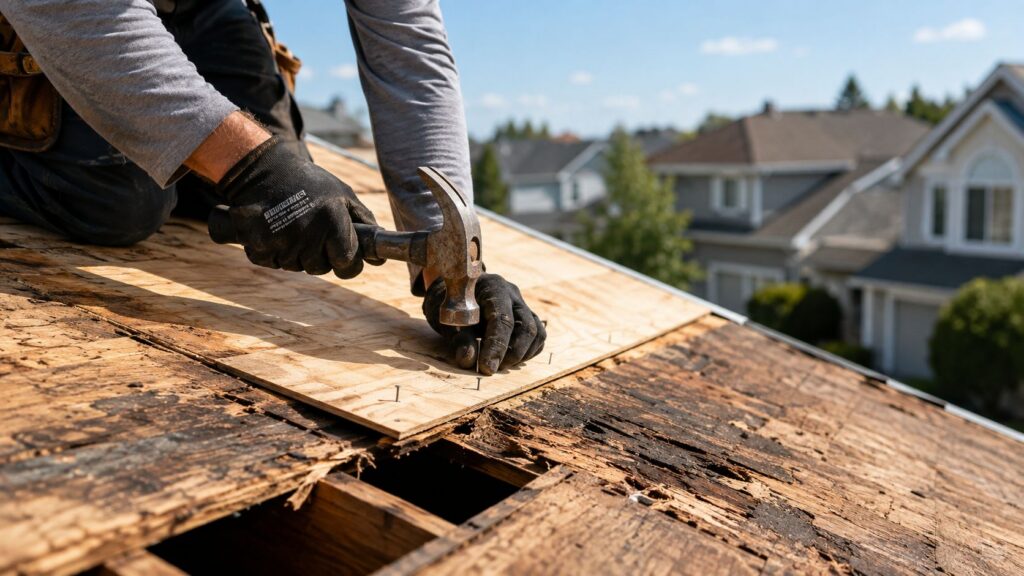
A related roof decking replacement image shows why a ceiling stain may not reveal the full affected roof assembly. In storm conditions, that distinction matters: the visible mark may be only the final point in a longer water path.
When to Call a Professional and What Happens Next
Call for professional dispatch when water is actively entering living space, the ceiling is sagging, the roof has widespread visible damage, structural components look compromised, or water is near electrical systems. A tree impact, major debris strike, exposed decking, damaged flashing across several areas, or repeated leakage after temporary patching also warrants inspection rather than another improvised seal.
A short-term barrier may hold when the weather has cleared, the interior is stable, and the roof can remain untouched until qualified help arrives. It shouldn't become an excuse to delay diagnosis. The failure may involve a crack, faulty joint, defective fitting, or inadequate waterproofing, and the visible drip may be several feet from that defect.
The lasting repair starts with finding the path water took, not just covering the place where it appeared.
What a proper emergency visit should produce
A roofer should assess the roof system, document visible storm or age-related damage, inspect accessible attic and interior areas, and identify whether the temporary measure protected the correct location. The next deliverable should be a written permanent-repair plan, with clear separation between emergency make-safe work, drying or removal of damaged materials, and the lasting roof repair.
For difficult or concealed problems, specialized water leak detection equipment can support the search for moisture paths. It doesn't replace roofing judgment, but it can help locate hidden water when stains, insulation, or multiple roof planes make the source unclear.
A drone roof inspection example also shows how contractors may document roof conditions without immediately sending a person onto a questionable surface. The method depends on the property, roof design, weather, and access.


Choose a licensed and insured contractor who can explain the temporary protection, moisture findings, cause of the leak, and permanent repair options in plain language. In Broward, Miami-Dade, and Palm Beach counties, Paletz Roofing and Inspections handles emergency roof leak repair, damage assessment, inspections, and permanent-repair planning for residential and commercial properties.
Contact Paletz Roofing and Inspections if water is entering your South Florida property and you need emergency leak repair, safe temporary protection, or a documented inspection. Their team serves Broward, Miami-Dade, and Palm Beach counties with emergency response, roof assessments, and a clear plan for drying the interior and completing the lasting repair.