
A homeowner often notices the evidence in the driveway first. Hailstones have collected in the grass, the gutters are speckled, and a few window screens look dented. The roof appears normal from the ground, yet the next leak, renewal inspection, or carrier visit may reveal damage that started during that ordinary afternoon storm.
That's the problem with a hail damaged roof and insurance claim. Hail rarely announces itself with a dramatic opening in the roof. It can create functional damage that remains hidden until weather exposes it, while the policy, deductible, timing, and quality of your documentation determine whether the carrier pays, reduces the scope, or closes the file. The process below follows the practical sequence that matters, from safe ground assessment to a defensible settlement.
Table of Contents
- When Hail Hits and the Roof Tells the Story
- Reading the Damage from the Ground Up
- Building a Documentation File That Carriers Trust
- Understanding Your Policy Before You File
- Working with the Adjuster Without Losing Leverage
- Choosing a Contractor Who Protects Your Claim
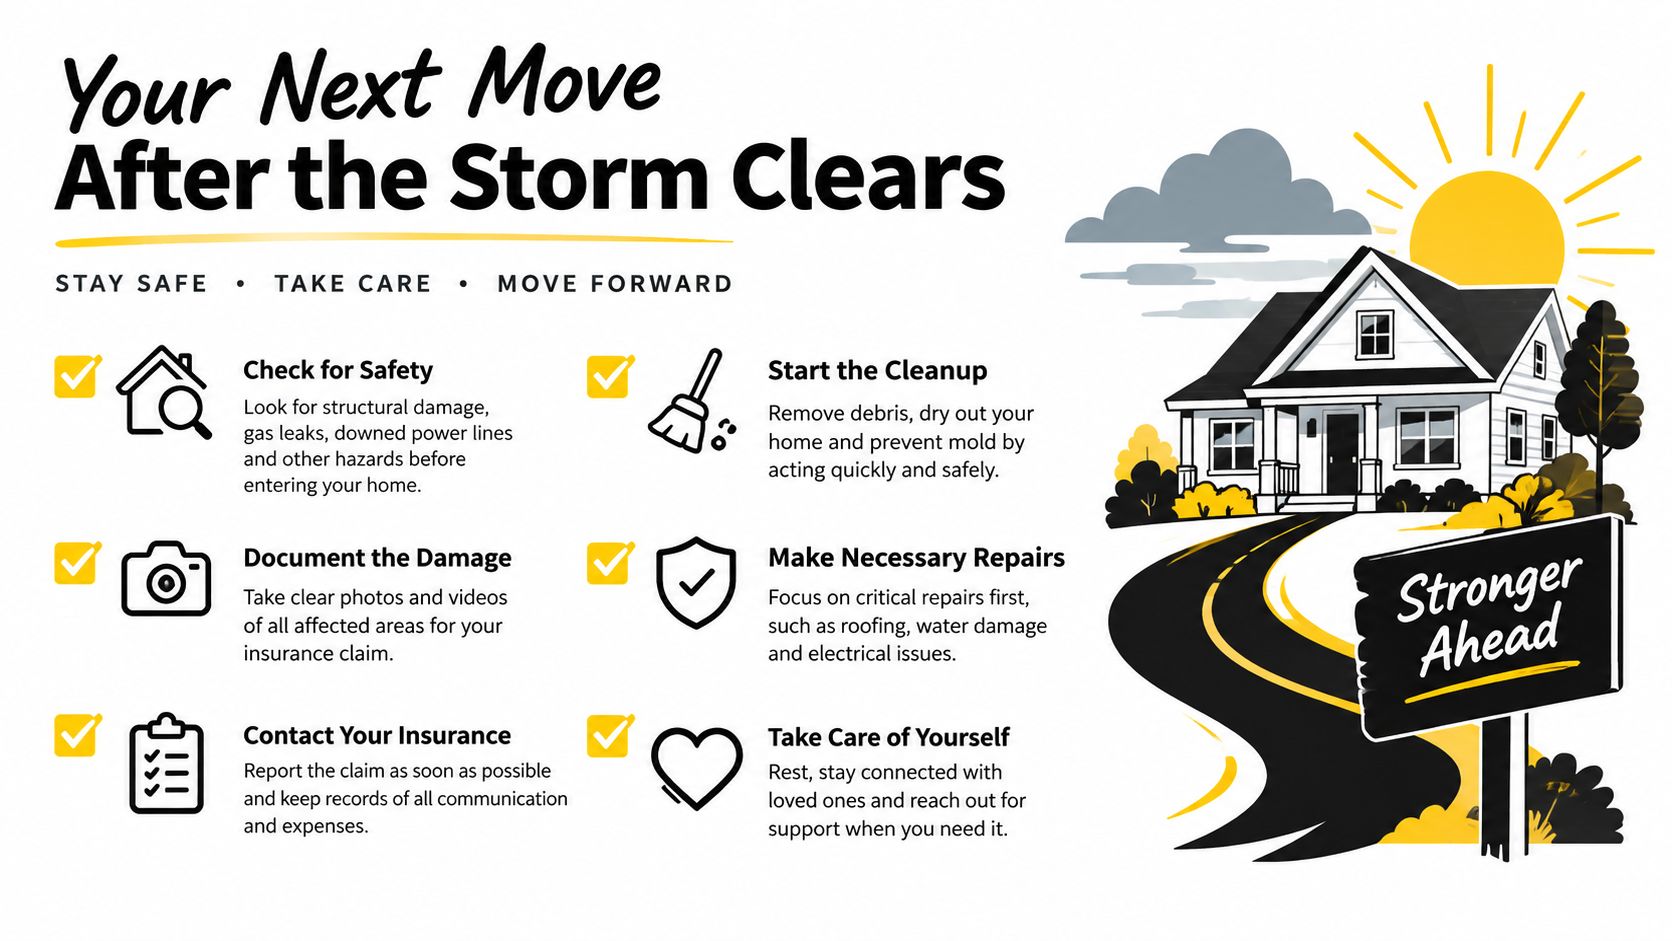
- Your Next Move After the Storm Clears
When Hail Hits and the Roof Tells the Story
After a storm, a homeowner may stand beside the mailbox, look at the lawn, and decide the roof is fine because no shingles are lying in the street. That conclusion is unreliable. Asphalt shingles can suffer bruising beneath the surface, while tile, metal, and flat roofing systems can take impact damage that isn't visible from the driveway.
The financial scale explains why a modest-looking storm deserves attention. Severe convective storms generated $51 billion in insured losses in the United States in 2025, the third consecutive year above $50 billion, according to recent hail-loss analysis for U.S. roof insurance claims. Hail can account for as much as 80% of severe convective storm claims in a typical year, and roofs absorb an estimated 70% to 90% of insured residential catastrophe losses from that category.
The ordinary storm problem
The dramatic catastrophe gets attention, but everyday losses create a different challenge. U.S. hailstorm losses now commonly range between $8 billion and $15 billion annually, compared with just over $1 billion annually in the 1990s, and insurers receive more than 500,000 hail-related property claims each year, as summarized by Cape Analytics' hail-risk guidance for property insurers.
That means your claim may involve a small or moderate storm, not a neighborhood-wide disaster. Hail-related damage can appear as granule loss, mat fracture, cracked tile, dented flashing, or a compromised seam. Waiting for a leak gives weather and foot traffic time to blur the original evidence.
Practical rule: Treat the storm date as the beginning of the claim file, even if the roof still looks serviceable.
The right response is calm and methodical. First assess from the ground, then preserve evidence, read the policy before making assumptions, prepare for the adjuster's inspection, and use a qualified roofer when the damage requires roof-level evaluation. A clean file gives the carrier something specific to evaluate instead of forcing everyone to argue from memory.
Reading the Damage from the Ground Up
Start outside only after the storm has fully passed and conditions are safe. Never climb onto the roof to investigate hail damage. From the ground, photograph every elevation, the date, the gutters, downspouts, screens, exterior equipment, and any visible debris before cleanup changes the scene.
What different roof systems reveal
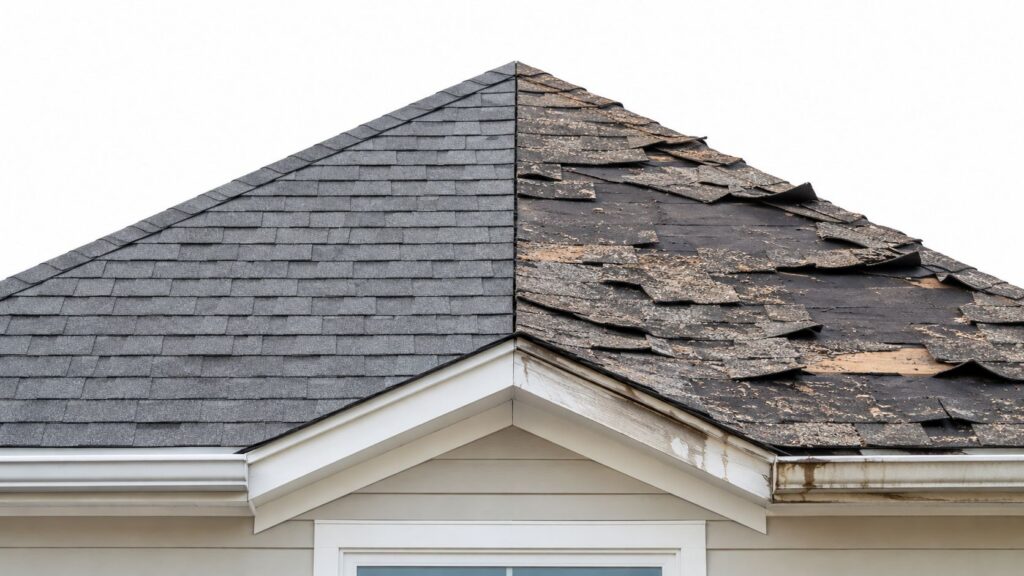
On asphalt shingles, look for random scuff patterns, missing granules in the gutters, exposed dark mat, and soft bruised areas. A circular mark alone doesn't prove functional damage, because age and weathering can create similar discoloration. The useful question is whether the impact has fractured or weakened the shingle rather than merely changed its appearance.
Tile damage behaves differently. Look for cracks radiating from impact points, displaced pieces, and broken ridge caps. Ridge caps often show damage before field tiles because they sit higher and receive direct exposure.
Metal roofing may show dents on vents, valleys, pipe flashings, gutters, and other softer components while the main panels appear intact. Flat and modified-bitumen systems require attention to punctures, lifted blisters, open seams, and damaged edge details.
Decide whether the roof needs immediate protection
An active interior drip, exposed underlayment, displaced tile, or opening around a vent justifies prompt temporary weatherproofing. A professional tarp can limit additional water intrusion, but permanent repairs before the carrier documents the loss can complicate the claim. If water is only entering during rain, place a container below the leak, protect furnishings, and arrange a qualified inspection rather than taking an unsafe roof walk.
Use the ground-level workflow below to keep the first inspection orderly.
You can also compare visible warning signs against this damaged-roof visual reference, but don't treat an online image as a diagnosis. A licensed roofer should inspect roof-level conditions, especially where a low-slope area, tile break, puncture, or suspected mat fracture is involved.
Building a Documentation File That Carriers Trust
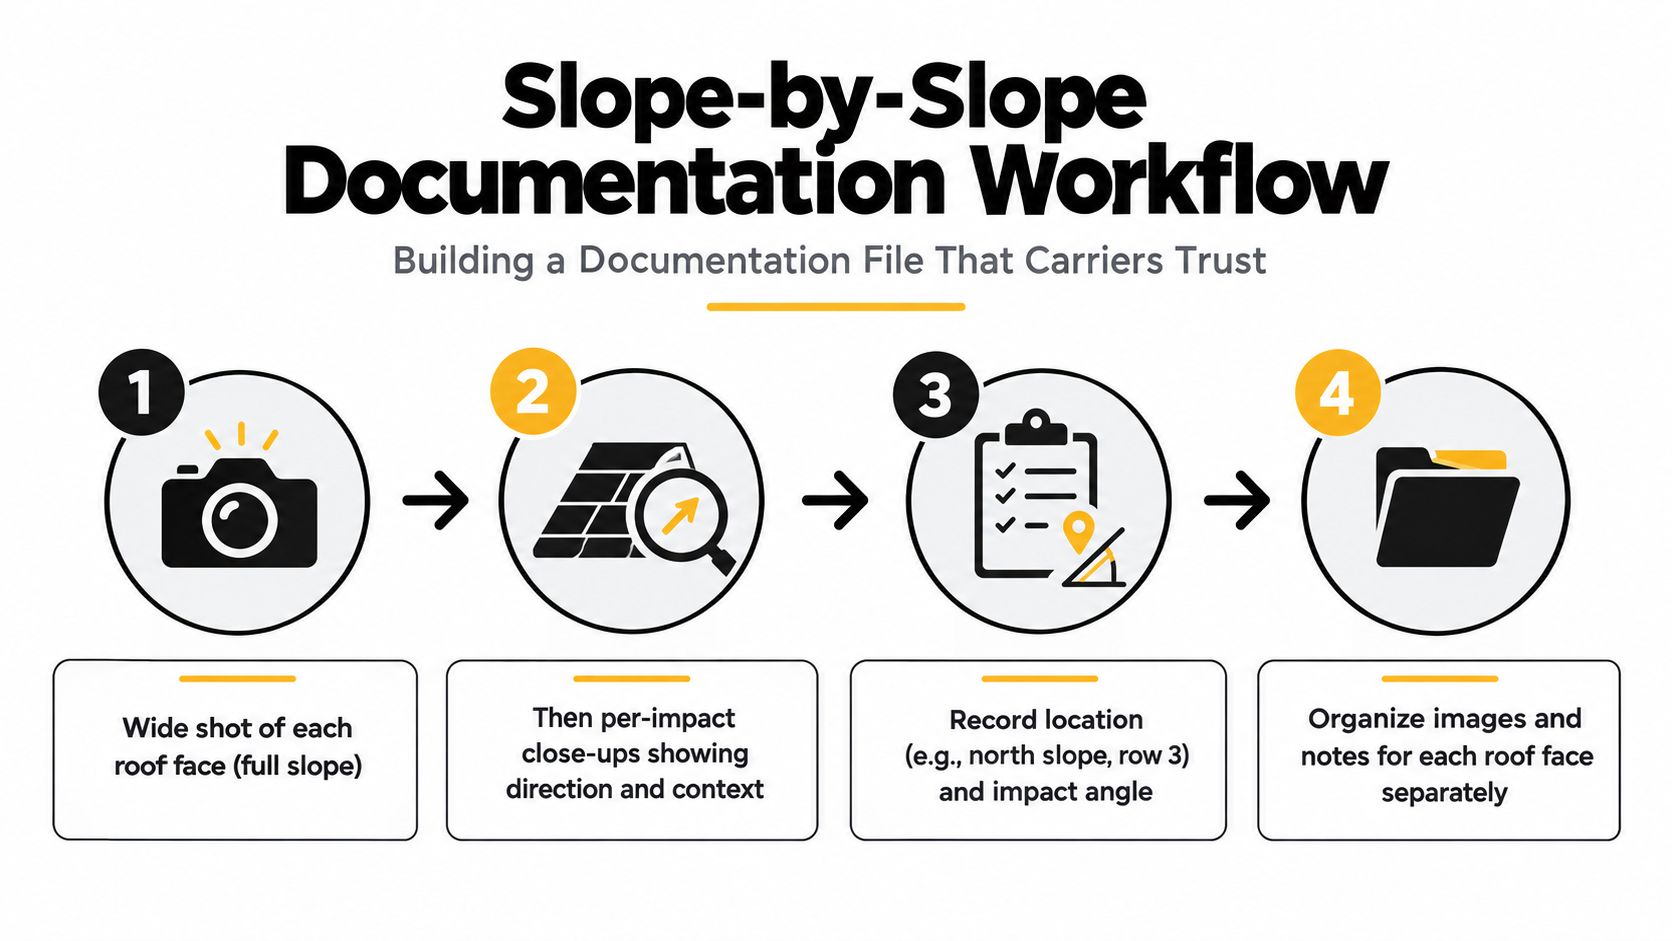
Adjusters build claims by location, cause, and evidence. Your documentation should follow the same logic. Begin with a wide photograph of the full property, then capture each roof face separately so the carrier can connect a close-up to a specific slope.
Work slope by slope
Label each roof plane, such as north slope, garage west slope, or rear patio roof. For each one, take a full-slope image first, then photograph representative impacts with a tape measure, coin, or other scale object. If you use chalk, circle the impact lightly and keep the marking narrow. A field guide warns that chalk lines thicker than 1 inch can obscure the actual damage and fail documentation quality checks, as explained in HRTI's roof-hail documentation workflow.
Record the location, approximate row, material type, and whether the mark shows granule loss, mat fracture, a crack, or another condition. A short video walkthrough with spoken notes can preserve context that isolated photographs miss. Back up the files immediately to cloud storage and keep the originals with their timestamps.
Add collateral and interior evidence
Carriers often compare roof evidence with other property damage. Photograph dents or impact marks on:
- Gutters and downspouts, particularly soft aluminum sections.
- Window screens and exterior fixtures, which can show the storm reached the property.
- Air-conditioning condenser fins, mailboxes, and patio furniture, where impact marks may remain visible.
- Ceiling stains, attic decking, and wet insulation, photographed before drying or repair.
Third-party storm verification strengthens the causation record. Guidance for claim triage recommends pairing roof photographs with NOAA or commercial hail reports and preserving those reports as exhibits, particularly where hail size and event timing matter. SnapToFile's hail documentation guide identifies a useful package of wide elevation photographs, close-ups of granule loss or mat fracture, collateral damage, and a written slope-by-slope narrative.
Organize the file so an adjuster can open it on inspection day:
- Claim number and date of loss
- Weather verification PDF
- Photo and video folders by roof slope
- Interior and collateral evidence
- Contractor inspection report and repair estimate
Understanding Your Policy Before You File
A documented roof can still produce a disappointing payment if the policy mechanics work against the homeowner. Read the declarations page and endorsements before the adjuster arrives, because coverage scope determines which damage matters and how the settlement is calculated.
Identify the deductible first
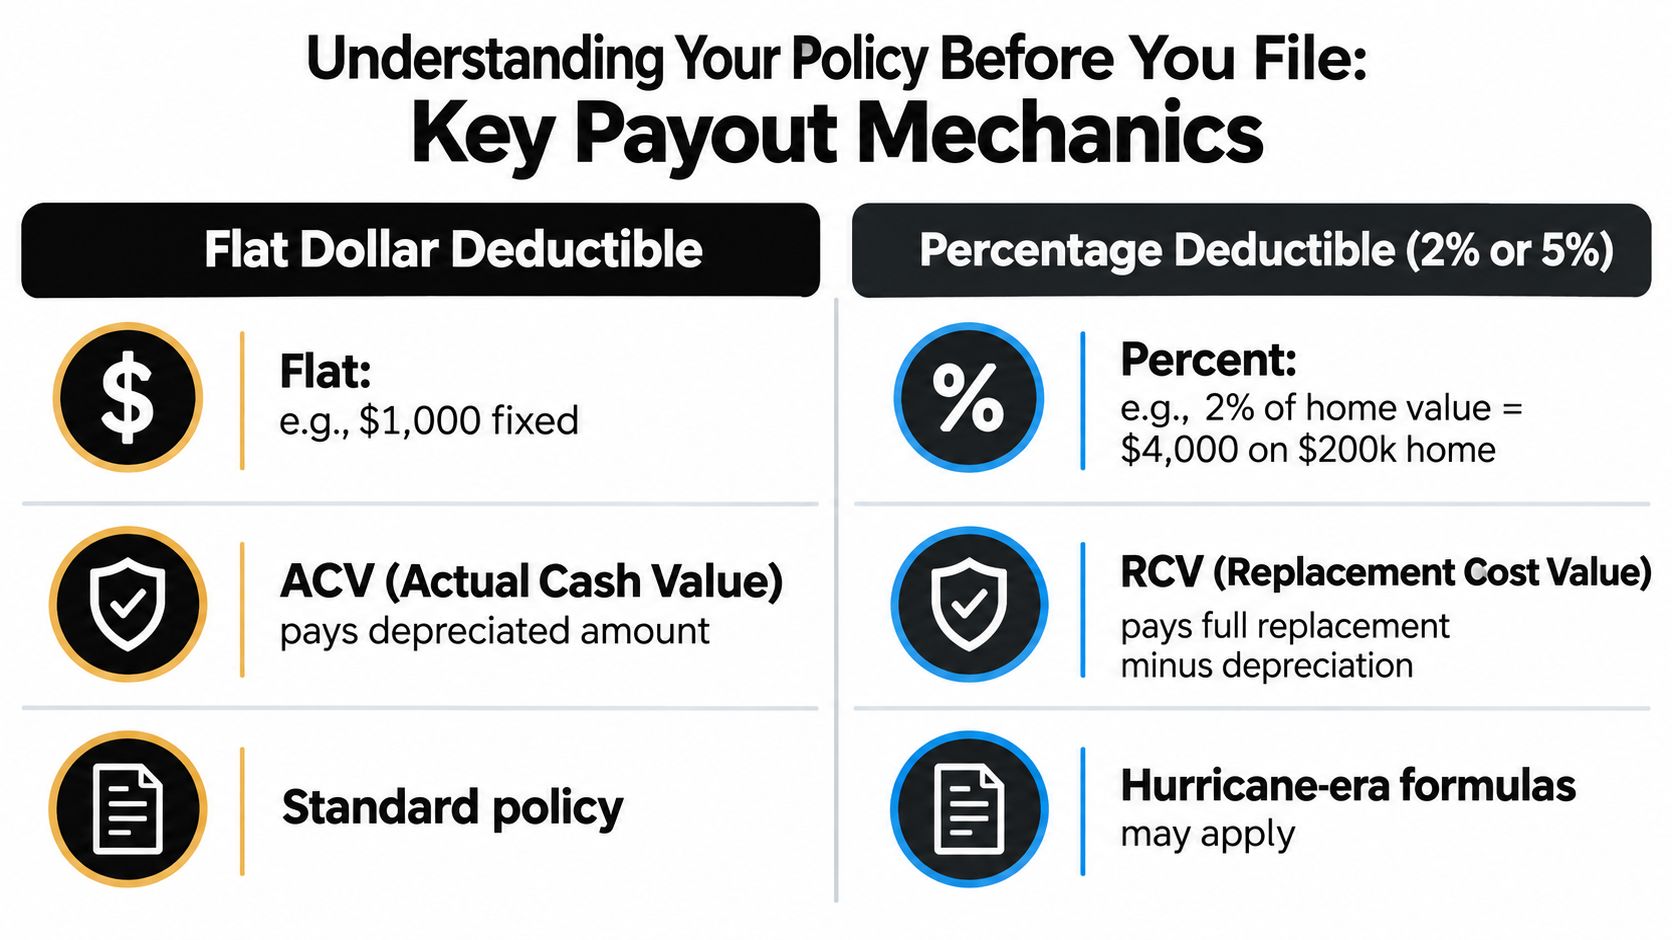
A hail claim commonly carries either a flat deductible, often cited around $500 to $2,000, or a wind and hail deductible of 1% to 5% of dwelling coverage, as described in this overview of hail claim deductibles. A percentage applies to the policy's dwelling limit, not necessarily to the contractor's estimate. That distinction can change whether a moderate repair is financially sensible.
Named-storm and wind or hail provisions can also differ in coastal states. The same weather system may trigger different deductibles depending on how the policy classifies the loss. Ask your agent to identify the exact applicable provision instead of relying on the storm's common name.
Understand ACV, RCV, and depreciation
Actual Cash Value, or ACV, deducts depreciation from the replacement cost before payment. Replacement Cost Value, or RCV, generally allows withheld depreciation to be recovered after qualifying repairs and required documentation. Under an ACV-style settlement, depreciation is deducted first, and recovery depends on the policy terms and claim conditions, as explained in this discussion of depreciation recovery in wind and hail claims.
Ask for the roof-specific valuation, not just the dwelling coverage summary. Also look for cosmetic-damage endorsements, especially on metal roofing, because some policies exclude dents that don't affect performance.
Check the clock and supplemental path
Most homeowners policies give about 1 to 2 years from the storm date to file, although some state laws and policy terms can extend the period to 3 to 5 years, according to this guide to hail-damage claim deadlines. Other guidance notes that filing deadlines can be as short as 1 year in Florida and Texas, while some jurisdictions often allow 2 to 3 years. Documentation within 30 days is important, and photos taken 60 or more days after the storm may receive greater scrutiny, as discussed in this 2026 hail-claim timing guide.
Florida has a specific rule worth checking. The initial deadline for hurricane, wind, or hail damage is 1 year from the date of loss, with an 18-month period for supplemental claims covering additional damage found after the initial filing, according to this explanation of property damage laws in Florida.
Working with the Adjuster Without Losing Leverage
An adjuster's visit isn't a ritual where you hand over control and wait for the answer. It's a working inspection. Be present, keep the discussion factual, and give the adjuster a file that makes every claimed area traceable.
Before the appointment, assemble the slope photographs, weather report, roof age, prior repair history, interior evidence, and contractor estimate. Prepare a one-page scope summary using familiar line-item language, including the affected slope, material, flashing, underlayment, ventilation, removal, installation, and code-related items where applicable.
Ask questions that expose missing scope
If the estimate seems low, don't accuse the adjuster of ignoring the roof. Ask precise questions:
- “Which line item covers the damaged ridge caps?”
- “What code or matching provision did you apply to this repair?”
- “Does the estimate include the affected underlayment and flashing?”
- “What evidence would support adding the omitted slope?”
Storm verification can support causation. NOAA records, Weather Underground information, or an independent meteorological report may help establish the event, while a contractor estimate should mirror the carrier's pricing database rather than rely on a vague retail total. The aim is not to inflate the scope. It's to make the scope complete and comparable.
Avoid avoidable concessions
Don't give a recorded statement before you've cataloged the loss. Answer accurately, but distinguish what you observed from what a roofer diagnosed. Don't sign a partial release because the first check arrives, and don't accept an ACV-only result without reviewing the depreciation schedule and the policy's recovery conditions.
If hidden damage appears during tear-off, document it immediately with dated photographs and notify the carrier through a supplemental filing. A roof deck, flashing assembly, or concealed impact area may not be visible during the first inspection. The supplemental process exists for scope that becomes reasonably apparent after approved work begins, subject to the policy deadline.
Choosing a Contractor Who Protects Your Claim
The cheapest estimate can become the most expensive choice when it omits materials, uses the wrong repair method, or leaves the carrier unable to verify what happened. Choose a roofer who treats the claim file as part of the project, not as paperwork that disappears after the contract is signed.
Compare estimates line by line. Confirm the shingle type and manufacturer specifications, underlayment, flashing, ventilation, drip edge, disposal, and code-required components. If the carrier's scope doesn't include an item your roof requires, ask for the omission to be addressed before work proceeds.
Separate professional signals from storm-chaser pressure
A contractor who arrives immediately after a storm isn't automatically dishonest, but pressure and missing credentials deserve a hard stop. Use this comparison before signing:
| Signal Category | Storm-Chaser Red Flag | Legitimate Hail Roofer |
|---|---|---|
| Local presence | No physical local address or unclear service area | Verifiable local office and established contact information |
| Payment demand | Requests the insurance check upfront or pressures you to waive the deductible | Explains payment stages and keeps the contract terms clear |
| Credentials | Refuses to provide a license, workers' compensation, or general liability certificate | Supplies current documentation for review |
| Scope quality | Vague estimate with no material or repair detail | Written scope that identifies roofing components and quantities |
| Timeline | Promises immediate work without explaining weather, permits, or inspections | Gives a realistic schedule and documents changes |
| References | Avoids recent local references | Provides recent hail-job references you can contact |
Contact three recent hail-job references within 40 miles, then verify the roofer's standing with the state licensing board and the Better Business Bureau. Don't sign an assignment that gives away control of the insurance claim without understanding every consequence.
During tear-off, require photographs of decking rot, concealed damage, and any condition that changes the scope. Keep invoices aligned with the carrier's line codes where possible, and send completion sign-offs to the carrier before the final contractor invoice clears.
For a visual comparison of common roofing systems and materials, review this roofing-material reference image. It won't replace a written estimate, but it can help you ask better questions about like-kind materials and repair compatibility.

Your Next Move After the Storm Clears
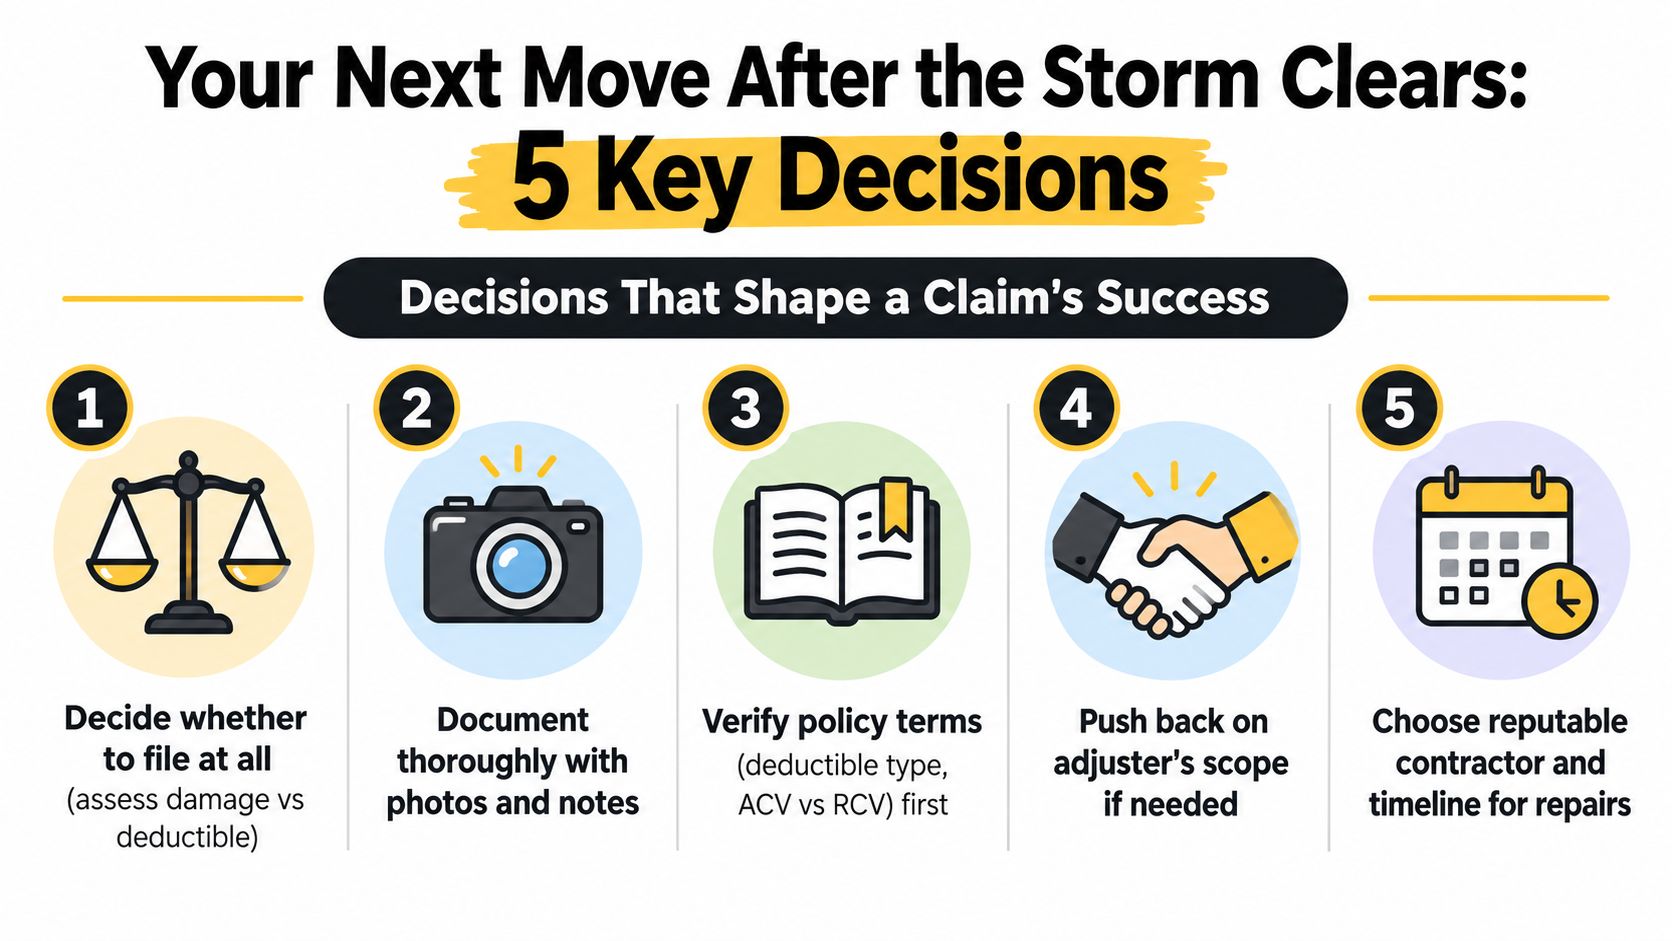
A successful hail claim usually turns on five decisions: whether the damage justifies filing, how carefully you preserve evidence, which policy terms control the payment, when to challenge an incomplete scope, and who performs the repair.
Use a simple timeline rather than reacting to the loudest contractor or the first estimate.
The first 72 hours
- Protect people first: Stay off the roof and keep clear of loose tile, exposed wiring, and active leaks.
- Capture conditions: Photograph every elevation, gutter, downspout, screen, exterior unit, interior stain, and visible roof concern.
- Prevent further loss: Use a professional tarp where an opening allows water inside. A bucket and furniture protection may be enough for a minor, contained drip until inspection.
- Preserve records: Write down the storm date and save photographs, videos, and receipts.
Within 2 weeks
- Read the policy: Confirm the deductible, ACV or RCV basis, cosmetic exclusions, endorsements, and filing deadline.
- Request inspection: File promptly if the evidence and likely scope justify a claim, then obtain the claim number and adjuster schedule.
- Build the file: Add weather verification, slope notes, roof history, and a qualified contractor's estimate.
- Attend the inspection: Point out each documented area and ask which line items address it.
By 30 days
- Review the estimate: Compare the carrier scope against the roof's actual components and repair method.
- Supplement carefully: Submit dated tear-off evidence if concealed damage expands the scope.
- Confirm settlement terms: Check deductible treatment, depreciation, recoverable depreciation conditions, and the documents required for final payment.
- Close the project: Keep the contract, permits, invoices, completion photos, and final sign-off together.
You can safely handle ground photographs, policy reading, calls, and file organization. A licensed roofer should evaluate roof-level damage and perform repairs. A public adjuster may help with complex scope disputes, while an attorney is appropriate when coverage, deadlines, bad-faith concerns, or settlement rights require legal analysis.
A moderate storm becomes worth filing when documented functional damage appears likely to exceed the applicable deductible and the policy provides a realistic path to payment. If the evidence points only to maintenance, cosmetic exclusion, or a repair that falls below the deductible, pay for a qualified inspection first rather than filing from guesswork.
For a visual example of metal-roof repair details and sealant work, see this metal roof repair reference.

Paletz Roofing and Inspections provides post-storm roof inspections, documented damage assessments, repair estimates, and guidance for preparing a hail claim across Broward, Miami-Dade, and Palm Beach counties. Visit Paletz Roofing and Inspections to arrange an inspection and get a clear, roof-specific next step before the evidence disappears.