You usually find a cracked roof tile in reverse. First it's a faint brown ceiling mark after a hard rain. Then nothing for weeks. Then the next storm hits, the stain grows, and now you're staring up at a roof that looked fine from the driveway.
That's why how to repair cracked roof tiles starts with a mindset shift. The tile you can see is only the top layer of a water-shedding system. On tile roofs, the visible crack matters, but the condition underneath matters more. Clay and concrete tiles can last a long time, often far longer than the underlayment below them, which is why spot repair is common and full replacement isn't always the first call on a tile roof (roof tile lifespan guidance, underlayment and tile service life overview).
A careful repair can hold. A lazy patch usually won't. If you judge the whole roof system before you climb, you'll make better decisions and avoid turning one cracked tile into three more.
Table of Contents
- Spotting the Crack Before It Becomes a Leak
- Safety Gear, Tools, and Materials You Need
- Diagnosing the Tile and the Layers Beneath
- Patch the Crack or Replace the Tile
- Replacing a Cracked Tile Step by Step
- Sealing a Hairline Crack the Right Way
- When a Cracked Tile Needs a Professional
Spotting the Crack Before It Becomes a Leak
A common homeowner story goes like this. A storm rolls through, a small ceiling stain shows up over the guest room, and because it dries out, it gets ignored. Months later another downpour hits, and the problem turns out to be a cracked tile two rows above where the stain first appeared.
That pattern matters because water rarely drops straight down from the visible break. It travels. On a tile roof, a cracked piece often points to movement, aging fasteners, a shifted ridge cap, or water already testing the layer beneath. The tile is often the symptom, not the disease.
What to look for from the ground
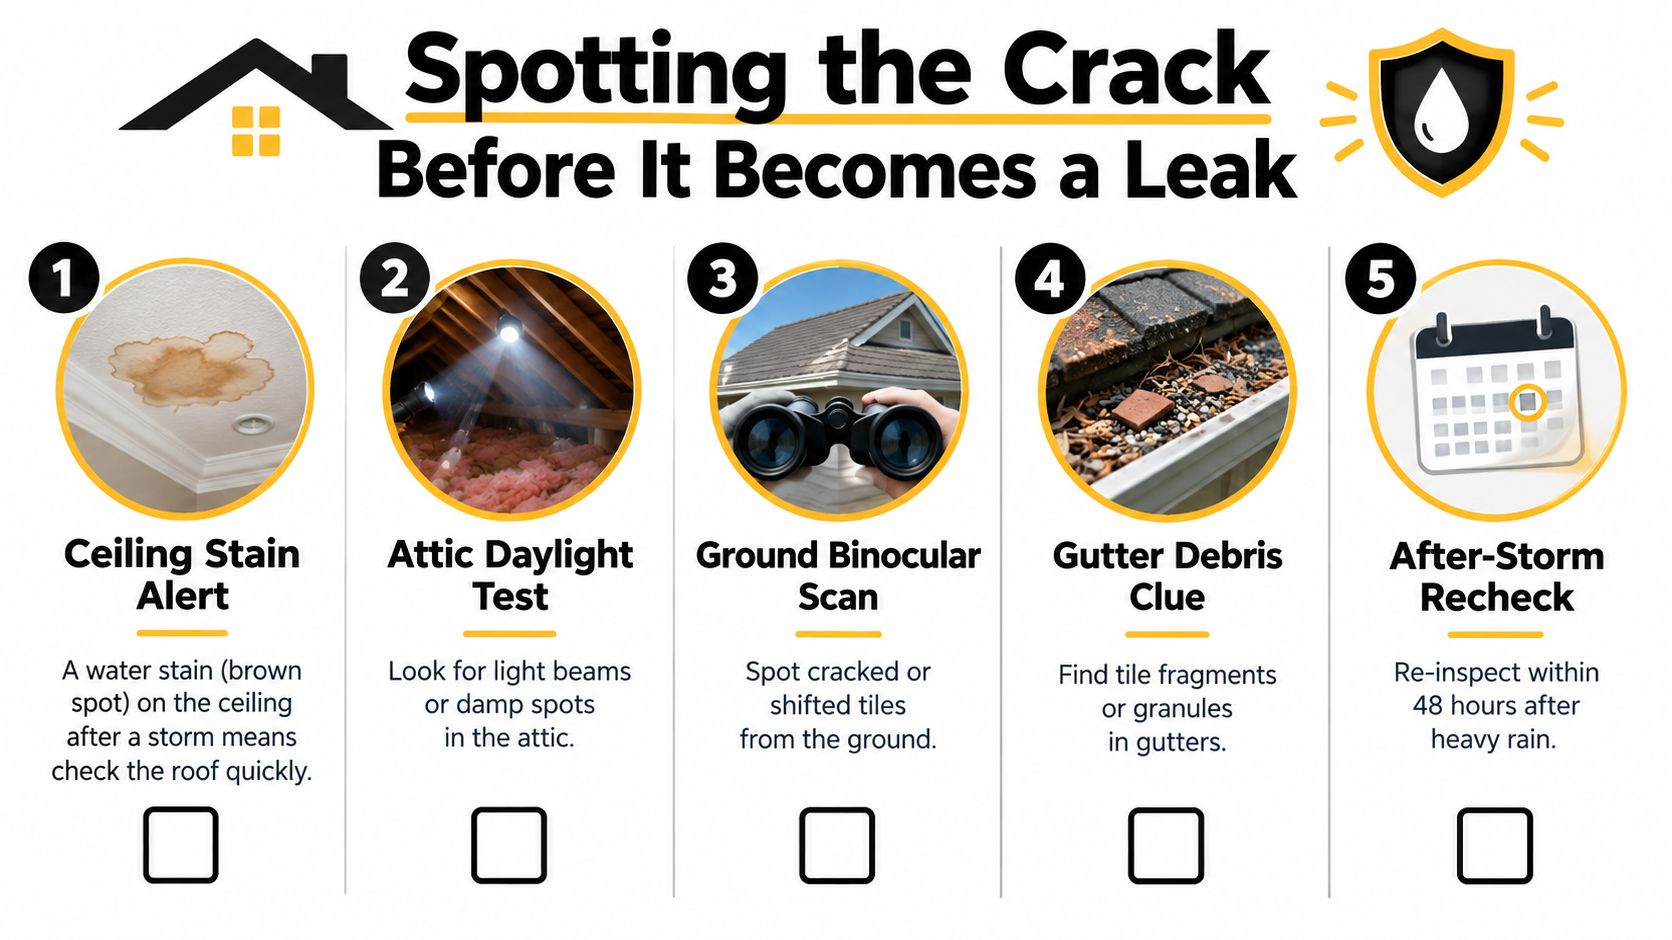
Start with binoculars, not a ladder. You'll often spot more from the yard because you aren't focused on your footing.
- Hairline shine: At a low sun angle, fine fractures can catch light differently than the rest of the tile.
- Shifted pieces: Ridge caps sitting unevenly or one field tile sitting proud of the course below it usually means something moved.
- Gutter clues: Broken edges leave fragments and gritty debris that wash into gutters.
- Dark growth patterns: Moss or algae often traces where water sits longer than it should.
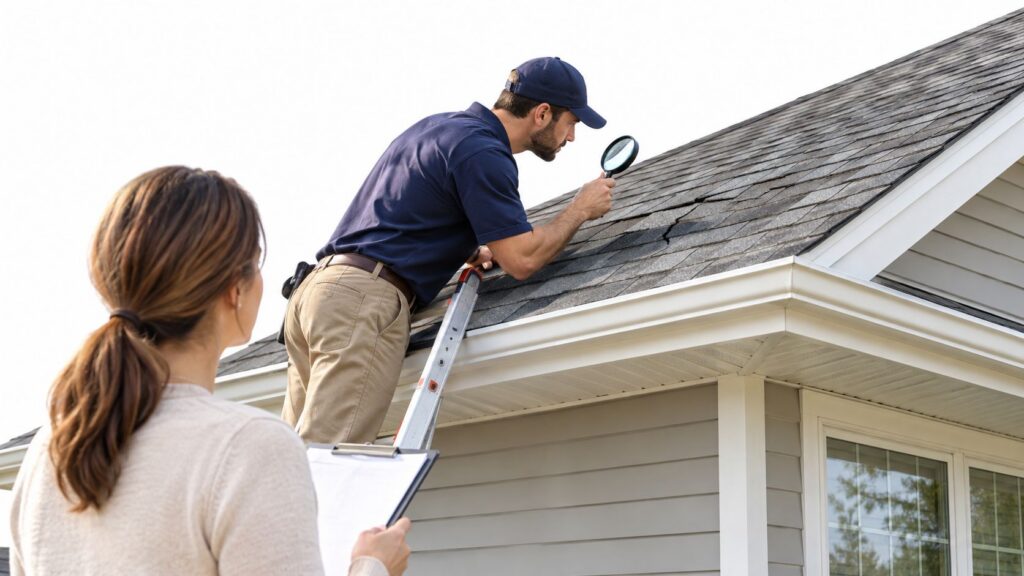
If you want a quick visual reference for what inspectors look for before any repair, this roof inspection image guide is useful.
Where cracked tiles usually show up first
Some spots deserve attention before others:
- South-facing slopes: More sun, more expansion and contraction.
- Valleys: Water concentrates here, so minor defects matter more.
- Chimney shoulders and sidewalls: Flashing problems often masquerade as tile cracks.
- The course above an interior stain: That's where I'd start every time.
Practical rule: If the stain is inside, inspect outside and inside. One without the other misses half the story.
Check the attic before you touch the roof
A sunny attic inspection can tell you where the roof system is failing. Look for pinpoints of daylight, damp insulation, or staining on the underside of the roof assembly. If a recent storm hit your area, a broader homeowner storm damage checklist helps you catch related damage before it spreads.
If you already have interior moisture, don't assume the tile alone caused it. The hidden layer may have been vulnerable long before the crack showed up.
Safety Gear, Tools, and Materials You Need
Most tile-roof DIY mistakes happen before the repair starts. Someone carries too much up the ladder, sets tools loose on the slope, or steps onto brittle tile without fall protection. On this kind of roof, setup matters as much as the repair itself.

Safety gear first
Pick up the safety gear before you touch the ladder.
- Harness and anchor: A proper fall-arrest harness anchored to a fall-rated point is mandatory.
- Footwear: Non-slip boots or shoes with good edge feel work better than bulky soles.
- Gloves: Use gloves that still grip when the tile is dusty or damp.
- Eye protection: Old mortar, grit, and tile chips come loose fast.
- Ground spotter: One person on the ground should watch ladder movement and manage tools.
If the slope is steep enough that you feel tentative standing on it, stop there and reassess.
Access and support
Your ladder should extend above the eaves so you can step on and off without reaching blindly. Uneven grade calls for leg levelers, not scraps of wood shoved under one side. On steeper roofs, roof jacks and planks create a stable work platform instead of forcing you to balance on curved tile.
Don't stack tools on the roof surface. Use a tool belt and a bucket with a rope haul line so nothing slides downhill into the gutter or the yard.
Tools and materials in working order
A clean tile swap uses a short list of simple tools in sequence:
- Flat pry bar or slate ripper for lifting overlapping courses.
- Wood shims or wedges to hold those tiles up without cracking them.
- Nail puller or hacksaw blade for stubborn fasteners.
- Utility knife for trimming underlayment patches if needed.
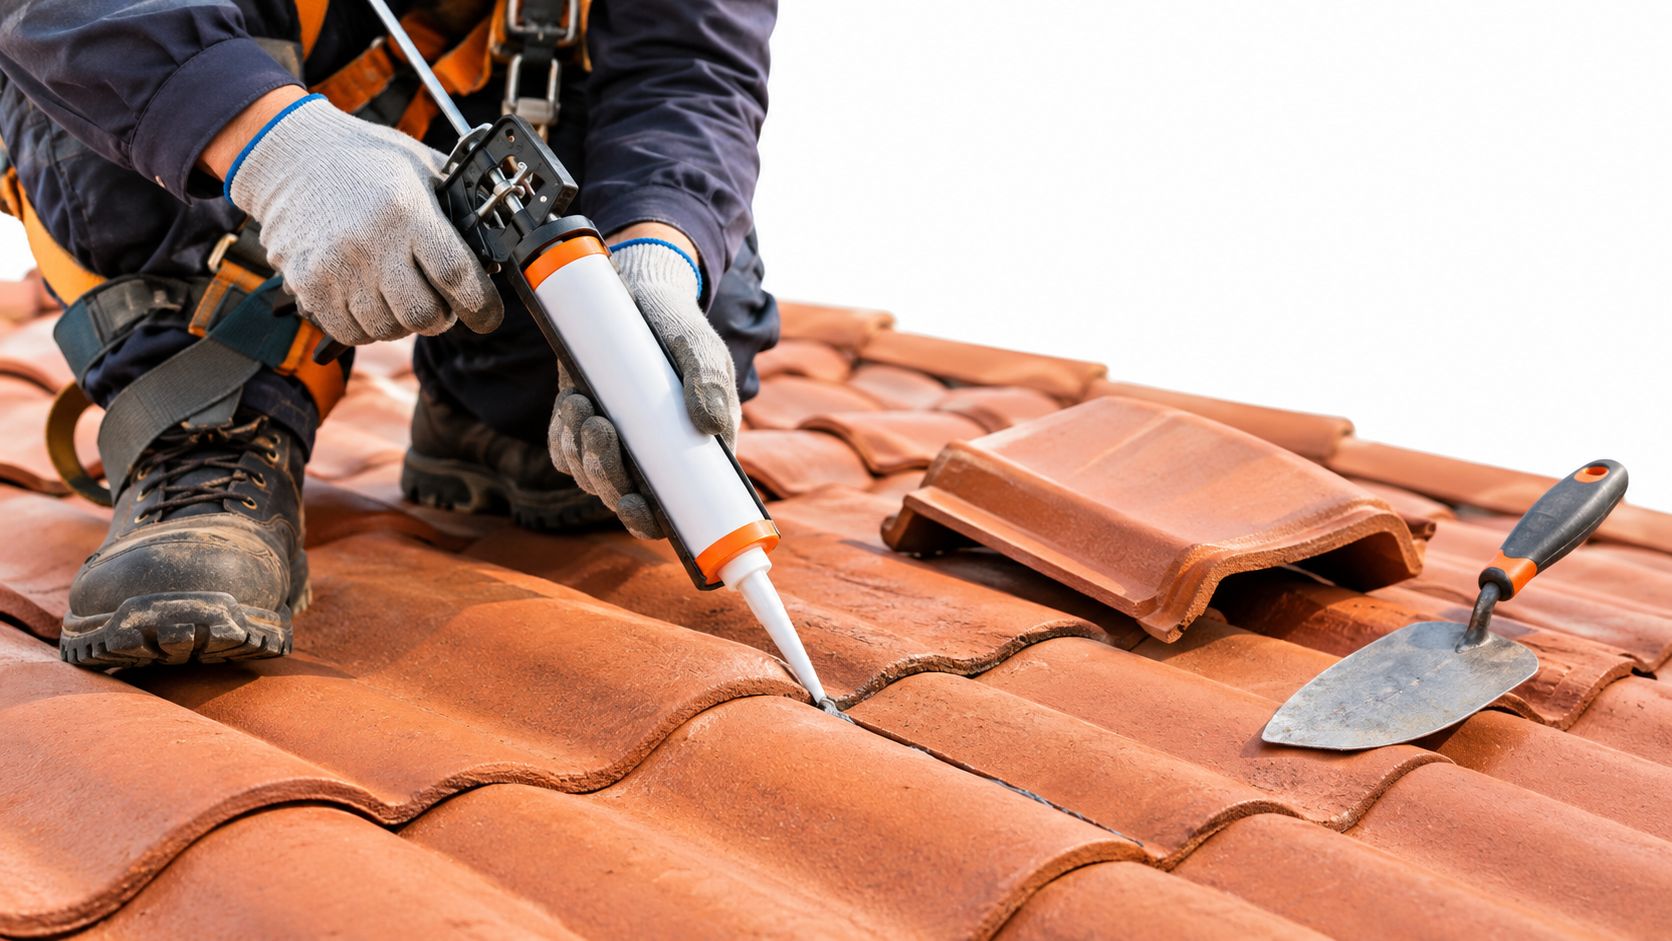
- Caulking gun and trowel for sealant or adhesive work.
Then match your materials to the roof you have:
- Matching replacement tile with the same profile and exposure.
- Color-matched roof sealant or tile adhesive for approved patch work.
- Polyurethane flashing sealant where detail sealing is needed.
- Stainless or galvanized nails to resist corrosion.
- Replacement flashing if the inspection shows metal failure, not just tile damage.
Some homeowners also decide to stop at the inspection stage and hand the repair to a roofing service such as Paletz Roofing and Inspections once they confirm hidden layer damage or unsafe access conditions.
Diagnosing the Tile and the Layers Beneath
A cracked tile deserves a closer look than it typically gets. Don't just glance, shrug, and squeeze sealant over the top. You need to know whether the tile is still doing its job and whether the layers below it are still dry and sound.
Read the crack before you touch it
Start with the tile itself.
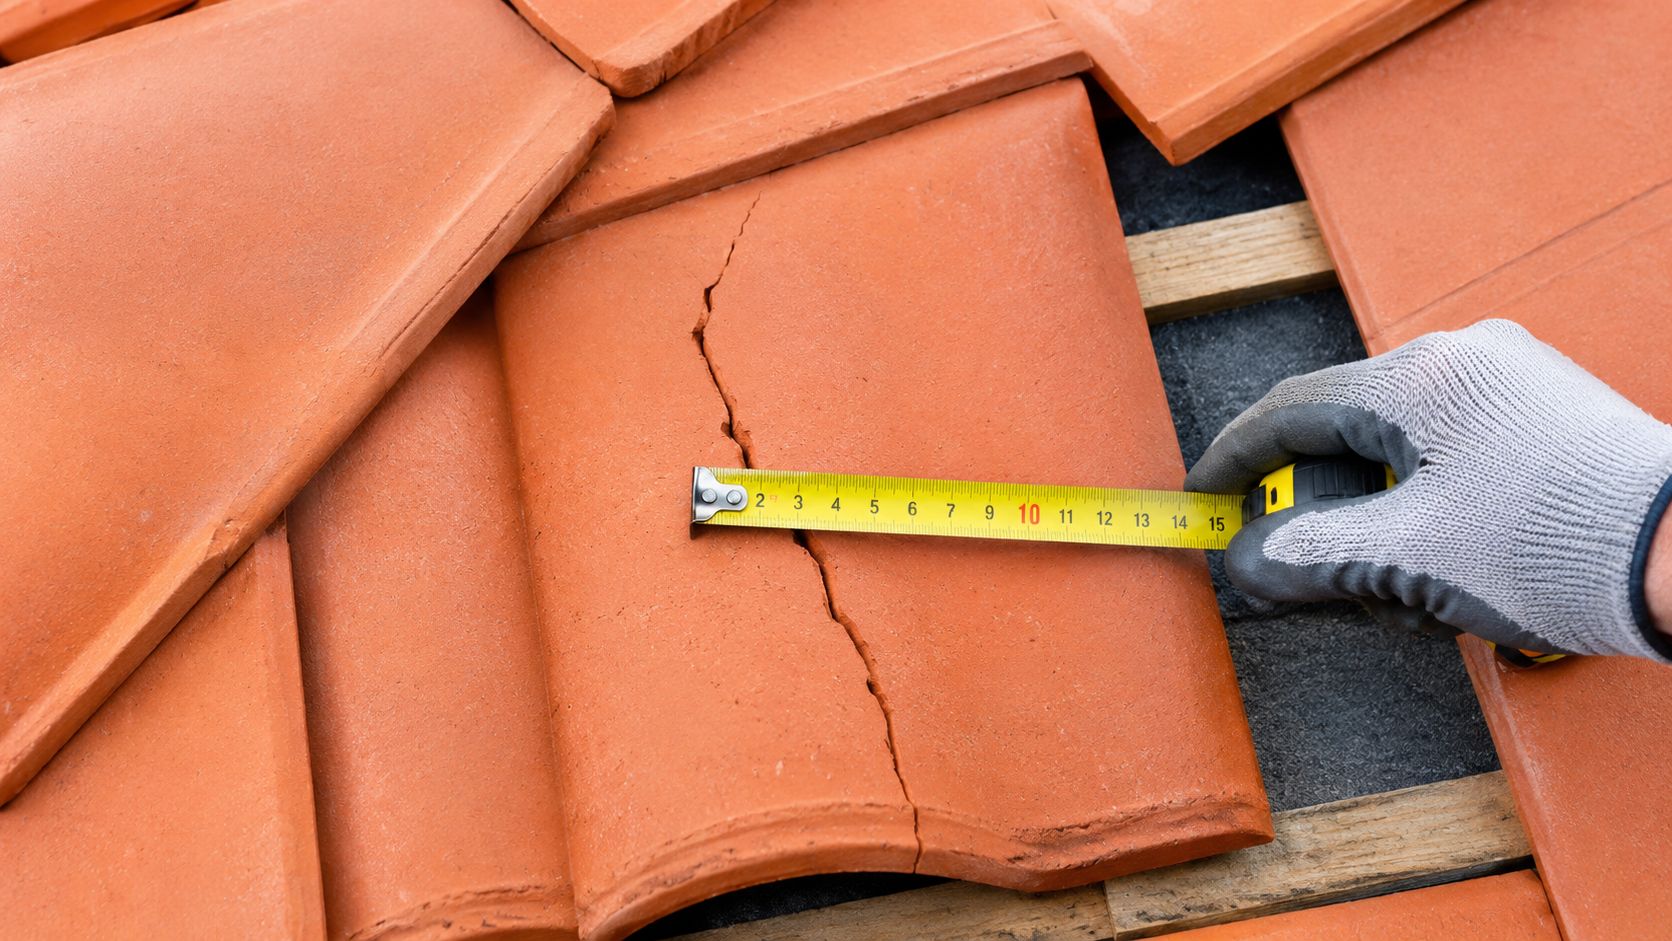
- A crack across the face is usually more serious than one riding the outer edge.
- A tile that has shifted out of plane is more urgent than one that's cracked but still seated tight.
- A lower edge that's crumbled or chipped away won't shed water the same way anymore.
Measure the visible crack and study where it runs. Then press gently around nearby tiles. Sound pieces tend to feel solid. Damaged ones often move slightly or give off a duller response under light tapping.
Lift enough to inspect, not enough to cause more damage
Use shims to lift the two courses above the damaged tile. That exposes the head-lap area and lets you see whether water has been tracking below the break. Many homeowners get their real answer.
Check for these signs:
- Staining on felt or underlayment
- Soft or darkened battens
- Rusted or loosened fasteners
- Cracked flashing near chimneys, valleys, or sidewalls
The hidden-damage question matters because field guidance on tile repair stresses checking the underlayment, battens, and surrounding units after you lift the broken piece, not just treating the visible crack as the whole problem (field repair guidance on hidden damage).
If the underlayment is dry and the batten is firm, the job may stay small. If the felt is stained or the wood is soft, the crack has been active longer than it looks.
Turn what you find into a repair decision
Use your findings to sort the repair into one of two buckets:
| What you find | What it usually means |
|---|---|
| Clean break, dry substrate, sound neighboring tiles | Localized repair is often reasonable |
| Water marks below, brittle underlayment, soft batten, rusted fastening | The scope has expanded beyond one tile |
This is the step that saves homeowners from repeating the same repair twice.
Patch the Crack or Replace the Tile
Homeowners often ask the wrong question here. They ask which option is cheaper. The better question is which option leaves the roof less vulnerable next time it rains.
Sealant has a place, but it isn't a cure-all. Current field guidance treats sealing as a temporary fix that makes sense only when the tile is otherwise stable, intact, and properly seated (seal or replace guidance). If the tile is failing structurally, replacement wins.
Patch vs Replacement Decision Matrix
| Condition | Patch It | Replace It |
|---|---|---|
| Fine hairline crack on a tile that is still seated flat | Yes | No |
| Crack runs across most or all of the tile face | No | Yes |
| Tile has broken into multiple loose pieces | No | Yes |
| Edge chip is minor but the rest of the tile is stable | Sometimes | Sometimes |
| Lower exposed edge has crumbled away | No | Yes |
| Tile surface is dusty, porous, or shedding material | No | Yes |
| Surrounding courses are intact and dry underneath | Sometimes | Sometimes |
| Adjacent tiles are cracked or shifting too | No | Yes |
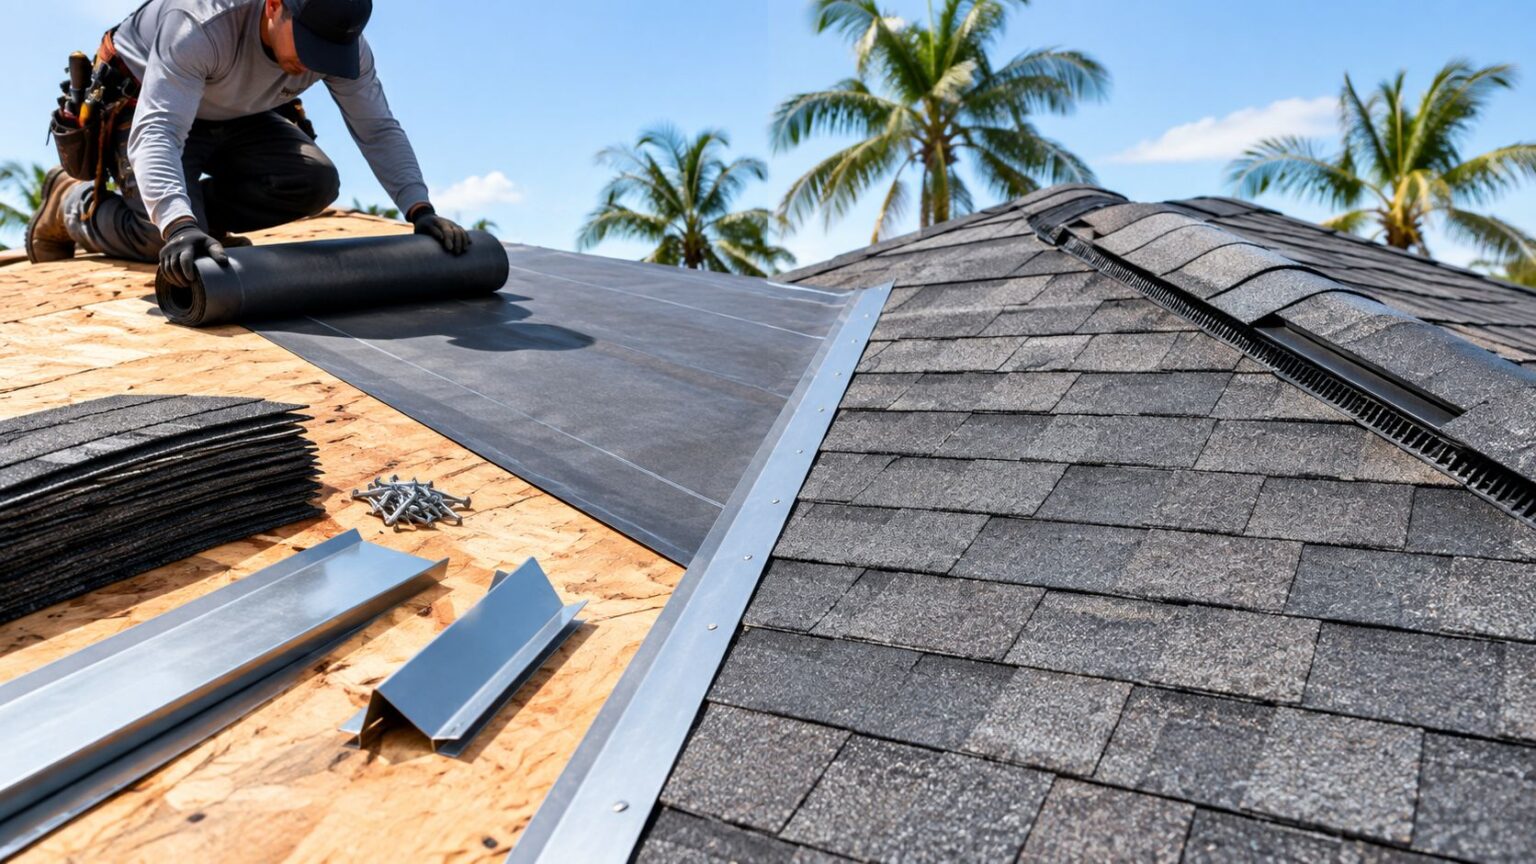
A broader roof replacement process visual can also help if your inspection suggests this isn't just one-tile damage.
What tends to hold up better
Concrete tiles often tolerate a minor patch better than terracotta when the crack is slight and the tile body is still sound. Clay and terracotta can move differently with temperature swings, so a patched crack there stays a weak spot.
A patched tile also remains vulnerable under foot traffic. If someone steps on that repair later, it may fail even if the sealant bond looked good at first.
Replacement protects the underlayer better than a patch when the tile has lost its shape, strength, or seating.
Use patching for weatherproofing, not wishful thinking
Patch when the crack is small, stable, and dry. Replace when the tile is broken, porous, displaced, or telling you the roof has been moving. That's the split.
Replacing a Cracked Tile Step by Step
When a tile needs to come out, the safest repair is a controlled removal and swap, not brute force. Most breakage during DIY repair happens because the person tries to lever the damaged tile upward against the tile above it.
The removal sequence that avoids collateral damage
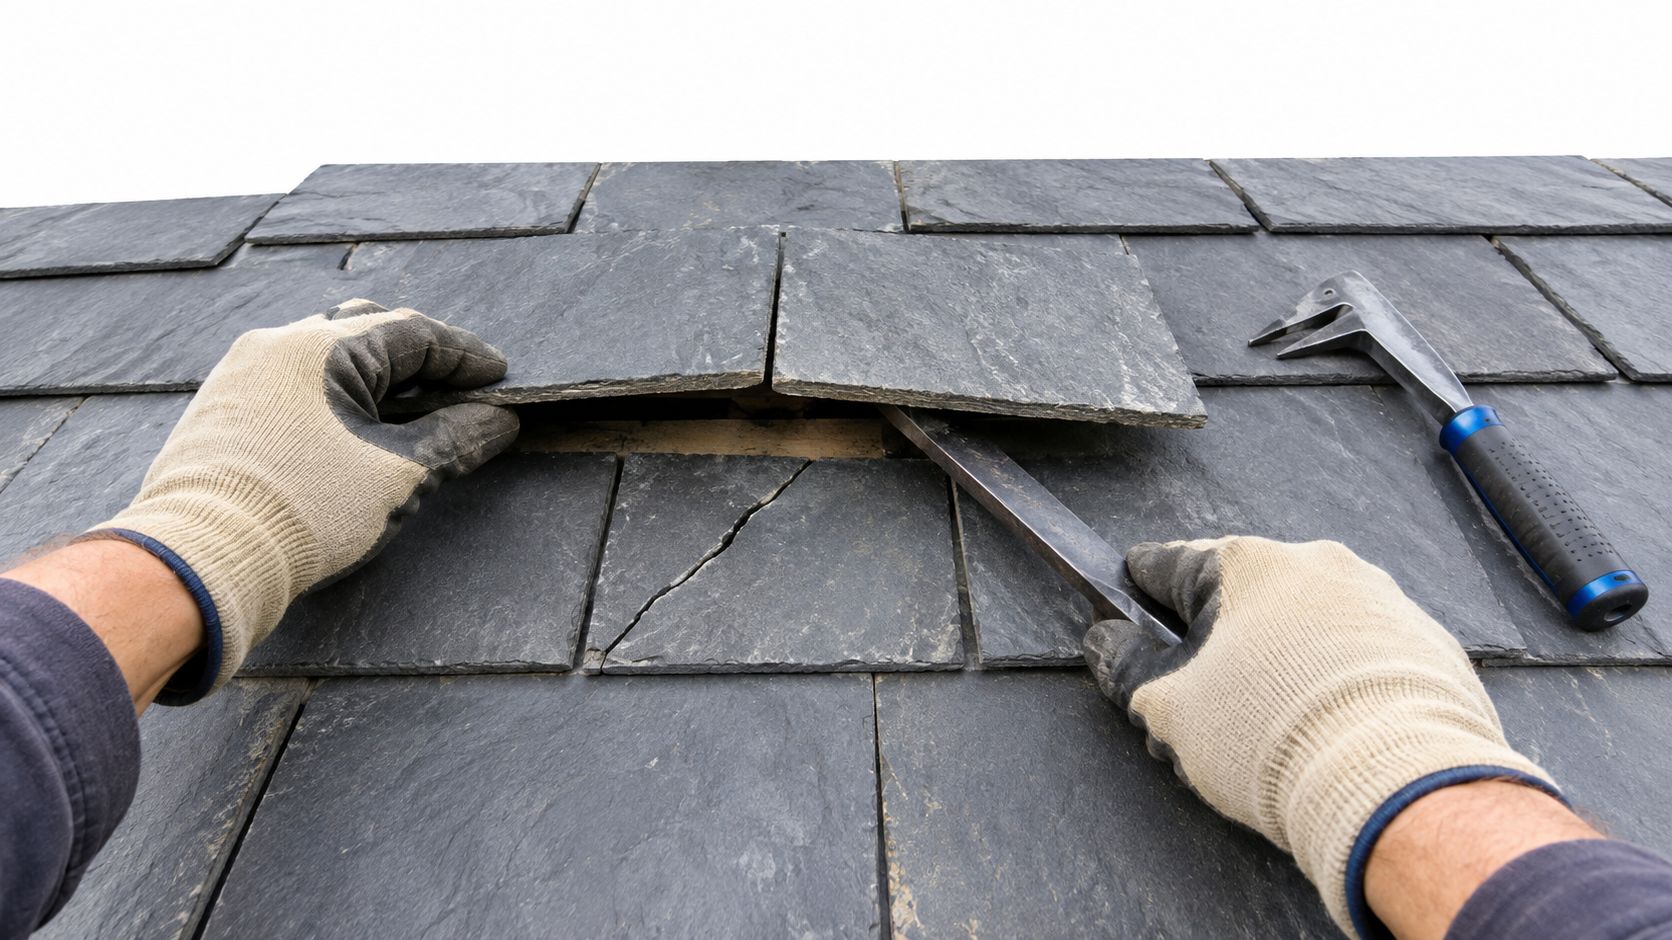
For isolated clay or concrete tile repairs, a common field method is to lift the two courses above the damaged tile with shims or wedges, release the fastener or clip, slide out the broken tile, and install a matching replacement so it seats flush on the batten. Trade guidance notes this is often a 15 to 30 minute task per tile once access is set up, with the replacement fixed by nail, clip, or a code-accepted polyurethane bed adhesive where nailing isn't possible (tile replacement field method).
Follow that order closely:
- Slide a flat pry bar or slate ripper under the overlapping tiles above.
- Insert wood wedges to lift the load off the broken piece.
- Release or cut the old fastener.
- If old mortar bedding is present, chip it out carefully with a hammer and chisel.
- Slide the damaged tile down and out, not up.
That last move matters. Pulling upward often cracks the piece above, and now a one-tile repair becomes two.
Before the new tile goes in
Clean the exposed area thoroughly. Remove fragments, dust, old adhesive, and loose mortar so the replacement sits flat. If you're dealing with stubborn residue from previous adhesive repairs, a general Canes Cleaners removal guide is a helpful reference for safe scraping habits and cleanup sequencing, even though roof materials need product-specific compatibility checks.
Then inspect what was hidden:
- Underlayment: no tears, punctures, or rot
- Batten: firm and dry
- Fastening point: not split or corroded
Set and secure the replacement correctly
Hook the replacement tile over the batten using the original nib or hanging point. Align the side laps with the neighboring tiles and match the original fastening method whenever possible. If the roof used clips, use clips again. If it used nails, nail it the same way. If access prevents nailing, use an approved polyurethane bed adhesive.
Finish by pulling the wedges and letting the upper courses settle back into place. Run your hand lightly across the exposed faces. You're checking for one thing only. The new tile should sit flush, not proud and not pinched.
Sealing a Hairline Crack the Right Way
A sealant repair only works when the prep is clean and the crack is minor. Most failed patches don't fail because the product was bad. They fail because dust, moisture, moss, or impatience got trapped under the repair.
Prep decides whether the patch lasts
Start dry. Brush the tile with a stiff brush until you've removed loose grit, growth, and surface dust. Then wipe the crack area clean so the sealant bonds to tile instead of contamination.
Mask both sides of the crack if you care about a neat finish. On visible front slopes, that makes a difference.
Fill the crack deeply, not just on the surface
The more reliable sequence for a partial crack is to dry-clean the tile, remove all dust and loose material, make sure the substrate is fully dry, force polyurethane or roofing sealant deep into the crack, and allow full cure before weather exposure. Repair guidance warns that poor cleaning and rushed cure time are the two most common failure points, and while skin-over may happen sooner, full cure commonly runs about 24 to 48 hours (sealant repair method and cure window).
Use a caulking gun with steady pressure and slightly overfill the crack. Then tool it smooth with a gloved finger or tooling stick.
- Don't skim-coat the top only. That leaves a hollow crack underneath.
- Don't patch a wet tile. Moisture ruins the bond.
- Don't walk on it early. Surface dry isn't full cure.
A sealed crack is weatherproofing. It is not structural restoration.
Know what this fix can and can't do
This method is for a stable tile with a fine crack, not a broken tile that has lost strength. If the tile has shifted, widened, or softened, replacement is the honest repair.
When a Cracked Tile Needs a Professional
You lift one cracked tile expecting a simple swap, then find torn felt, soft battens, or staining around the nail line. That is the point where the job stops being about one damaged tile and starts being about the roof system underneath it.
Tile roofs are repairable by design. Individual tiles can be replaced without tearing off the whole slope. The catch is that the tile is only the outer shell. If the crack came from movement, impact, or age in the layers below, replacing the visible piece only hides the failure for a while.
Stop and call for help in these cases
Some conditions change the job fast:
- Several tiles are cracked in the same area: that often means impact damage, foot traffic breakage, deck movement, or failing support below.
- The underlayment looks brittle, torn, or slipped: the tile may not be the part letting water in.
- The crack showed up after a storm or falling branch: broken corners and punctures are easy to miss from above.
- You already have ceiling marks or damp insulation: the leak path may be traveling well beyond the cracked tile.
- The tile sits near a valley, chimney, skylight, vent, or ridge detail: these areas depend on flashing and overlap details that need a trained eye.
That broader view matters more on older roofs. A tile roof lifespan image reference makes the point well. Roofs do not wear out evenly, and the hidden water-shedding layers often age differently from the tile surface.

The hidden layers decide whether DIY still makes sense
A homeowner can replace a single cracked tile on a sound roof. I would not say the same when the tile comes off and the paper below crumbles in your hand, the fasteners are backing out, or the battens have gone soft. At that stage, the repair needs diagnosis before it needs sealant or a new tile.
Access matters too. Steep pitch, brittle field tiles, high eaves, and weak anchor options turn a small repair into a fall hazard. On some homes, causing more breakage while trying to reach one crack costs more than bringing in a roofer with the right setup.
Warranty is another practical reason to stop. Self-performed work can create disputes if the roof still has installer or manufacturer coverage.
Good judgment on a tile roof starts below the surface, not at the crack line.
If you're not sure whether you have an isolated broken tile or a problem in the layers beneath it, Paletz Roofing and Inspections handles tile roof repairs, inspections, and leak diagnosis across South Florida. Visit Paletz Roofing and Inspections to schedule an inspection and confirm what is happening under the tile before the next storm finds the same weak spot again.