It’s a scenario no Miami homeowner wants to face: the storm has passed, the sun is out, but now there’s a new water stain spreading across your ceiling. If you've found yourself in this situation, you’re not alone. A roof leaking after rain in Miami is an all-too-common problem, and it’s a direct consequence of our relentless tropical climate.
Understanding the Causes of Your Miami Roof Leak
The intense sun, torrential downpours, and constant humidity create a perfect storm for roof degradation. These elements work together, wearing down materials over time and leading to leaks that can seem to appear out of nowhere after a heavy rain.
This isn't just a case of bad luck; it’s the result of our unique environment putting an incredible strain on your home’s first line of defense. Miami's weather throws everything it has at our roofs, with an average annual rainfall of about 60 inches—most of it dumped between May and October. Add in the high humidity and intense UV radiation, and you can see why roofs here deteriorate much faster.
You can learn more about how local climate affects roofing from the perspective of roofing specialists in Miami, but this constant assault is precisely why a roof leaking after rain is such a frequent headache for homeowners.
The Main Culprits Behind Miami Leaks
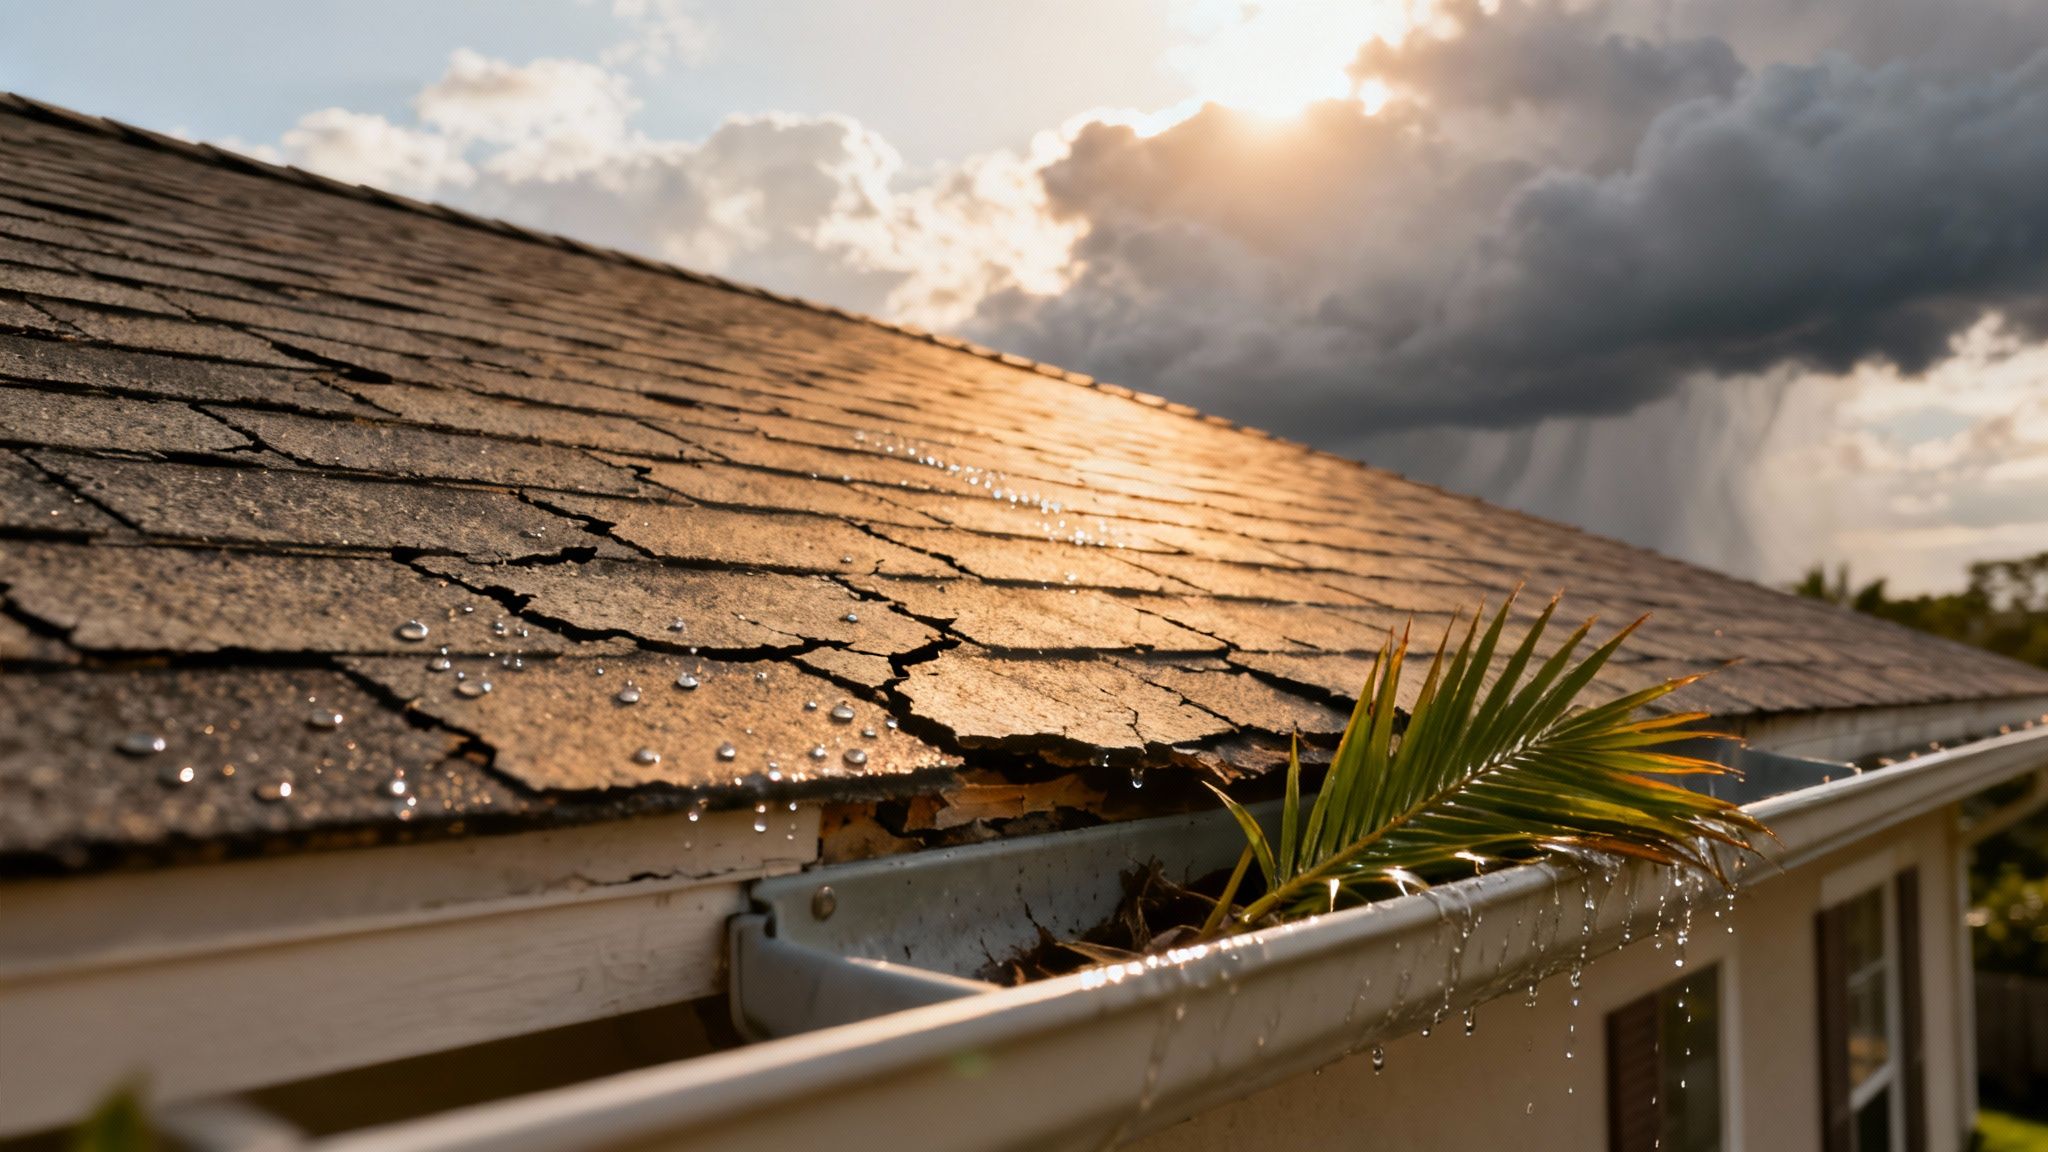
The relentless Florida sun is a prime offender. It bakes roofing materials day in and day out, causing shingles to become brittle and crack. Metal flashing—the thin strips that protect vulnerable spots like vents, chimneys, and skylights—also takes a beating. It expands and contracts dramatically in the heat, and over time, that movement breaks the waterproof seals, creating perfect entry points for rainwater.
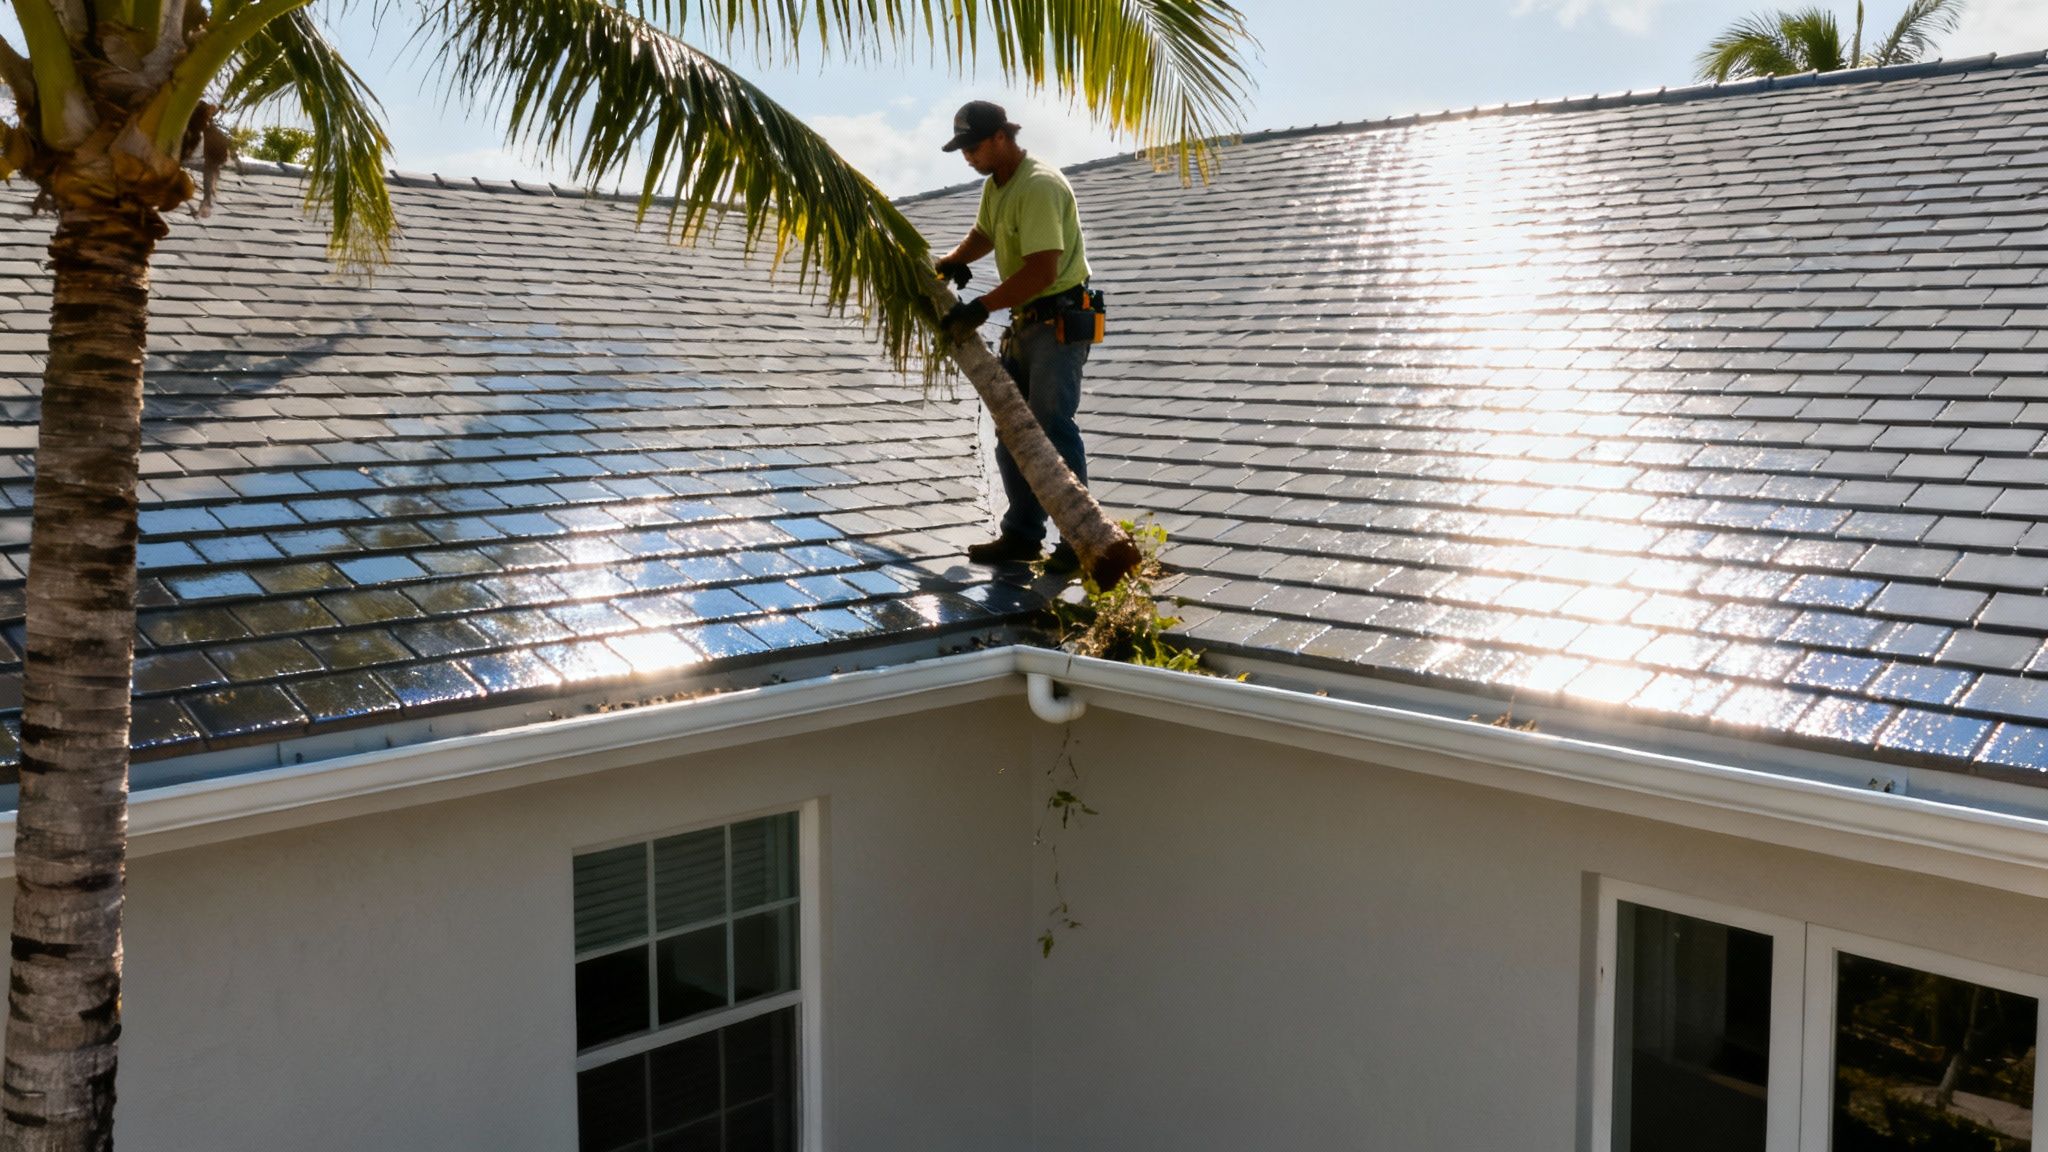
Then there’s the sheer volume of our rainfall. Miami’s downpours can easily overwhelm gutter systems, especially when they get clogged with palm fronds and other debris. When that water can’t drain, it pools and backs up under your shingles or tiles, inevitably finding a way into your home.
A leak often starts small. That minor water spot on your ceiling can be a sign of a much larger, hidden problem with the underlying roof deck or insulation. Ignoring it allows moisture to spread, creating a serious risk of mold growth and structural damage.
To get a handle on that leak, you first need to pinpoint the cause. Before you climb a ladder, it helps to know the most common weak spots specific to homes in our area.
Here's a quick rundown of the usual suspects we see causing leaks in South Florida. Understanding these common points of failure can help you zero in on the problem faster.
Common Leak Culprits in Miami Homes
| Leak Source | Primary Cause in Miami | What to Look For |
|---|---|---|
| Damaged Shingles/Tiles | Intense sun exposure makes them brittle; high winds lift or break them. | Cracked, curled, or completely missing pieces of roofing material. |
| Failed Flashing | Constant expansion and contraction from heat breaks down sealant. | Cracked caulk, rusted metal, or bent/lifted flashing around vents & chimneys. |
| Clogged Gutters | Tropical storm debris (palm fronds, leaves) blocks drainage systems. | Water overflowing from gutters during rain; visible debris from the ground. |
| Compromised Valleys | Debris collects in the channels where roof planes meet, causing water to back up. | Piles of leaves or dirt in the "V" sections of your roof; water stains below. |
Knowing where to look is the first step. For many homeowners, the problem is often found in one of these four areas. Once you have an idea of the source, you can figure out the best way to tackle the repair.
How to Pinpoint the Source of a Roof Leak
Tracking down the source of a roof leak can feel like a maddening chase. The water stain blooming on your ceiling almost never lines up with the actual hole in your roof. Water is sneaky; it can travel down rafters and along beams before it finally decides to drip, making the real entry point surprisingly tough to find.
Your investigation should always begin in the attic, but let's be clear: safety comes first. Never, ever go into an attic during a storm or if you suspect any water has reached your home's electrical systems. Wait until things are safe, grab a high-powered flashlight, and put on gloves and a mask—insulation is no fun to breathe or touch.
Starting Your Search in the Attic
Once you're safely up there, your mission is to find any evidence of water intrusion. Don't just focus on the area directly above the ceiling stain. Instead, you need to trace the path upward, toward the peak of your roof.
Scan the underside of the roof deck and the rafters for these tell-tale signs:
- Dark Water Stains: Look for discoloration on the wood sheathing or beams. These often appear as long, thin tracks where water has trickled down.
- Damp or Compressed Insulation: Wet insulation is a dead giveaway. It’ll look darker and feel clumpy and heavy compared to the dry, fluffy stuff surrounding it.
- Daylight Peeking Through: On a sunny day, try turning off your flashlight. See any tiny pinpricks of light shining through the roof deck? Each one is a potential entry point for rain.
Remember, water always flows downhill. When you find a wet spot, you have to follow that trail up toward the roof's peak to find where the water first got in. It's almost always higher than you think.
Inspecting from the Ground
If you can't get into your attic safely or you come up empty-handed, the next logical step is a thorough visual inspection from the ground. This is far safer than climbing onto the roof yourself, and all you really need is a decent pair of binoculars.
Do a slow walk around the perimeter of your house and carefully scan every inch of your roof. Pay extra attention to the spots where different materials meet—these intersections are common failure points. You’re looking for things like lifted tile edges or cracked flashing, which are open invitations for water.
Keep an eye out for these specific red flags:
- Penetrations: Check around anything that pokes through your roof—think plumbing vents, exhaust fans, or your chimney. The sealant or rubber "boot" around these things can easily crack and degrade under the intense Miami sun.
- Flashing: Take a close look at the metal flashing in the roof valleys and around the base of the chimney. Are there signs of rust, cracks in the sealant, or sections that look bent or lifted away from the roof?
- Shingles or Tiles: Scan for any shingles that are obviously cracked, have curled edges, or are missing altogether. On a tile roof, look for any tiles that have shifted out of place or have visible cracks.
If the leak's origin is still playing hard to get, or if it's in a spot that's just too difficult to access, it might be time to bring in the pros. Consider consulting professional residential leak detection services. These specialists use specialized tools to pinpoint hidden moisture without tearing your roof apart.
Immediate Steps to Minimize Water Damage
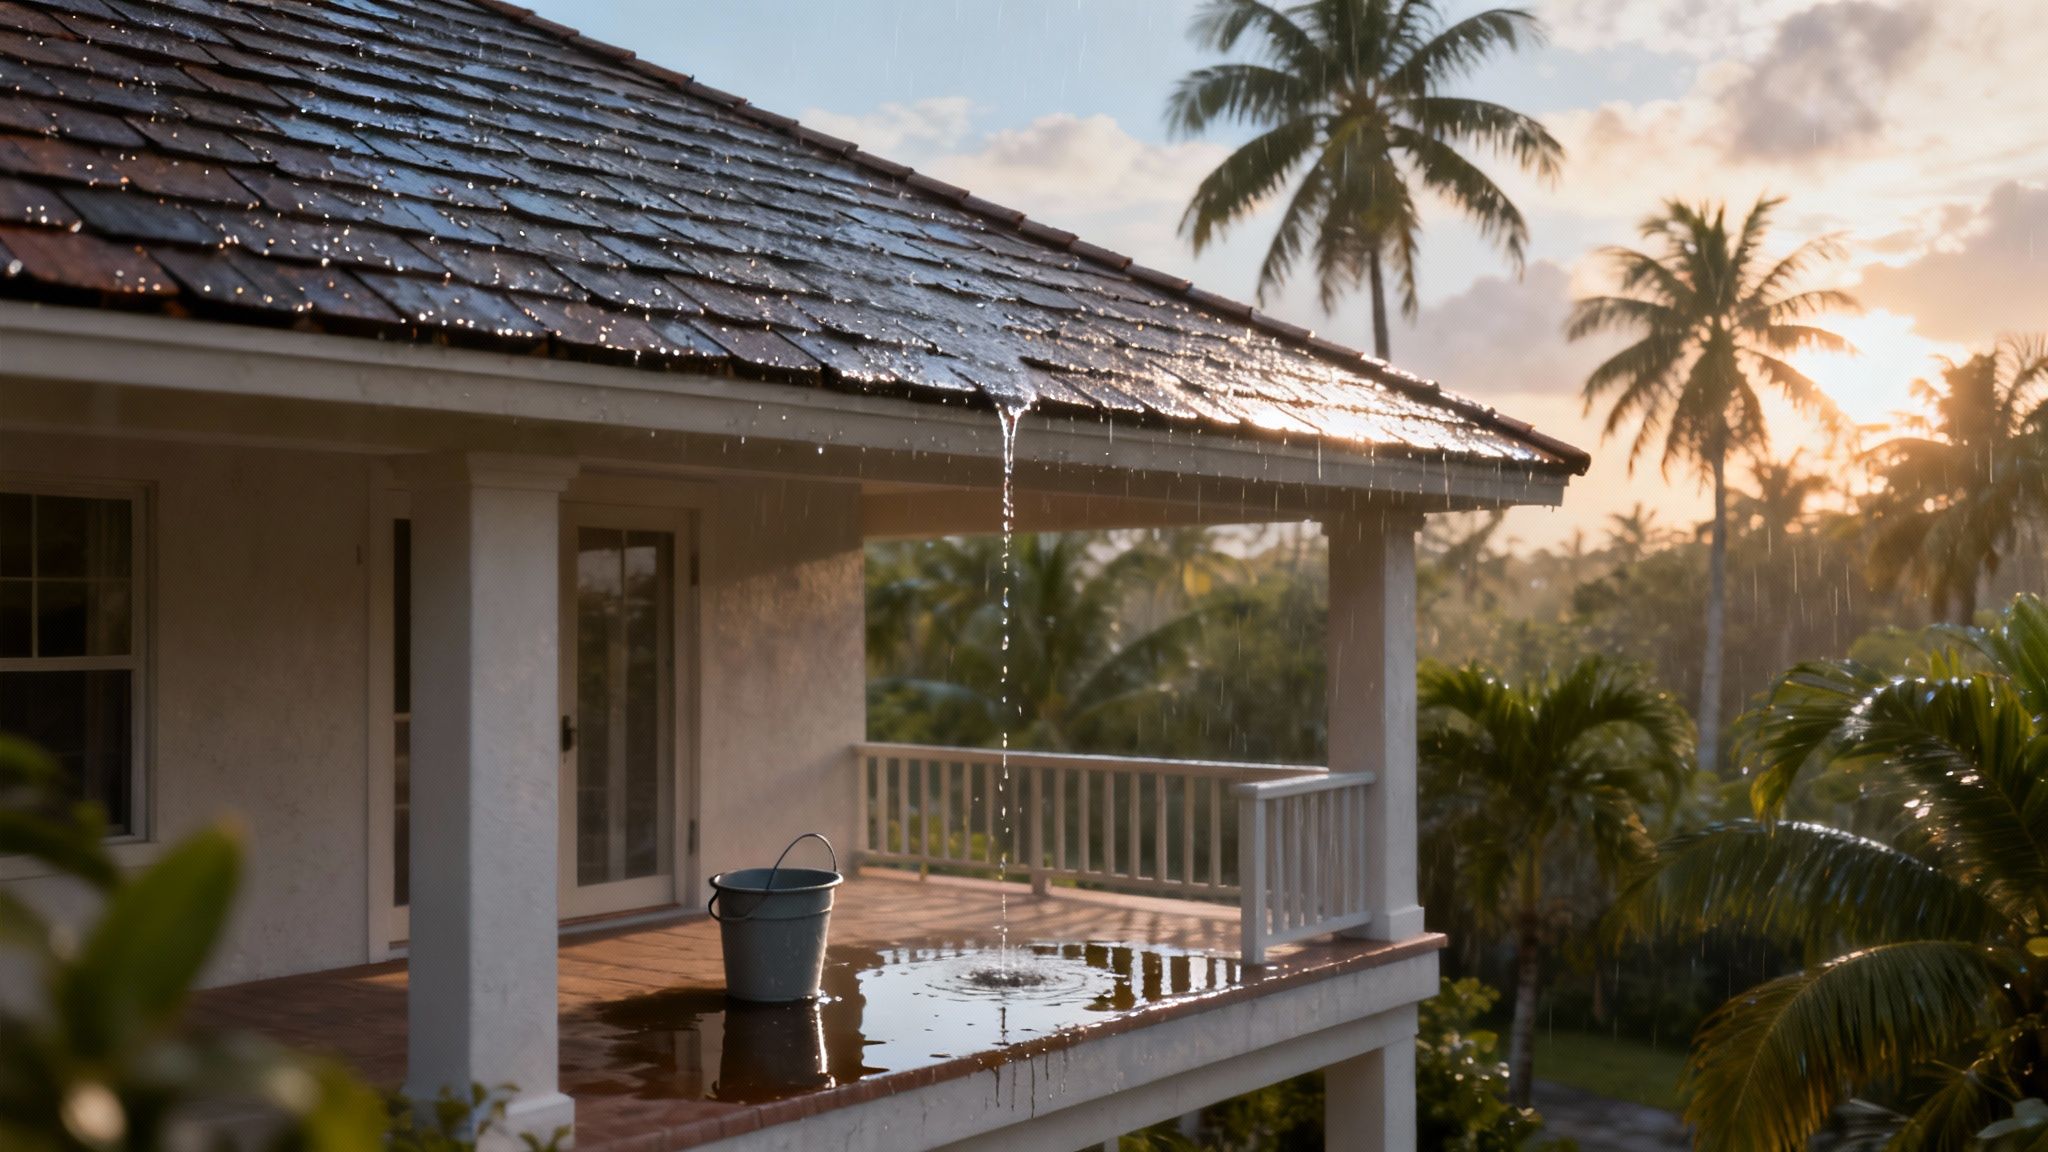
When you find a leak during a Miami downpour, the first few minutes are all about damage control. Forget finding the source for a second—your only job is to stop the water from wrecking your ceiling, walls, and belongings. Every second you save is a dollar you save on interior repairs later.
The first move is simple: grab a bucket. Place it directly under the drip to catch the water. Here’s a pro tip I’ve shared with countless homeowners: put an old towel or a sponge in the bottom of the bucket. It stops that maddening drip… drip… drip… sound and, more importantly, prevents water from splashing all over your floors.
Now, if you see a bulge forming on your ceiling, do not ignore it. That’s not just a small leak; it's a sign that a massive amount of water is trapped, and the drywall is about to give way. A ceiling collapse is messy, dangerous, and a whole lot more expensive to fix than a simple leak.
Relieving Ceiling Pressure Safely
You can prevent a catastrophic collapse with a controlled release. It sounds scary, but it's a simple process.
First, get your bucket and some towels lined up directly under the lowest point of the bulge. Then, take a small pin or a nail and carefully poke a tiny hole right in the center of the bulge. This gives the trapped water a safe path to drain into your bucket, preventing the ceiling from tearing open under the pressure. Trust me, patching a pinhole is infinitely easier than repairing a giant hole left by a collapsed ceiling.
With the drip contained, it's time to play defense. Move furniture, electronics, artwork—anything valuable—out of the affected area. Water can spread surprisingly fast, so create a wider safety zone than you think you need. If you’ve got heavy furniture that’s impossible to move, cover it completely with thick plastic sheeting.
This flow chart gives a good overview of how we track down leaks, a process that almost always starts from inside the house.
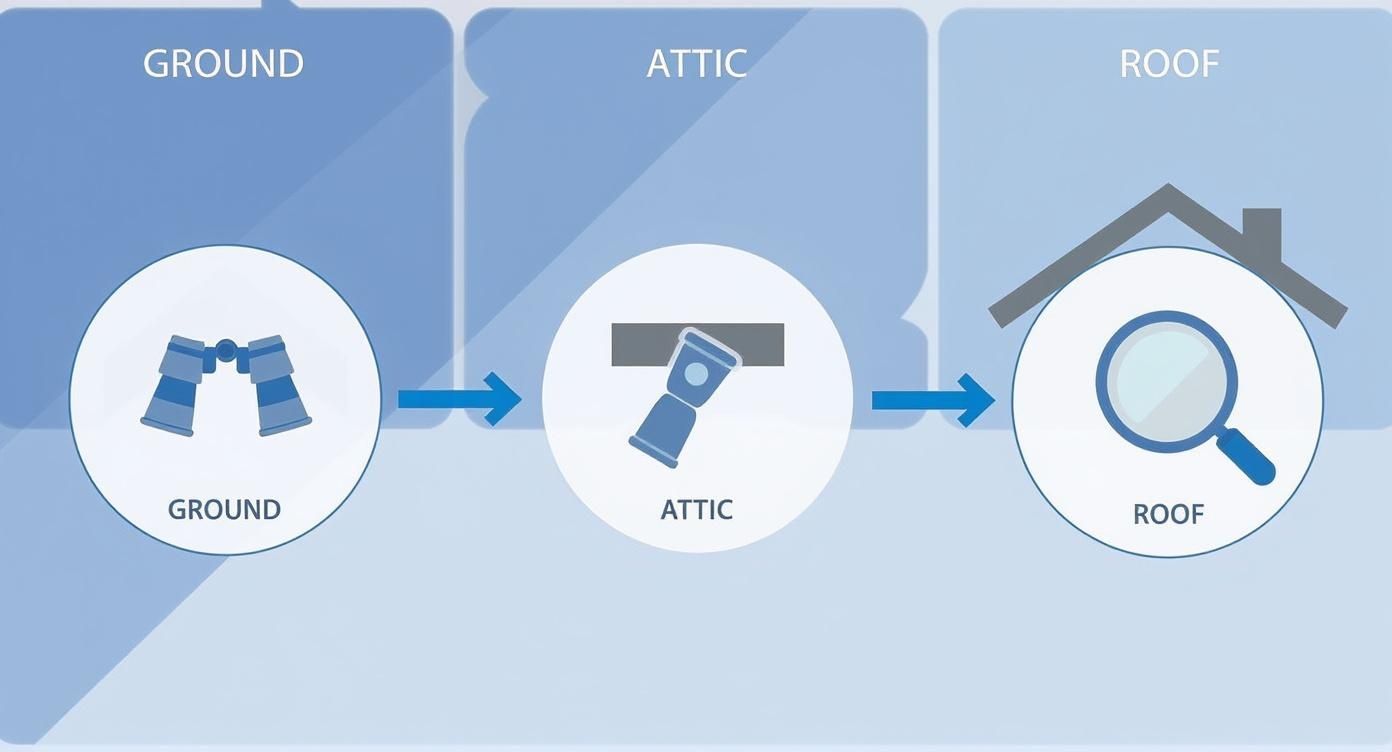
As you can see, a proper investigation starts from the ground, moves to the attic, and finishes on the roof itself.
Considering a Temporary Fix
If you can get into your attic safely, you might be able to apply a temporary patch from the inside until the storm lets up. I only recommend this if you're comfortable and know you can move around without stepping through the ceiling drywall. Safety first, always.
A classic emergency fix is to apply roofing cement or a heavy-duty sealant directly to the underside of the roof deck where you see the water coming in. It’s not a permanent solution by any means, but it can often plug the hole and slow the leak enough to get you through the worst of the weather.
After you've handled the immediate crisis, your next step is to call in a professional. Snapping a quick photo of the damage, like this image showing water stains, can be really helpful when you're on the phone describing the situation. These triage steps won't fix the root cause of your roof leaking after rain in Miami, but they are absolutely critical for protecting your home and keeping a small problem from turning into a full-blown disaster.
Once you've managed the immediate chaos of a roof leak, you're hit with a critical decision: Do you try to fix it yourself, or is it time to call in a professional roofer?
The urge to save some cash by going the DIY route is understandable. But a botched roof repair can—and often does—spiral into a much bigger, more expensive disaster. The right call really boils down to the complexity of the leak and your own skillset.
For some very specific, minor problems, a DIY approach can work. Let's say you've got a single cracked asphalt shingle on a low-slope roof that's safe and easy to get to. Replacing it yourself could be a perfectly reasonable weekend project. The same goes for reapplying some sealant around a small vent boot you can reach without climbing a massive ladder.
But the risks of getting it wrong are huge. An improperly nailed shingle, for instance, can act like a tiny funnel, directing rainwater underneath the surrounding shingles. Suddenly, you've created a brand new, hidden leak. This is a classic scenario when dealing with a roof leaking after rain in Miami, where a quick fix often just papers over the real problem.
Red Flags That Demand a Professional
Some situations should immediately take the DIY option off the table. These are the clear signs that your leak is more serious than it looks and needs the eyes and hands of a licensed, insured professional.
Here are the warning signs you just can't afford to ignore:
- Leaks in Multiple Spots: If you're seeing water stains in the living room and the kitchen, you're likely dealing with a systemic failure, not just one bad spot.
- A Spongy Roof Deck: Up in the attic, if you press on the wood sheathing and it feels soft, bouncy, or damp, that's a huge red flag. You're looking at water-damaged, rotting wood that needs structural repair.
- Complex Roof Areas: Leaks that show up in roof valleys, around chimneys, or near skylights are notoriously tricky. These areas depend on precise flashing work, and getting it wrong is a recipe for disaster.
- Warranty Worries: Did you know that most roofing material warranties are instantly voided by improper repairs? A professional fix keeps your valuable warranty intact.
The biggest danger of a DIY repair isn't just that it might not work; it's that it can cause even more widespread damage. Trying to walk on a tile roof without knowing how, for example, can easily crack a dozen tiles, turning a tiny leak into a massive problem.
It's a tough pill to swallow, but deciding between a DIY fix and hiring a pro often comes down to the specific damage you're seeing.
Should You DIY or Hire a Pro?
| Scenario | DIY Feasibility | When to Call a Professional |
|---|---|---|
| A single cracked shingle | High. If the roof is low-pitched and easily accessible, this is a manageable task for a handy homeowner. | If the shingle is on a steep roof, part of a complex pattern, or if you find underlying damage. |
| Loose flashing around a vent | Medium. Applying new sealant is possible, but it must be done meticulously with the right materials. | If the flashing itself is bent, rusted, or detached. This requires shaping and installing new metal. |
| Leaks in a roof valley | Low. Valleys channel huge amounts of water and require expert flashing and weaving techniques. A DIY fix here is extremely risky. | Immediately. Valley leaks are a job for an experienced roofer, no exceptions. |
| Soft or spongy roof deck | None. This indicates rot and structural damage that goes far beyond a simple patch. | Without hesitation. Structural repairs are required to ensure the safety and integrity of your home. |
| Multiple leak spots | None. This points to a widespread, systemic failure of the roofing system, not an isolated issue. | Immediately. This requires a full diagnostic inspection to find all points of failure and create a real solution. |
Ultimately, while small, isolated issues might seem like a quick DIY win, anything involving structural integrity, complex roof lines, or multiple points of failure demands a professional.
Navigating Miami-Dade Building Codes
Beyond just making the repair, you've got to think about the local rules. Miami-Dade County has some of the toughest building codes in the country, and for good reason—hurricanes.
Any repair that goes beyond a small patch-up job will likely require a permit and must follow very strict installation standards. A professional roofer knows these codes inside and out. They ensure your repair is fully compliant, which is non-negotiable for your family's safety and your home's future resale value. To get a better sense of what a thorough evaluation entails, you can see what's covered in a professional roofing inspection process.
Here's an interesting tidbit: data from the 2023 American Housing Survey shows that while Miami's weather is brutal, our roofs are in better shape than in many other major cities. Miami had a composite roofing condition score of 7.1 (lower is better), which is a huge improvement over places like Detroit (14.2) or Los Angeles (13.9). You can dive into more roofing conditions across the country if you're curious.
This suggests that our strict building codes and high professional standards are actually working. At the end of the day, hiring a pro isn't just paying for a repair; it's an investment in getting the job done right the first time.
A Proactive Plan to Prevent Future Roof Leaks
Once you've dealt with the mess and stress of a roof leak, you want to make sure it never happens again. The best repair, as they say, is the one you never have to make. A proactive maintenance plan isn't just a good idea—it's your single best defense against future water intrusion, especially here in Miami.
This isn't about scrambling onto your roof every other weekend. It's about smart, scheduled checks that catch the small stuff before it turns into a catastrophe.
Here in South Florida, that means syncing your roof maintenance with hurricane season. I always recommend a professional inspection twice a year: once in late spring before the season ramps up, and again in the late fall after the threat has passed.
This schedule gives a pro the chance to spot vulnerabilities before they’re put to the test by 100+ mph winds and sideways rain. Trust me, finding and fixing a loose tile or a cracked seal in May is a whole lot cheaper—and less stressful—than discovering it during a Category 2 storm in August.
Creating Your Maintenance Checklist
A solid maintenance plan zeroes in on the most common failure points we see in our climate. Think of it as an annual physical for your roof. Each one of these checks is simple, but they are all critical for preventing a roof leaking after rain in Miami.
Your routine should always include these key areas:
- Gutter and Downspout Cleaning: Palm fronds, mango leaves, and those little helicopter seeds can clog up a drainage system in no time. When water can’t flow out, it backs up and flows in—right under your roofing material. This needs to be checked quarterly, and always after a big storm.
- Sealant and Flashing Inspection: The intense UV radiation in Miami absolutely bakes the seals around vents, skylights, and chimneys. Over time, they crack and peel. Get your eyes on them and look for any signs of degradation. These spots are the number one entry point for water on an otherwise healthy roof.
- Strategic Tree Trimming: Overhanging limbs are a double threat. First, they drop leaves straight into your gutters. Second, they can scrape against your roof during high winds, damaging shingles or tiles. Even worse, a heavy limb can snap in a storm, causing the kind of structural damage you don't even want to think about.
A proactive approach shifts your mindset from reactive repair to preventative care. It’s the difference between controlling your roof’s destiny and letting Miami’s weather dictate the terms. Investing a small amount in maintenance now saves you from a massive, unexpected expense later.
Choosing Materials Built for Miami
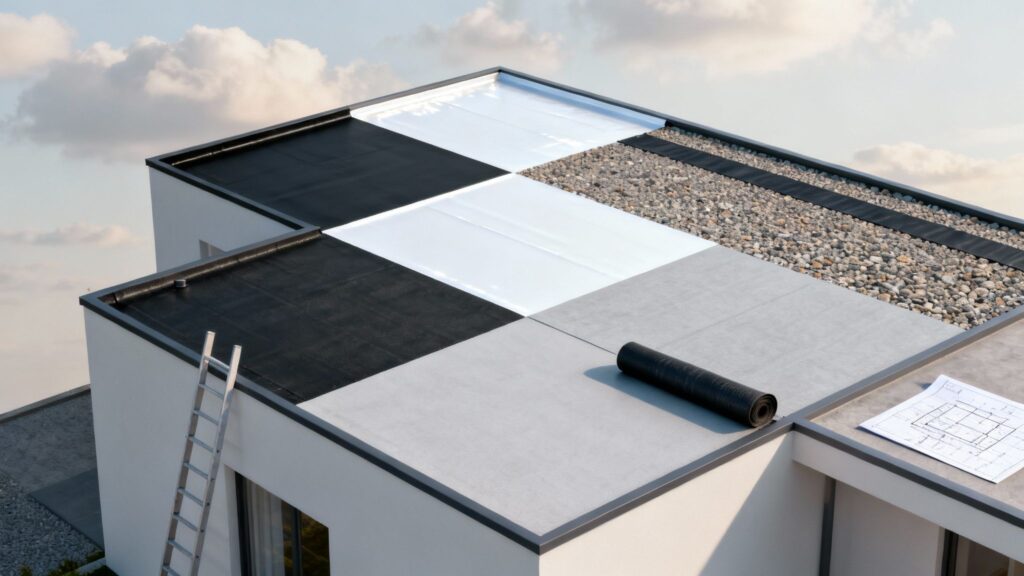
When it's time for a major repair or a full roof replacement, your choice of materials is going to play a huge role in preventing future headaches. Not all roofing is created equal, and that’s especially true when you're up against our climate.
Opting for materials specifically designed to handle high winds, intense sun, and torrential rain is one of the smartest long-term investments you can make for your home. You might consider options like impact-resistant tiles that can take a hit from flying debris, or a metal roofing system with a high wind uplift rating. Reflective coatings are another great choice; they lower the roof's surface temperature, which cuts down on the expansion and contraction that degrades seals over time.
A truly comprehensive plan also looks inside the home. Think about what happens if a leak does occur. Having durable, moisture-resistant materials for your flooring can make a world of difference, reducing the impact of any water intrusion and preventing secondary damage like mold. It’s worth your time to explore moisture-resistant flooring options to see what might work for your home. This integrated approach protects your property from the top down.
When your Miami home springs a leak after a storm, it's easy to feel overwhelmed. The questions start piling up almost as fast as the water in the bucket. I've been in this business for decades, and I've heard every question imaginable. Let's tackle some of the most common ones I hear from homeowners, giving you the straight answers you need to make smart decisions when things get stressful.
How Much Does It Cost to Repair a Roof Leak in Miami?
This is always the first question, and the honest answer is: it depends entirely on the scope of the problem. No two leaks are exactly alike.
A simple, minor fix can be relatively inexpensive. If it's just a matter of resealing the flashing around a plumbing vent that’s lost its seal, you might be looking at a cost somewhere between $300 and $700. That kind of repair is usually quick and doesn't require a lot of materials.
The price, however, can climb quickly if the leak has been a slow, sneaky problem for a while. If water has been seeping into the wood decking underneath your shingles or tiles and caused rot, the job becomes much more involved. A roofer can't just patch that. They have to tear off the surface material, cut out the soft, rotted wood, fit a new piece of decking, and then perfectly layer all the waterproofing materials before putting the shingles or tiles back. A job like that could easily run from $1,500 to $3,000, sometimes more.
The final cost is a direct reflection of two things: the source of the leak and the extent of the water damage. This is precisely why getting a detailed, written quote from a licensed Miami roofer isn't just a good idea—it's essential for understanding the true cost of the repair.
Will My Homeowners Insurance Cover a Leaking Roof?
This is a big one, and the answer isn't always straightforward. Homeowners insurance is generally designed to cover damage from sudden, accidental events. Think of it as protection from the unexpected. If a hurricane tears a section of shingles off your roof, or a healthy tree crashes through it during a storm, your policy will most likely cover the roof repair and the resulting interior damage.
On the other hand, insurance almost never covers leaks that are the result of old age, general wear and tear, or a clear lack of maintenance. If your roof is 25 years old and the shingles are just worn out and failing, your claim will almost certainly be denied. Insurance policies operate on the expectation that you, the homeowner, will keep your property maintained.
Your best move? Document everything with clear photos and call your insurance agent immediately to go over the specifics of your policy.
How Often Should I Inspect My Roof in Miami?
Given our wild South Florida climate, a proactive approach is your best defense. The brutal sun, constant humidity, and the yearly threat of hurricanes mean Miami roofs need a lot more attention than roofs in milder parts of the country. I always tell my clients that a professional inspection twice a year is one of the smartest investments they can make. It can literally save you thousands in the long run.
The ideal schedule is built around hurricane season:
- Spring Inspection (April/May): Get your roof checked before hurricane season officially kicks off on June 1st. This gives a professional a chance to spot and fix any vulnerabilities before they're put to the test by severe weather.
- Fall Inspection (November/December): A post-season checkup after November 30th is just as crucial. It helps find any subtle damage that might have happened during a storm, preventing a small issue from turning into a major leak over the winter.
Is It Safe to Put a Tarp on My Roof Myself?
While throwing a tarp over the leak is a great temporary fix to stop more water from getting in, attempting to do it yourself is incredibly dangerous. Getting up on a wet, slippery, and often steep roof—especially during or right after a storm—is a recipe for a serious fall.
I've seen too many accidents happen this way. This is a job that is almost always best left to an emergency roofing service. Professionals have the right safety gear, like harnesses and proper footwear, plus the experience to move around a treacherous roof and secure a tarp correctly without causing even more damage or getting hurt. Your personal safety is never worth the risk.
When you're facing a leak, you need a team you can trust to respond quickly and get the job done right. Paletz Roofing and Inspections has over 30 years of experience protecting South Florida homes. For a fast, reliable repair or a thorough inspection, visit our website or call us today.