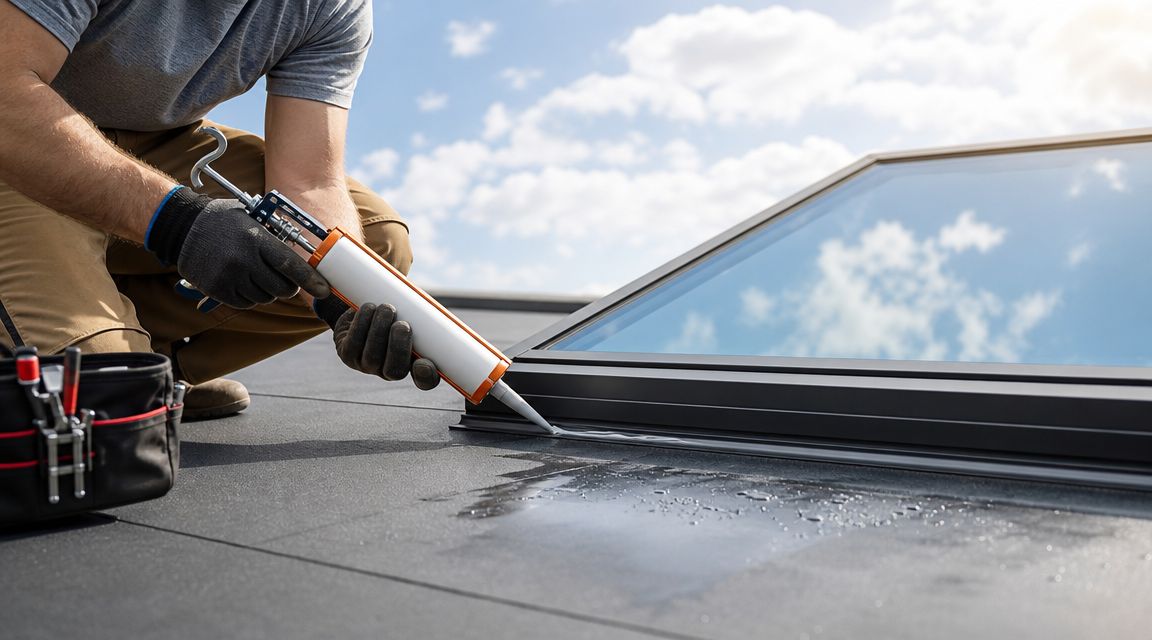
You hear the drip before you see it. A hard South Florida rain rolls across the roof, the room goes quiet between wind gusts, and then water lands on the drywall under the skylight. Most homeowners do the same thing first. They look up, grab a tube of caulk, and hope the leak is small enough to smear shut.
That approach fails all the time.
After three decades working roofs in South Florida, I can tell you a leaking skylight usually isn't a “put more sealant on it” problem. It's a diagnosis problem. Water may be coming in at the skylight frame, through failed sealant, around damaged flashing, or from the roof above the unit. In some cases, what looks like a leak isn't a roof leak at all. It's condensation. If you misread the symptom, you do the wrong repair and the leak keeps coming.
A skylight can absolutely be repaired. But the repair only holds when you match the fix to the failure. That's what this guide is built to help you do, safely and practically.
Table of Contents
- The Homeowners Guide to Stopping Skylight Leaks
- Pinpointing the True Source of Your Skylight Leak
- Essential Safety and Preparation for Roof Work
- Step-by-Step DIY Skylight Repair Solutions
- Recognizing When You Need a Professional Roofer
- Proactive Maintenance for a Leak-Free Skylight
- Frequently Asked Questions About Leaking Skylights
The Homeowners Guide to Stopping Skylight Leaks
A skylight leak almost never starts as a dramatic ceiling collapse. It starts small. A stain at the corner of the shaft. A little bubbling in the paint. A damp trim board after a storm. Then one day the weather lines up just right, usually with heavy wind-driven rain, and now you've got an active drip.
That's when homeowners get pushed into hurried decisions.
The practical move is to slow down for a minute. Water around a skylight can come from more than one path, and each path calls for a different repair. If the issue is minor edge sealant failure, cleaning and resealing may solve it. If the metal flashing is bent, rusted, loose, or was never integrated correctly with the roof, surface sealant won't do much for long. If moisture shows up in a different weather pattern, you may be looking at condensation instead of a roof opening.
Practical rule: Treat the skylight leak like an investigation, not a caulking job.
In South Florida, I pay extra attention to the conditions around the leak. Afternoon downpours, storm winds, UV exposure, roof age, debris buildup, and mixed roof assemblies all matter. A leak that only appears when rain drives sideways is a different animal than moisture that forms during cooler indoor-outdoor temperature swings.
Homeowners can handle some skylight repairs themselves, especially cleaning, inspection, and a careful reseal of an obvious failed joint. But nobody should guess on a roof opening. Guessing costs more than inspecting.
If you want to know how to repair a leaking skylight the right way, start by finding where the water is entering. That step saves time, materials, and a lot of drywall repairs later.
Pinpointing the True Source of Your Skylight Leak
The single biggest mistake in skylight repair is fixing the symptom you can see instead of the opening water is using. The stain on the ceiling isn't the entry point. It's just where gravity finally lets you know there's a problem.
One roofing reference puts it plainly: a leaking skylight should be treated as a diagnostic problem first. Leaks during rain often point to flashing or sealant issues, leaks in cold weather suggest condensation, and leaks between panes usually indicate a failed insulated glass seal. The same guidance notes that skylights over 15 years old are more likely to have component failures, while units under 5 years old that leak often point toward installation problems rather than simple wear, as explained in this skylight leak diagnosis guide.
Start with the leak pattern
Before you touch a tool, write down what the leak does.
Does it drip only during rain? Does it show up after long storms but not short ones? Does it appear only when wind pushes rain from one direction? Is there fogging or water trapped between panes? Is the drywall damp even when it hasn't rained?
Those details matter more than most homeowners think.
Use this quick checklist:
- Rain-only leak: Look first at flashing, exterior sealant joints, nearby shingles or roofing material, and drainage paths.
- Cold-weather moisture: Check for condensation, especially in bathrooms, kitchens, or rooms with poor ventilation.
- Moisture between glass panes: Suspect insulated glass seal failure.
- Leak in a relatively new skylight: Look hard at installation details, not just material wear.
- Stain wider than the skylight opening: Inspect the roof area uphill from the unit, not just the skylight perimeter.
Water can enter above the skylight, run along framing or underlayment, and show itself at the skylight opening later. That's why edge caulk often misses the real problem.
If interior finishes are already soaked, dry them as much as you can and protect the floor. If you need help understanding cleanup priorities after a leak has already affected ceilings, flooring, or insulation, this overview of Baltimore water damage help gives a useful breakdown of what water intrusion can affect inside a home.
Use a controlled water test
If the source isn't obvious, a hose test can help. Do it carefully and only when the roof is dry enough to walk safely.
Use a garden hose with low pressure. Don't blast the skylight. You're trying to reproduce rain, not pressure wash the roof. Start low and slow.
- Begin below the skylight. Wet the roofing area downhill from the unit first. Wait and watch inside.
- Move to the side flashings. Run water along one side at a time.
- Test the head flashing area last. That's the uphill side where a lot of hidden failures show up.
- Test the skylight frame and glass edge separately. That helps separate perimeter leakage from roof-system leakage.
- Have someone inside watching. The person indoors should note where moisture appears first.
If water enters only when you soak the uphill roof area, the skylight itself may be innocent. If the leak appears only when water runs directly over a failed edge joint, a reseal may be enough. If you see moisture trapped between panes, that's not a roof flashing problem. That's a glazing problem.
Skylight Leak Symptom Checker
| Symptom | Likely Cause | Recommended First Step |
|---|---|---|
| Drips only during rain | Flashing issue or failed exterior sealant | Inspect roof-to-skylight transitions and visible sealant joints |
| Moisture shows up in colder weather | Condensation | Check room ventilation and interior humidity conditions |
| Water or fog between panes | Failed insulated glass seal | Confirm whether the glass unit needs replacement |
| Leak on a newer skylight | Installation defect | Inspect flashing layout and attachment details |
| Stain extends beyond skylight trim | Roof problem above the unit | Trace the uphill roof area and test surrounding assembly |
Read the roof around the skylight
South Florida roofs tell the truth if you know where to look. Check for leaves packed behind the uphill side of the skylight, lifted roofing material, exposed fasteners nearby, cracked sealant that has pulled away, and metal flashing that doesn't sit flat. Wind-driven rain will exploit all of those weaknesses.
Look at the path water should take. It should move downhill cleanly, without getting trapped at a raised edge, blocked by debris, or pushed sideways into a gap. If the system doesn't shed water naturally, sealant won't fix the design problem.
A good diagnosis feels slower up front, but it makes the repair far more accurate. That's how you avoid doing the same job twice.
Essential Safety and Preparation for Roof Work
Roof work goes bad fast when homeowners rush it. A skylight repair isn't worth a fall, a heat injury, or a mistake made because you climbed up without what you needed.

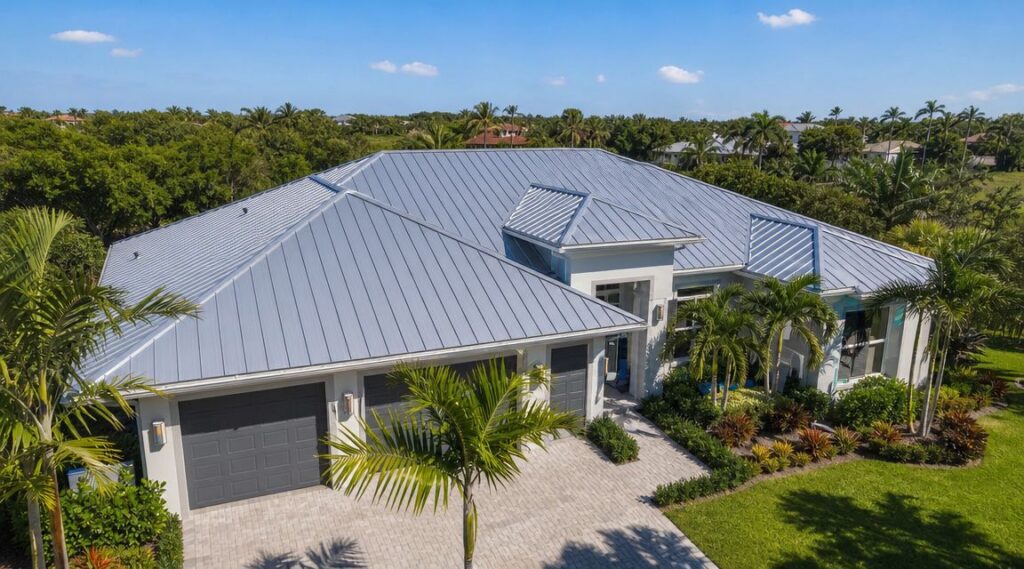
This kind of work starts before the ladder leaves the garage. If you want a visual reference for the type of access setup roofers use around inspection work, this roof access image example gives you the general idea. Stable access is the first decision, not an afterthought.
Choose the day carefully
In South Florida, weather can turn a manageable roof into a slick hazard in minutes. Work only on a clear, dry day with good visibility. If storms are building, wait. If the roof is still damp from overnight humidity or an earlier shower, wait longer.
Heat matters too. A hot roof can soften roofing materials, reduce traction, and wear you out faster than you expect. Start early. Drink water before you get thirsty. If the roof pitch is steep or the surface is dusty, brittle, or loose underfoot, that's a stop sign for most homeowners.
Safety check: If you don't feel steady carrying tools up and down the ladder with both hands controlled, you shouldn't be doing roof repair alone.
Set up tools before you climb
Nothing creates bad roof decisions like getting halfway through a repair and realizing you need one more tool. Lay everything out on the ground first.
A practical kit usually includes:
- Extension ladder: Set it on stable ground and secure it so it can't shift.
- Rubber-soled shoes: Good traction matters more than brand name.
- Work gloves and eye protection: Old sealant, grit, and metal edges are hard on hands and eyes.
- Utility knife and hook blade: Useful for controlled sealant removal and trimming.
- Plastic scraper or putty knife: Better than a metal blade when you want to avoid damaging finishes.
- Caulk gun: Use one with a smooth trigger so you can control the bead.
- Rags and cleaning supplies: A sealant joint only holds if the surface is clean and dry.
- Backer rod: Helpful for wider gaps rather than overfilling with sealant.
- Roof-safe sealant: Match the product to the skylight and roofing material. Don't grab random household silicone and hope for the best.
- Garden hose: For final low-pressure testing after the repair cures.
If someone is helping you, assign roles before climbing. One person on the roof, one person inside, one person steadying the ladder if needed. That simple coordination prevents a lot of scrambling.
Preparation doesn't make the work glamorous. It makes it survivable and cleaner. On roof repairs, that's what counts.
Step-by-Step DIY Skylight Repair Solutions
A homeowner can handle some skylight leaks, but only the simple ones. If you've traced the issue to a failed exterior seal at the skylight edge and the flashing looks sound, a careful reseal can work. If you're trying to fix bent metal, rotted decking, broken glass, or an installation defect with a caulk gun, you're in the wrong lane.

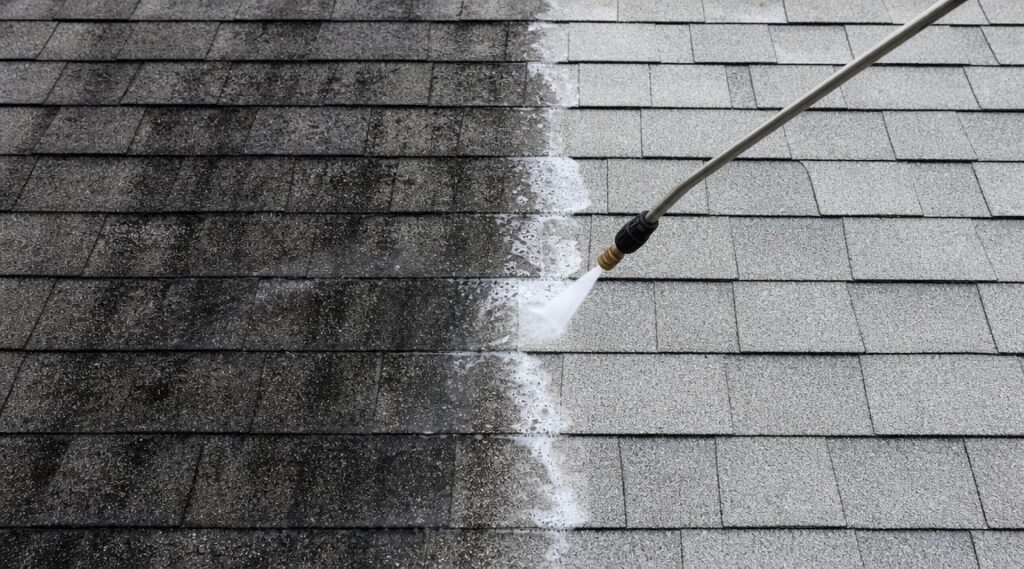
If you want a simple visual reference for what a hands-on skylight repair setup looks like, this skylight repair image example is a useful comparison point before you start.
When resealing makes sense
A durable skylight repair restores the roof-to-skylight water barrier. According to this resealing guidance from GE Sealants, a simple exterior seal may last only 6 to 24 months, while a proper repair involves removing old sealant, cleaning the surface, and applying a new continuous bead. The same source notes that modern skylights from major brands are often marketed with a 10-year leak-free guarantee and may last 20 to 30 years in service, which is exactly why sloppy patching doesn't make sense on an otherwise serviceable unit.
So use a reseal for the right problem. Not every problem.
Good candidates for DIY resealing usually look like this:
- Cracked or shrunken perimeter sealant: The old bead has split, pulled away, or turned brittle.
- Sound flashing and solid roofing around the unit: No loose metal, corrosion, lifted edges, or soft decking.
- Leak source confirmed at an exterior joint: Your inspection or hose test points to one clear entry point.
- No glazing failure: The glass itself isn't fogged or wet between panes.
How to reseal the right way
Homeowners either fix the leak or create a mess that fails at the next storm.
Remove failed sealant completely. Cut and peel away the old material. Don't leave loose fragments or smear new sealant over dirty, cracked sealant. New product bonds to the surface underneath, not to your good intentions.
Clean the repair area thoroughly. Wipe off dust, oxidation, roof granules, and residue. The bond line needs to be dry and clean. If the area still feels greasy, chalky, or gritty, keep cleaning.
Check joint size before filling. If the gap is wider than 1/4 inch, the GE Sealants guide recommends using a backer rod before applying sealant. That keeps the bead shaped correctly and prevents overfilling.
Apply one continuous bead. Run the sealant smoothly along the joint without stopping every few inches. Start where you can finish without repositioning awkwardly. If you pause too much, you create weak spots.
Tool the bead immediately. Shape and press the sealant into the joint right away so it fully contacts both sides. A neat bead isn't just cosmetic. It sheds water better and leaves fewer voids.
Don't spread sealant everywhere. More isn't better. A thick, smeared patch catches dirt, traps water, and makes future diagnosis harder.
The repair should look intentional, not desperate. If the skylight disappears under blobs of sealant, you've likely covered a problem instead of fixing it.
How to check your repair
After the sealant has had time to set, inspect it again. The same GE guidance recommends a 24-hour inspection and a low-pressure hose test after the repair. Look for skipped spots, pinholes, gaps at corners, or places where the bead pulled away as it cured.
Run water gently over the repaired area and have someone inside watching. Keep the test controlled. If the leak stays gone, you've confirmed the repair under manageable conditions.
If water still gets in, stop adding more sealant. At that point the job probably isn't a sealant failure anymore. It's likely flashing, roof integration, or a hidden entry point above the skylight.
That distinction matters. Homeowners often think they failed at how to repair a leaking skylight, when the issue was they attempted the wrong category of repair.
Recognizing When You Need a Professional Roofer
Some skylight leaks are small enough for a careful homeowner. Others only look small from inside the room. Once the failure reaches flashing, surrounding roof material, or the skylight assembly itself, the repair changes from maintenance to roof work.

If you're comparing service providers or inspection options, this roof inspection logo reference points to one South Florida company that handles roof inspections and repairs, including leak diagnosis around roof penetrations and openings.

Red flags that change the job
Put the tools down and call a roofer if you see any of these:
- Bent, rusted, or loose flashing: Metal that no longer sheds water correctly needs more than sealant.
- Soft roof decking near the skylight: Spongy areas suggest moisture damage below the surface.
- Cracked glass or a damaged dome: That's not a caulk repair.
- A leak that returns after a proper reseal: Repeat failure usually means the opening is elsewhere.
- Visible roof damage uphill from the skylight: Water may be entering above the unit and traveling down.
- Interior damage spreading beyond the skylight shaft: The source may be wider than the opening itself.
South Florida storm conditions make this especially important. Wind-driven rain can push water under marginal laps and into weak transitions. A skylight can be the symptom location while the actual defect sits higher on the roof plane.
If the repair requires removing roofing material to rebuild the water path, that has crossed into professional territory.
What a real flashing repair involves
For persistent leaks, best practice is to reflash the skylight rather than keep applying sealant. A roofing demonstration of standard method shows a layered system using self-sealing membrane at the bottom first, then manufacturer metal flashing, followed by membrane up the sides and a final top flashing piece under the upper shingles, as shown in this skylight reflashing walkthrough. The point isn't the individual pieces. The point is that they work together as a water-management system.
That's why sealant-only repairs have limits. Sealant can close a minor edge gap. It cannot replace proper lap sequence, drainage design, or integrated flashing geometry.
A professional also checks the nearby roof field, fasteners, underlayment condition, and how water is moving around the unit. That's the difference between “I stopped the drip today” and “the assembly now sheds water correctly.”
If you need that level of work in Broward, Miami-Dade, or Palm Beach County, a contractor with skylight and roof transition experience should inspect the full area, not just the skylight frame.
Proactive Maintenance for a Leak-Free Skylight
The cheapest skylight leak is the one you never have to chase during a storm. Regular inspection catches most trouble before it turns into stained drywall and emergency buckets.
A simple maintenance routine
Twice a year, take a slow look at the skylight and the roof area around it. In South Florida, the useful timing is before storm season and after storm season.
Keep the routine simple:
- Look from the ground first: Use binoculars if needed. Check for debris buildup, displaced roofing, and anything unusual around the uphill side of the unit.
- Clear leaves and branches: Skylights leak more often when water can't drain cleanly around them.
- Inspect visible sealant joints: You're looking for shrinkage, cracking, or separation.
- Check interior finishes: Faint stains, peeling paint, and damp trim often show up before active drips.
- Watch the room conditions: Bathrooms, kitchens, and humid rooms can create condensation that gets mistaken for leakage.
For the glass itself, homeowners often ask how often cleaning matters. This guide with professional advice on skylight cleaning is helpful because it frames cleaning as part of inspection, not just appearance. Clean glass makes it easier to spot seal issues, debris patterns, and early failure signs.
What South Florida homeowners should watch closely
Sun and storms are hard on skylights here. UV exposure ages sealants. Wind pushes debris into drainage paths. Heavy rain tests every weak overlap around the unit.
That means maintenance isn't just about the skylight. Look at the roof immediately above it. If shingles, tile, metal panels, or flat-roof transitions start failing uphill, the skylight may get blamed for water that entered elsewhere.
A short routine done consistently beats a rushed repair every time. Most homeowners don't need a complex checklist. They need the habit of looking before the ceiling tells them to.
Frequently Asked Questions About Leaking Skylights
Is it a leak or condensation
Condensation usually forms under specific indoor-outdoor conditions and often shows up as moisture on the interior surface rather than rain-related dripping. A true leak is more tied to weather events, roof drainage, or specific water entry points. If the problem appears only during certain storms, look outward. If it appears in humid room conditions without rain, look inward too.
Can I do a temporary repair
Yes, but only if you understand what “temporary” means. Clearing debris and repairing a small, obvious failed sealant joint can buy time. It shouldn't give you false confidence if the surrounding flashing, roofing, or skylight structure is compromised.
Temporary repairs are safest when the leak path is small and visible. They are risky when you're guessing.
How do I know if the problem is above the skylight
This is one of the most important questions homeowners miss. Many skylight leaks aren't really skylight leaks. Roofing guidance on the issue notes that the actual cause is often compromised flashing or roof defects above the unit, especially where wind-driven rain can enter during South Florida storms, as explained in this guide to finding whether the leak is the skylight, flashing, or surrounding roof.
Clues include these:
- Staining spreads beyond the skylight opening
- The leak appears after wind-driven rain from one direction
- The uphill roof area shows wear, damage, or debris buildup
- A reseal at the skylight edge didn't solve the problem
That same guidance also notes that simple cleaning or minor sealant repair is DIY-friendly, while complex flashing or replacement issues need professional attention.
Should I repair or replace an older skylight
That depends on the condition of the unit and the source of the leak. If the skylight body is sound and the issue is limited to a minor exterior joint, repair may make sense. If the glass seal has failed, the frame is deteriorated, or the unit has repeated leak history tied to aging components, replacement may be the smarter move.
Older skylights also deserve a hard look if parts are brittle, drainage is poor, or the surrounding roof system is already due for major work. It rarely makes sense to baby a failing skylight through repeated patch jobs while the roof around it is telling you something bigger.
If your skylight leak needs more than a simple cleaning or careful reseal, Paletz Roofing and Inspections provides roof inspections, leak diagnosis, and repair work across South Florida. A thorough inspection can identify whether the water is entering at the skylight, the flashing, or somewhere higher on the roof, which is the only way to choose the right repair.