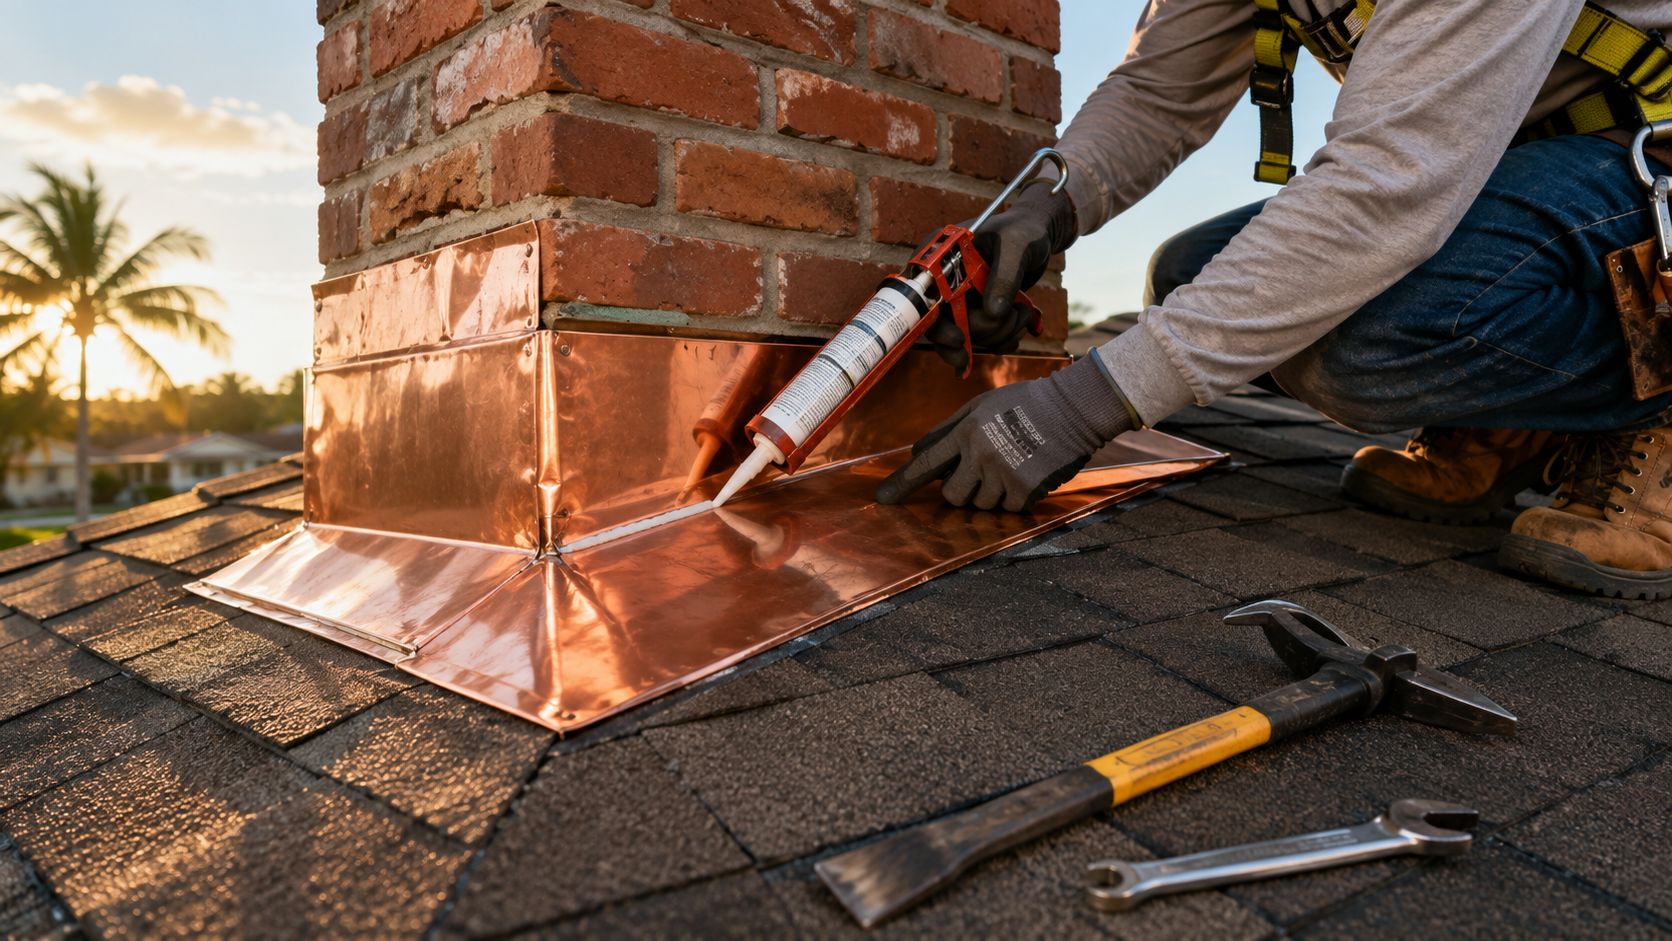
You're usually here because something small already happened. A light brown ceiling stain showed up near the fireplace. The room smells a little musty after a hard rain. Or you looked up at the chimney and saw old metal pulling loose where the roof meets the brick.
In South Florida, chimney flashing problems don't stay small for long. Heat bakes sealants, humidity keeps materials stressed, and wind-driven rain finds every shortcut in the installation. A lot of homeowners think the fix is just adding more caulk. It usually isn't. Chimney flashing replacement only lasts when the metal is layered correctly, tied into the roof system properly, and finished with counter-flashing embedded into sound mortar.
Table of Contents
- When to Replace Your Chimney Flashing
- Gathering Tools Materials and Estimating Costs
- The Chimney Flashing Replacement Process Step by Step
- DIY Replacement vs Hiring a Professional Roofer
- Why South Florida Chimney Flashing Requires Special Attention
- Inspecting and Maintaining Your New Flashing
When to Replace Your Chimney Flashing
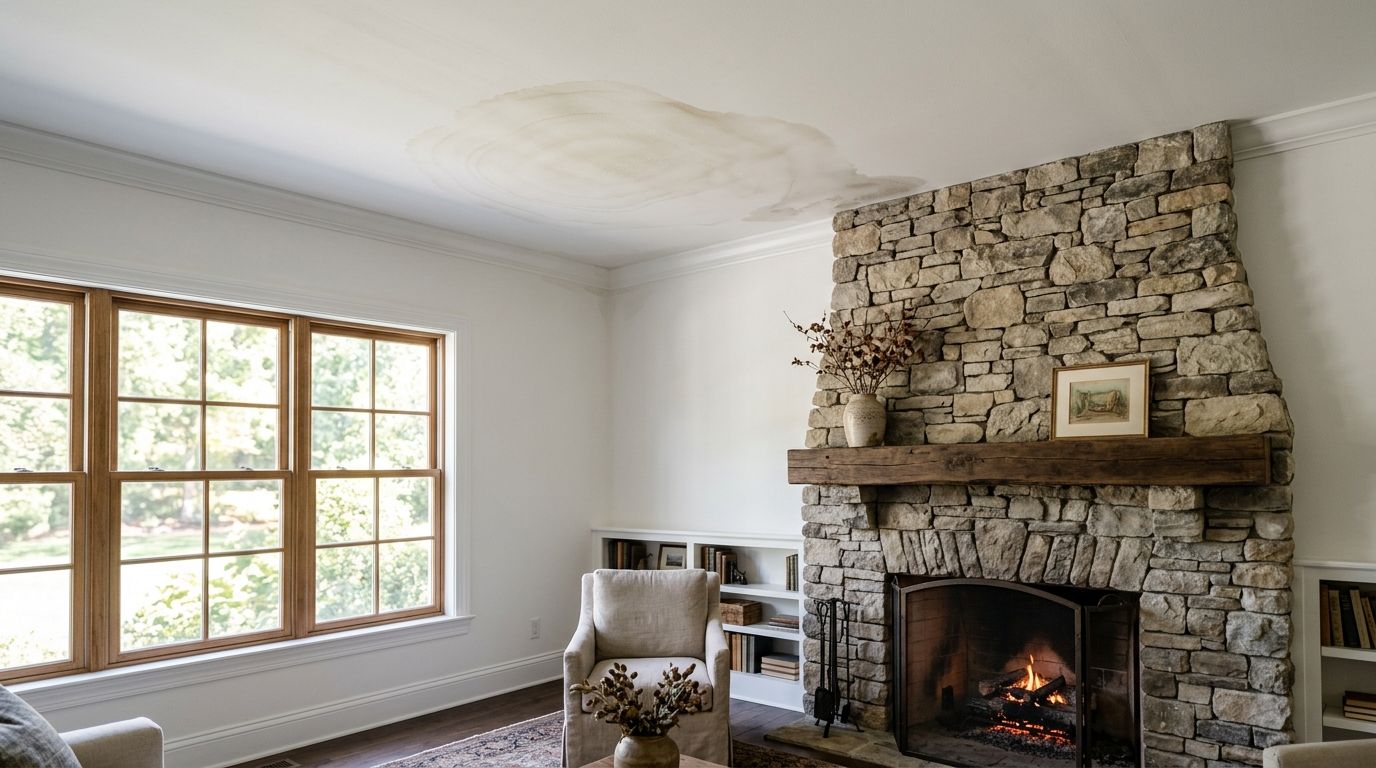
A chimney leak rarely announces itself with water pouring down the wall. Most of the time, it starts with a faint damp smell, a small stain near the ceiling line, or paint that begins to bubble after storms. Those early signs matter because flashing failure often lets water travel before it becomes visible.
If you're already seeing interior symptoms, it helps to understand how water can move through a roof system before it drips into living space. This internal roof repair guide is useful for spotting active leak paths while you wait for a permanent exterior fix.
Start inside before you climb outside
Check the room around the fireplace first. Then check the attic if you can do it safely.
Look for these clues:
- Ceiling staining: Brown rings or irregular marks near the chimney chase often point to flashing or masonry water entry.
- Attic streaking: Water marks on rafters or darkened wood around the chimney opening usually mean moisture has been getting in for a while.
- Damp insulation: Wet or compressed insulation near the penetration is a strong warning sign.
- Musty odor after rain: That smell often shows up before visible dripping.
Practical rule: If the stain gets darker after wind-driven rain, don't assume the shingles are the problem. Around chimneys, the leak path is often the flashing assembly or the mortar joint where counter-flashing should be seated.
What failing flashing looks like on the roof
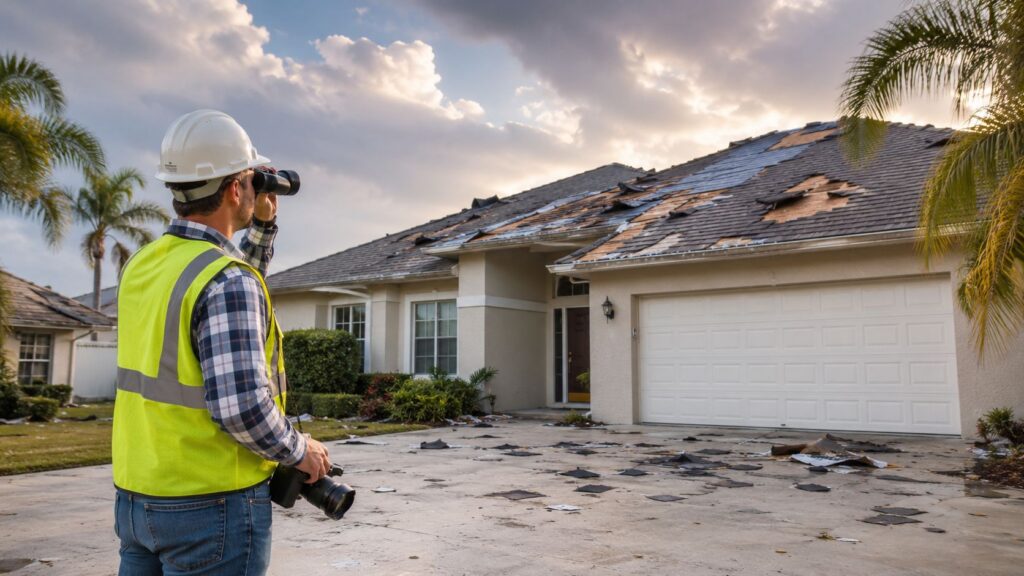
From the ground, binoculars can tell you a lot. You're looking for metal that no longer sits tight and flat where the roof meets the chimney.
Common exterior signs include:
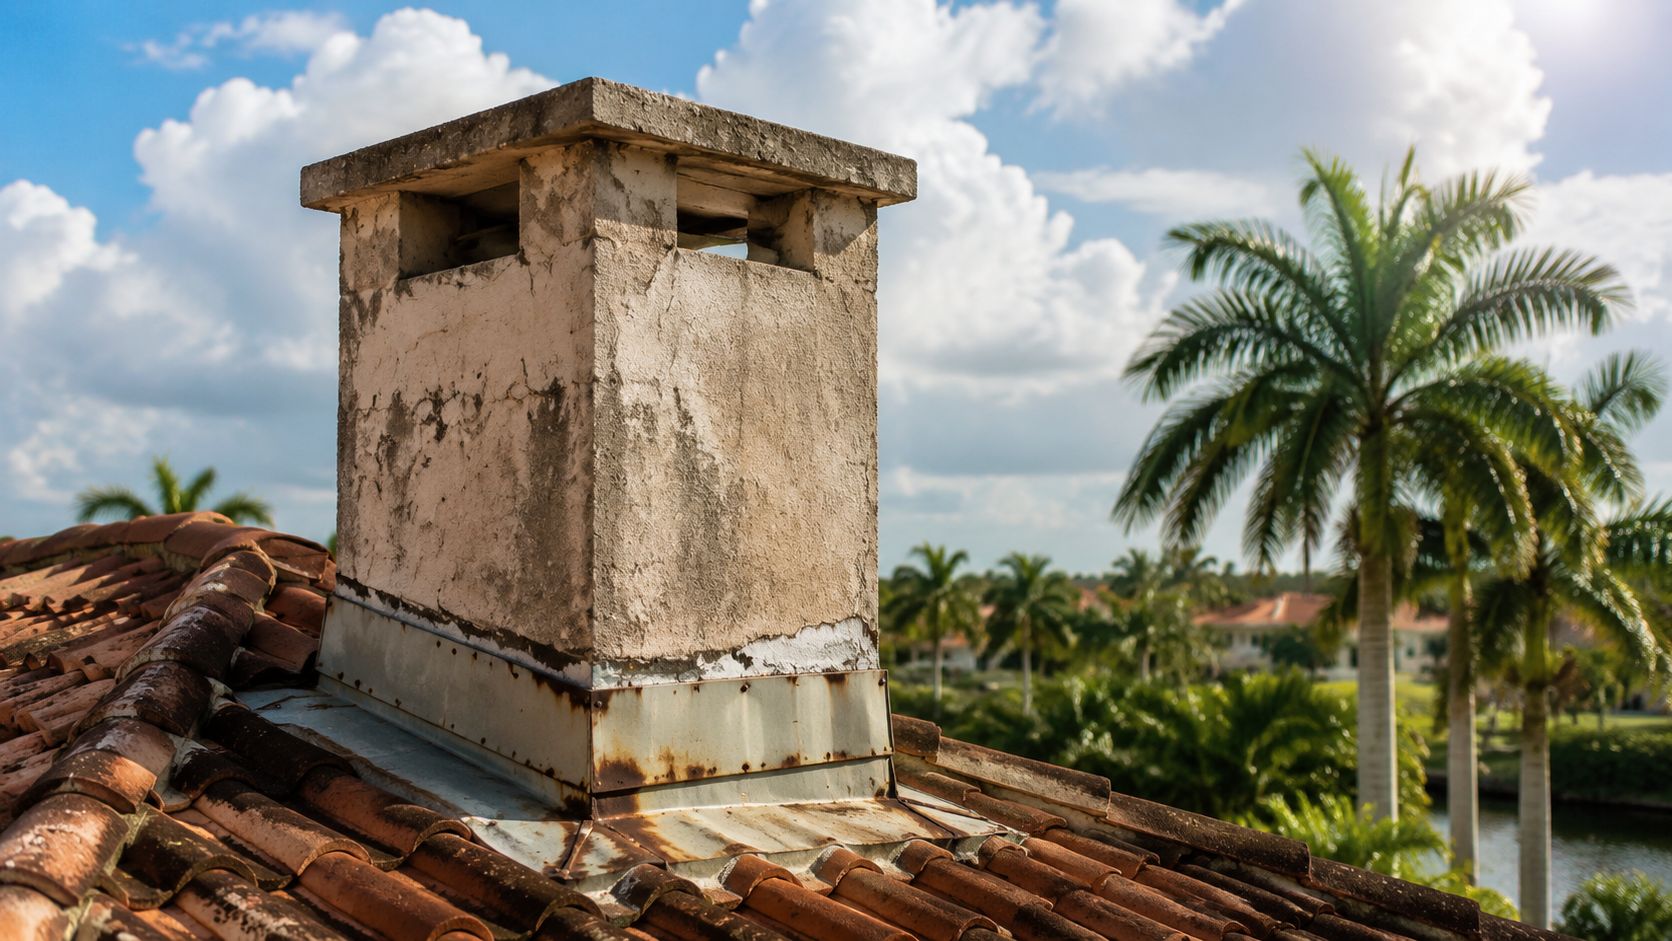
- Rust or corrosion on exposed metal
- Cracked or dried sealant at the chimney edge
- Loose, bent, or lifted flashing pieces
- Visible gaps between flashing and brick or stucco
- Old roof cement smeared around the base
That last one matters. Smears of roofing cement often mean someone tried to stop a leak without fixing the assembly underneath. In my experience, those patch jobs hide trouble more often than they solve it.
A full replacement usually makes more sense when the metal is corroded, sections are missing, multiple prior repairs are visible, or the roof area around the chimney has been opened before and never rebuilt properly. A smaller repair can sometimes work when the metal is still sound and the issue is limited to localized resealing. But if the flashing has separated from the chimney or the surrounding roof materials show water damage, replacement is the safer call.
Gathering Tools Materials and Estimating Costs
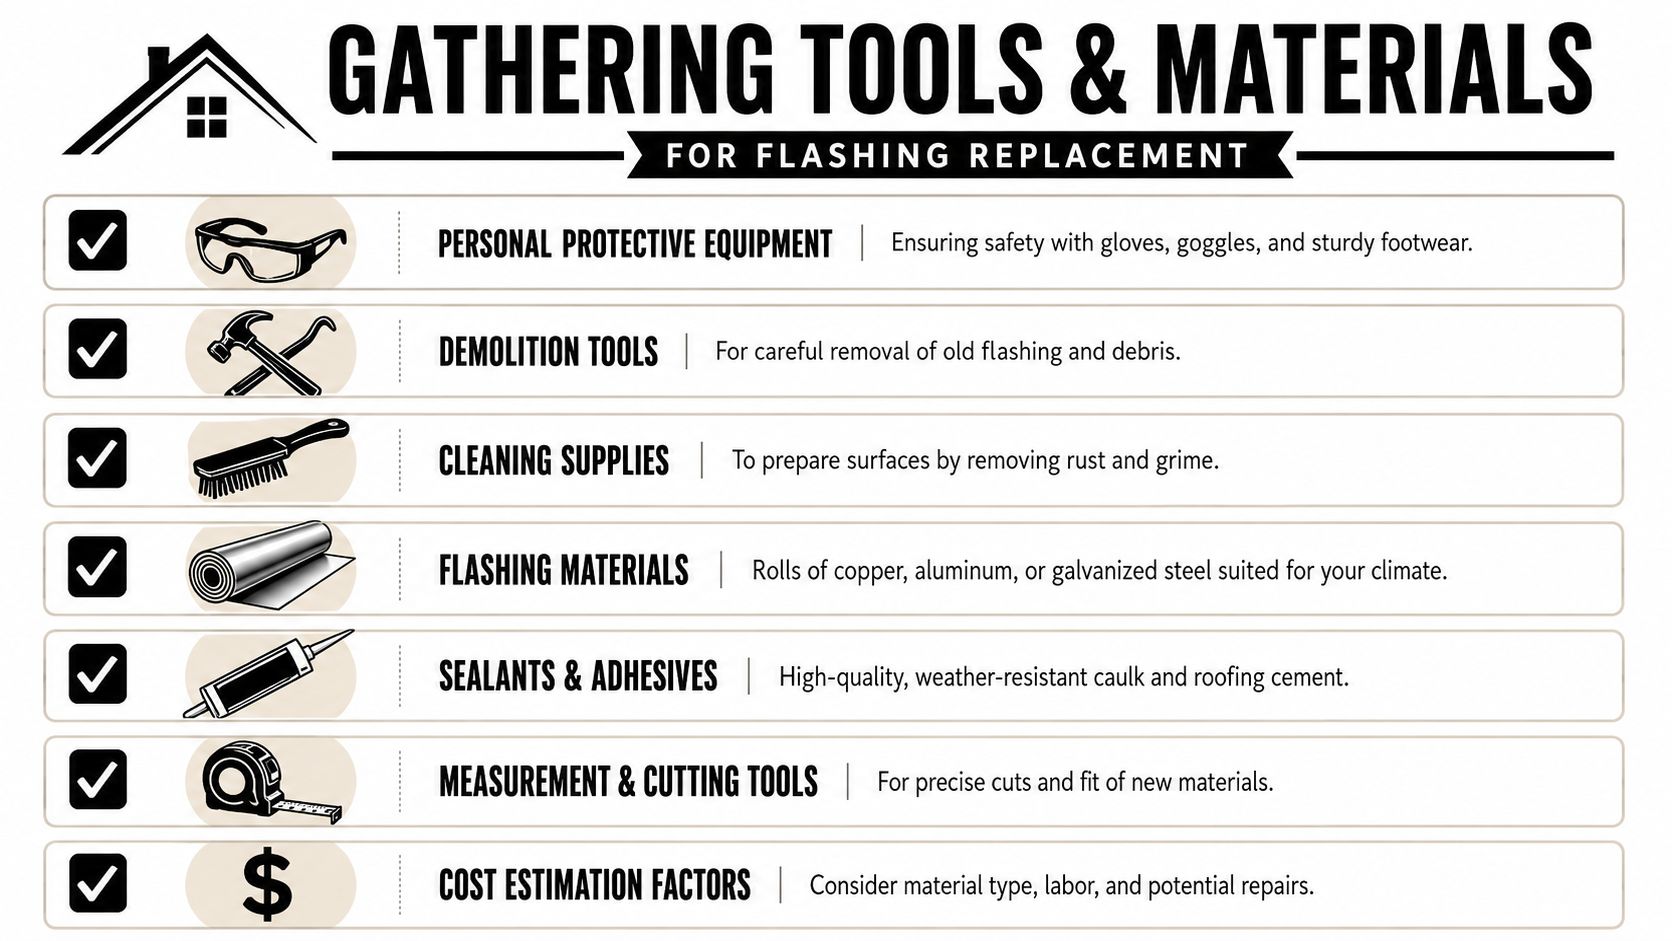
A clean chimney flashing replacement starts long before any metal is bent. The work goes smoother when every tool is on hand, the material choice matches the house, and the budget accounts for access, roof type, and chimney size.
What belongs in a professional toolkit
A proper setup includes safety gear first. Harness, roof anchors, gloves, eye protection, and stable footwear aren't optional on a steep or slick roof. After that comes the working kit: flat bar, hammer, utility knife, drill-driver, metal snips, tape measure, chalk line, angle grinder for mortar joints, wire brush, masonry trowel, caulk gun, and fasteners that can handle exterior exposure.
If you're organizing general-purpose hardware before the job, it helps to review suppliers that stock durable connectors and fasteners for exterior use. This resource on hardware for deck and fence projects is a good example of the type of corrosion-conscious hardware planning homeowners should think about before buying miscellaneous metal parts for outdoor work.
A visual reference also helps when you're comparing flashing shapes and roof-to-chimney layouts. This chimney flashing detail image is useful for understanding how the parts stack together.
Material choices and cost trade-offs
Material is where budget and lifespan start pulling in different directions. According to Angi's chimney flashing cost guide, the average cost for chimney flashing replacement in the United States typically ranges from $400 to $1,600, and material costs per linear foot vary significantly: aluminum ranges from $5 to $9, galvanized steel from $6 to $10, and premium copper from $15 to $25.
That spread matters. Aluminum is lighter and cheaper up front. Galvanized steel is a common middle-ground choice. Copper costs more, but it's often chosen when appearance and long service life matter more than initial price.
Here's the planning view:
| Material | Average Lifespan | Cost per Linear Foot | Best For |
|---|---|---|---|
| Aluminum | 20 to 40 years | $5 to $9 | Budget-conscious replacements where lower upfront cost matters |
| Galvanized steel | Qualitatively durable, commonly used | $6 to $10 | Standard residential work with balanced cost and toughness |
| Copper | Longer-lasting premium option | $15 to $25 | High-end homes, long-term value, and appearance-focused projects |
| Lead | 80 to 100 years when installed correctly to British Standards, with some documented installations surviving over 400 years | Qualitatively premium | Period properties and listed buildings where historic compatibility matters |
Copper and lead cost more for a reason. Cheap flashing can still become expensive if the roof has to be reopened years earlier than expected.
Lead deserves its own mention. Historically, correctly installed lead flashing to British Standards has shown an 80 to 100 year lifespan, with some documented installations lasting over 400 years, while aluminum and zinc typically last 20 to 40 years and self-adhesive flashband products often last only 5 to 15 years according to HC Roofing's flashing lifespan overview. That doesn't make lead the default choice for every Florida home, but it does show why material selection changes the long-term value of the work.
The Chimney Flashing Replacement Process Step by Step
This job isn't one piece of metal wrapped around a chimney. It's a layered system. If the sequence is wrong, water eventually finds the mistake.
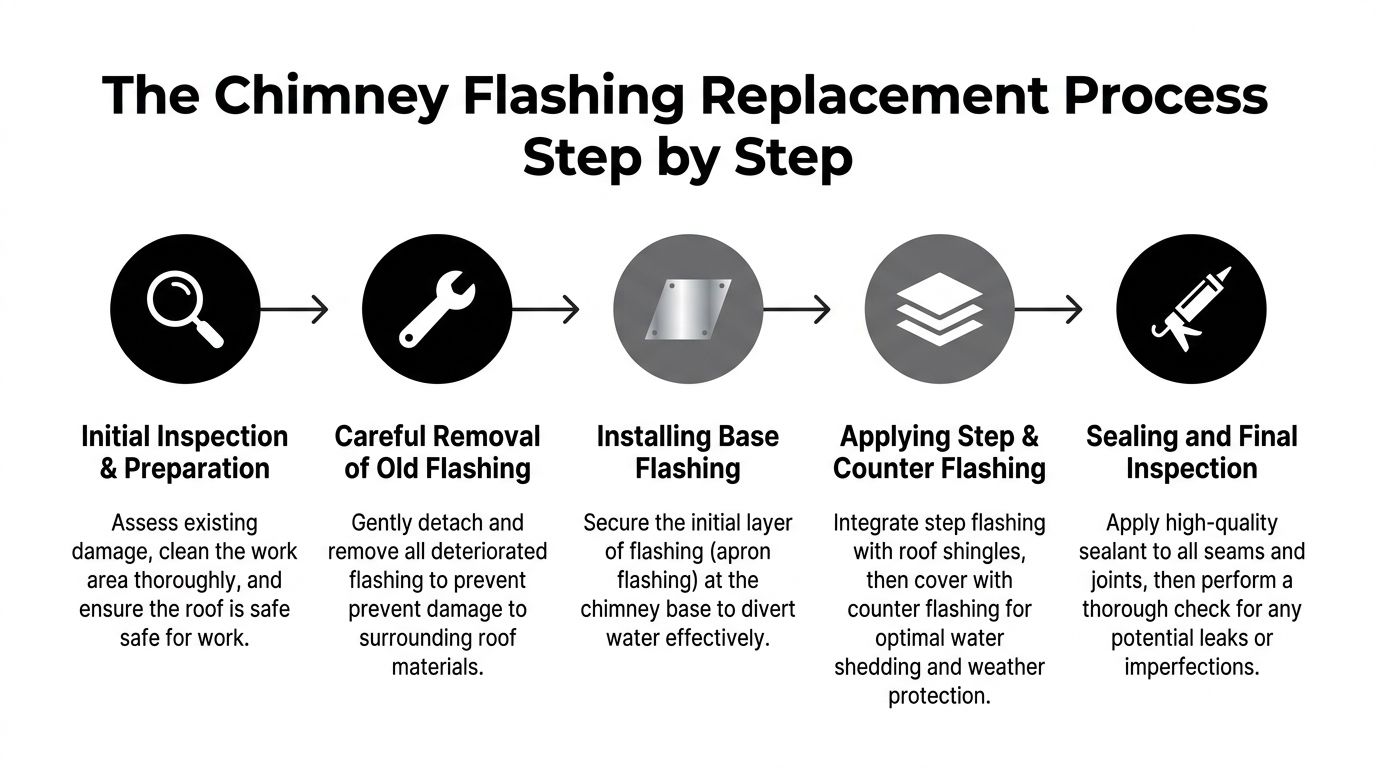
A close-up visual can help before reading the steps. This roof flashing process image shows how the chimney intersection is opened up and rebuilt in layers.
Removal and surface prep
The work starts with a thorough inspection. Rust, loose sections, cracked sealant, bent metal, and signs of substrate damage have to be identified before anything comes off. Then the old flashing and roofing cement are removed carefully so the surrounding roof isn't torn up unnecessarily.
Proper access usually means shingles near the chimney have to come up. According to Roof Repair Authority's chimney flashing repair guide, shingles within 18 to 24 inches of the chimney must be removed so the installer can inspect the substrate, clear old cement or caulk, and prepare the surface correctly. If water damage is present but the decking is still solid, new synthetic underlayment should be installed after an ice and water shield so moisture doesn't get trapped between shingles and decking.
Surface prep is where a lot of rushed jobs go wrong. The deck has to be dry, clean, and sound. Brick joints need to be evaluated too, because counter-flashing only works if the mortar can hold it.
Installing the flashing system correctly
Once the area is open, the flashing pieces are measured and cut to fit the chimney dimensions and roof slope. The installation sequence matters.
The front gets base flashing first. Then the sides receive step flashing, woven course by course with the shingles. At the top, the back pan and the upper integration have to direct water away without letting it pool behind the chimney.
Two technical details decide whether the system performs or leaks:
- Step flashing corners need a 90-degree bend
- Each step flashing piece needs at least a 1-inch overlap over the previous piece
Roof Repair Authority notes that counter-flashing must be embedded 2 to 3 inches into mortar joints and sealed with a high-grade polyurethane sealant like Tremco Vulkem, not asphalt-based products that break down under UV exposure. The same source states that following this protocol delivers a success rate over 98% over 10 years.
The flashing should fasten to the roof deck, not the chimney. The chimney and the roof move differently. If you lock the metal to the masonry the wrong way, the system fights that movement until something opens up.
Where most replacements fail
The mistakes are predictable. People reuse old metal that's already fatigued. They nail where they shouldn't. They skip proper mortar grinding because it's dusty, slow work. Then they try to make up for bad geometry with more sealant.
The technical benchmarks in the verified data are blunt. Fastening flashing to the chimney wall instead of the deck causes 25% of premature failures. DIY replacements fail 60% of the time when overlap, fastening, and sealing details are missed. On compliant installations, success rates exceed 95% when the step flashing is bent properly, overlapped correctly, and backed up by the right sealing approach.
A well-built replacement also includes a vertical lap on the base flashing against the chimney wall, with ice-and-water shield extending up the wall surface. That layered water management is what keeps driven rain from reaching the deck.
DIY Replacement vs Hiring a Professional Roofer
A homeowner with solid carpentry skills can understand the sequence. That doesn't mean the roof is the right place to learn it. Chimney work combines fall risk, sheet metal fitting, shingle integration, masonry cutting, and leak testing in one tight area.
Where DIY can go wrong fast
The biggest DIY mistake isn't bad intentions. It's underestimating how much has to be opened to do the job correctly.
For step flashing replacement, the shingles don't just lift a little around the chimney. As noted earlier from the cited process guide, the roof area around the chimney has to be opened substantially, underlayment conditions have to be assessed, and the assembly often needs to be rebuilt in layers. If that sequence gets interrupted, water can wick under the shingles or remain trapped where it shouldn't.
There's also the issue of judgment. A homeowner might see failed sealant and miss deteriorated mortar joints. Or spot rusty metal and miss soft decking below. A patch can look tidy from the ground while the leak path remains active underneath.
Working around a chimney on a sloped roof is not comparable to replacing a vent boot from a ladder. If you slip, miscut a flashing piece, or reopen the roof before rain, the consequences get expensive quickly.
When hiring a roofer makes more sense
Professional roofers bring more than labor. They bring safe access equipment, metal fabrication tools, material compatibility knowledge, and experience tying flashing into shingle, tile, or metal roof systems without creating a new leak point.
Hiring a pro is the stronger choice when:
- The roof is steep or high: Safety alone changes the equation.
- The chimney has stucco, stone, or deteriorated mortar: Counter-flashing integration gets more technical.
- The roof covering is tile or metal: Those systems require different handling than basic asphalt shingle work.
- There's interior damage already: The repair may involve more than visible flashing.
A good installer also understands warranty implications, local code expectations, and how to diagnose whether the leak is really flashing, masonry, cap failure, or a combination. On this kind of repair, proper diagnosis is half the job.
Why South Florida Chimney Flashing Requires Special Attention
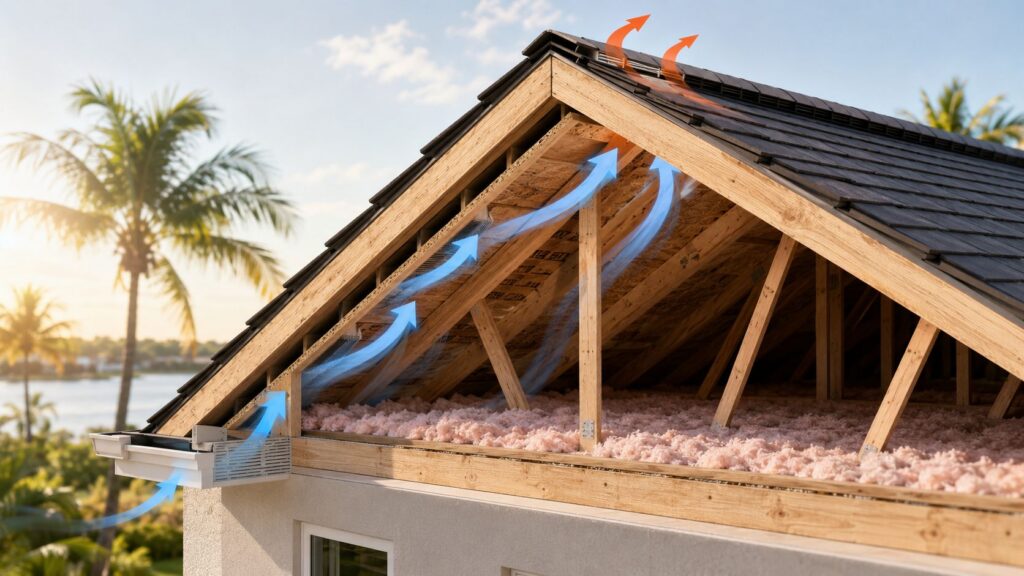
South Florida is brutal on chimney flashing. Intense sun hardens and shrinks the wrong sealants. High humidity keeps the assembly wet longer after storms. Wind-driven rain attacks the uphill side of the chimney and pushes water into tiny imperfections that might never matter in a milder climate.
Florida weather exposes weak flashing work
A standard-looking repair can fail here because South Florida storms don't test the roof gently. They hit from the side, they linger, and they force water uphill under edges that were never detailed correctly.
The weak point is often not the base flashing itself. It's the transition where counter-flashing enters the mortar joint. In a coastal environment, that interface has to stay sealed while exposed to heat cycling, moisture, and movement.
According to Rhoden Roofing's guide on replacing chimney flashing on a sided chimney, proper counter-flashing integration prevents 40-60% of recurring leaks in high-wind, high-heat coastal environments like South Florida. The same source reports that 72% of flashing replacement failures in these regions occur 2 to 3 years after installation due to overlooked mortar degradation.
Counter-flashing is the detail that decides the outcome
That's the nuance many homeowners never get told. They hear “we replaced the flashing,” but nobody explains whether the counter-flashing was cut into sound mortar, seated properly, and sealed with a product that can handle coastal exposure.
What works here is disciplined integration:
- Mortar joints need to be sound enough to receive the metal
- The counter-flashing has to be embedded, not surface-glued
- The sealant has to tolerate UV and movement
- The whole system has to shed water, not just block it
On a South Florida chimney, the repair is only as good as the mortar joint holding the counter-flashing. If that joint is weak, the leak usually comes back.
This is why coastal chimney flashing work deserves a specialist mindset. The roof, the masonry, and the weather all meet in one small area. If one of those three gets ignored, the leak often returns.
Inspecting and Maintaining Your New Flashing
A chimney flashing job can be done right and still fail early if nobody catches the first small warning signs. In South Florida, that usually means sun-cooked sealant, wind-driven rain finding an opening at a mortar joint, or debris holding moisture where metal should be drying out.
Start with a ground-level check after heavy storms and at least a few times a year. You do not need to climb on the roof to spot the common trouble points. A pair of binoculars and a slow walk around the house will tell you a lot, especially on the uphill side of the chimney where water pressure is highest.
A simple homeowner inspection routine
Look for condition, not perfection. Metal can show age and still perform well. What matters is whether the system is staying tight, shedding water, and staying anchored where the counter-flashing enters the mortar joint.
Use this checklist:
- Check for lifted or bent metal: Step flashing and counter-flashing should sit tight and stable.
- Look at the mortar line: Cracks, gaps, or loose sections above the flashing often show up before a leak reaches the ceiling.
- Watch for failed sealant: Brittle, shrinking, or separated sealant at termination points needs attention.
- Scan for rust or staining: That can point to trapped moisture, coating wear, or fastener problems.
- Clear debris buildup: Leaves, palm debris, and needles hold water against the metal and slow drainage.
- Check inside the house: Ceiling discoloration, peeling paint, or a musty smell near the chimney often shows up before visible dripping.
For a quick comparison, this roof inspection image showing a finished roof penetration detail helps homeowners spot obvious gaps and misaligned metal.

One caution from the field. Surface caulk can make a problem look fixed for a season, then fail under Florida sun and movement. If counter-flashing starts pulling away from the mortar joint, the answer is usually repair or replacement at that joint, not another bead of sealant smeared over the face.
When to call for a professional inspection
Call a roofer if you see cracked mortar around the counter-flashing, loose metal, repeat staining indoors, or any section that looks patched more than once. Those are the jobs where the visible symptom is small but the underlying issue sits behind the wall line or under the shingles.
Material life varies, but performance always comes back to installation quality, exposure, and maintenance. Copper and properly detailed galvanized steel can last a long time. Thin metals, exposed fasteners, weak mortar joints, and shortcut sealant work usually do not hold up as well in coastal heat and humidity.
I also tell homeowners to schedule an inspection after a major wind event, even if no leak is showing yet. South Florida storms can loosen flashing just enough to open a path for the next rain. Catching that early is a lot cheaper than replacing roof decking, drywall, and framing around a chimney chase.
If the chimney has masonry age, previous patchwork, or soft mortar joints, have the counter-flashing checked closely. That detail decides whether the new flashing system keeps shedding water or starts leaking again in the same old spot.