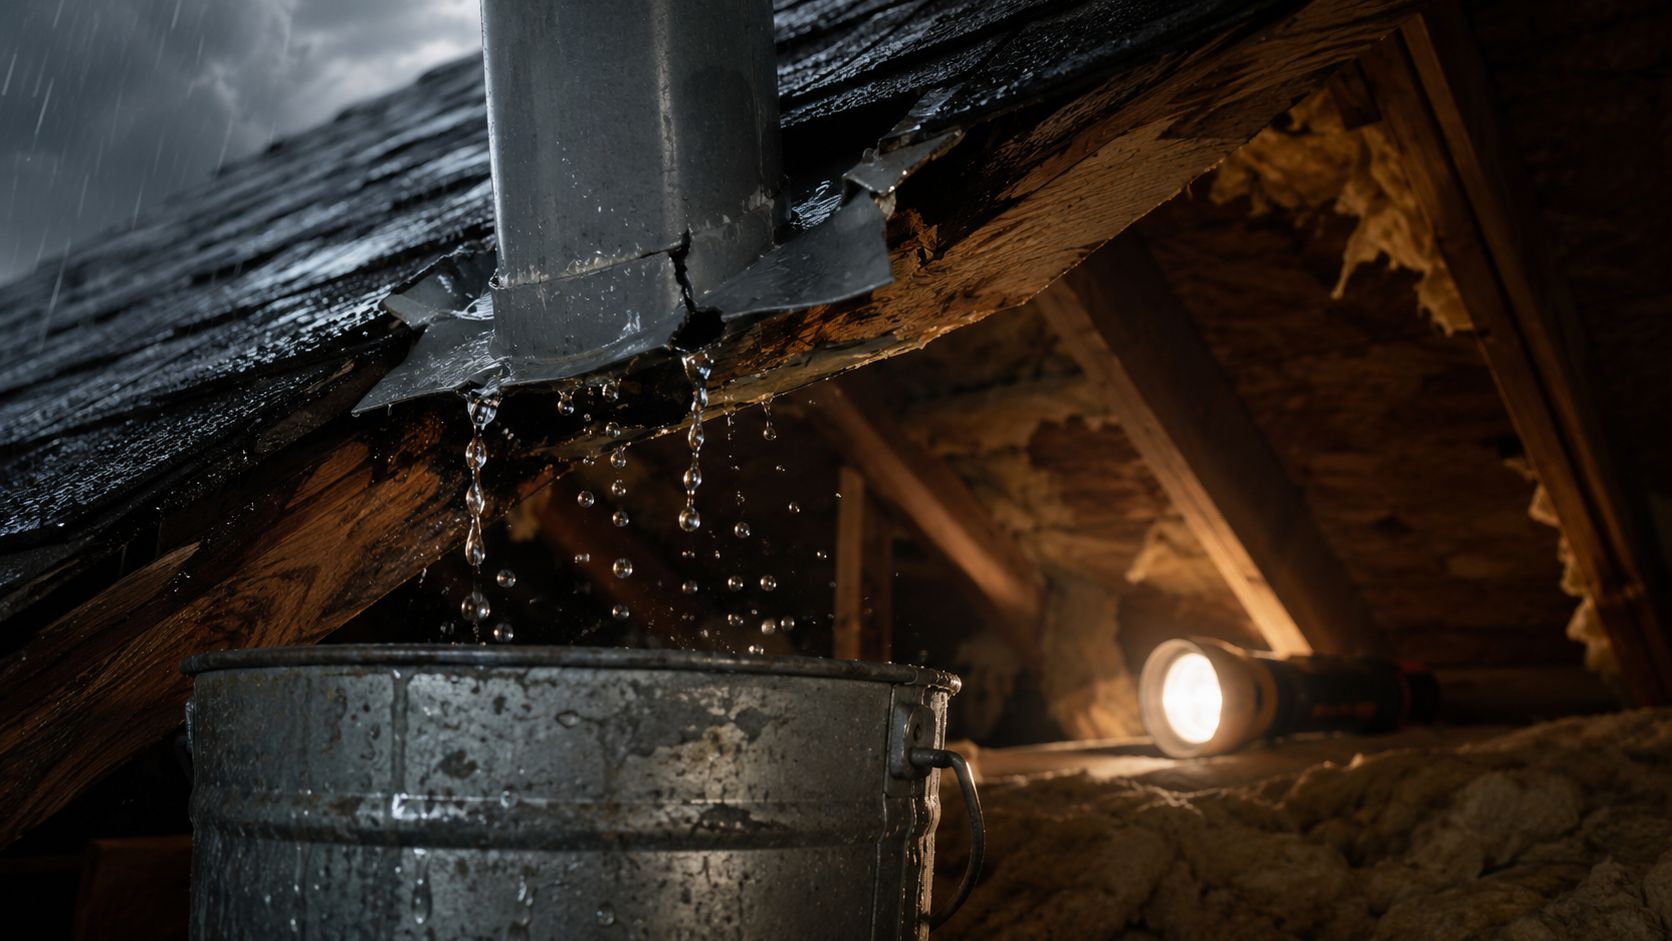
You're probably reading this while rain is still hitting the roof, and there's a drip where there wasn't one yesterday. Maybe it's over a hallway ceiling, maybe it's around a bathroom fan, maybe it's staining drywall nowhere near the vent you expected. That's how these leaks behave in South Florida. They stay hidden through normal weather, then show up fast when a real storm starts pushing water sideways and uphill.
After three decades working roofs in Broward, Miami-Dade, and Palm Beach, I can tell you this much. Most roof vent leaks during heavy rain are not random. They come from a weakness that's been there for a while, and the storm finally found it. The bigger problem is that most DIY advice homeowners find online focuses on caulk, cement, and surface patches. In a South Florida storm, those are often the wrong fix.
Table of Contents
- Why Roof Vents Leak Specifically During Heavy Rain
- Safely Identifying the Leak Source from Inside Your Home
- Emergency Steps to Manage Water Damage During a Storm
- Your Guide to Permanent Roof Vent Repair Solutions
- Proactive Roof Vent Inspections and Repair Costs
- When to Call a Roofing Pro in South Florida
Why Roof Vents Leak Specifically During Heavy Rain
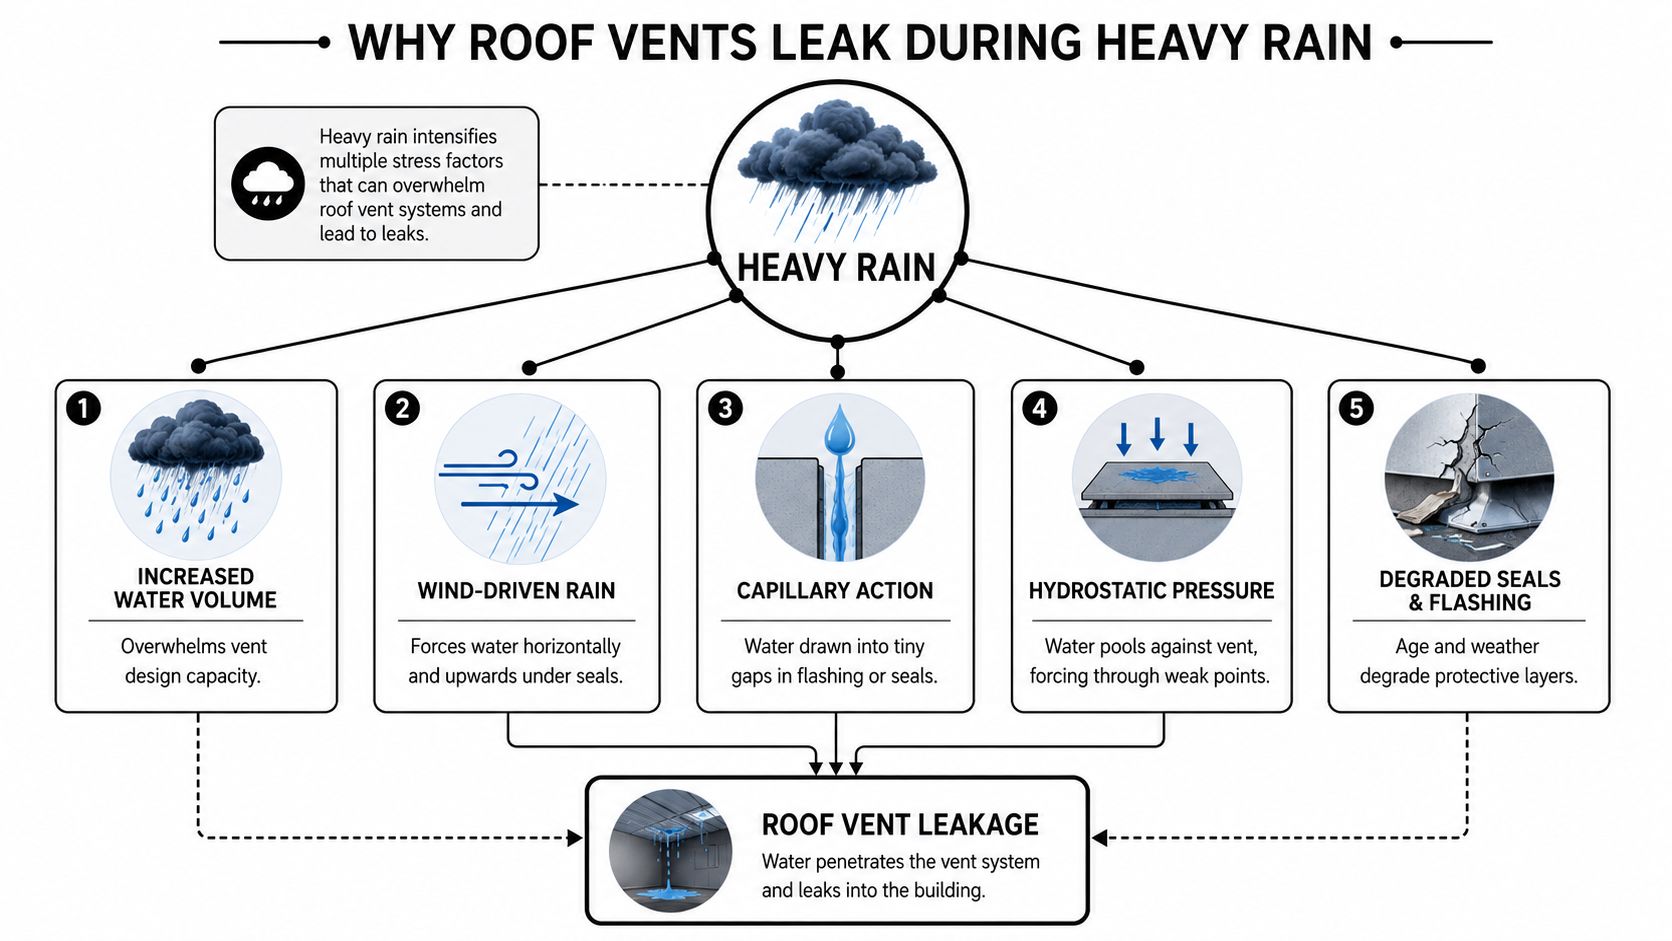
When a vent leaks only in a hard storm, that pattern matters. It usually means the roof system can still shed ordinary rain, but it can't handle volume, wind-driven rain, and pressure once the weather gets serious. Roof penetrations are the weak spots. Vents, pipe boots, and flashing interrupt the field of the roof, so they're the first places I inspect after a leak call.
Heavy rain changes the way water behaves on a roof
South Florida storms don't just drop water straight down. Wind pushes it under laps, around metal edges, and into tiny gaps that stay harmless during light rain. As explained in this breakdown of heavy-rain roof leak behavior, roof penetrations such as vents constitute the most vulnerable areas during intense downpours because heavy rainfall exponentially increases water pressure, forcing moisture through vulnerabilities that remain undetected during lighter precipitation. Improperly installed or degraded flashing creates direct pathways for wind-driven rain to travel uphill under roofing materials.
That's why a homeowner can go months with no problem, then suddenly get a ceiling stain in one afternoon storm.
The three failure points I look for first
Most of the time, the leak comes down to three trouble spots:
- Flashing failure. The metal or formed flashing around the vent may be loose, rusted, cracked, or installed with bad overlap. Once wind-driven rain gets underneath, it has a path into the decking.
- Pipe boot or sealant breakdown. Rubber collars and exposed sealant don't last forever under sun, moisture, and storm cycles. When they split, water uses that opening.
- Debris buildup around the vent base. Leaves, grit, and roof runoff can trap water at the penetration. When water ponds at the base, pressure increases against weak joints.
Practical rule: If a vent leaks only during the worst storms, don't assume the storm “caused” the problem that day. The storm exposed a defect that was already there.
One other point homeowners miss is vent design and placement. On some static vents, water can strike the roof, bounce under the vent cover, and drop directly into the vent opening. I've seen multiple vents leak at once during a pounding rain because the setup allowed that rebound effect. That's why a permanent repair has to account for water movement, not just visible cracks.
Temporary sealants also fool people into thinking the issue is solved. In reality, these leaks often start under the shingle line or beneath the flashing edge. If the assembly below is wrong, a bead of silicone on top won't stop storm water for long.
Safely Identifying the Leak Source from Inside Your Home
You hear dripping over the hallway, but the vent above that spot may not be the one leaking. In South Florida storms, wind-driven rain can push water sideways, uphill under laps, and along framing before it ever shows on drywall. That is why roof vent leak tracing from inside takes patience and a clear path, not guesswork.
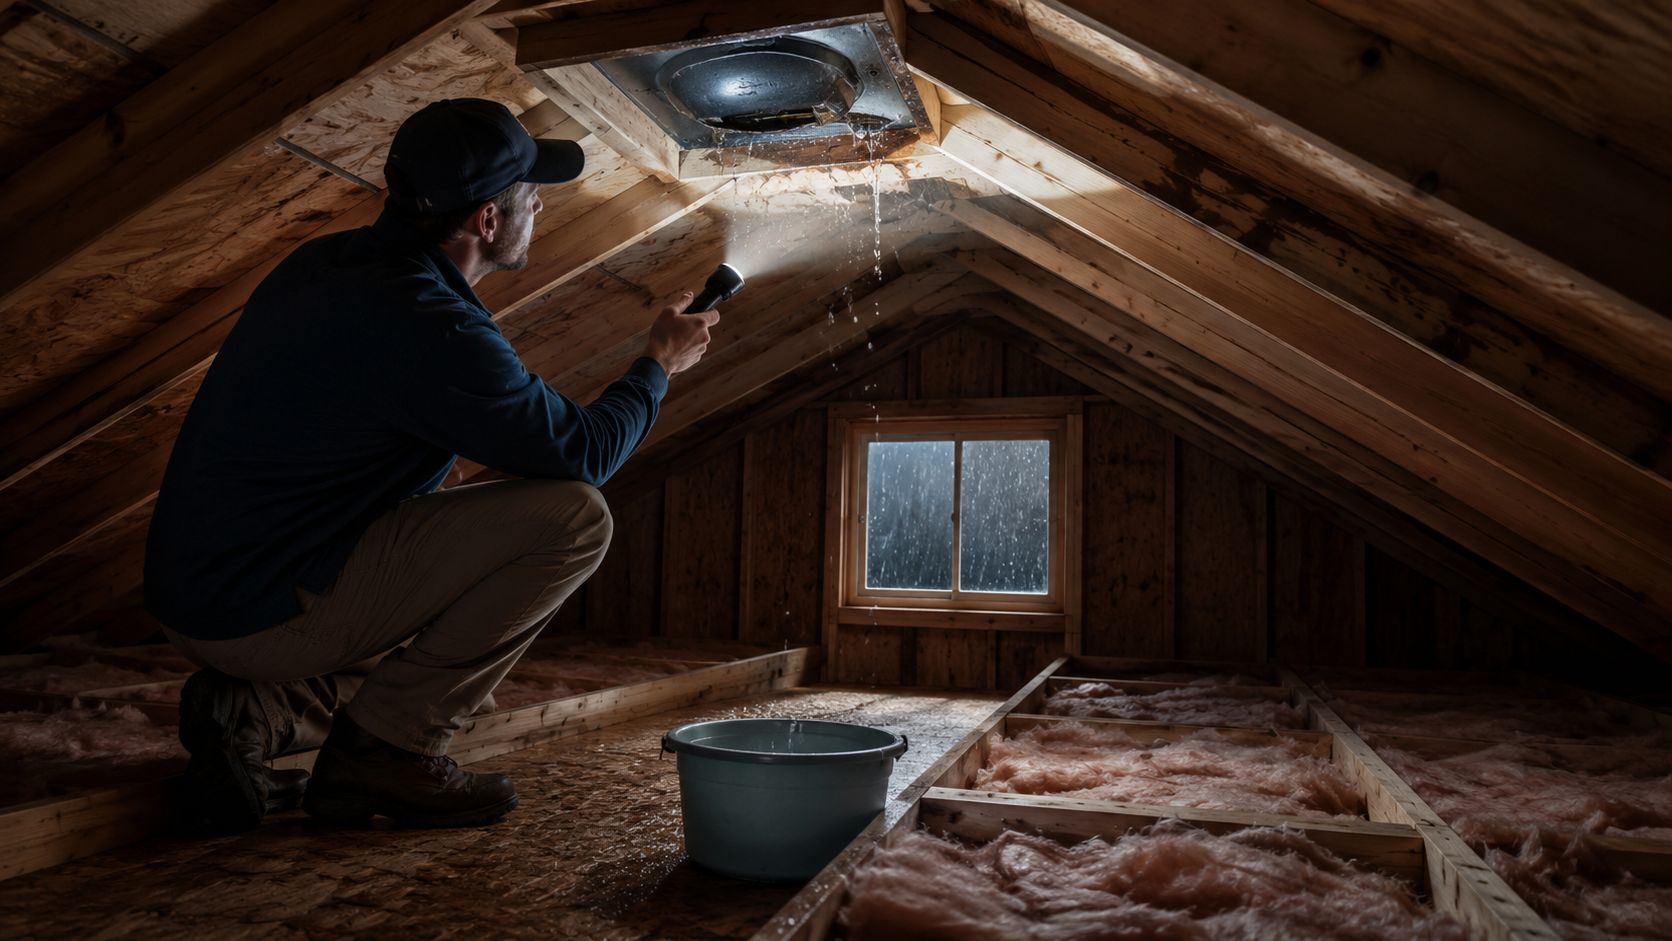
The safest inspection point during active rain is inside the house or attic. Stay off the roof. Wet tile, shingles, and metal get slick fast, and one bad step is not worth it.
If you can reach the attic safely, bring a strong flashlight and step only on framing members. Do not step on insulation or ceiling drywall. If the attic is cramped, dark, or already has standing water, stop there and call a roofer after the storm passes.
Start near the ceiling stain or drip, then work uphill from there. Water rarely drops straight down from the entry point in a hard storm.
What to trace and what to ignore
The ceiling spot is only the symptom. The true entry point may be several feet away, especially when rain is blowing hard from the east or south. The water damage cleanup advice matters after the leak is found, but first you need to identify where the water is traveling.
Use this sequence:
- Scan the underside of the roof decking for dark staining, wet sheen, or fresh drip marks.
- Follow rafters and trusses uphill because water often runs along wood before it falls.
- Check every vent penetration nearby for damp insulation, rust marks, or wet wood around the boot and flashing.
- Listen as much as you look. In many attics, you hear dripping on insulation before you spot it.
- Mark what you find with painter's tape, a photo, or a short phone video so the repair crew can match the interior evidence to the roof area above.
Homeowners often waste time on the wrong clues. A stained ceiling patch can be old. A drip landing in one room can start over another room entirely. What matters most is fresh moisture, the direction it traveled, and whether the leak gets worse only during strong gusts. The attic leak tracing guidance from InterNACHI explains the same basic principle inspectors use: follow the water path back from the visible damage instead of assuming the closest roof feature is at fault.
A few attic signs are more useful than others:
| Sign inside the attic | What it usually suggests |
|---|---|
| Wet wood around a vent pipe | Leak near the boot or flashing |
| Dry ceiling stain but damp insulation farther uphill | Water is traveling before dropping |
| Drips during wind gusts only | Wind-driven entry, often at flashing laps |
| Damp area with debris visible near vent opening | Possible clog or drainage issue |
One warning from experience. Do not spray foam, roofing tar, or canned sealant from the attic side. I have seen plenty of these quick fixes hide the path, trap moisture in the decking, and make the final repair more expensive. During intense South Florida rain, those products rarely stop water that is already getting under the roofing system.
If you cannot access the attic, you can still gather useful information from inside the living space. Take photos of the drip, note the room, time, and wind direction, and pay attention to whether the leak starts only in heavy rain or during certain gusts. Those details help separate a vent leak from a wall leak, window leak, or ridge problem, and they give a roofer a much better starting point when a permanent repair is needed.
Emergency Steps to Manage Water Damage During a Storm
Once water is inside, the priority changes. You're not fixing the roof in that moment. You're limiting damage, avoiding electrical risk, and keeping the situation from spreading.
What you should do right away
Start with simple indoor control measures. They work better than panic-driven roof climbing.
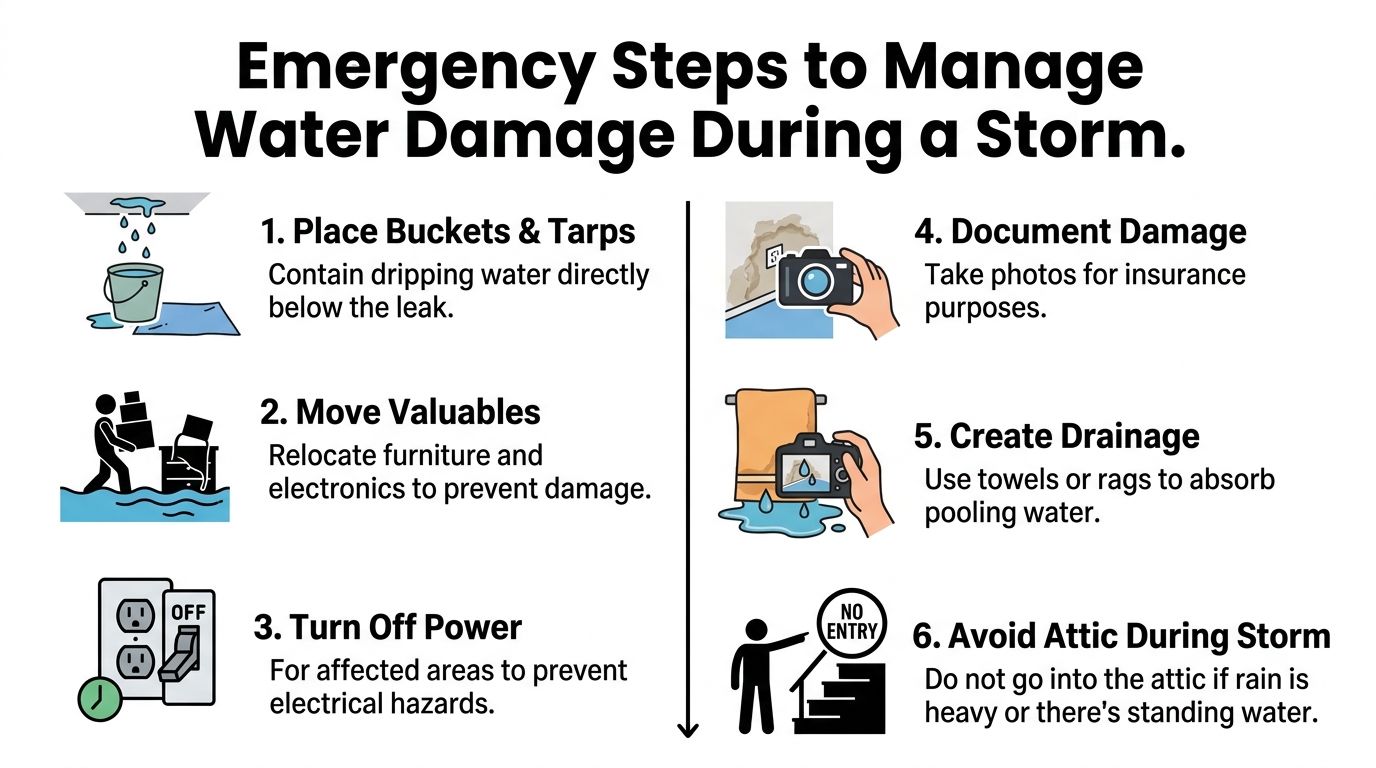
- Catch the water. Put buckets, storage bins, or deep pots under active drips. If water is splashing, place an old towel in the bottom to reduce spray.
- Move what you can. Pull electronics, rugs, furniture, and paper goods away from the wet area.
- Protect the floor. Use plastic sheeting, contractor bags cut open, or towels to stop seepage into wood or carpet.
- Shut off power if needed. If water is near fixtures, outlets, or a breaker-fed area, cut power to that zone if you can do it safely.
- Document everything. Take clear photos and short video clips before cleanup changes the scene.
- Relieve a ceiling bulge carefully. If water is ballooning inside drywall, some homeowners choose to puncture the lowest point into a bucket to release weight. If you do this, wear eye protection and make sure no electrical hazard is present.
For broader indoor response, this practical guide on water damage cleanup advice is worth keeping handy. It's useful once the immediate drip is controlled and you need to think about drying, cleanup, and preventing secondary damage.
What not to do during the storm
The biggest mistake I see is the emergency caulk run. Homeowners grab silicone, roofing cement, or a tarp and try to stop the leak in the rain. That move is risky, and in many vent leak situations it doesn't solve the underlying problem.
The reason is simple. Water can travel laterally under shingles up to 2 feet before leaking, which makes spot-sealing ineffective unless the whole flashing interface is corrected properly. That heavy-rain behavior is covered in the earlier source used in this article, and it lines up with what roofers see in the field all the time.
A wet-roof patch during a storm usually treats the place you saw water, not the place water entered.
Avoid these moves during active weather:
- Don't climb onto the roof with a tube of sealant or a tarp.
- Don't nail plastic into shingles or tile. You can create more openings than you stop.
- Don't smear cement around the vent cap and assume you've fixed flashing hidden underneath.
- Don't stay in the attic if conditions are getting slippery, visibility is poor, or water is near wiring.
The right emergency response is controlled, boring, and safe. That's what saves drywall, flooring, and people.
Your Guide to Permanent Roof Vent Repair Solutions
A lasting repair starts after the roof is dry enough to inspect properly. If the vent leaked in a South Florida storm, the repair needs to do more than cover a crack. It has to rebuild the water-shedding path around that penetration.
What a real repair looks like
The core of a permanent repair is the flashing assembly. As detailed in this explanation of proper vent flashing repair, a permanent fix for faulty flashing, the primary mechanical cause of vent leaks, requires removing old materials, replacing cracked flashing with high-quality metal or rubber, and reapplying weather-resistant sealants to ensure no gaps remain between the vent and the surrounding roof.
That process matters because flashing doesn't work alone. It works as part of a layered system.
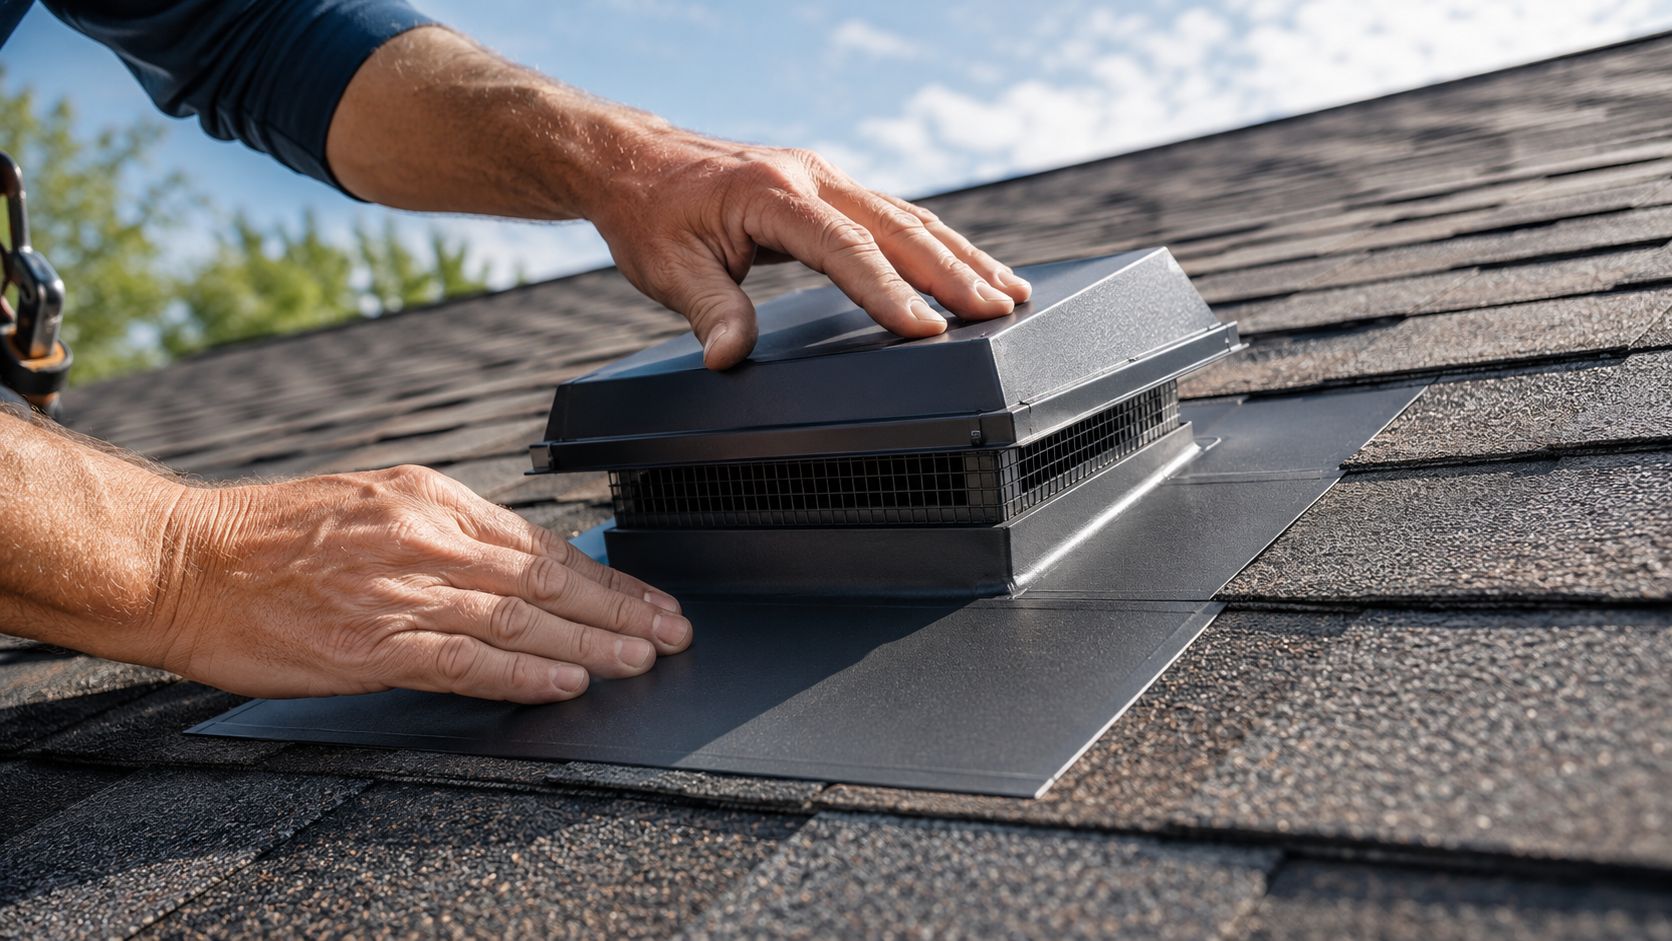
A competent repair usually includes:
- Removal of shingles or roofing material around the vent.
- Pulling out the failed boot, flashing, fasteners, and old sealant.
- Checking the deck for rot, softness, or delamination.
- Installing new flashing that matches the roof system.
- Reintegrating the surrounding shingles or tiles with proper overlap.
- Applying weather-resistant sealant only where the system is designed to use it.
Repairs that hold up and repairs that fail
Here's the trade-off homeowners need to understand. A cheap repair may stop the leak short term, but if the roofer doesn't remove the surrounding materials, they may never see the hidden crack, bad nail placement, lifted flange, or broken underlayment edge that's causing the problem.
A better way to evaluate a repair is to ask what gets replaced and what gets rebuilt.
| Repair approach | Likely result |
|---|---|
| Surface caulk around vent | Short-term patch, often fails in next hard storm |
| Cement over flashing edge | Can trap water and hide underlying defects |
| Full boot and flashing replacement | Best path to a durable fix |
| Partial repair without shingle integration | Better than caulk alone, but may still leave a water path |
Good vent repairs are mechanical first, chemical second. Flashing and overlap do the real work. Sealant supports the system, it doesn't replace it.
On tile, metal, flat, and shingle roofs, the exact details change, but the principle doesn't. Water has to be guided back onto the roof surface and off the penetration. If that water path isn't restored, the leak will be back.
Proactive Roof Vent Inspections and Repair Costs
A lot of South Florida vent leaks give a warning before they turn into a ceiling stain during a hard storm. The problem is that homeowners often miss the early signs, or they trust a quick patch that looks fine in dry weather and fails once wind-driven rain starts pushing water sideways under the roofing.
Routine inspection helps, but it needs to be the right kind. A clean-looking vent cap does not mean the assembly below it is sound. I've seen plenty of leaks blamed on the vent itself when the actual problem was blocked drainage, debris packed around the penetration, or aging materials nearby that only opened up under heavy rain and pressure.
A smart inspection routine for homeowners
Homeowners can do useful checks without climbing onto the roof. That is the safe approach.
Start outside from the ground after a storm, not during one. Use binoculars and look for vent caps sitting crooked, exposed metal with rust, lifted roofing around penetrations, or debris collecting uphill from the vent. In South Florida, leaves, seed pods, and roof grit can hold water where it should never sit.
Then check the attic on a dry day. Look for old water trails on the wood, damp insulation, mildew smell, dark staining around vent pipes, and any spots that look worse after a windy rain than after a normal shower. That pattern matters because many vent leaks here are tied to wind-driven rain, not just worn sealant.
One maintenance item gets overlooked all the time. Clogged areas around vents can make diagnosis harder and can push water into weak points that stay hidden in lighter weather. The National Fire Protection Association notes that vents, including exhaust terminations, should be inspected for blockages and buildup as part of routine maintenance in its guidance on inspecting and maintaining vents and chimneys: https://www.nfpa.org/news-blogs-and-articles/blogs/2020/07/08/inspecting-and-maintaining-chimneys-and-vents
If you want a homeowner-friendly overview of exterior upkeep, this article on how to prevent water damage with roof cleaning is a solid reminder that clean drainage paths reduce avoidable problems.
A simple yearly check is good. One after hurricane season is better.
What affects repair cost in South Florida
Repair cost depends on scope, roof type, and how far the water traveled before anyone caught it. That is why phone quotes for vent leaks are usually unreliable.
A minor service call costs less when the issue is limited to a small exposed seal point or a removable component at the vent. Costs rise fast when the crew has to remove surrounding shingles, reset tile, replace a cracked boot, fabricate metal, or repair wet decking. On older roofs, a vent leak can also expose broader wear around nearby penetrations, and that changes the job.
These factors usually drive price:
- Roof type. Shingle, tile, flat, and metal roofs all require different repair methods and materials.
- Access and safety setup. Steep slopes, height, fragile tile, and limited access add labor time.
- Condition around the vent. Rotten decking, deteriorated underlayment, or broken tile turn a vent repair into a larger repair.
- How many penetrations are aging at once. Replacing one failed boot while three others are close behind is not always the best value.
- Urgency. Emergency dry-in work during storm season costs more than a scheduled repair in stable weather.
Cheap pricing usually means limited tear-out and limited inspection. That is the trade-off.
Ask exactly what gets removed, what gets replaced, and whether the roofer is inspecting the surrounding roof system or only treating the visible leak point. Temporary seals often look attractive because they cost less up front, but they rarely hold through a South Florida summer if the assembly underneath is already compromised.
For budgeting, separate repairs into three buckets: minor maintenance, full vent and flashing repair, and repair with surrounding roof or deck work. Those are very different jobs, and they should not be priced like they are the same.
Good vent repairs are mechanical first, chemical second. Flashing and overlap do the primary work. Sealant supports the system. It does not replace it.
When to Call a Roofing Pro in South Florida
Some leaks can wait a day or two for dry weather. Some can't. If water is entering during every hard rain, if the stain is spreading, if the attic insulation is soaked, or if you see signs of damaged flashing or failed vent boots, call a roofer.
South Florida weather is hard on roof penetrations. Heavy rain, wind-driven water, UV exposure, and storm debris work together. That's why quick patches fail so often here. A repair that might limp along in milder conditions won't necessarily survive a summer storm cycle in Broward, Miami-Dade, or Palm Beach County.
Call a pro right away when any of these apply:
- Active leaking near electrical fixtures
- Sagging ceiling drywall or trapped water
- Multiple vents leaking during the same storm
- Repeat leaks after a prior patch
- Tile displacement, missing shingles, or visible storm damage around penetrations
- You can't access the attic safely
For commercial buildings and multifamily properties, the threshold should be even lower. A small vent leak over one unit can become insulation damage, ceiling failure, tenant complaints, and mold concerns across a larger area if the source isn't found quickly.
The biggest reason to bring in a roofer is simple. Vent leaks during heavy rain are often misdiagnosed. The stain inside rarely tells you the full story, and the visible vent cap on the roof may not be the true failure point. A proper inspection follows the water path, checks the surrounding roof system, and determines whether the fix is a reseal, a flashing replacement, or a larger repair.
If you need a reliable next step, Paletz Roofing and Inspections serves homeowners and property owners across Broward, Miami-Dade, and Palm Beach counties with roof leak inspections, repairs, and emergency response. They've been licensed and insured since 1990 and bring over 30 years of South Florida roofing experience to shingle, tile, metal, and flat roof systems. If your roof vent is leaking during heavy rain, contact Paletz Roofing and Inspections for a free inspection or immediate service before the next storm turns a small penetration leak into major interior damage.