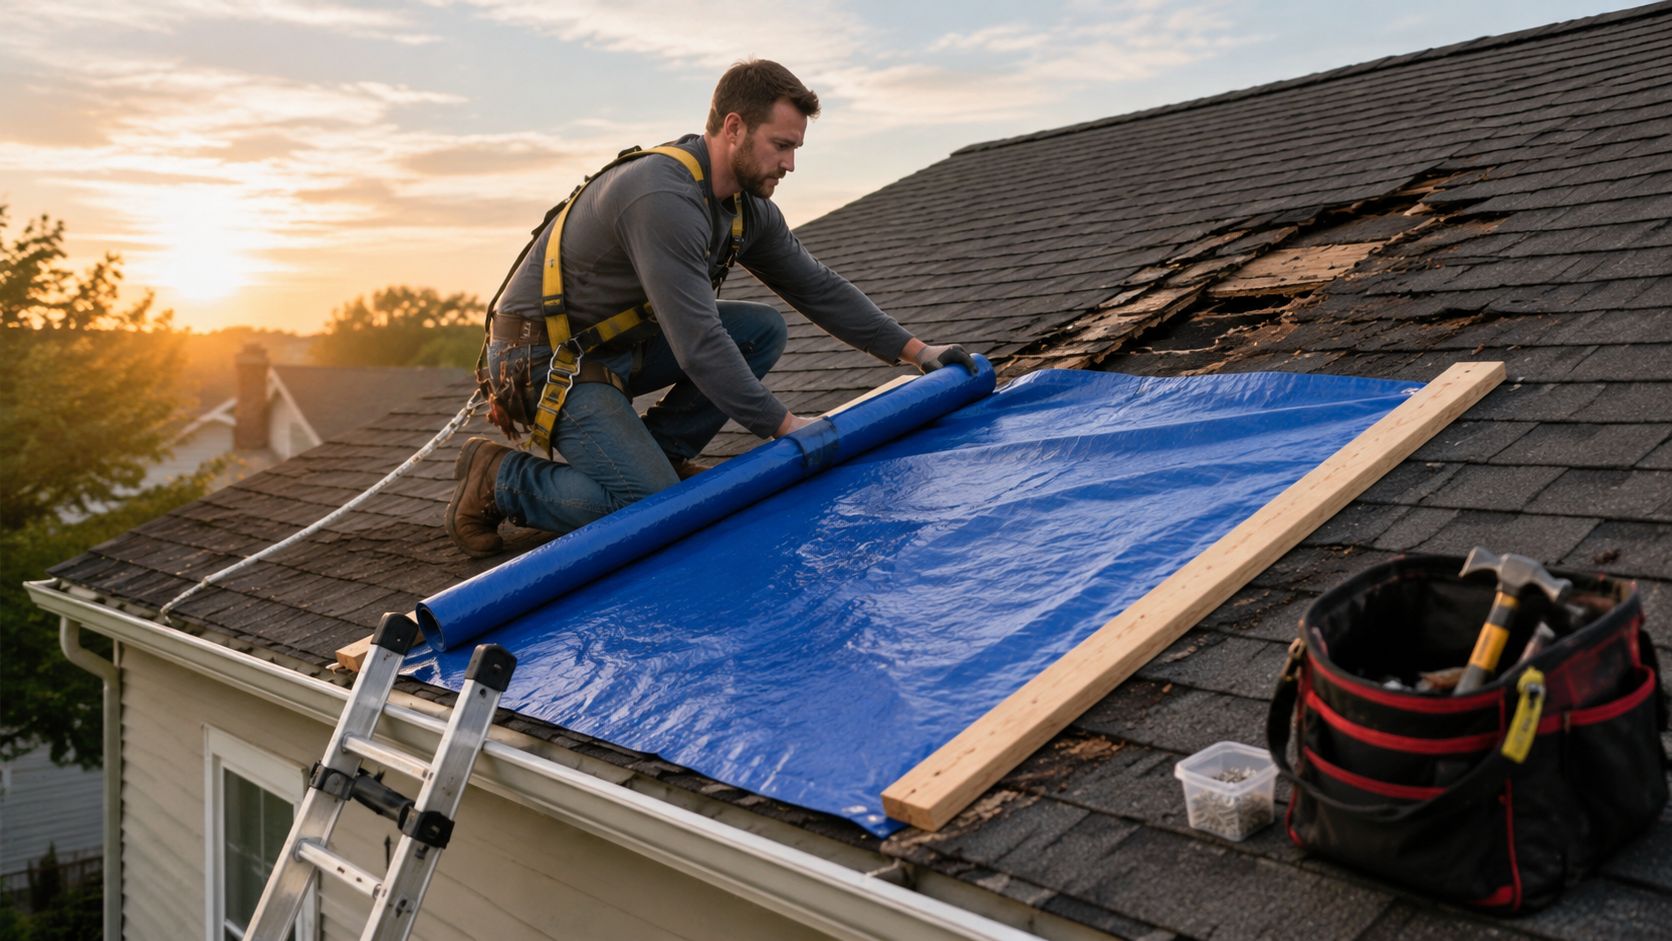
Emergency roof tarping can cost $150 to $3,300, and most homeowners land near $450 for a standard residential job. That price isn't for a sheet of plastic alone. It reflects trained labor, ladders, harnesses, anchors, and the risk of getting on a damaged roof fast.
If you're reading this while rain is dripping into a hallway, a bedroom ceiling is staining, or shingles are scattered across the yard, the priority is simple. Stop more water from getting in, keep people off a dangerous roof unless the situation is safe, and treat the tarp as a temporary shield, not a repair. A good emergency tarp buys time. A bad one can rip loose, leak again, or put somebody in the hospital.
Homeowners often focus on the tarp itself, missing the bigger risks. Crucial decisions involve safety, timing, documentation, and what happens after the tarp is installed. Some roofs should never be a DIY job. Some “free tarp” offers create insurance problems. And a tarp that seems secure can still lead people to delay permanent work too long.
Table of Contents
- Your First Response to a Damaged Roof
- DIY Tarping vs Calling a Professional
- Essential Safety Gear Tools and Materials
- How to Tarp Your Roof A Step-by-Step Guide
- Your Tarp Is On Now What Comes Next
- Emergency Tarping Questions Answered
Your First Response to a Damaged Roof
The first job isn't climbing. The first job is getting control of the situation.
If water is entering the house, move people and valuables away from the leak path. Put containers under active drips. If the ceiling is sagging, stay clear of that area. Wet drywall can come down without much warning, and electricity changes everything, so shut off power to affected areas if it can be done safely.
A tarp matters because every hour of exposure can turn a roof problem into an interior problem. Furniture, insulation, drywall, flooring, and framing all get more expensive to deal with once water keeps moving. Emergency roof tarping is the immediate containment step, not the finish line.
Practical rule: If the roof is steep, slick, storm-damaged, or still exposed to wind, staying off it is often the smartest move you can make.
Cost matters too, because homeowners often assume they're paying mostly for material. They aren't. Emergency roof tarping in the United States usually runs from $150 to $3,300, with a standard residential job averaging about $450, and that price reflects the skilled labor and protective equipment needed for a hazardous response, as outlined by Palm Builders on emergency roof tarping cost and process.
What to do in the first hour
- Protect the interior: Move electronics, rugs, bedding, and furniture away from the leak path first.
- Document what you can see: Take photos from the ground and inside the home before anything changes.
- Check for visible storm impact: If you need help spotting common signs before calling for repairs, this guide on how to check for roof storm damage is a practical starting point.
- Decide whether access is safe: Don't let urgency force a bad ladder decision.
What not to do
| Action | Why it backfires |
|---|---|
| Climbing onto a wet roof alone | Falls happen fast on damaged surfaces |
| Nailing plastic directly into loose roofing | It tears out easily and often leaks again |
| Assuming a small ceiling stain means minor roof damage | Water rarely travels in a straight visible line |
A calm first response saves more than a rushed repair attempt.
DIY Tarping vs Calling a Professional
A lot of homeowners ask the wrong question. They ask, “Can I tarp this roof myself?” The better question is, “Should I?”
Some houses give you a narrow, manageable situation. Others present a risk that isn't worth gambling on. Height, roof pitch, broken decking, active rain, wind, tree impact, and the location of the damage all change the answer.
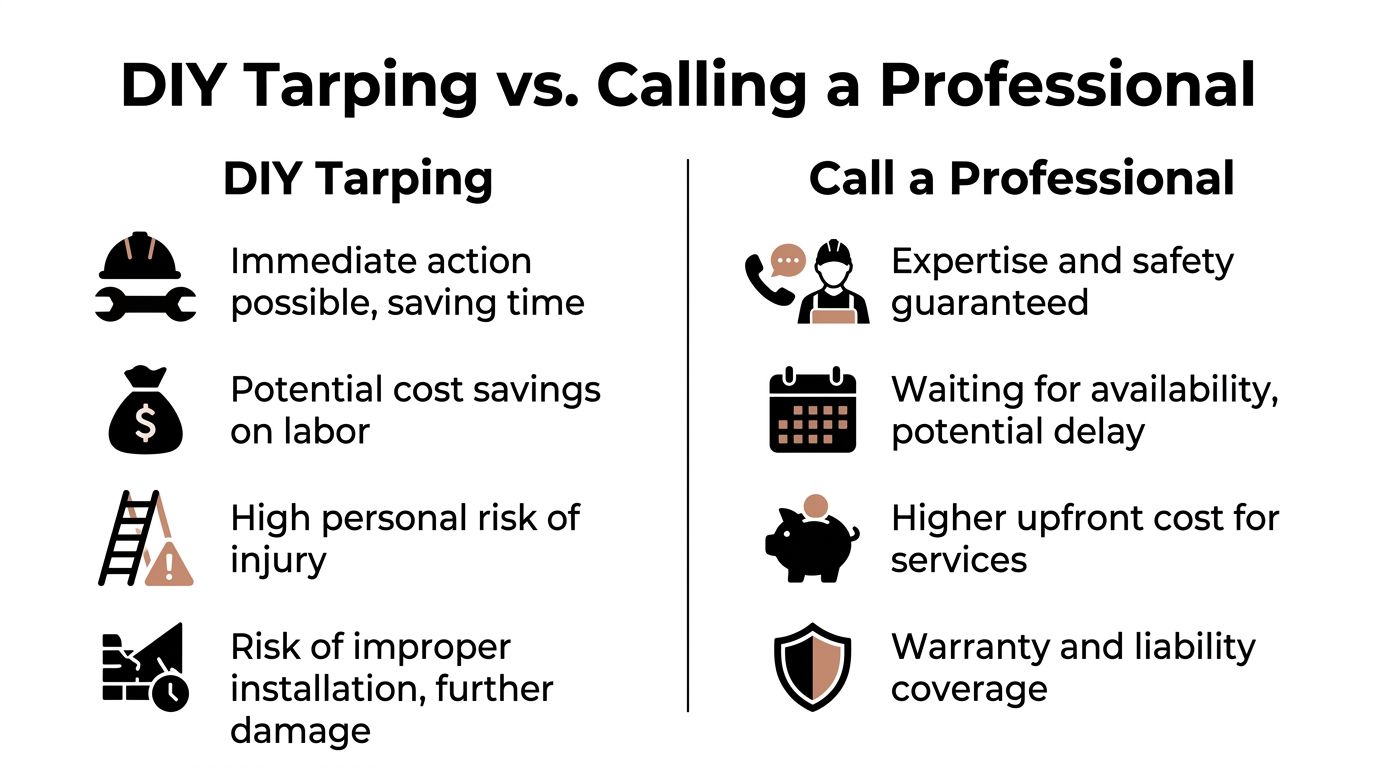
Improperly anchored tarps fail in 60-70% of severe wind events, while professional installations that use 2×4 board compression and sufficient overlap achieve a 95%+ success rate in maintaining waterproof integrity, according to The Shingle Master's emergency tarping best practices. That gap is the whole story. A tarp that looks acceptable from the driveway may still be one gust away from peeling open.
When a homeowner can act
A limited DIY response may make sense if all of the following are true:
- The roof is low and accessible: A simple slope over a porch or lower section is different from a second-story main roof.
- Conditions are dry and stable: No rain, no lightning, no gusting wind.
- Damage is contained: You're covering a small, obvious area, not chasing hidden structural problems.
- You already have proper gear: Not a household step ladder. Real access and fall protection.
Even then, the goal is temporary containment. It isn't craftsmanship. It isn't permanent waterproofing.
When the answer is call a roofer
If any of these are true, stop there and bring in a trained crew:
- The roof feels questionable: Soft spots, sagging, impact damage, or visible decking issues.
- The slope is steep or high: A tall ladder and a slick roof are a bad combination.
- The opening crosses ridges, valleys, or penetrations: Those details are where bad tarps fail.
- Weather is still moving through: Wind turns loose tarp edges into sails.
A roof leak is a property problem. A fall is a life problem.
Professional crews aren't just bringing more muscle. They bring a system. That includes securing the cover with compression boards, keeping the tarp taut, and evaluating whether the surface underneath can even take fasteners safely. If you want a visual reminder of what a professional roofing brand looks like while vetting local help, this Paletz Roofing and Inspections logo file can help confirm you're on the right company materials when reviewing documents or messages.

Essential Safety Gear Tools and Materials
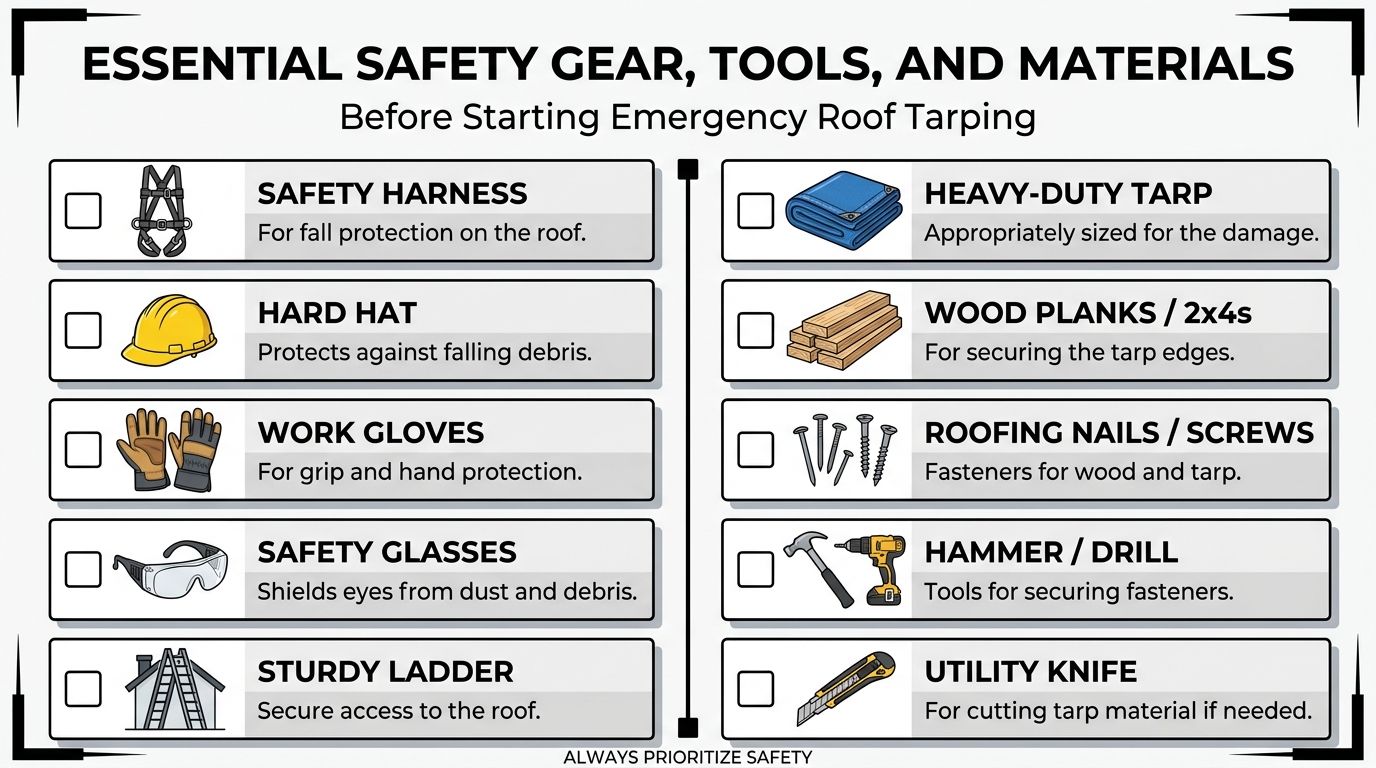
If you're going to attempt emergency roof tarping, treat it like a pre-flight check. Missing one key item can turn the job sloppy or dangerous.
The tarp is only part of the setup. The gear that gets you up and down safely matters first, and the tools that keep the cover tight matter second. Homeowners often reverse that order.
Safety gear comes first
Don't step onto the roof without these basics staged and ready:
- Harness and anchor setup: Fall protection isn't optional on damaged roofing.
- Sturdy extension ladder: The ladder needs stable footing and proper tie-off.
- Work gloves: Wet debris, metal flashing, and rough decking tear hands up fast.
- Hard hat and eye protection: Branches, nails, and broken material don't stay where you expect.
- Non-slip boots: Good tread matters more than speed.
This is also the point where many DIY jobs should stop. If you don't already have the safety equipment and know how to use it, that's not a small gap. That's the reason to call a professional.
What to stage before you climb
The material list should be practical, not improvised.
| Item | Why it matters |
|---|---|
| Heavy-duty polyethylene tarp | The actual weather barrier |
| 2×4 boards | They clamp and distribute load across the tarp edge |
| Fasteners | Used to secure the boards into sound decking |
| Hammer or drill | Depends on your fastening method |
| Utility knife | For controlled trimming only |
| Pry bar | Helpful for clearing loose debris carefully |
For effective emergency roof tarping, use a minimum 6 mil thick heavy-duty polyethylene tarp. If you need better tear resistance and longer temporary protection, an 8-12 mil tarp is the stronger choice and can hold up for up to 30 days under storm exposure, based on Fox Haven Roof's tarp thickness guidance.
Don't buy the cheapest tarp on the rack and expect it to survive roof movement, sun, and wind.
A few material choices make a major difference:
- Choose oversized coverage: You want enough material to extend beyond the damaged area so water sheds away from the opening.
- Use straight boards, not scraps: Twisted lumber won't clamp evenly.
- Keep backup fasteners nearby: Once you're on the roof, repeated trips up and down create extra exposure.
A rushed setup produces loose edges, wrinkles, and weak attachment points. Those are the failures you can't see well from the ground.
How to Tarp Your Roof A Step-by-Step Guide
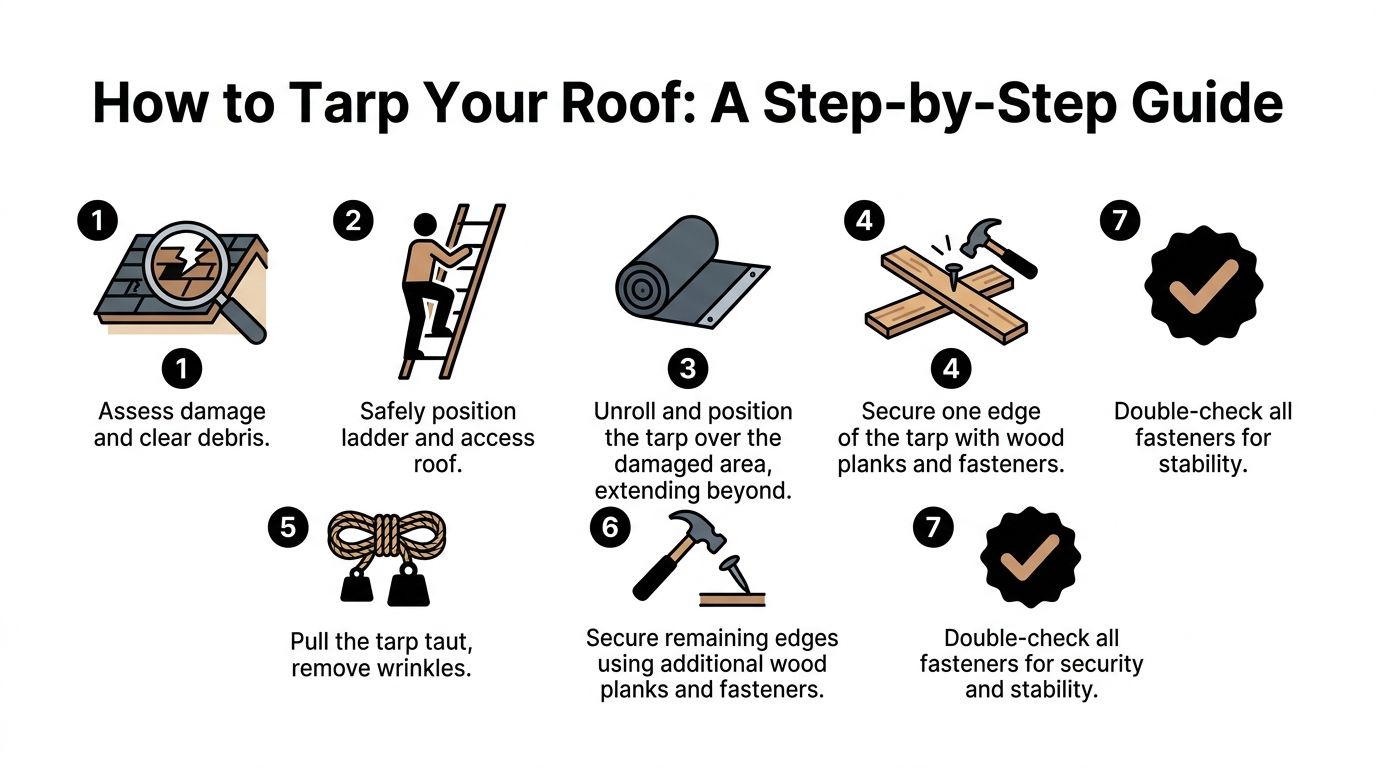
A tarp only works when it sheds water cleanly and stays tight. The install matters more than the material. Loose placement and random nailing are what turn a temporary fix into a repeat leak.
Start with a ground check and debris removal
- Inspect from below first. Find the likely damage zone from the yard and from inside the attic or ceiling area if accessible.
- Clear only what's loose and obvious. Remove branches, shingles, and sharp debris that could puncture the tarp or prevent it from laying flat.
- Confirm the deck feels stable before committing your weight. If anything feels soft, spongy, or broken, back off and stop the DIY attempt.
Don't start by dragging a tarp across jagged debris. You'll damage it before it's even secured.
Set the tarp so water sheds downhill
- Unroll the tarp over the damaged area and beyond it. You need coverage that extends well past the visible opening so runoff doesn't find its way underneath.
- Keep the tarp smooth and taut. Wrinkles create pockets where water can sit, and standing water adds weight and strain.
- Orient the tarp with drainage in mind. Water should move down and off the roof, not toward a seam or a lifted edge.
If the damage sits high on the slope, bringing the tarp over the ridge is often more secure than ending it partway up the roof. The principle is simple. Give water a clean path off the structure.
Secure the tarp with boards not loose edges
- Wrap one tarp edge around a 2×4 board. This creates a strong anchor line.
- Fasten through the board into sound decking. Don't rely on nails punched through loose tarp alone.
- Pull the opposite side tight before securing the remaining edges. Tension is what keeps the cover from flapping and tearing.
- Clamp all exposed edges with additional boards as needed. The goal is compression, not scattered attachment points.
Most failed DIY installs show common mistakes. People tack the tarp wherever they can, leave air gaps under the material, and assume “covered” means “sealed.” It doesn't.
Tight tarp, solid decking, compressed edges. That combination holds. Loose edges don't.
Final checks before you climb down
Run a short inspection before calling it done:
- Look for flutter points: Any edge that lifts in the breeze needs attention.
- Check for sharp corners underneath: Those become punctures later.
- Verify runoff direction: If water can channel under the cover, redo the placement.
- Inspect from inside after the next rain or hose exposure if safe: You're looking for active intrusion, not just visual neatness.
Emergency roof tarping is successful when it buys dry time. It fails when it only looks secure from the street.
Your Tarp Is On Now What Comes Next
Relief is normal once the tarp is in place. So is the temptation to exhale and move on to other problems. That's where homeowners get burned.
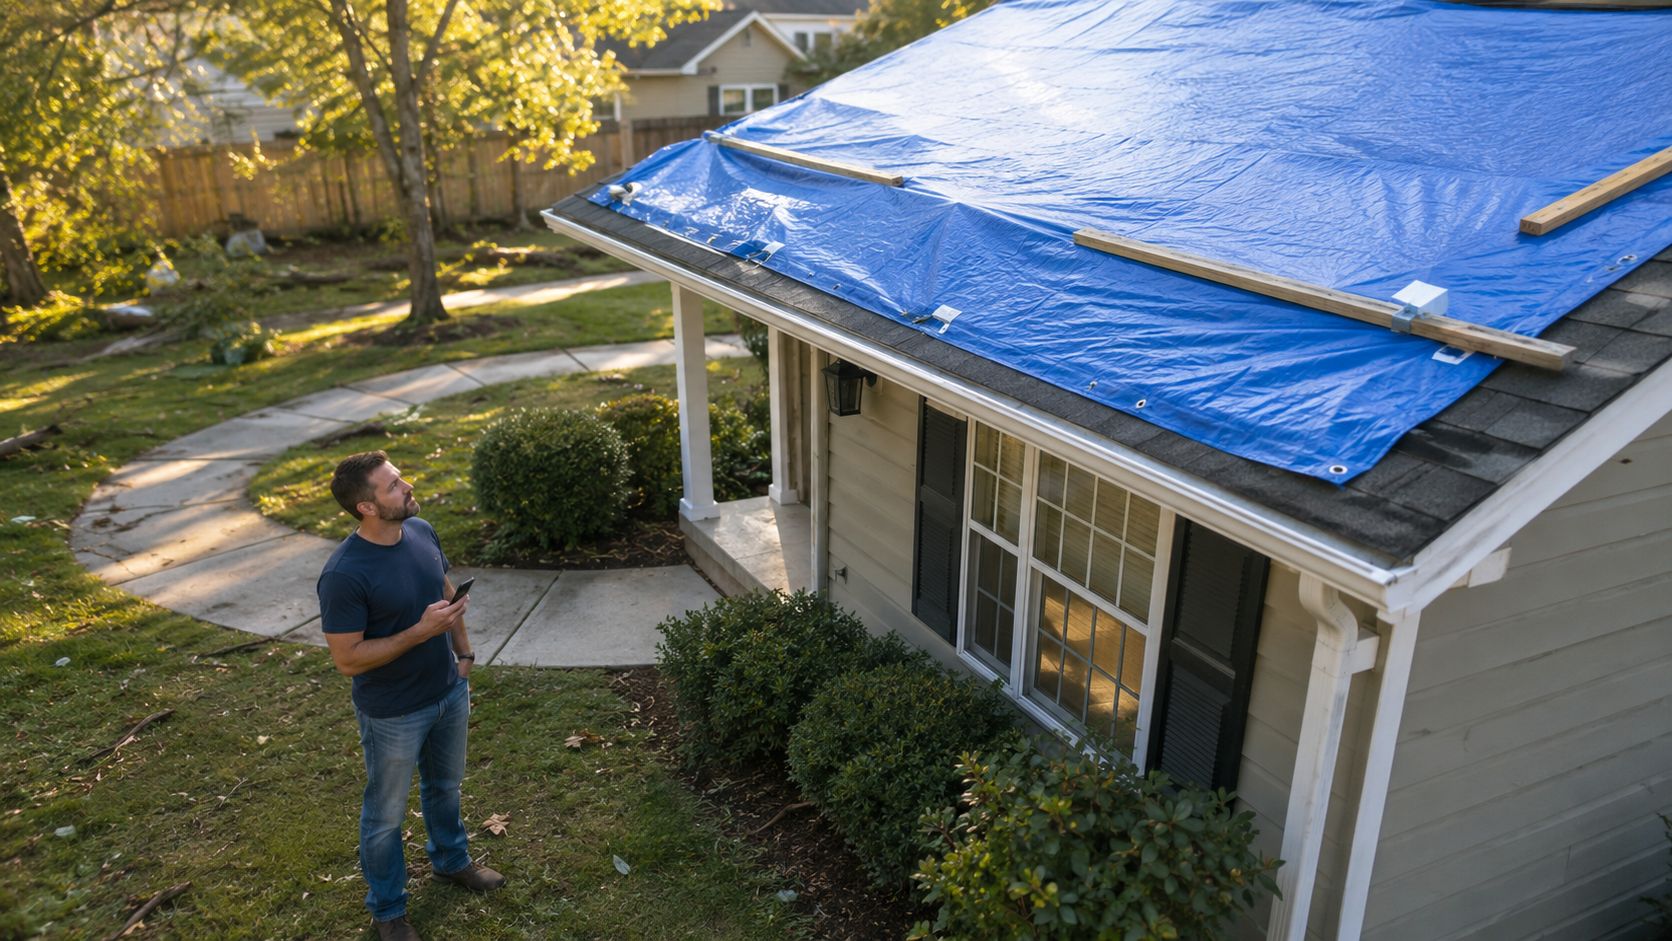
A properly installed emergency roof tarp provides effective temporary protection for 30 to 90 days, and permanent repairs should be completed within that window to reduce material breakdown and the risk of mold growth, according to Advanced DRI on emergency roof tarping after storm damage. Temporary means exactly that.
Use the temporary window correctly
The tarp bought you time. Use that time on the parts homeowners tend to delay.
- Schedule permanent repair fast: Don't wait to “see how the tarp holds.”
- Check the interior daily after rain: Stains, odor, damp insulation, and soft drywall all matter.
- Watch the tarp itself: Loose edges, wear spots, and movement need prompt correction.
A tarp can stay in place and still let trouble develop underneath it. Moisture trapped below a compromised cover can create a second round of damage that isn't obvious at first glance.
Handle the insurance side before details get lost
The best claim files are simple and organized.
Take exterior and interior photos before tarping if you can do so safely. Then photograph the tarp after installation. Save receipts for materials or emergency service. Write down when the leak started, when you found the damage, and any weather event that appears connected. If an adjuster or contractor asks questions later, you'll have a timeline instead of a rough memory.
Use a short checklist:
- Photos before mitigation
- Photos after mitigation
- Notes about active leaks and room locations
- Receipts and invoices
- A scheduled date for full inspection or repair
If you're acting as if the tarp solved the problem, you're wasting the advantage it gave you. The right move is to treat the tarp as a deadline, not a comfort blanket.
Emergency Tarping Questions Answered
Storm cleanup creates confusion fast. Homeowners hear bad advice from neighbors, door knockers, social media posts, and contractors who know panic makes people sign things they normally wouldn't.
Can I trust a no money out of pocket tarp offer
Be careful.
Some post-storm contractors push “free tarp” offers billed directly to insurance. That sounds easy when water is coming in, but the risk is in the paperwork and representations made on your behalf. If the documentation is sloppy or the damage description gets inflated, the homeowner can end up dealing with claim problems later.
A safer approach is simple:
- Ask what exactly is being billed
- Ask who is responsible if insurance rejects it
- Get documentation in writing before work starts
- Avoid vague promises tied to claim proceeds
There is a legitimate distinction many homeowners miss. The U.S. Army Corps of Engineers has a Blue Roof program in some disaster situations that provides temporary roof covering without involving your insurance claim, as discussed in the broader industry background. That is very different from a private contractor using “free” as a sales hook.
Does a tarp mean the house is protected until a roofer gets around to it
No. That assumption causes real losses.
Data from 2025 shows 57% of homeowners who chose emergency tarping waited over 60 days for permanent repairs, and 23% reported secondary water damage during that delay, according to Michaelis Corp on emergency tarp roofing service and temporary repairs. That's the false sense of security problem in plain terms.
A tarp can stop rain entry today and still leave you exposed next month if you don't manage what comes after.
The better mindset is active oversight:
- Monitor the interior
- Push the repair schedule
- Keep paperwork organized
- Don't assume silence means everything is dry
What should South Florida homeowners do next
If you're in Broward, Miami-Dade, or Palm Beach County and you have active storm damage, the safest next step is to get a qualified roofer involved immediately. Emergency roof tarping is only useful when it's paired with a real repair plan, careful documentation, and follow-through.
A damaged roof doesn't need optimism. It needs containment, inspection, and permanent correction.
If your home or property in South Florida needs emergency help, Paletz Roofing and Inspections can provide an immediate, expert response and a reliable path to permanent repairs. Homeowners in Broward, Miami-Dade, and Palm Beach counties can call (954) 539-9385 for urgent roof tarping, damage assessment, and experienced guidance when time matters most.