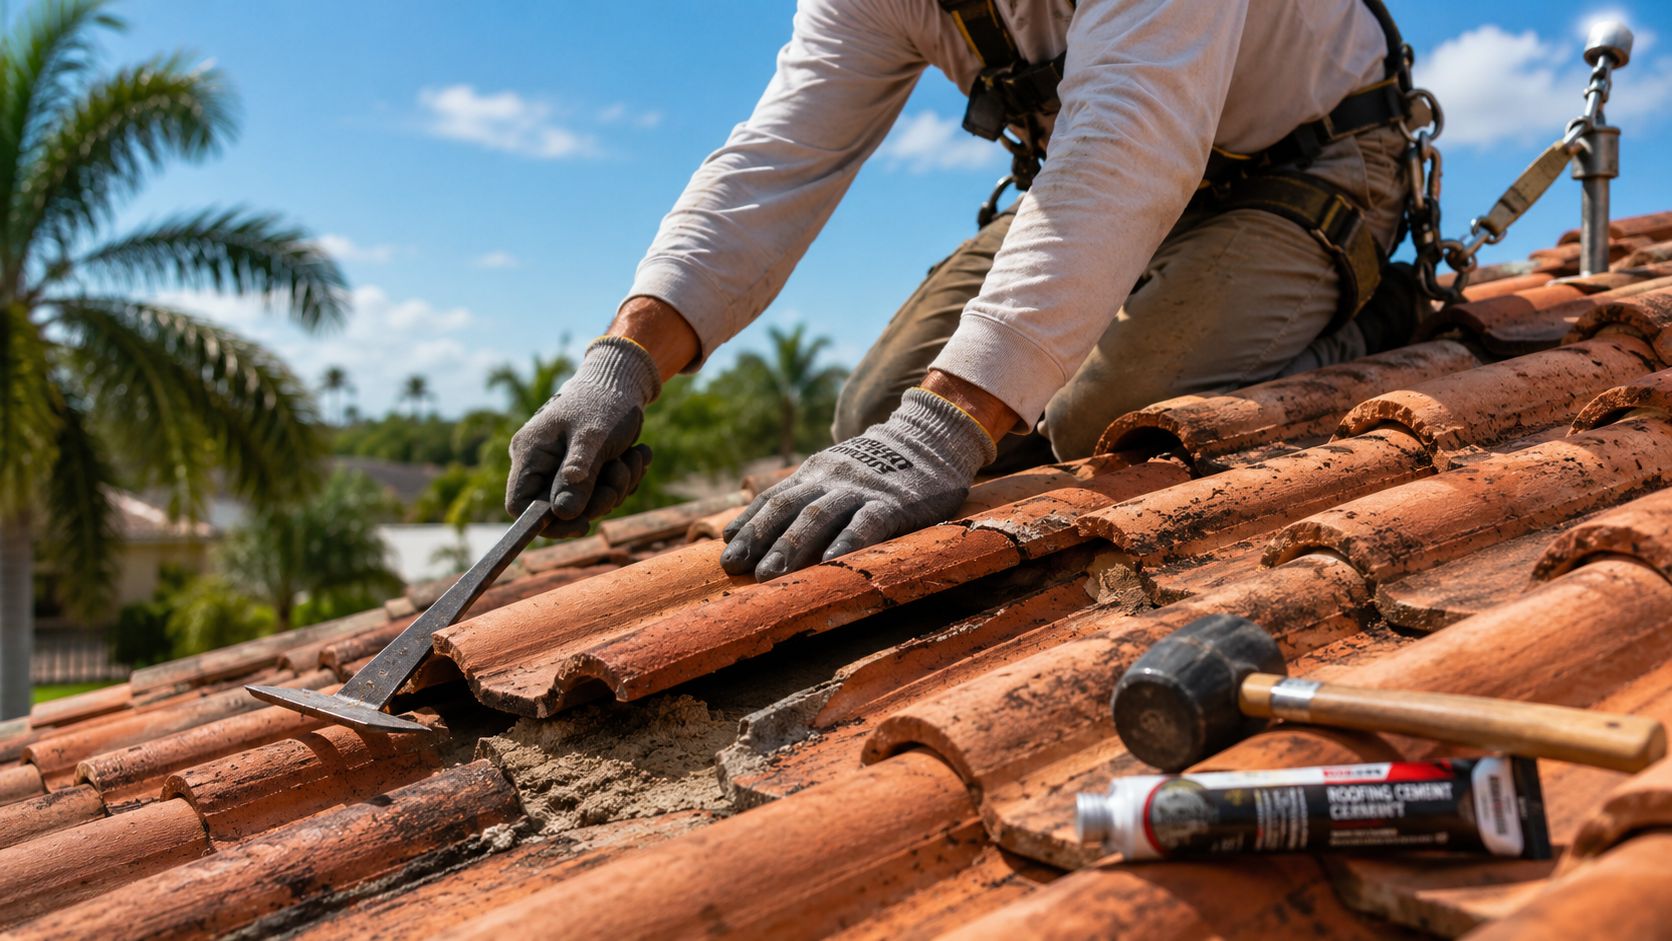
Two days after a thunderstorm, a homeowner in Pembroke Pines notices a yellow ring spreading across the bedroom ceiling. The obvious suspicion is a cracked tile directly above it. After three decades working on South Florida roofs, I can tell you that assumption is often wrong. The tile may be intact while the underlayment, flashing, fasteners, or roof deck beneath it has already failed.
That distinction controls the entire repair. A tile roof can look orderly from the street and still allow water to travel sideways beneath the courses before it reaches the ceiling. Good tile roof repair doesn't stop at the first broken piece. It follows the water path, exposes the waterproofing layer, and determines whether a small patch can hold through the next rainy season.
Table of Contents
- Why Tile Roof Repair in South Florida Is Different
- Diagnosing the Source of a Tile Roof Leak
- When to DIY and When to Call a Professional
- How Tile Roof Repair Actually Works
- Cost and Timeline for Tile Roof Repair in 2026
- Safety Tools and Prep for Working on Tile
- Preventing the Next Repair With Smart Maintenance
Why Tile Roof Repair in South Florida Is Different
In Broward and Miami-Dade, many tile roofs installed during the 1990s still carry their original 30-pound felt underlayment. That felt may have protected the home for years, but it can become brittle, torn, and unreliable long before the visible clay or concrete tiles reach the end of their useful life. A 2007 National Association of Home Builders life-expectancy study cited an average lifespan of about 75 years for clay tile, while industry guidance commonly places properly installed clay tile at 50 to 100 years. The same technical discussion explains why the waterproof layer deserves separate attention, underlayment often needs replacement every 20 to 30 years even when the tiles remain serviceable. The clay tile roofing life-expectancy guidance puts the repair strategy in the right perspective.
South Florida weather accelerates that separation between surface and structure. Intense ultraviolet exposure dries out membranes and sealants, salt air attacks exposed metal, and afternoon squalls force water into small gaps around walls, valleys, vents, and penetrations. Concrete and clay tiles can remain visually sound while fasteners corrode and flashing edges pull away.
Practical rule: A broken tile tells you where to start looking, not necessarily where the leak begins.
The High Velocity Hurricane Zone adds another layer. Repairs and replacements in Broward and Miami-Dade must account for current code requirements, approved attachment methods, and wind performance. A quick patch that ignores those details may stop a drip temporarily without restoring the roof assembly.
Water entering beneath a tile can also damage batten strips, underlayment, and flashing for years before an interior stain appears. That's why a single broken field tile may be cosmetic, while a small flashing separation near a wall can become the source of repeated leaks. For general roof context, homeowners sometimes review this South Florida roof-gravel reference image, but tile systems require a more targeted inspection beneath the surface.

Diagnosing the Source of a Tile Roof Leak
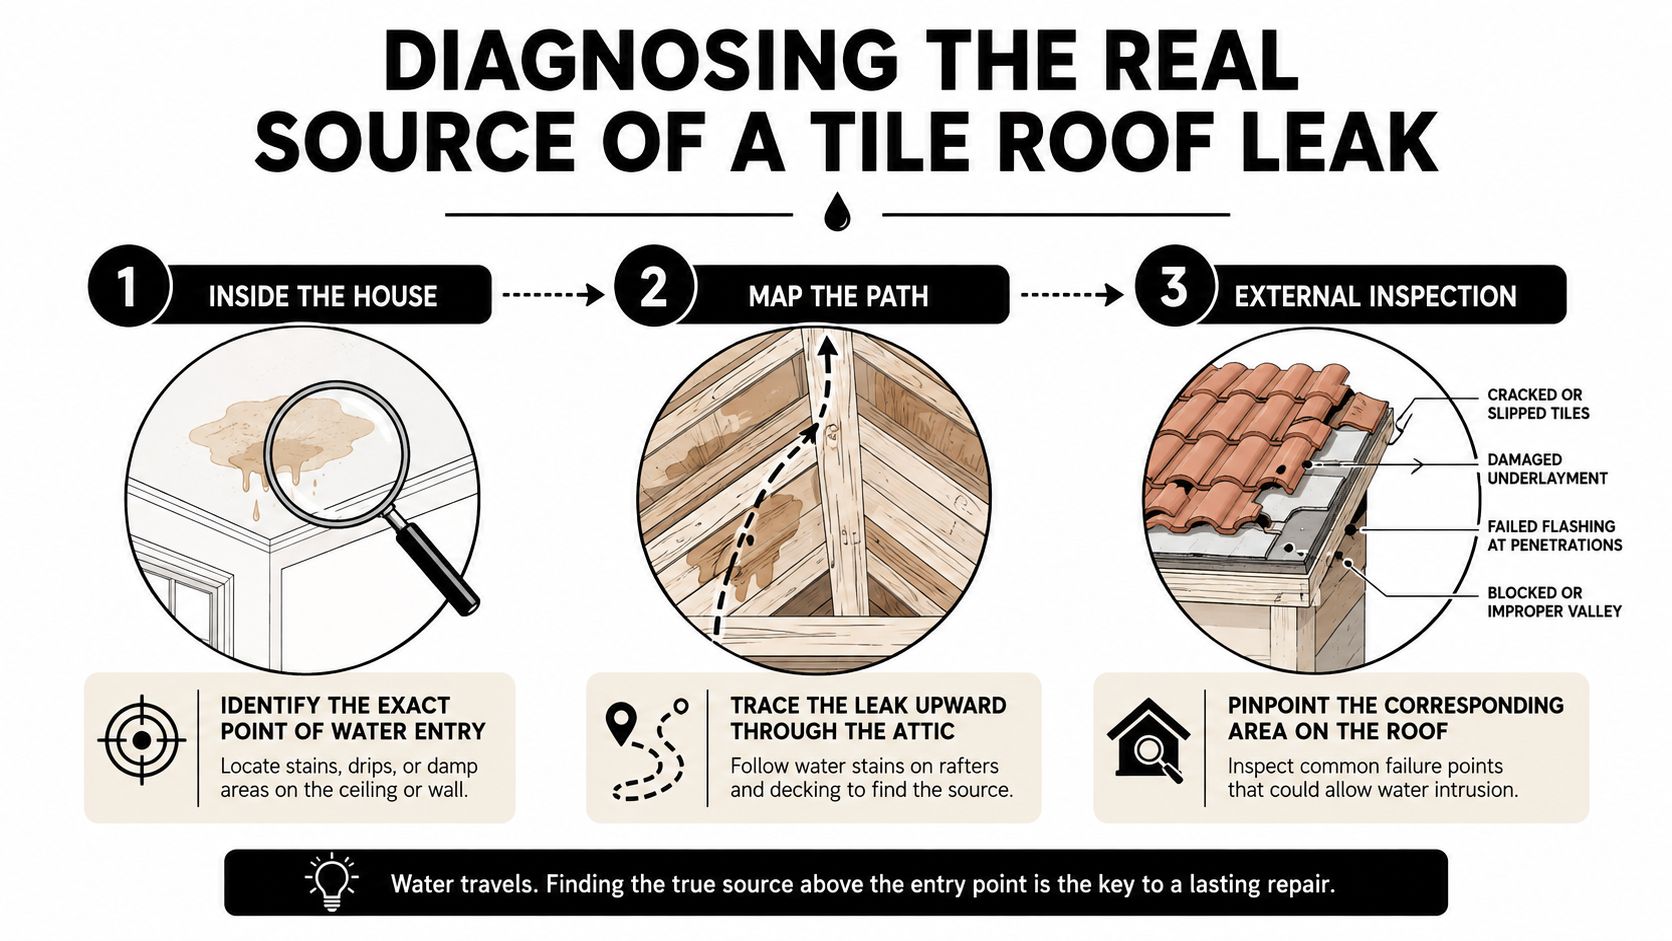
A ceiling stain may appear far from the roof opening. Water can enter at one point, travel sideways beneath the tiles, then drip through decking, rafters, or insulation above another room. Start indoors by examining the stain, nearby walls, attic insulation, rafters, and roof decking. The interior path often narrows the search before anyone steps onto the roof.
Trace the interior path first
Look toward the roof's transition points:
- Chimneys and wall junctions: Step flashing or counterflashing may have separated or corroded.
- Valleys: Debris, shifted tiles, and restricted drainage can concentrate water.
- Vent stacks and penetrations: A failed boot or surrounding flashing can leak while nearby tiles remain intact.
- Roof-to-wall transitions: Wind-driven rain can enter behind trim or flashing.
The likely exterior entry point is rarely confirmed by looking directly above the stain. Stains on rafters and decking can show the direction water traveled. A roofer uses those marks, the roof slope, and the surrounding details to form a working diagnosis.
Exterior inspection follows. Suspect tiles can be checked with gentle taps from a rubber mallet. A hollow, drummy sound may indicate a fissure or weakened tile, but sound alone does not establish the leak source. Neighboring pieces also need attention because lifting one tile can expose cracks in the surrounding course.
The hidden failure is often underneath. A professional may lift tiles above the suspected entry point and inspect the underlayment and flashing directly. Sound underlayment should remain workable when handled carefully, without widespread holes, crumbling fibers, or open seams. Felt that has become fragile and compost-like cannot provide a dependable base for a small patch.
Inspect the details a camera misses
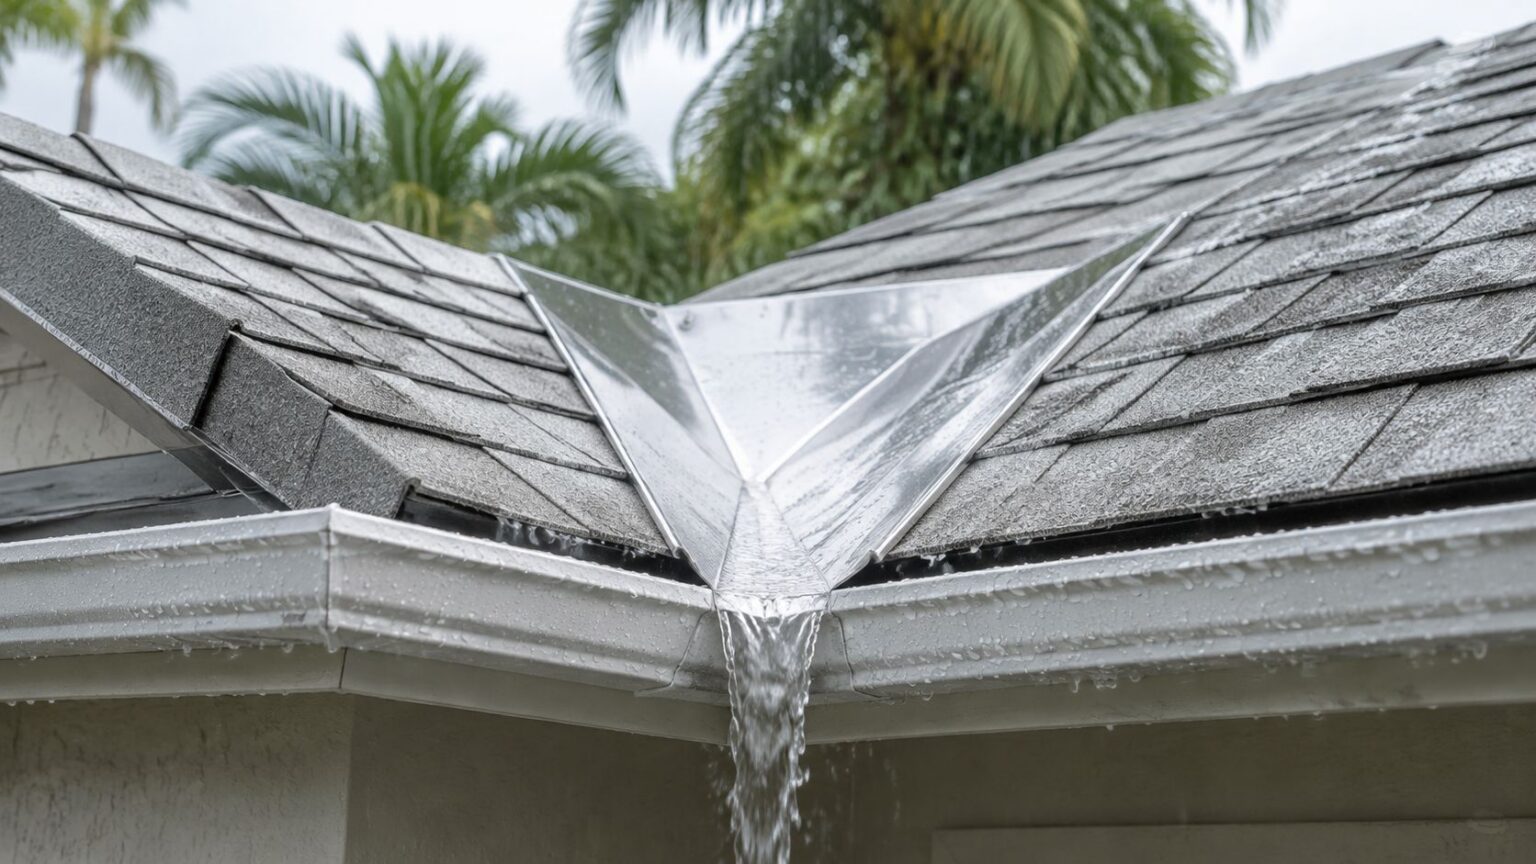
Closed-cut valleys deserve close attention after hurricanes or strong winds shift tile alignment. Confirm that water can move freely through the valley, then check the membrane, metal, and adjacent tile edges for separation. At walls, inspect step-flashing gaps. At chimneys, examine the counterflashing where it meets the masonry. A roof valley and rainwater diversion example helps illustrate why drainage details matter.
Drone photographs can show missing or displaced tiles, but they cannot tap surrounding pieces, lift a course, feel brittle felt, or confirm whether a fastener has pierced a failed membrane. Those findings determine whether the repair is limited to tile replacement or must address the underlayment and flashing beneath it.
When to DIY and When to Call a Professional
Tile work punishes overconfidence. A homeowner with a sturdy extension ladder, proper fall protection, and a single cracked field tile may be able to replace that piece with a broken-tile hook. The safe limit is narrow because the work involves fragile neighboring tiles and a waterproofing system you can't evaluate from the ground.
A single tile in the middle of an accessible slope is one situation. A cracked tile beside a chimney is another. Walking directly on S-tile can break the adjacent pieces, and a repair near a skylight, wall, valley, or vent stack involves flashing work that can fail catastrophically when water returns.
A practical decision guide
| Scenario | DIY Feasible | Professional Required |
|---|---|---|
| One cracked field tile on a low, accessible slope | Possibly, with fall protection and the correct hook | Recommended if the tile is difficult to reach |
| Several broken or shifted tiles | No | Yes, surrounding tiles and underlayment need inspection |
| Damage near a chimney, skylight, valley, or wall | No | Yes, flashing and water paths require trained assessment |
| Two-story slope or slick, algae-coated surface | No | Yes, safe access and fall protection are crew concerns |
| Suspected underlayment failure | No | Yes, tiles must be lifted and the membrane evaluated |
| Work inside Broward or Miami-Dade HVHZ | Rarely | Yes, current approved methods and permit requirements must be addressed |
A professional crew can lift and re-secure a larger section without turning the repair into a trail of newly broken tiles. Formal guidance also calls for inspection around a damaged tile, including careful removal of the piece and adjacent tiles, checking for hidden fissures, maintaining a minimum 3-inch tile head lap, and fastening tile noses, including eave-course tiles, with clips or other approved methods. Tile Roofing Industry technical guidance supports that inspection-first approach.
If the repair involves more than one visible field tile, flashing, or a two-story slope, get a licensed roofing professional involved.
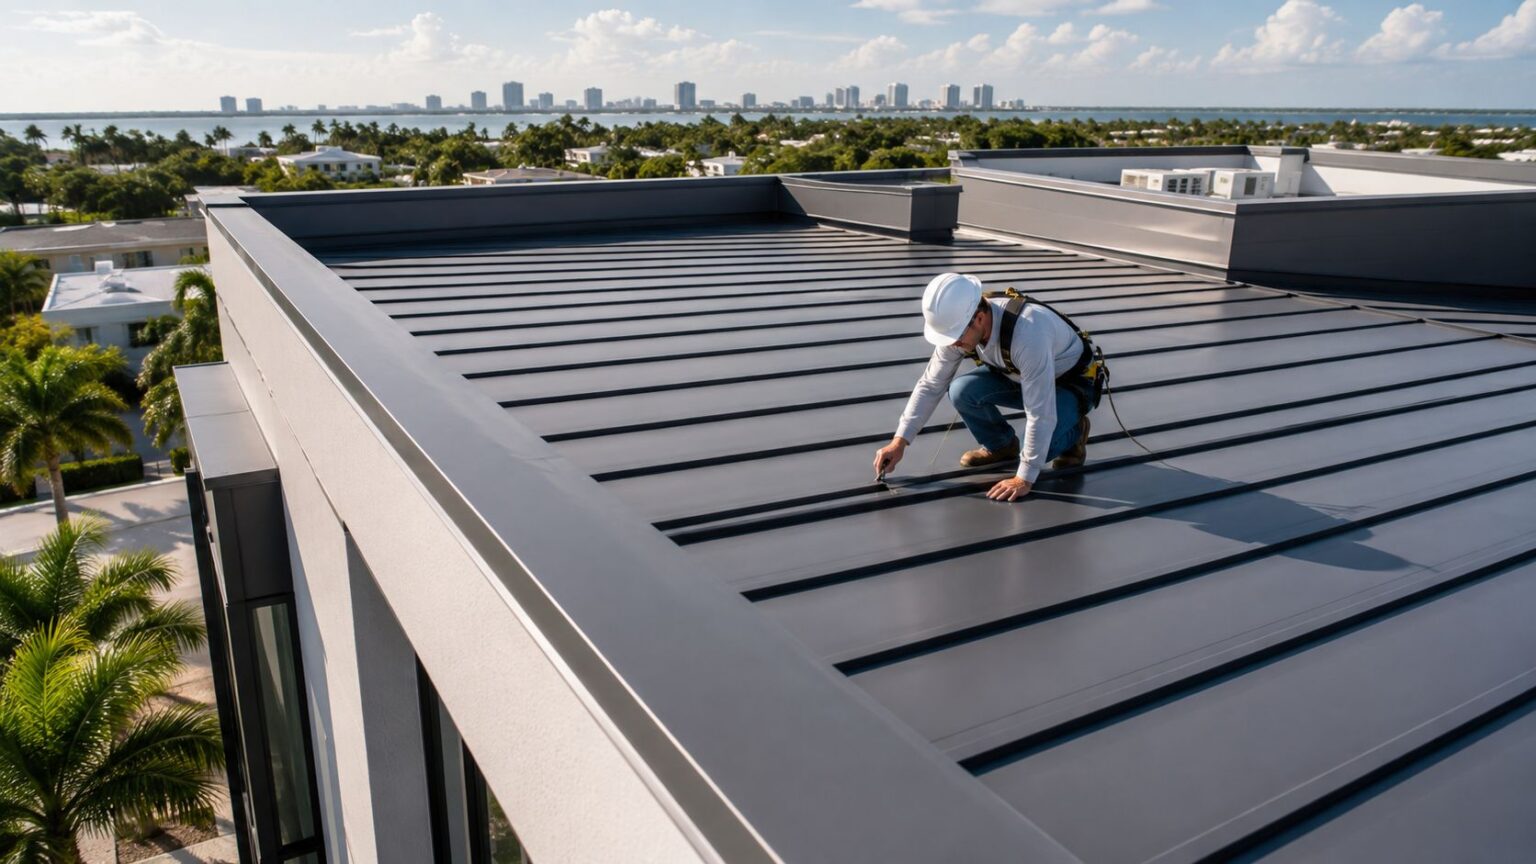
For broader examples of roof repair materials, this commercial metal-roofing installation reference illustrates why roofing systems use different repair methods. Tile work isn't interchangeable with flat or metal roofing work.
How Tile Roof Repair Actually Works
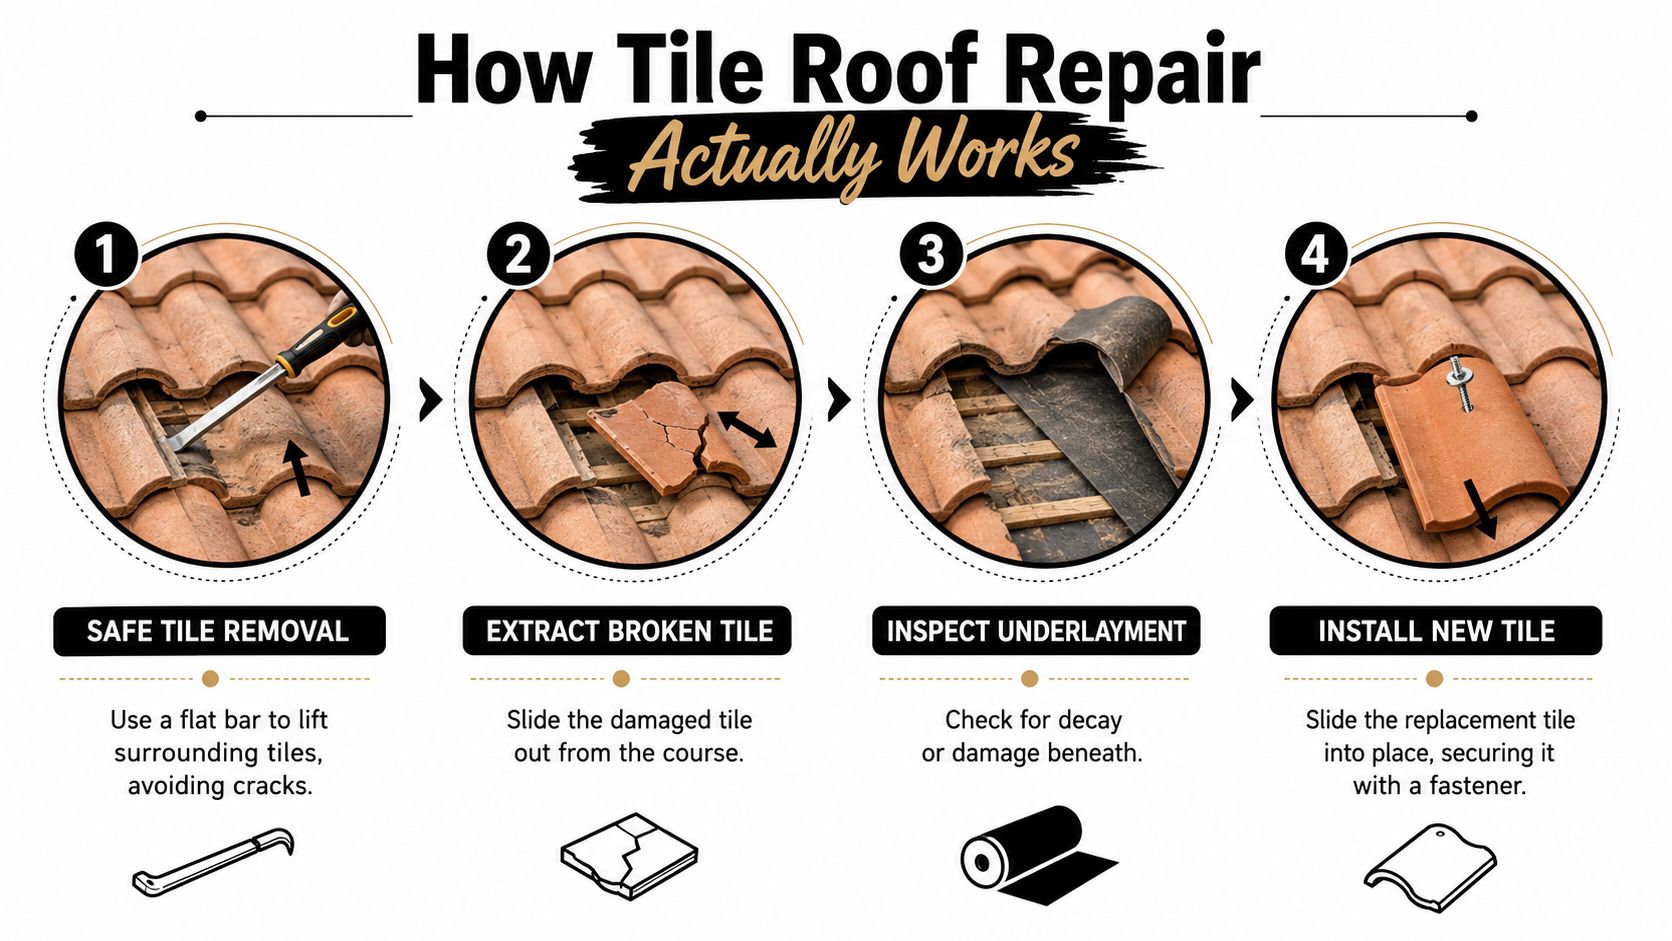
A sound repair begins by protecting the tiles that aren't broken. The crew lifts surrounding pieces carefully with a pry bar or flat bar, working from the correct course so the edges don't chip or crack. Stacked tiles should rest on padding rather than directly on a hard roof surface.
Once the damaged tile is accessible, the roofer extracts it and removes nails, clips, or other fasteners holding it in place. Reusing a tile isn't automatically acceptable. Code-based guidance allows existing or salvaged slate, clay, or concrete tile to be reinstalled only when it matches the replacement in material and profile, and damaged, cracked, or broken pieces cannot be reinstalled. The reuse and reinstallation requirements are especially relevant when a roof contains discontinued profiles.
The hidden layer decides the scope
With the tile removed, the underlayment becomes the main question. The roofer looks for brittleness, punctures, nail pops, open laps, and signs of water damage in the decking or battens. A small isolated puncture may receive roofing cement and a peel-and-stick membrane patch. If the felt has deteriorated beyond a local repair, the crew cuts back to sound material and laps in 90-pound modified bitumen.
Underlayment installation also follows slope-specific requirements. Modern code guidance commonly calls for two felt layers on slopes from 3:12 to less than 4:12, and at least one layer of ASTM D226 Type II, No. 30 felt, or an equivalent, on slopes of 4:12 and greater. The same guidance specifies 2-inch head laps and 6-inch end laps. Tile Roofing Industry underlayment guidance explains why a patch must match the assembly rather than cover a hole.
Flashing repairs at walls, valleys, and vent stacks require the same care. In South Florida, the metal is commonly primed before a second membrane layer is installed, helping the new material bond to a prepared surface. Fasteners must also suit the conditions. Guidance cited in roofing standards calls for annular-ring or deformed-shank roofing nails with a minimum 0.083-inch diameter, enough length to penetrate the sheathing or at least 3/4 inch into it, and 1-inch button caps in some high-wind conditions. FORTIFIED roof attachment guidance details these requirements.
Reset the surface carefully
After the waterproofing and flashing work is complete, the crew slides the new or approved salvaged tile into position, secures it correctly, and checks the alignment with adjacent courses. Adhesive foam may be applied where the assembly and product requirements call for it. Hip and ridge tiles receive particular attention because loose attachment there can expose a long roof edge to wind.
The final walk checks color match, head lap, alignment, fasteners, and disturbed neighboring tiles. Wind compliance can't be proven by lifting a tile during a casual inspection. Industry guidance says the relevant standards prescribe installation conditions and uplift-load application at defined attachment points, and that lifting one or more tiles 2 inches doesn't establish code compliance. The wind-evaluation guidance makes that limitation clear.
A ceramic-tile roof inspection study recorded 616 prescribed repair techniques across observed anomalies, averaging 1.45 techniques per anomaly, and 542 diagnosis methods, averaging 1.27 methods per anomaly. The inspection study reinforces what experienced crews see in the field. Tile roof repair is often a sequence of related corrections, not a one-for-one tile swap.
Cost and Timeline for Tile Roof Repair in 2026
Repair pricing depends less on the tile alone than on access, the number of surrounding pieces that must be lifted, and what the underlayment looks like underneath. A 2026 cost summary places the average homeowner tile roof repair between $900 and $2,500, with a typical midpoint around $1,700. Minor fixes can begin near $300, major repairs can exceed $7,000, and many repairs fall around $8 to $25 per square foot. The 2026 tile roof repair cost data also places full replacement around $10,000 to $30,000 or more, depending on size and material.
Those figures are useful for screening estimates, not for replacing an on-site inspection. A few accessible broken tiles may stay near the low end. A leak that requires membrane renewal, flashing reconstruction, or difficult two-story access can move quickly toward the upper range.
| Repair Type | Typical Cost Range | Typical Timeline |
|---|---|---|
| Minor tile repair | Near $300 and upward | Short service visit |
| Typical tile roof repair | $900 to $2,500 | Depends on access and concealed damage |
| Major localized repair | More than $7,000 is possible | Extended repair period |
| Full roof replacement | $10,000 to $30,000 or more | Project length varies by roof and material |
The price should make sense beside the roof's remaining service life. Preserving reusable tile while renewing failed underlayment can be more practical than removing a sound tile surface, but only when the supporting deck, flashings, and attachment details are still suitable. A roofer should explain what portion of the estimate covers visible tile, waterproofing, flashing, labor, access, and code-related work.
Timeline depends heavily on weather. A small repair may be completed during one visit, while a larger section requires tile removal, membrane work, curing time, and careful resetting. Afternoon storm cells can interrupt roof access, and hurricane-season demand can affect scheduling. Ask for a written scope that identifies both the expected work and the conditions that would expand it.
Safety Tools and Prep for Working on Tile
South Florida roofs combine high heat, sudden storm development, and brittle clay or cement surfaces. Morning dew can leave algae-coated tiles slick, while a hot afternoon can make a roof surface uncomfortable before the repair is finished. The preparation should account for the person, the weather, and the tile assembly.
Set up protection before stepping onto the roof
A simple ladder lean isn't fall protection. Use an OSHA-rated anchor point or a properly installed temporary ridge anchor with a fall-arrest harness. A homeowner who lacks the equipment or training should stay on the ground and arrange an inspection rather than improvise a tie-off.
Wear footwear that grips instead of grinding against the tile, along with gloves that protect your hands while preserving control. Knee pads help when the work requires a low position, but they shouldn't become an excuse to kneel on unsupported tile edges.
Bring tile-specific tools
The right tools prevent collateral damage:
- Broken-tile hook: Slides beneath a damaged piece without forcing adjacent tiles.
- Flat bar: Lifts neighboring tiles in a controlled manner.
- Foam padding: Protects stacked tiles from hard contact.
- Chalk line: Helps preserve course alignment during resetting.
- Hook blade: Cuts membrane materials without the vibration and heat of a circular saw.
Keep replacement pieces secured and don't leave loose tools where wind can move them. If a tile breaks during access, stop and reassess instead of creating a larger exposed area.
Choose the work window carefully
A dry mid-morning start can provide safer footing and a better chance of finishing before afternoon storm cells build. Watch the forecast rather than relying on a clear sky at the moment the ladder goes up. If the roof is wet, lightning is nearby, or wind is increasing, postpone the work.
In Broward and Miami-Dade, confirm whether the repair requires HVHZ permitting or approved materials, even when the visible work appears minor. Also check HOA notification rules when a replacement tile changes color or is visible from the street. The paperwork can matter just as much as the patch.
Preventing the Next Repair With Smart Maintenance
Reactive tile roof repair focuses on the broken piece in front of you. Smart maintenance focuses on the underlayment and flashing that determine whether the roof keeps shedding water after the visible tile is restored.
Start with a ground-level inspection each spring and fall. Use binoculars after storms to look for lifted, cracked, or displaced tiles, open ridge and hip joints, debris in valleys, and damaged flashing. Avoid climbing to get a closer look if the roof is steep, slick, or more than one story.
A closer tile walk-through every 18 to 24 months can identify shifting, brittle sealants, and damaged courses before they become interior leaks. After a major hurricane crosses Broward or Miami-Dade, arrange a professional underlayment evaluation rather than relying only on a street-level view.
Keep drainage and penetrations clear
Clear valleys, gutters, and tile channels so water doesn't back up beneath the courses. Trim branches that overhang the roof, especially where fronds can drop, abrade tile surfaces, or collect in drainage paths.
Pay special attention to penetrations and exposed attachment points:
- Ridge and hip tiles: Check exposed fastener heads and reseal them when the existing seal has failed.
- Concrete tile surfaces: Repaint protective coatings when aging has left the surface exposed.
- Satellite dishes and solar mounts: Verify that each remains properly flashed and that movement hasn't opened a seam.
- Valleys and gutters: Remove leaves and storm debris before standing water develops.
The Pinnacle Property Media roof tips offer additional preventive-maintenance context for property owners who want a broader roof-care routine.

Maintenance isn't about keeping tiles attractive for another season. It extends the useful life of the underlayment, flashing, and attachment system, the parts that control water entry. When a repair is needed, Paletz Roofing and Inspections can assess broken or missing tiles, inspect the concealed assembly, and provide repair or replacement guidance for homes and buildings across South Florida.
If a ceiling stain appeared after the last storm, schedule an inspection before patching the visible tile and hoping the leak stays away. Visit Paletz Roofing and Inspections to request a roof assessment, repair estimate, or guidance on whether your tile system needs localized work or underlayment renewal.