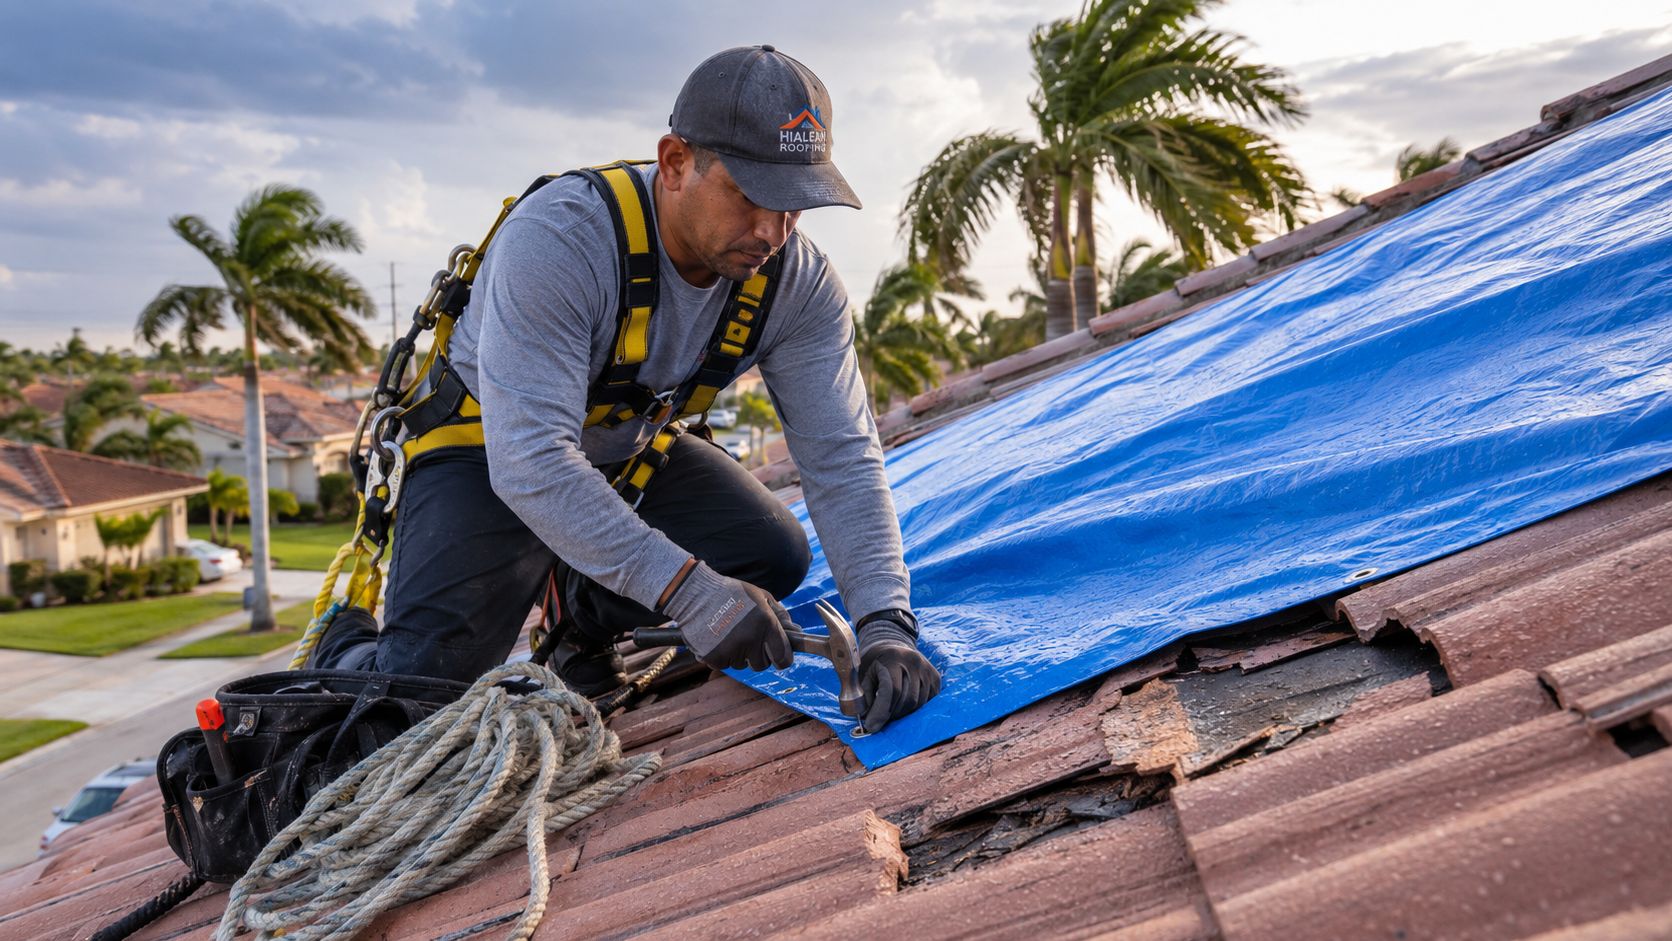
Rain is hammering the roof, a stain on the ceiling just turned into a steady drip, and now there's water hitting the floor faster than towels can keep up. That's a familiar Hialeah emergency. Tropical weather doesn't wait for business hours, and roof leaks rarely open up at a convenient time.
In that moment, most homeowners have the same questions. Is it safe to stay inside? Should you climb up and throw a tarp on it? Will insurance cover any of this? And who's allowed to fix it in Florida?
This guide is built for that exact situation. It focuses on what to do first, what usually works, what often fails, and the legal and financial details that matter in emergency roof repair in Hialeah when time is tight and the next rain band may already be on the way.
Table of Contents
- Responding to a Roofing Emergency in Hialeah
- Immediate Safety and Damage Control Actions
- Securing Your Home with Temporary Roof Tarping
- Navigating Insurance and Proper Documentation
- Hiring a Licensed Hialeah Roofing Professional
- From Emergency Patch to Permanent Solution
Responding to a Roofing Emergency in Hialeah
A common Hialeah roof emergency starts the same way. Wind pushes rain under lifted shingles or around flashing, water finds the weakest point, and the first sign indoors is a brown ceiling ring that suddenly darkens. A few minutes later, you've got a bucket in the living room and a wet light fixture you're wisely avoiding.
A common mistake is treating the visible drip as the whole problem. It usually isn't. Water can travel along decking, rafters, insulation, and drywall before it finally shows itself inside. The leak you see may be several feet away from the roof opening that caused it.
That's why the first job isn't a full repair. It's control. Keep people safe, slow interior damage, document what happened, and get the roof stabilized so more water doesn't enter.
Practical rule: If water is coming in during an active storm, think in phases. Safety first, containment second, temporary protection third, permanent repair last.
Hialeah homeowners also run into two local realities that generic articles often skip. One is Florida licensing law. A handyman may be able to help with a tarp, but structural roof work is a different category. The other is financial confusion around storm aid. Some homeowners assume any FEMA roofing help applies to any roof type, and that isn't how these programs work.
Immediate Safety and Damage Control Actions
When a leak starts, speed matters. So does order. The first half hour should be about preventing injury and limiting avoidable interior damage.
Protect people before property
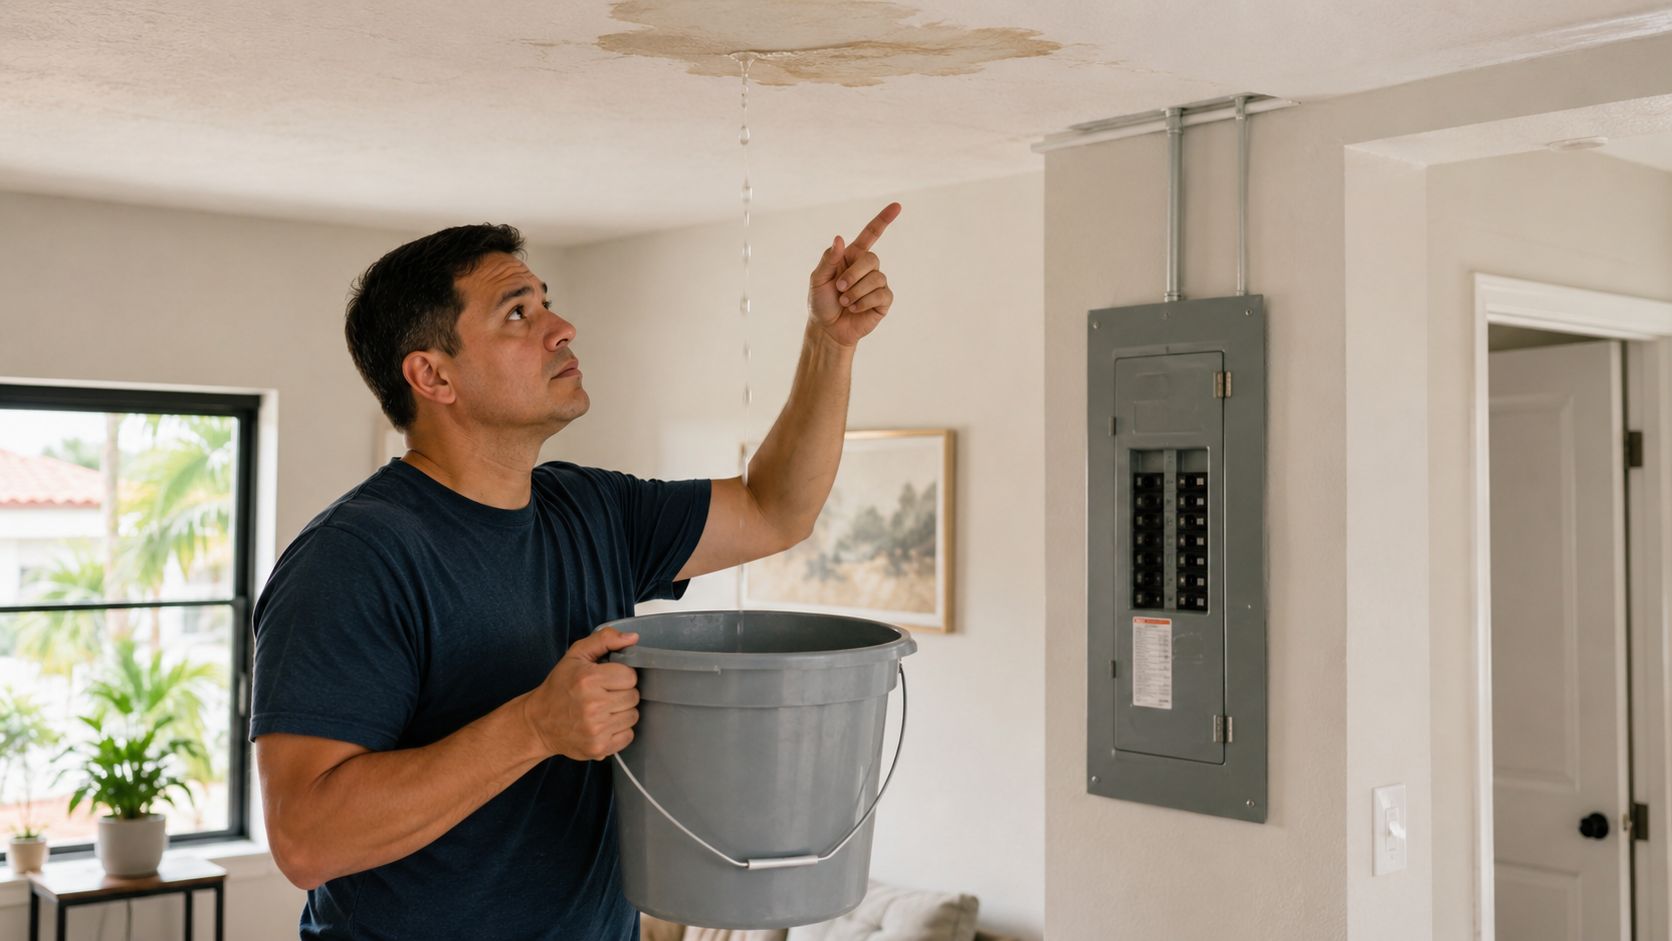
Water near electricity is the first concern. If the leak is close to a ceiling fan, recessed light, outlet, appliance, or panel area, stay clear of that zone until you can safely isolate power to the affected area. If you aren't sure what's energized, don't guess and don't stand under the leak.
Then clear the room. Move children, pets, and anyone who might slip on wet flooring. If the ceiling is bulging, sagging, or making cracking sounds, don't stand beneath it.
A quick visual example helps. This roof leak damage example shows the kind of interior spread that can happen when water isn't redirected early.
Limit interior damage fast
Once the area is safe to approach, start containment. Use buckets, storage bins, towels, or plastic sheeting. If water is dripping through a ceiling bubble, many homeowners are tempted to leave it alone. Sometimes that leads to a wider ceiling collapse. If you decide to release trapped water, do it carefully, with protective eyewear, a container underneath, and enough space to step back.
Use this priority list:
- Catch active water: Buckets and deep containers beat towels alone because they reduce spread across flooring.
- Move vulnerable items: Electronics, rugs, artwork, paper files, and upholstered furniture should leave the room first.
- Protect floors: Lay down towels, but place plastic under them if possible so water doesn't keep soaking into wood or laminate.
- Open the area visually: Move lamps and small furniture so you can monitor whether the leak is widening or shifting.
What not to do during the storm
Some actions create a second emergency.
- Don't climb a wet roof in active wind or lightning: A temporary fix isn't worth a fall.
- Don't assume a small drip means small damage: Water often travels before it appears indoors.
- Don't start tearing materials out immediately unless safety requires it: You need clear photos and a clean record of what happened.
If the weather is still dangerous, interior containment is the right move. A delayed tarp is better than a rushed injury.
Securing Your Home with Temporary Roof Tarping
Temporary tarping is the bridge between emergency leak control and real repair. Done right, it buys time. Done badly, it flaps loose, channels water under the covering, and fails in the next round of wind.
The step that makes or breaks the tarp
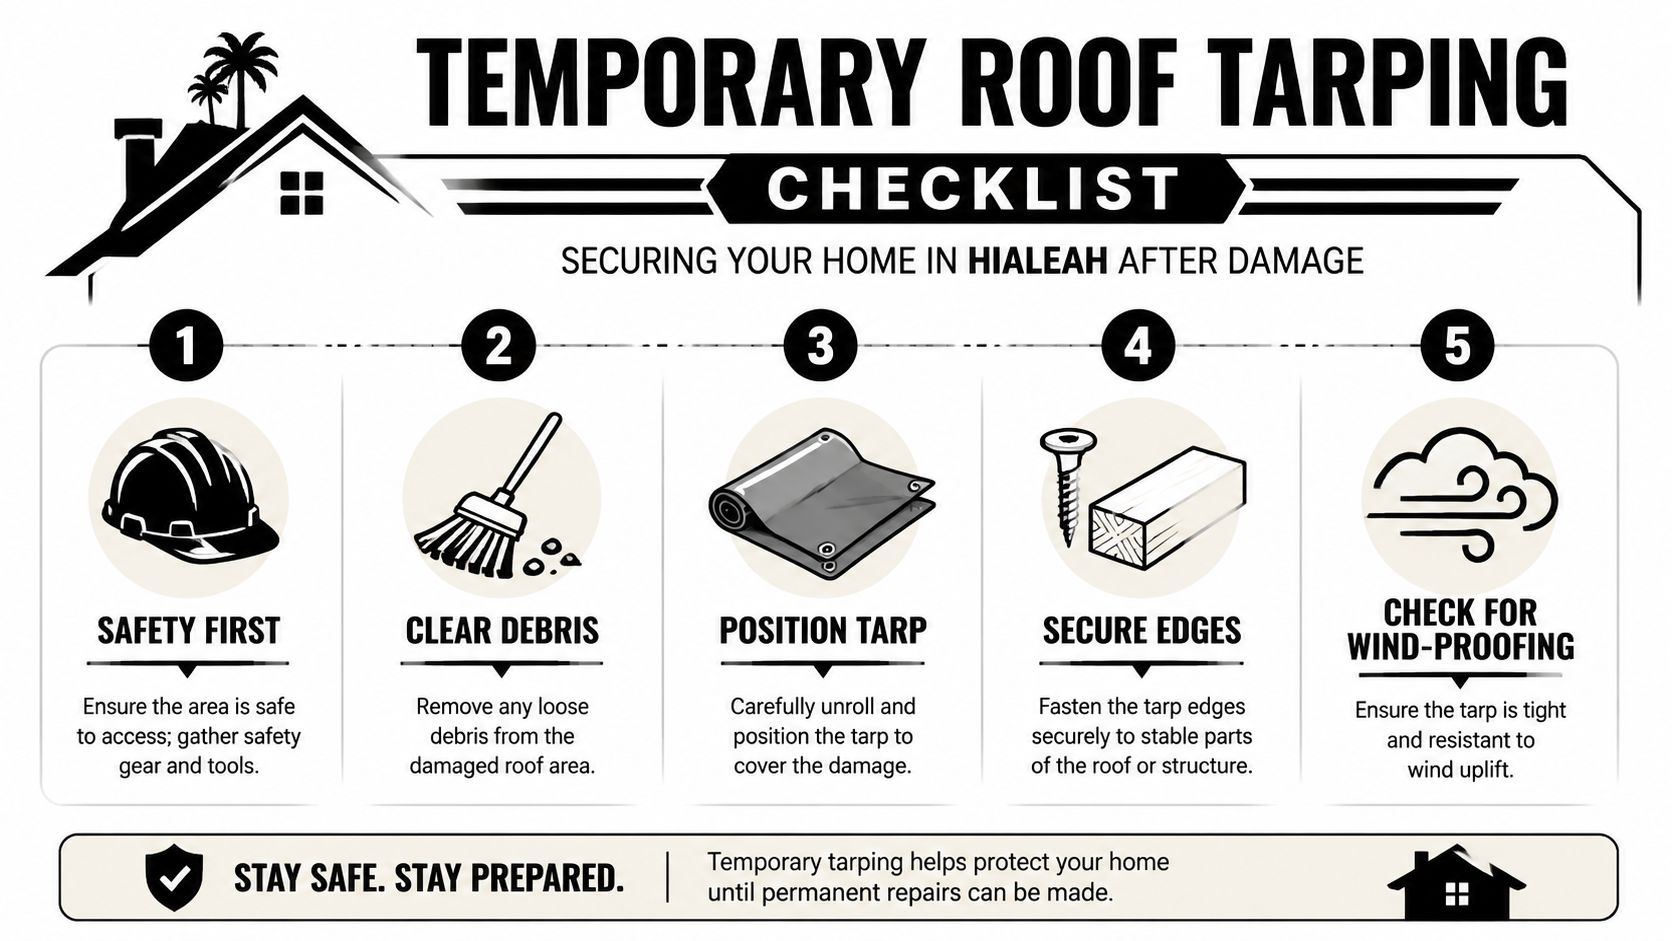
The most important detail is not just covering the visible hole. According to storm tarping installation guidance, the waterproof barrier should extend at least four feet beyond the damaged area, and the upper edge should be tucked under an existing shingle or carried over the roof ridge. The same guidance notes that 60–70% of temporary repairs fail during the next high-wind event when that upper edge isn't secured correctly.
That failure pattern is easy to understand on a real roof. Wind gets under the exposed top edge, lifts the tarp, and turns a temporary seal into a sail.
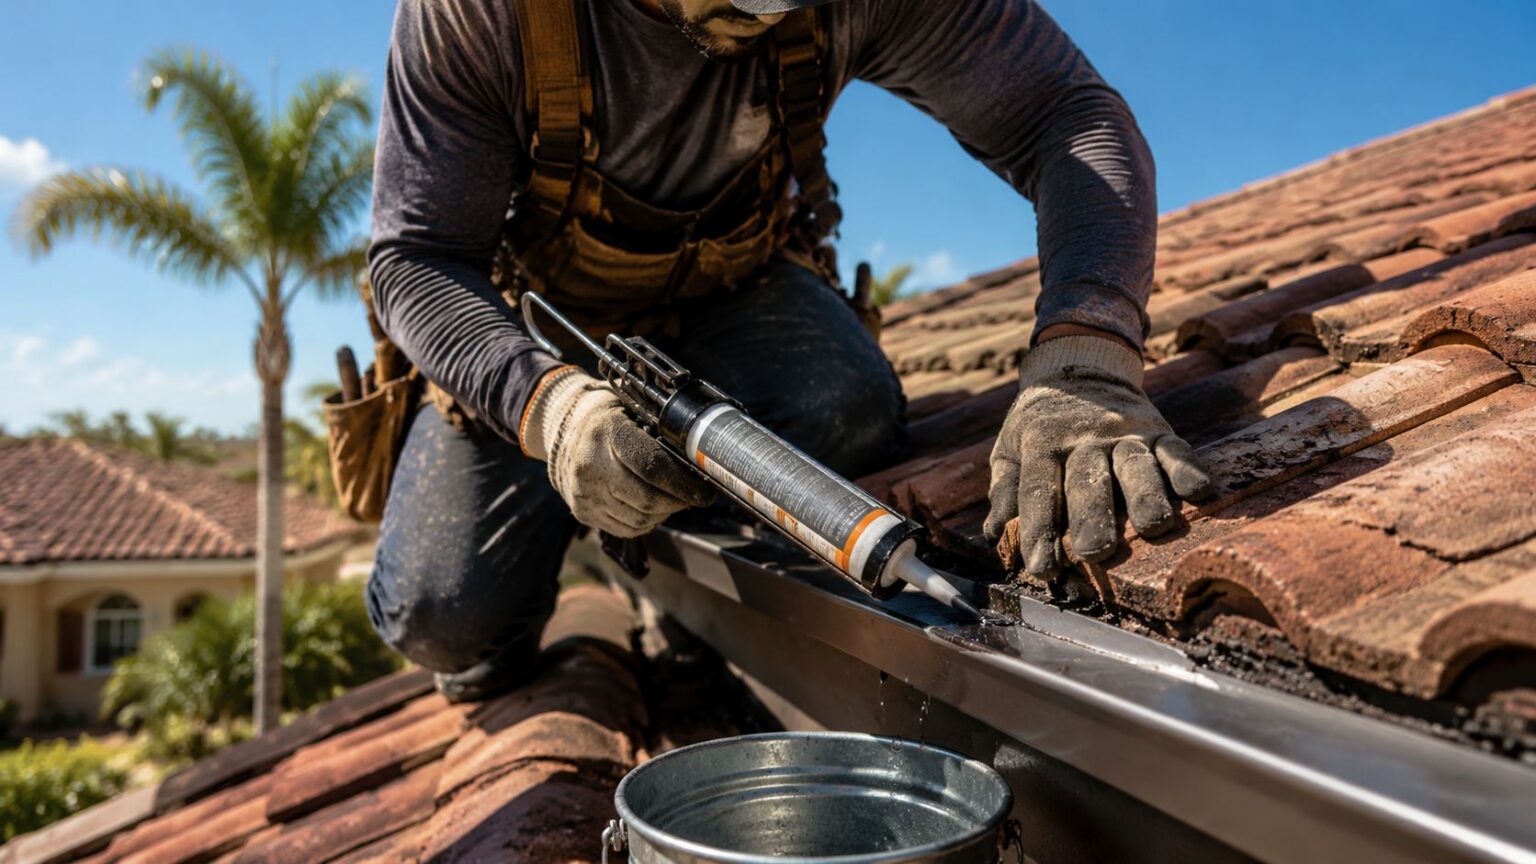
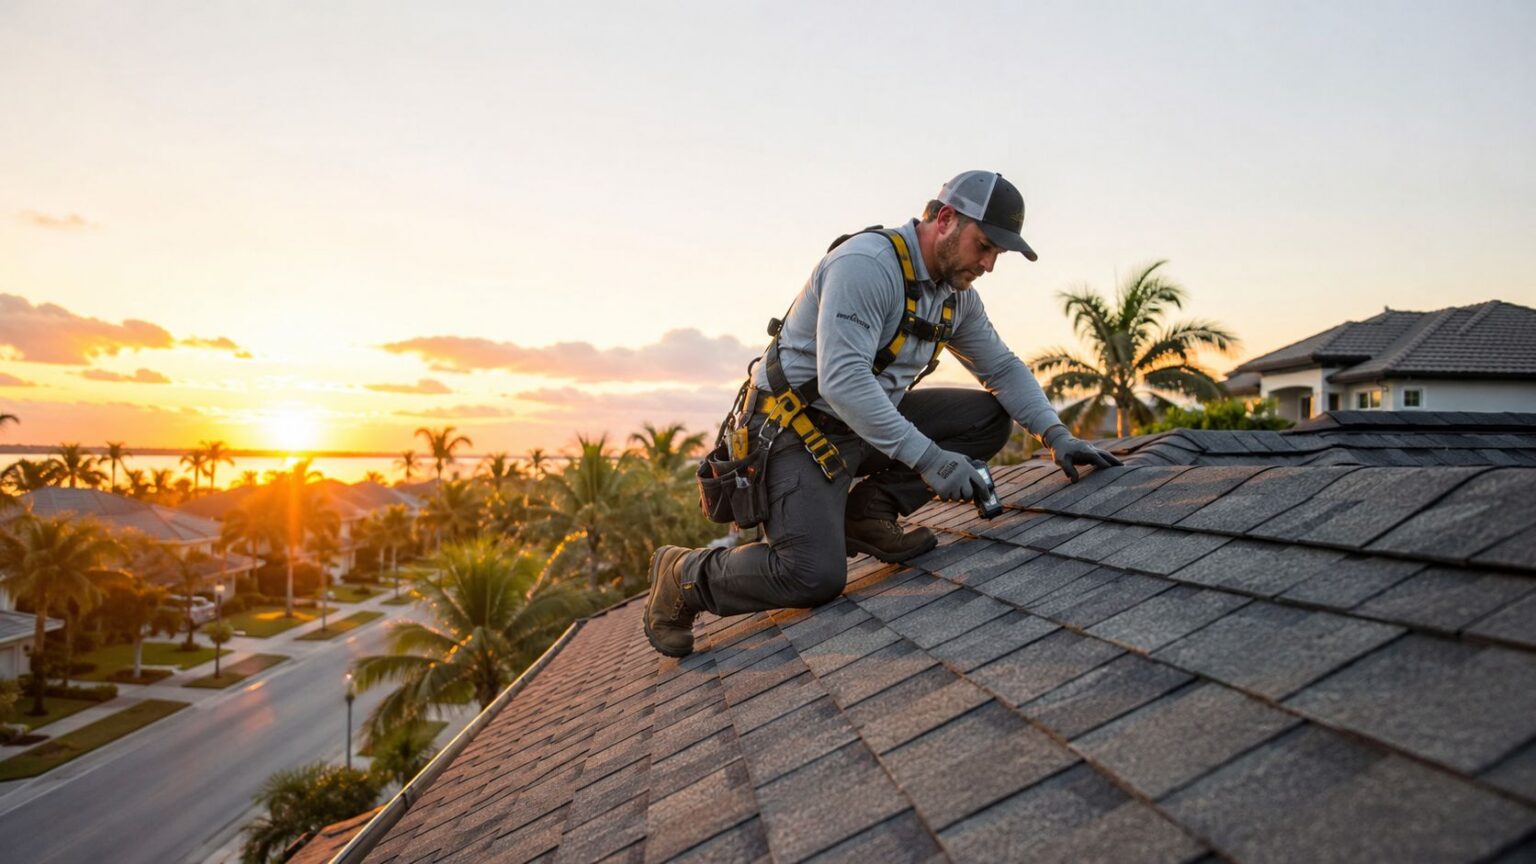
A visual roof condition reference can help you judge whether the damaged section is simple enough for stabilization or too compromised for a DIY approach. See this roof inspection image reference.
What a workable tarp setup includes
A proper emergency tarp setup usually needs more than just a sheet of blue plastic. It needs secure anchoring and enough coverage to shed water away from the breach.
Use this checklist:
- Choose enough coverage: The tarp has to run well past the damaged area, not stop at the stain line or missing shingle patch.
- Anchor the perimeter properly: The same storm tarping installation guidance specifies roofing nails or sandbags and notes edge fastening every 12–18 inches.
- Pay attention to ridges and valleys: These areas catch wind and channel water. They need extra care so the tarp stays flat and drains correctly.
- Keep the top edge protected: This is the detail DIY jobs most often get wrong.
What works and what usually doesn't
A temporary tarp works when it sheds water downhill and stays tight under wind load. It fails when homeowners treat it like a flat cover. Roofs are not tables. Water and wind move across them with force.
Here's a quick comparison:
| Approach | Usually works | Usually fails |
|---|---|---|
| Tarp extends well past damage | Yes | No |
| Upper edge tucked under shingles or over ridge | Yes | No |
| Loose tarp draped over a hole | No | Yes |
| Perimeter anchored evenly | Yes | No |
| Quick patch with minimal overlap | No | Yes |
When to leave tarping to a pro
A single-story accessible slope with isolated damage is one thing. Steep pitch, broken tile, soft decking, storm debris, or active electrical hazards are another. If footing is uncertain, if the roof surface feels compromised, or if the wind hasn't settled, don't go up.
A tarp is a temporary weather barrier, not a repair. If the roof deck has shifted, softened, or broken, the problem is beneath the surface.
In South Florida, temporary tarping is also a practical financial step. It protects the interior and preserves evidence that you acted to prevent more damage. That matters when the claim process starts.
Navigating Insurance and Proper Documentation
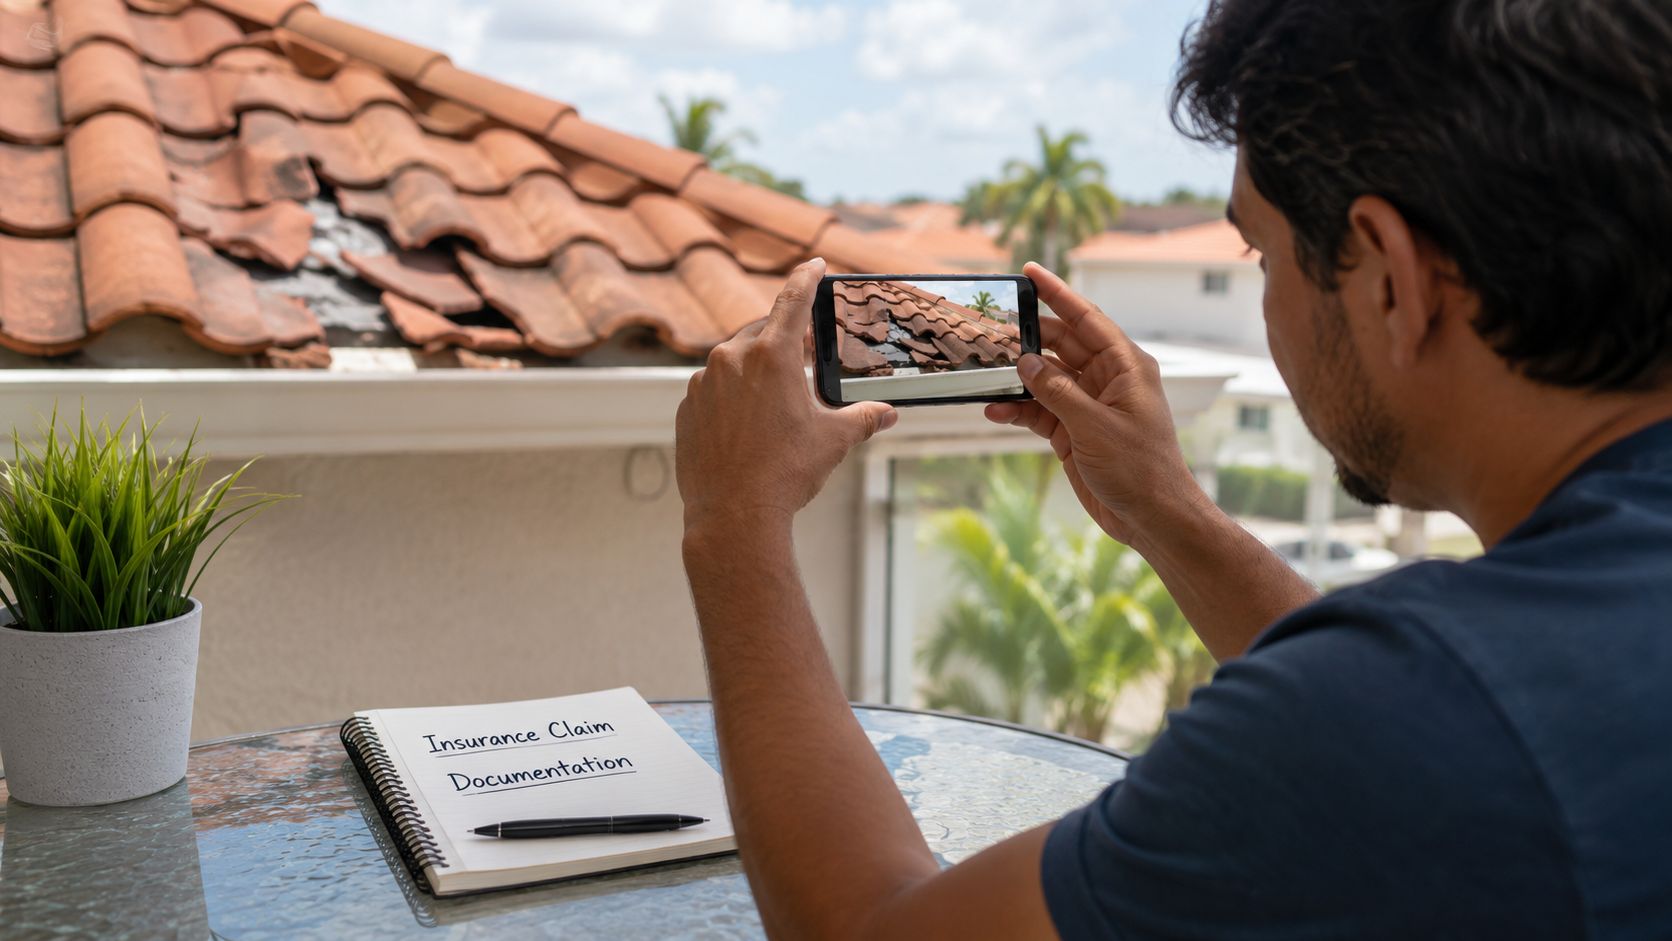
Homeowners often lose ground on claims because they wait too long to document or they only photograph the obvious ceiling stain. Insurers usually want a clean record of the event, the affected areas, and the steps taken to prevent further damage.
Build the claim file while the evidence is fresh
Take wide photos first. Show the full room, then move closer to the ceiling stain, wet insulation, damaged flooring, and any affected furniture or contents. If it's safe, capture the roof from ground level and any visible storm damage outside.
Video helps too. A short walkthrough with your phone can show active dripping, ceiling bubbling, or water tracking down a wall better than still photos alone.
Keep a written log that includes:
- Date and time: When you first noticed the leak and when weather conditions were severe
- Damage progression: Whether the leak spread, slowed, or moved
- Mitigation steps: Buckets placed, contents moved, tarp installed, emergency call made
- Contacts: Names of adjusters, roofers, emergency responders, and claim representatives
- Receipts: Tarping, cleanup materials, emergency service invoices, and drying-related purchases
Why temporary protection often makes financial sense
Emergency action can reduce the size of the final loss. In South Florida, emergency roof tarping typically costs between $500 and $2,500, and those costs are often reimbursable through homeowners insurance claims. That makes fast stabilization a sensible move when water is still entering the house.
If the damage came from a tree strike or large branch impact, insurance questions often overlap with debris removal, exterior damage, and roof entry points. This guide on Richmond Tree Experts GA insurance info is useful for understanding how homeowners commonly organize those related issues before speaking with a carrier.
Keep the paperwork simple and consistent
Don't overcomplicate the file. Clear photos, time-stamped notes, and organized receipts are more useful than a messy folder full of duplicates.
Document before cleanup whenever possible. Once soaked drywall, ceiling texture, or damaged contents are removed, that original evidence is gone.
If a contractor visits, ask for a written description of observed damage and temporary measures performed. You don't need dramatic language. You need accurate records that match what the adjuster will see later.
Hiring a Licensed Hialeah Roofing Professional
Often, homeowners make their costliest mistake. They assume that if someone can stop the leak, that same person can legally perform the permanent repair. In Florida, that isn't always true.
Handyman work versus licensed roofing work
Florida Statute 489 draws an important line. As explained in this Florida homeowner roofing license guide, a handyman can apply an emergency tarp or handle minor non-structural tasks, but only a certified roofing contractor is legally permitted to perform structural repairs, full shingle replacement, or major decking work.
That distinction matters for three reasons.
First, structural roofing work done by an unlicensed person may fail when the next storm hits. Second, improper work can create insurance and liability problems. Third, you may end up paying twice. Once for the patch, then again for a licensed roofer to remove it and fix the underlying problem.
What to ask before authorizing work
Don't start with price. Start with scope and credentials.
Ask questions like these:
- What exactly are you doing today? Temporary dry-in, deck repair, underlayment work, flashing replacement, or permanent shingle installation are not the same thing.
- Are you licensed for structural roofing work in Florida? If the answer gets vague, slow down.
- Will you provide written documentation of temporary versus permanent work? That protects both sides.
- Are you insured for this type of work? Homeowners in many trades use insurance basics as a screening tool. This overview on understanding pest control company insurance is a good example of why coverage details matter when service providers work on your property.
A company such as Paletz Roofing and Inspections logo reference may offer emergency response and follow-up inspection, but the same screening standard should apply to any roofer you call. Confirm the legal scope of work before anyone starts tearing into decking or replacing sections of roof.

Cost expectations in Hialeah
Price depends on access, roof type, severity, and whether the call comes during normal hours or in a storm surge of demand. In Hialeah, typical emergency roof repair costs range from $400 to $1,500, with after-hours or storm-related calls often carrying additional labor fees.
That doesn't mean the cheapest response is the safest choice. A low quote for “repair” may only buy a minimal patch. A proper emergency visit often includes leak tracing, temporary stabilization, visible damage documentation, and a plan for licensed follow-up work if the roof system itself has been compromised.
Cheap emergency work gets expensive when it hides wet decking, skips flashing details, or gives you a false sense that the roof is solved.
From Emergency Patch to Permanent Solution
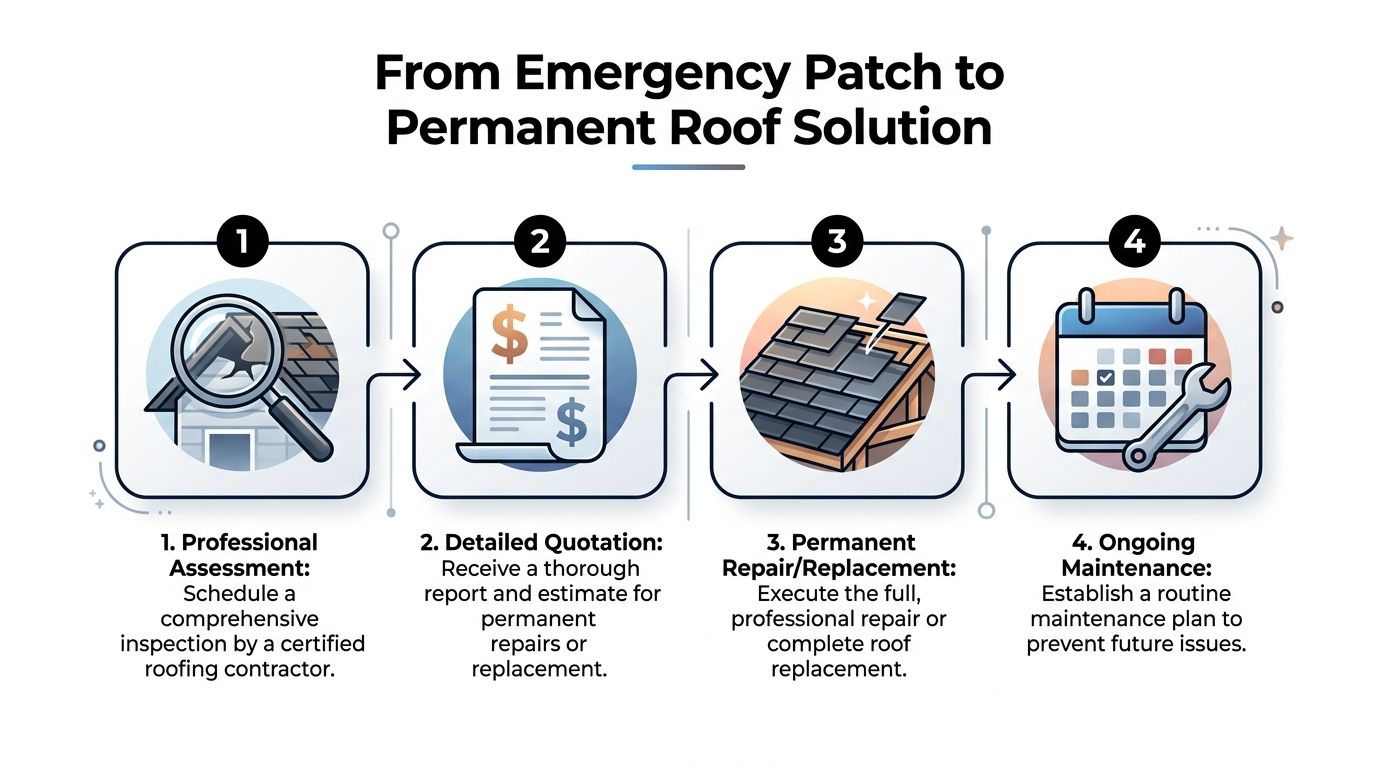
A dry ceiling tomorrow doesn't mean the roof is healthy. It means the emergency phase worked well enough to buy time. Permanent resolution starts with a thorough inspection of the roof system, not just the visible leak point.
What permanent repair really involves
A certified roofer should inspect the covering material, underlayment exposure, flashing transitions, penetrations, decking condition, and signs of moisture migration. The right fix may be targeted repair, or it may involve a broader section replacement if surrounding materials were weakened by wind or prolonged water entry.
Florida law matters again here. As noted in the earlier licensing discussion, and stated in the same Florida homeowner roofing license guide, handymen can apply emergency tarps, but only a certified roofing contractor can perform structural repairs, full shingle replacement, or major decking work.
The FEMA myth many Hialeah homeowners run into
Storm season brings a lot of confusion about “free roof help.” One issue is roof type eligibility. FEMA's RISEUP program does not apply broadly to all common residential roofing materials in South Florida. It only covers temporary repairs for metal roofs and excludes tile, concrete, slate, and asphalt systems, as explained in FEMA's RISEUP roof eligibility fact sheet.
That matters in Hialeah because many homes have tile or asphalt roofs. Homeowners sometimes lose valuable time chasing aid that doesn't fit their roof type when they should be arranging licensed stabilization and claim documentation.
A better long-term routine for Hialeah homes
The strongest post-emergency plan is simple:
- Schedule roof inspections before and after hurricane season
- Address cracked shingles, flashing gaps, and drainage problems early
- Keep records of maintenance and repairs
- Treat every emergency patch as temporary until a certified roofer signs off on the permanent fix
South Florida roofs take repeated wind and rain stress. The homes that avoid repeat emergencies usually aren't lucky. Their owners inspect early, patch fast, document everything, and hand structural work to the right licensed professional.
If you need calm, direct help with an active leak or storm damage, Paletz Roofing and Inspections handles emergency roof repair in Hialeah, temporary stabilization, roof inspections, and permanent repair planning for residential and commercial properties across South Florida. If you're dealing with water coming in right now, the next step is to get the home secured safely and get the damage documented before the problem spreads.