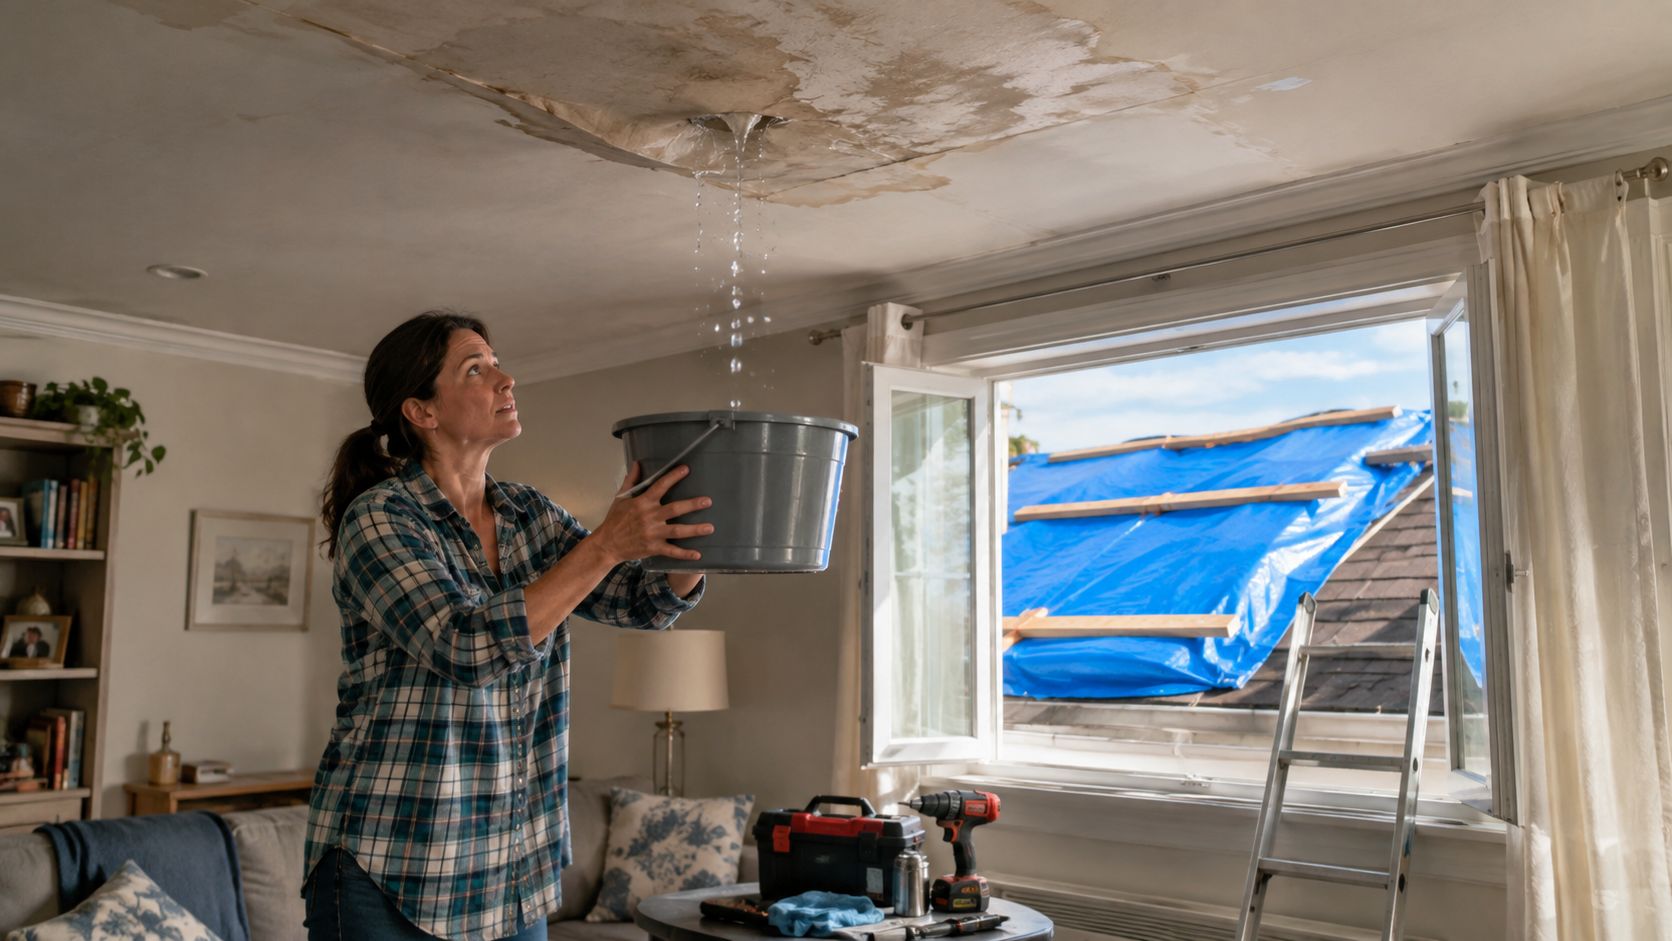
A drip starts somewhere above the ceiling during a South Florida storm. Then the drywall darkens, water runs toward a light fixture, and everyone in the house starts asking the same question: what should we do first?
Follow this order: protect people, contain the water, document the damage, then arrange the repair. Don't climb onto a wet roof, don't disturb a dangerous ceiling, and don't make permanent repairs before you've preserved evidence for your insurer. In Broward, Miami-Dade, and Palm Beach counties, high winds and heavy rain can bring down branches, damage electrical systems, and weaken more than the visible roofing surface. Treat a leak as an incident, not just a hole to patch.
Table of Contents
- Your First Hour With a Roof Leak
- Safety Comes Before Any Repair
- Containing Water Inside Your Home
- How to Tarp a Roof Without Making It Worse
- Documenting Everything for Your Insurance Claim
- When to Call a Professional and What Comes Next
Your First Hour With a Roof Leak
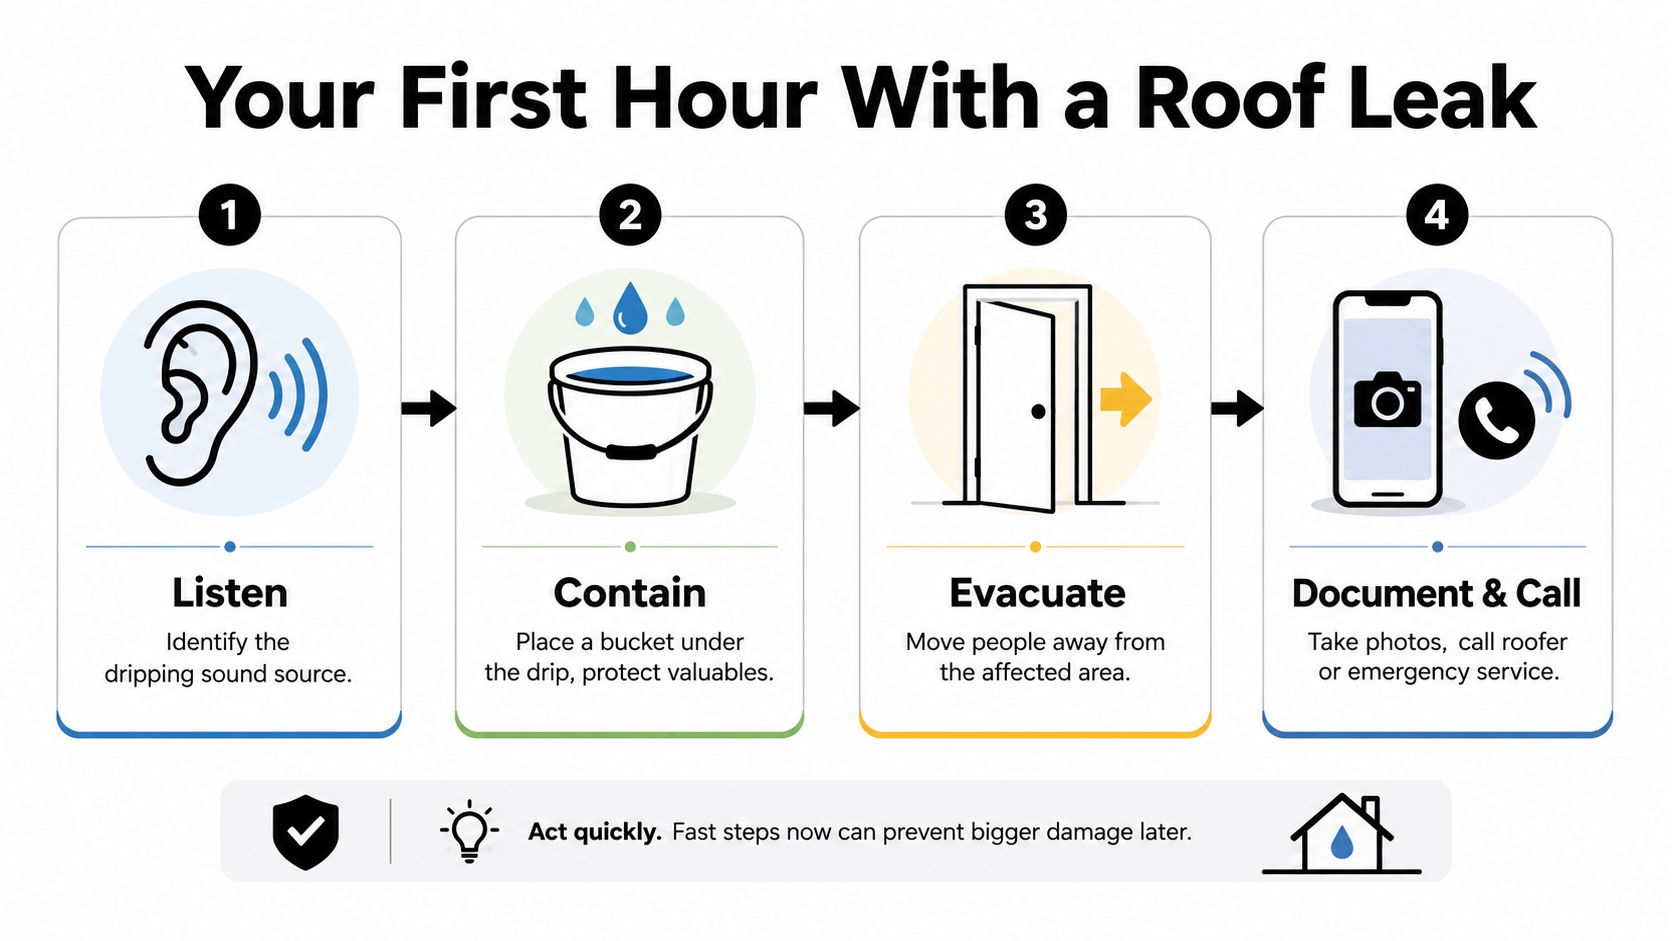
A ceiling begins to sag, water reaches a light fixture, and rain is still hitting the roof. Start indoors. Your first decisions should protect people, limit water spread, and preserve your insurance claim before anyone attempts a repair.
- Protect people first. Leave rooms with sagging ceilings, falling debris, or water near electrical equipment. Keep children, pets, tenants, and employees out of the affected area.
- Contain water second. Set buckets under active drips, move furniture and electronics, and cover flooring with plastic sheeting. Do not puncture a swollen ceiling.
- Document third. Photograph ceilings, walls, floors, belongings, visible roof damage from the ground, and each temporary measure.
- Repair last. Notify your insurer before major expenses, then have a qualified roofer trace the entry point and secure the roof.
This order protects both life safety and loss prevention. Verisk reported average residential roof replacement costs of $17,631 in 2025 and average repair costs of $4,699. Its report also placed the U.S. residential roof repair and replacement cost value at nearly $31 billion in 2024, up nearly 30% since 2022. (Verisk roof-claim severity reporting) A leak that looks minor can spread into insulation, drywall, wiring, and framing. Your insurer will also need to distinguish sudden storm damage from gradual wear, so avoid permanent repairs before documenting the condition.
What to do before the roofer arrives
Listen for the drip, but do not treat its location as the roof entry point. Water can travel along rafters, insulation, ductwork, and ceiling framing before appearing indoors. If the storm continues, stay off the roof. From the ground, a window, or binoculars, note missing materials and debris without creating a fall hazard.
Use the Paletz Roofing and Inspections logo reference only as a visual aid. It is not a reason to inspect a wet or damaged roof.

Practical rule: The roof can wait a few minutes. A live electrical circuit, collapsing ceiling, or falling debris cannot.
Safety Comes Before Any Repair
The most dangerous mistake is climbing onto a wet or storm-damaged roof to find the leak. Wet surfaces become slick, wind can move ladders and materials, and hidden damage may leave the roof deck unable to support your weight. Emergency access itself can turn a manageable leak into a serious injury.
Clear the room when the ceiling changes shape
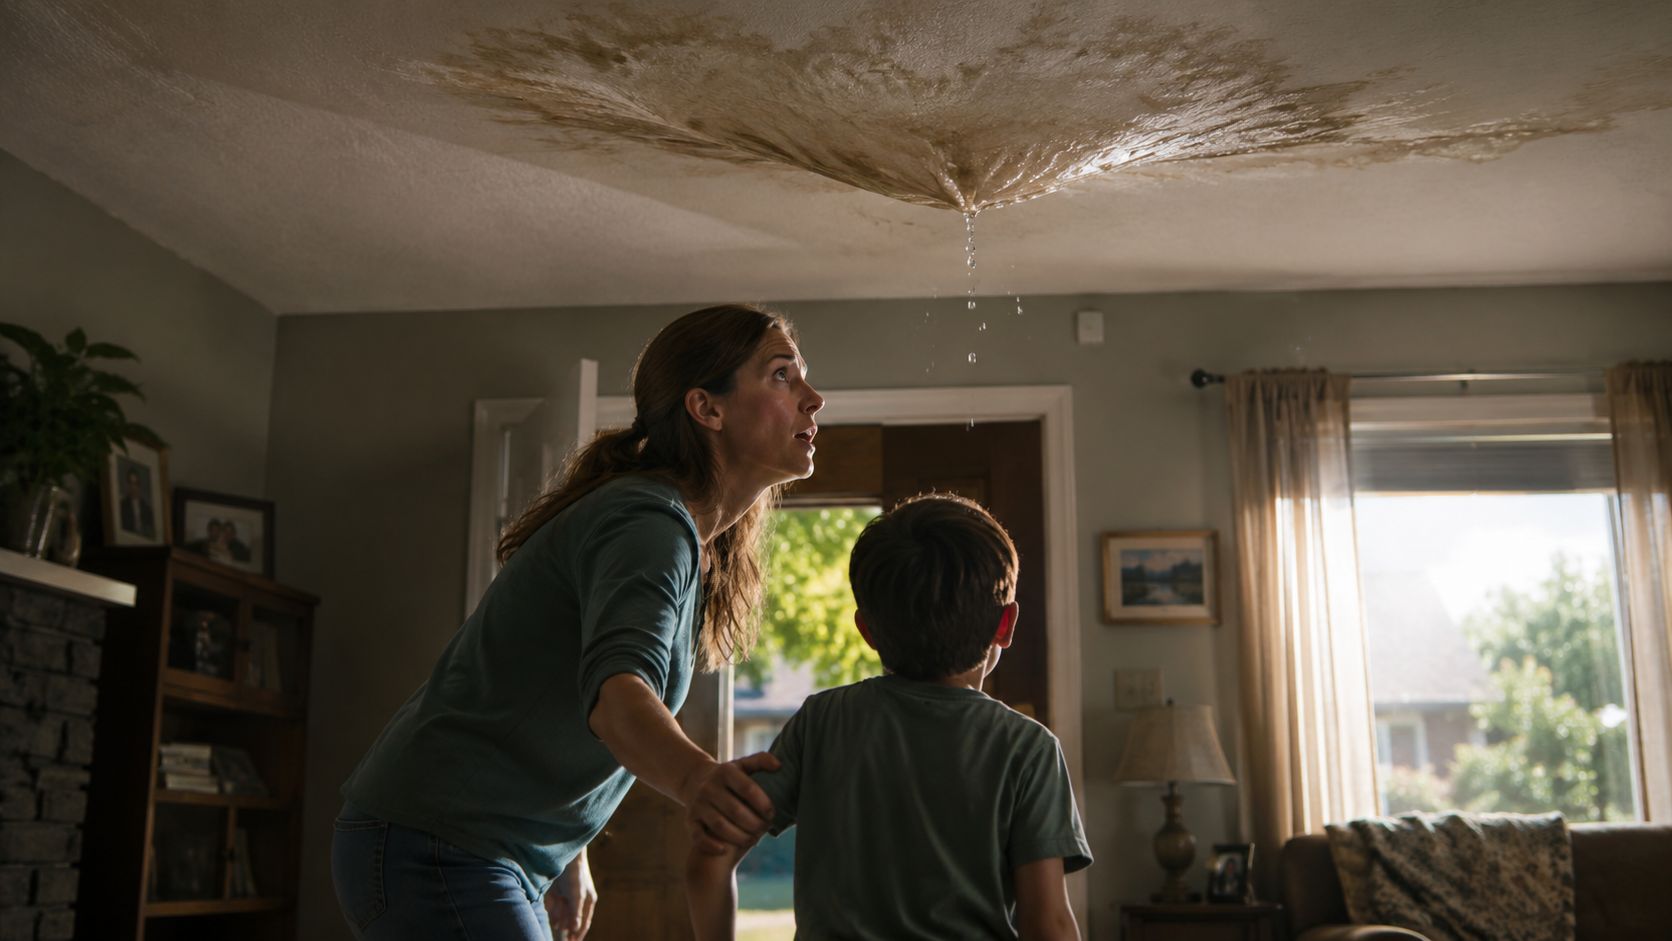
A ceiling that bows, sags, bubbles, or shows a widening crack may be holding water or losing support. Don't stand beneath it, don't place a ladder under it, and don't poke it while people remain in the room. Move occupants to another area and close off the space if you can do so safely.
A waterlogged ceiling can fail without giving you a convenient warning. In an occupied home, that means moving family members before you worry about saving a rug. In a commercial building, it means keeping staff, customers, and contractors away from the affected zone and notifying the person responsible for building safety.
Treat water near electricity as an emergency
Keep away from wet outlets, power strips, appliances, light fixtures, and exposed wiring. If water is near electrical equipment, shut off power to the affected area from the electrical panel only if you can reach it without stepping through water or touching wet equipment. If you can't do that safely, leave the area and call an electrician or emergency service.
Don't turn a wet fixture back on to test it. Water may have entered spaces you can't see, and electrical components can remain hazardous after the visible drip slows.
- Move electronics: Relocate televisions, computers, chargers, and other powered equipment only when you can do so without approaching wet wiring.
- Keep hands dry: Don't handle switches, cords, or outlets from a wet floor.
- Leave structural hazards alone: A cracked roof deck, displaced truss, or large opening needs professional assessment.
Roof leak emergencies can involve more than shingles. Indoor safety guidance for emergency roof repair emphasizes avoiding sagging ceilings, wet electrical equipment, and unstable roof access. (IKO emergency roof repair guidance)
Containing Water Inside Your Home
Once everyone is clear of hazards, control the water path. Put a sturdy bucket directly under the drip, then place a towel or absorbent material beneath and around it to catch splashes. If the ceiling is dripping across a broad area, use plastic sheeting on the floor and furniture, shaping it so water flows toward one controlled collection point instead of spreading sideways.
Move valuables before the floor becomes saturated. Prioritize documents, artwork, upholstered furniture, electronics, and anything that could become contaminated or difficult to dry. Don't drag heavy furniture across a slick floor if doing so puts you at risk.
A bulging ceiling needs judgment
A pronounced bulge can indicate trapped water. In some situations, a professional may deliberately create a small opening at the lowest point of the bulge to release the water in a controlled way before the ceiling spreads or fails. Homeowners shouldn't attempt this casually. Water can be dirty, the material can fall, and electrical wiring may be hidden above the surface.
If the bulge is near a light, fan, outlet, or wiring, leave it untouched and keep the room empty. If the ceiling is cracking, deforming quickly, or shedding material, call emergency help rather than trying to drain it yourself.
Trace the route, not just the stain
Water often enters at a roof penetration, flashing joint, damaged shingle, tile break, or membrane seam, then travels before appearing on the ceiling. The visible stain may sit far from the actual entry point.
From inside an attic, only inspect if the space is dry, stable, adequately lit, and safely accessible. Use a flashlight to look for damp insulation, darkened wood, water trails, or wet fasteners. Never step directly on attic insulation or unsupported ceiling surfaces. If conditions aren't safe, photograph what you can from the access point and let a professional perform the tracing.
Do not seal the first spot you see with household caulk and assume the problem is solved. A temporary interior patch can redirect water into another cavity while leaving the roof opening active. The immediate goal is controlled drainage and evidence preservation, not a cosmetic fix.
How to Tarp a Roof Without Making It Worse
A tarp is a temporary water-shedding system, not a permanent roof repair. It only works when the material is large enough, positioned correctly, and secured without creating new holes.
Use a reinforced polyethylene tarp at 6 mil minimum for brief use. If the cover may remain in place for weeks, use 10 to 12 mil material. Size it so it extends at least 4 feet beyond the damaged area on every side. Whenever the roof design allows, run the tarp over the ridge. That prevents water from pooling at the upper edge and working underneath the cover. (Temporary roof leak tarp protocol)
Use boards instead of puncturing the tarp
The preferred anchoring method uses 2×4 boards to sandwich the tarp edges. Lay the tarp flat over the damaged area, keep the upper section directed over the ridge where possible, fold the edges around the boards, and secure the boards in a way that holds the cover without driving fasteners through the tarp itself.
Fasteners through the tarp create punctures. Wind loads can enlarge those punctures, tear the material, and create fresh entry points. The tarp may look secure from the ground while water is already getting below the damaged edge.
Don't rely on loose bricks, scrap metal, or improvised sharp objects on a steep roof. They can slide, damage the roofing surface, or become dangerous debris in the next gust. A professional has safer options for anchoring and can determine whether the roof can support temporary access.
Important boundary: If the roof is wet, steep, unstable, badly damaged, multi-story, or exposed to active wind, don't climb up to install a tarp. Contain the water indoors and call a professional.
Recheck the cover after the first rainfall and weekly afterward. Look for pooled water, shifted anchors, torn corners, exposed damage, and signs of UV deterioration. Pooled water adds weight, accelerates material breakdown, and can move the cover out of position. A tarp that has shifted is no longer protecting the opening consistently.
For a visual reference while discussing roof materials with a contractor, you can review this roofing material image. It isn't a substitute for an on-site safety assessment.

Documenting Everything for Your Insurance Claim
The insurance question usually turns on what caused the damage and how quickly you responded. A sudden event, such as wind or hail damage that creates a new opening, is more likely to fall within coverage when the homeowner takes reasonable steps to prevent additional loss. Gradual deterioration, deferred maintenance, and ordinary wear are typically treated differently. (Farmers guidance on roof-leak coverage)
That boundary is why you should document before disturbing the scene whenever safety permits. Your temporary tarp, bucket placement, cleanup supplies, and emergency service call can demonstrate that you acted to limit further damage. They don't automatically establish coverage, but they give the adjuster a clearer record of the event.
Build a clean evidence file
Use your phone to capture wide shots and close-ups. Include the room, ceiling, walls, flooring, furniture, damaged electronics, attic signs, visible debris, and exterior roof damage that you can photograph from the ground. Take video of active water entry if you can do so without entering a hazardous area.
- Record the timeline: Note when you first heard or saw the leak, what weather was occurring, and when the water changed.
- Photograph temporary measures: Capture buckets, plastic sheeting, moved belongings, tarp placement, and any emergency work.
- Save receipts: Keep invoices and receipts for tarps, plastic, water extraction, emergency labor, and damaged-item disposal.
- Preserve damaged materials: Don't discard roofing pieces or belongings until the insurer or adjuster tells you what to do.
- Write factual notes: Describe what you saw without guessing at the cause or overstating the extent of damage.
Call the insurer before committing to major expenses, unless an immediate safety action requires urgent work. Ask what documentation, estimates, inspections, and claim procedures they require. Avoid authorizing a full replacement based only on a ceiling stain. The roofer should trace the entry point and identify whether the damage is localized, system-wide, or connected to structural components.
For questions about interior restoration and coverage, this resource on roof leak sheetrock repair insurance offers useful context. Keep the conversation precise with the adjuster: explain what happened, what you did to prevent further loss, and what remains unsafe.
Roof leaks represent about 8% of home water damage, according to the referenced housing data, which is why a roof opening deserves the same careful documentation as other water-loss events. (Roofing statistics and water-damage context)
When to Call a Professional and What Comes Next
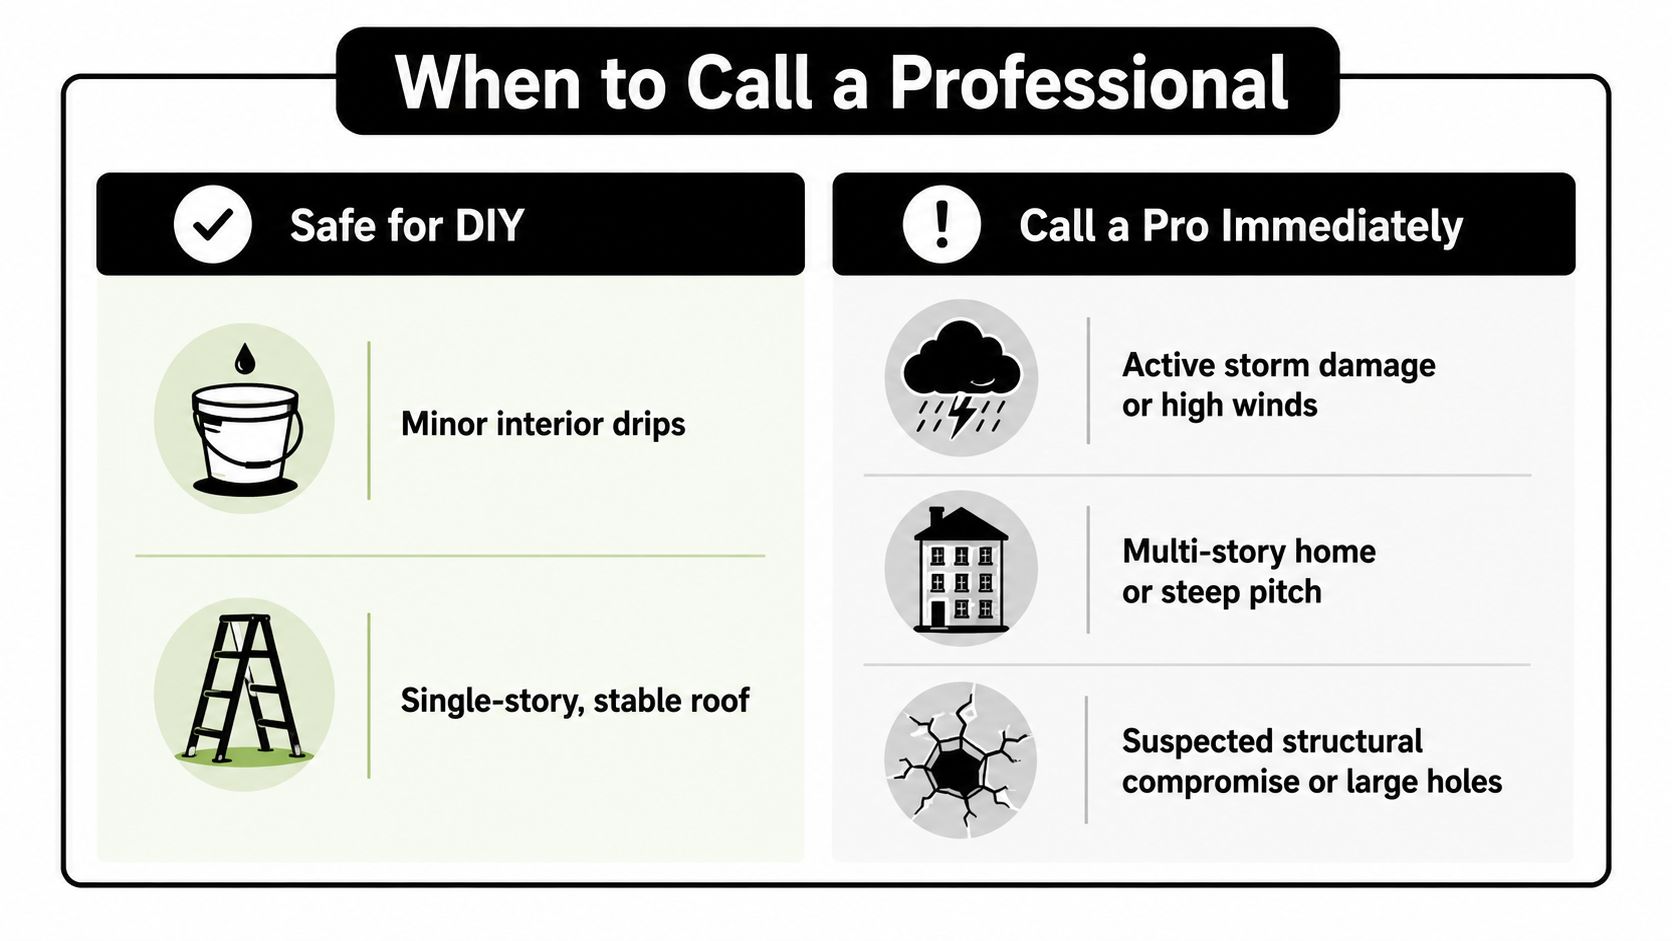
A small interior drip may be manageable indoors if the room is safe and the roof does not require dangerous access. Stop DIY work and call a professional for active storm damage, high winds, a multi-story home, a steep roof, a large opening, suspected structural damage, exposed wiring, or any leak a safely installed tarp cannot reach. Sagging ceilings and wet electrical fixtures also require immediate professional attention.
Paletz Roofing and Inspections serves Broward, Miami-Dade, and Palm Beach counties with emergency repairs, inspections, damage assessments, and free quotes. The company has over 30 years of experience and has been licensed and insured since 1990, working on shingle, tile, metal, and flat roofing systems. (Commercial roof inspection visual reference)

The professional response should answer three questions
Where did water enter? Which roofing materials and interior systems were affected? Is a targeted repair suitable, or does the roof need replacement?
A proper emergency visit should secure the opening, trace the water path, photograph the conditions, and provide a written damage assessment. The next decision may involve repairing or replacing shingles, tile, metal, or a flat roofing membrane. Prompt action limits the chance that water will spread into insulation, drywall, electrical systems, or structural components. It also helps separate sudden storm damage from gradual wear, a distinction that can affect an insurance claim.
If you have an active South Florida leak, contact Paletz Roofing and Inspections for emergency roof repair, damage assessment, inspection, and a clear permanent-repair plan. Protect the room, record the conditions, and call before a small opening causes a larger interior loss.