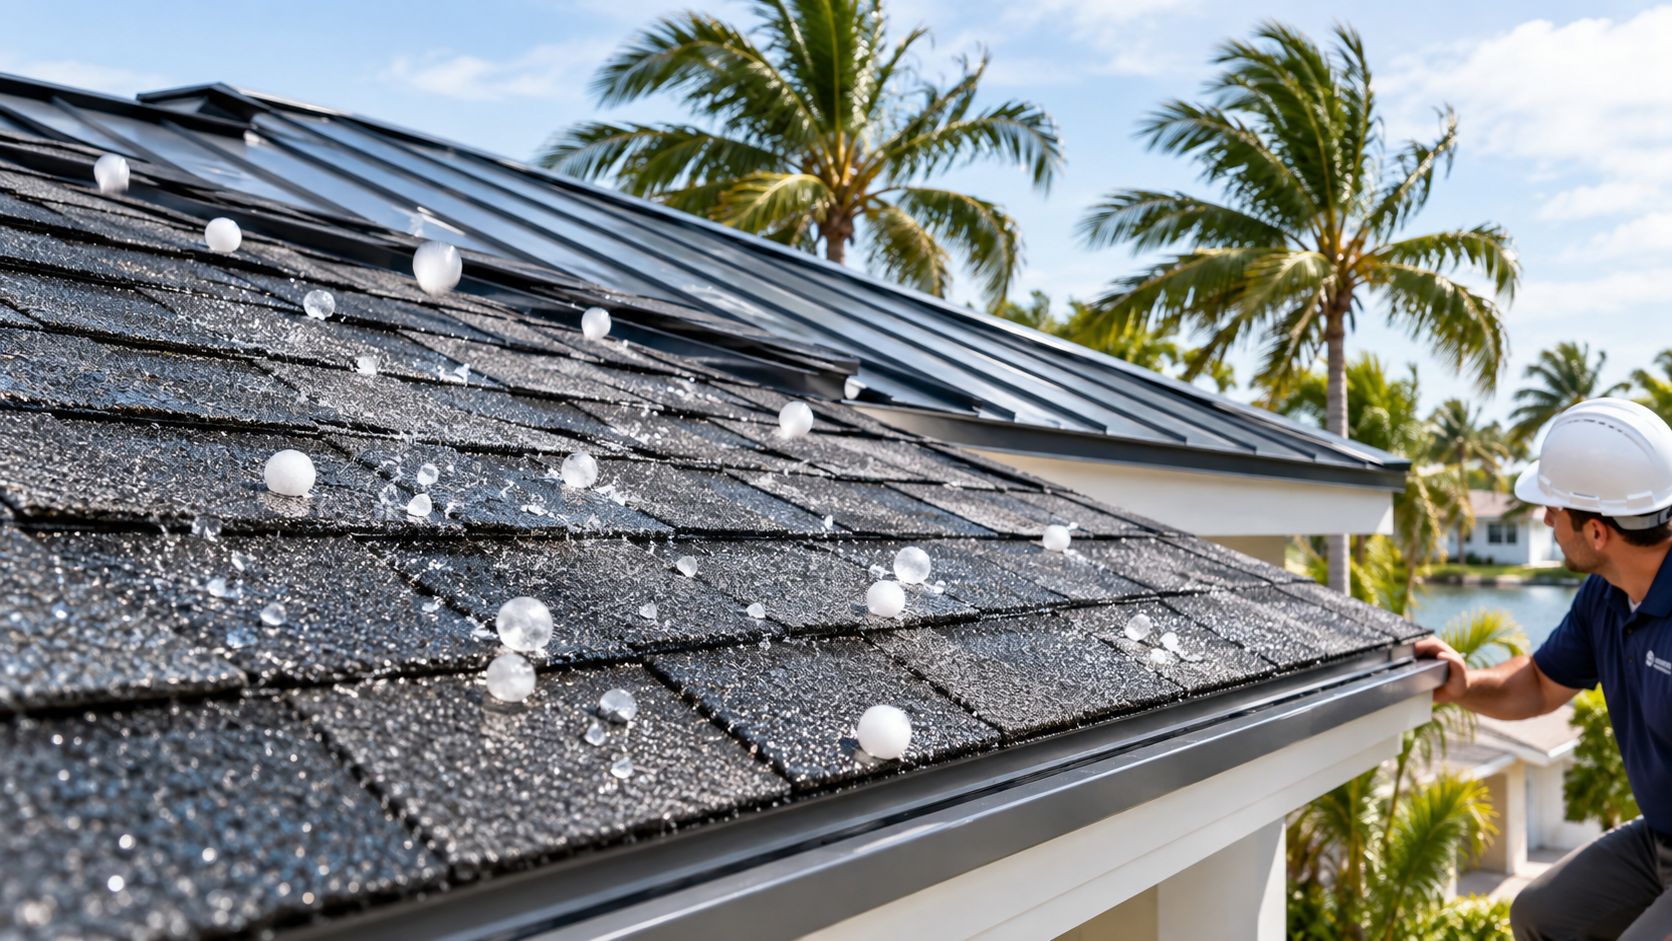
A South Florida homeowner in Broward County hears hail hammering the roof and waits for the storm to pass. Later, from the attic ladder, they spot daylight near a penetration, granules in the gutter, or a few cracked tiles. From the driveway, the roof may look fine. From above, the damage can tell a different story.
A hail proof roof isn't a single product. It's a roofing system selected for impact resistance, roof pitch, structural condition, installation quality, maintenance, and the way your insurance policy handles storm damage. In South Florida, that last point matters because a technically strong roof can still produce disappointing financial results if deductibles, exclusions, or claim rules aren't understood before the storm.
Table of Contents
- Understanding Hail Risks in South Florida
- Assessing Your Roof's Hail Exposure
- Choosing Hail-Resistant Roofing Materials
- Deciding Between Retrofit and Replacement
- Applying Best Practices for Hail-Resistant Installation
- Performing Maintenance and Filing Insurance Claims
- Conclusion and Next Steps
Understanding Hail Risks in South Florida
Hail damage often starts with a quiet inspection after a very loud storm. A Broward homeowner may find loose granules around downspouts, dents in metal components, fractured tile, or small marks around vents and flashing. None of those signs automatically proves the roof needs replacement, but each one deserves documentation and a professional evaluation before water enters the deck or attic.
Hail creates a national property-protection problem, not just an inconvenience for one neighborhood. A peer-reviewed insurance study reports that hail causes more than $850 million in average insured losses annually in the United States, while industry materials cite about $1.6 billion in yearly damage to residential roofs alone (American Meteorological Society study). Those losses help explain why homeowners increasingly ask for a roof designed to resist impact rather than relying on ordinary roofing materials and marketing language.
Why South Florida owners should take the roof seriously
Miami-Dade, Broward, and Palm Beach property owners also manage intense sun, wind-driven rain, humidity, salt exposure near the coast, and frequent roof penetrations for ventilation and mechanical equipment. Hail resistance doesn't replace proper waterproofing or wind detailing. It adds a specific performance objective to a system already expected to handle a demanding climate.
Practical rule: Don't judge hail damage from the ground. Document what you can safely see, then have the roof and its vulnerable details examined.
A useful evaluation should identify the roof material, pitch, age, deck condition, drainage pattern, flashing condition, and the exact impact rating of the proposed assembly. That information gives you a defensible basis for choosing between repair, retrofit, and replacement instead of reacting to a contractor's generic recommendation after the storm.
Assessing Your Roof's Hail Exposure
A roof that looks sound from the driveway may still have damaged flashing, loosened fasteners, cracked tiles, or weak areas around penetrations. Start with the property, not a product brochure. Record the roof geometry, covering material, drainage design, visible wear, nearby trees, rooftop equipment, and previous repairs. Review official storm information for Miami-Dade, Broward, and Palm Beach, then compare those events with your inspection and repair history.
Roof pitch affects the appropriate performance benchmark. For flat and low-sloped roofs at or below 14 degrees, or a 3/12 pitch, the cited guidance recommends FM Approvals Standard 4470 with Class 1-SH or UL 2218 Class 4. For steeper roofs above 14 degrees, or above a 3/12 pitch, it recommends UL 2218 Class 4. Confirm the requirement for the complete assembly rather than relying on a product label.
How UL 2218 creates a usable benchmark
UL 2218 rates roofing materials from Class 1 through Class 4 using a steel-ball drop simulation. Class 4 is the highest rating, showing that the tested product remained functional after repeated impacts. The test gives property owners a consistent way to compare impact-rated asphalt shingles, metal, tile, and slate.
| Class | Steel ball diameter | Drop height |
|---|---|---|
| Class 1 | 1.25 inches | 12 feet |
| Class 2 | 1.5 inches | 15 feet |
| Class 3 | 1.75 inches | 17 feet |
| Class 4 | 2 inches | 20 feet |
The thresholds are documented in UL 2218 Class 4 testing information. Class 4 does not mean hail cannot damage the roof. It confirms that the tested assembly met a defined impact standard, which is more useful than calling a roof “hail proof.”
Insurance decisions require a separate check. Ask whether your Florida policy offers a deductible difference for an approved impact-resistant roof, which rating and documentation the carrier accepts, and whether cosmetic damage has limited coverage. In South Florida, those terms can determine whether an upgrade produces meaningful savings or only adds installation cost.
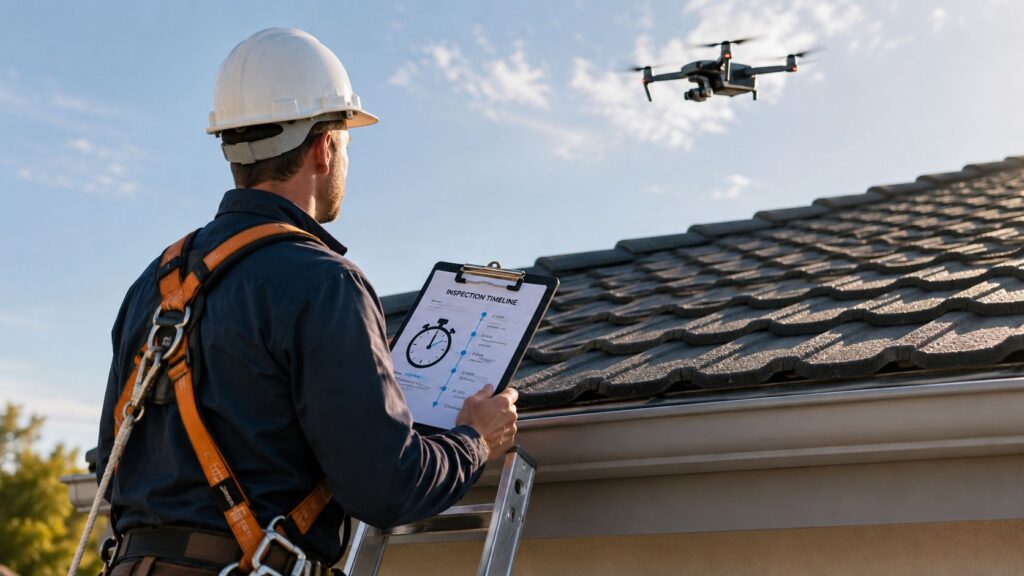
A roof inspection should verify the exact product name, rating, pitch category, and tested assembly. A drone inspection can document broad conditions, but accessible details, edges, penetrations, and the underside of the covering may still require close evaluation. Use this roof inspection and drone inspection resource when organizing the inspection.
Choosing Hail-Resistant Roofing Materials
A South Florida homeowner choosing between shingles, metal, and tile is also choosing how the roof will perform after a storm, how it will look after impact, and how an insurer may treat the claim. Match the material to the roof's shape, structure, maintenance demands, and policy terms. No covering wins every category. A lightweight Class 4 shingle may suit an existing residential structure more easily than a heavy tile system, while metal can provide a distinctive appearance and dependable service characteristics, with dents, seams, coatings, and cosmetic exclusions requiring careful review.
Asphalt shingles are often the practical starting point for a familiar installation method, broad style selection, and impact-rated options. The key distinction is between ordinary shingles and a specifically tested UL 2218 Class 4 assembly. Request the product documentation and installation requirements, rather than relying on the phrase “impact resistant.” Ask the insurer whether the approved product and installation qualify for any Florida deductible difference. The premium for an upgrade makes more sense when the policy recognizes the rating and the roof is otherwise due for replacement.
Metal roofing can handle severe weather exposure, but performance depends on the panel profile, gauge, fasteners, seams, coatings, and substrate. Hail may leave cosmetic dents even when the roof remains watertight. Confirm how the policy treats cosmetic damage before selecting metal solely for its expected durability.
Tile, slate, and system layers
Clay and concrete tile provide a substantial, durable covering, yet individual tiles can crack and the assembly brings structural and installation demands. Slate has its own weight, detailing, and specialist-installation requirements. These materials can suit a building designed for them, but replacing a lighter roof with a heavier covering calls for a structural review.
Underlayment does not replace an impact-rated exterior covering. It remains one layer of the water-shedding system and can provide secondary protection after outer-material damage. The installer should identify the exact underlayment product, overlap pattern, fastening method, and compatibility with the covering and roof pitch.
What Class 4 Proves
UL 2218 Class 4 testing uses a 2-inch steel ball dropped from 20 feet, and the sample must show no cracks or ruptures under magnified inspection (UL 2218 Class 4 testing details). The result applies to the tested product or assembly under its defined conditions. It does not guarantee that an installed roof will avoid every type of hail damage.
Use these points when reviewing proposals:
- Class 4 asphalt shingles: A familiar, adaptable option when the tested shingle and installation details match the roof.
- Metal panels: Attractive and durable, but require discussion of dent appearance, seams, fasteners, and policy treatment.
- Tile systems: Suitable for some South Florida architecture, with careful handling, support, fastening, and replacement of broken units.
- Impact-conscious underlayment: Useful for layered water protection, never a substitute for a rated exterior covering.
Choose the system whose rating, weight, pitch suitability, detailing, and insurance treatment fit the property. In Florida, verify the deductible terms before assuming a higher-rated roof will repay its added installation cost.
Deciding Between Retrofit and Replacement
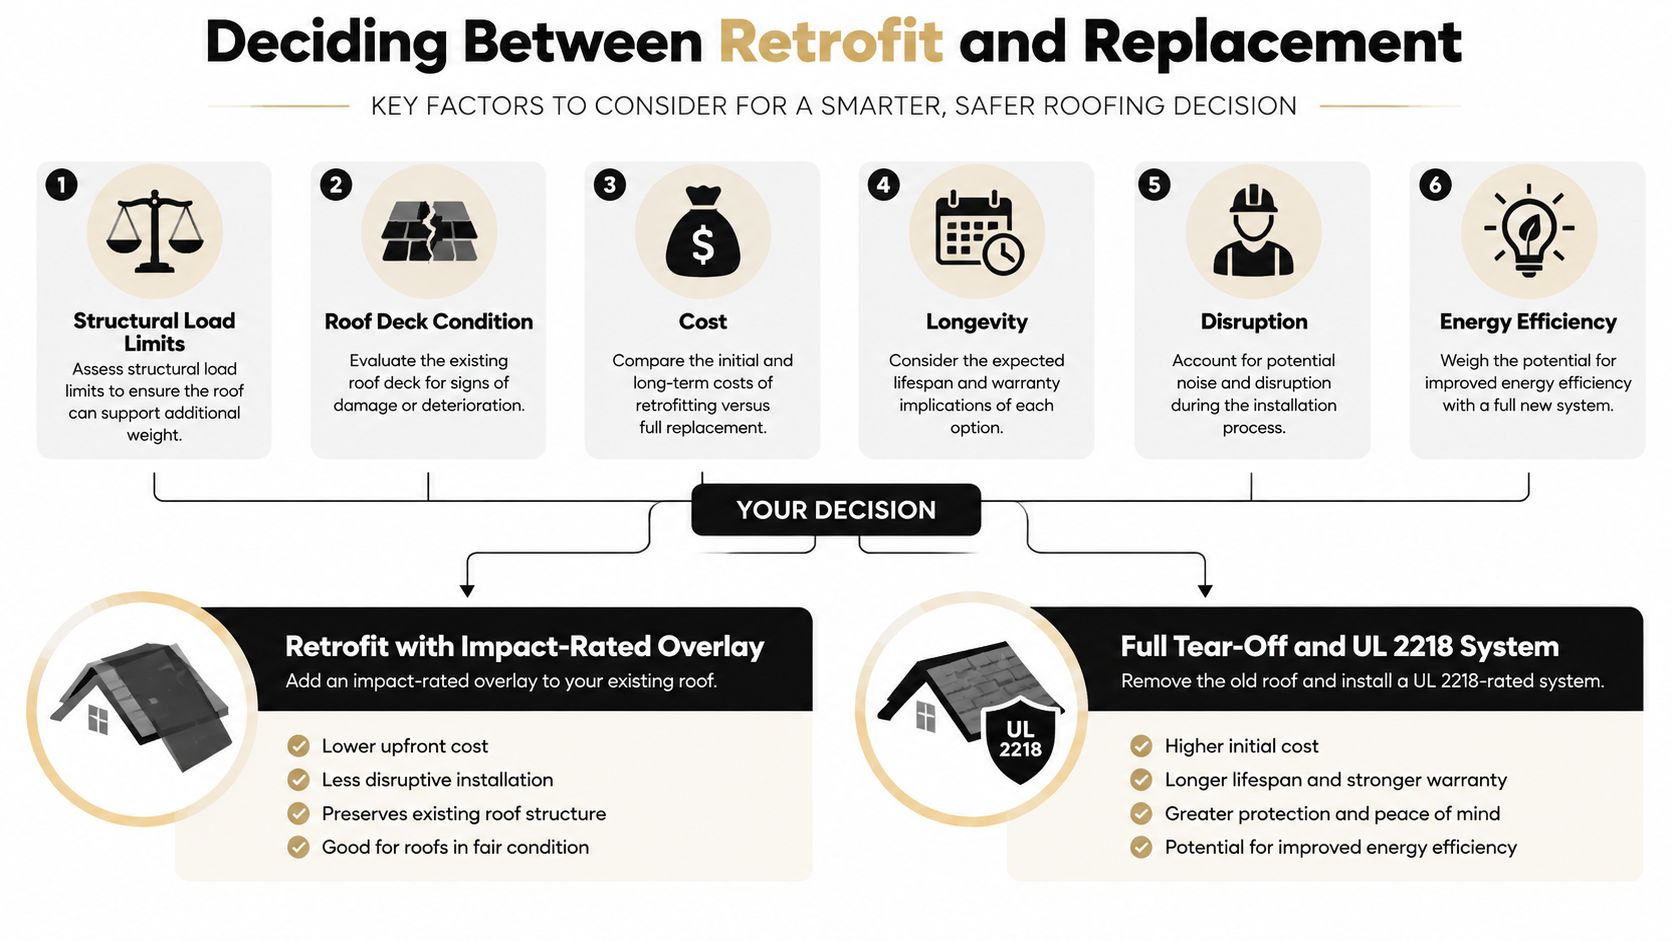
A South Florida homeowner may prefer a retrofit after a hail event to limit disruption and preserve a roof that still has serviceable life. That approach works only when the existing roof is sound, the deck is dry and stable, the structure can carry the proposed system, and local requirements allow the overlay. Concealed moisture, widespread deterioration, poor drainage, or existing layers that do not match the tested assembly can turn a retrofit into an expensive shortcut.
A full replacement exposes the deck, corrects defects before the new covering is installed, and lets the contractor specify the roof system as one assembly. The trade-offs are more noise, debris, scheduling pressure, and upfront cost. The covering alone should not determine the decision.
A practical decision sequence
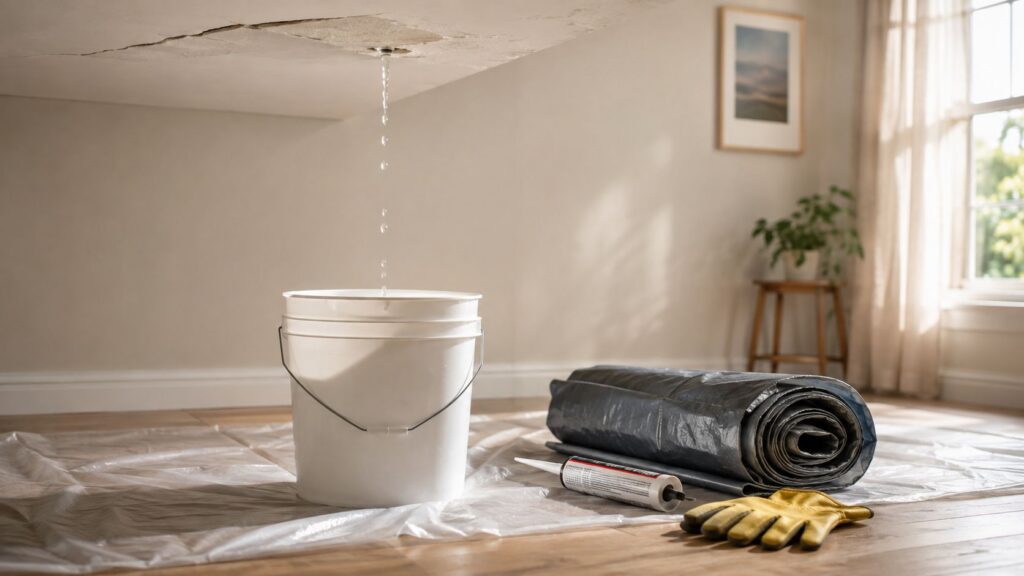
Start with the deck. Probe questionable areas, inspect accessible attic spaces, and check for staining, sagging, soft sheathing, failed fasteners, or earlier leak paths. If the deck has moisture damage, repairs are scattered across many areas, or you need to see an example of ceiling and leak damage, review this roof leak damage example. An overlay can hide defects that should be repaired before another layer is installed.
Check structural capacity next. Tile, slate, and some retrofit systems add weight. The framing must support the proposed assembly, including existing layers. Do not assume the structure has unused capacity.
Compare the complete tested system. An impact-rated top layer does not prove that the full roof beneath it matches the laboratory assembly. Confirm the manufacturer's instructions, approved substrate, fastening pattern, edge details, and underlayment sequence.
A lower-disruption option saves money only when it removes the weakness you are trying to correct.
When replacement usually earns consideration
Replacement warrants serious consideration when the roof is near the end of its service life, the deck has moisture damage, repairs are spread across many areas, or the existing covering cannot support the desired impact-rated system. Tear-off may also be the cleaner choice when changing roof geometry, correcting drainage, replacing outdated flashing, or coordinating solar and mechanical penetrations.
For a retrofit, ask what happens if the crew finds damaged decking, incompatible materials, or inadequate fastening surfaces. For replacement, ask how the crew will protect landscaping, control debris, schedule inspections, and document the installed product.
In Florida, do not assume an insurance credit or lower deductible will repay the upgrade. Request written confirmation from your carrier, including how the policy treats the approved impact rating and deductible. The financial result also depends on the roof's condition and claim circumstances. Separate technical suitability from financial return. A roof can meet the performance requirements and still fail to produce the expected insurance savings.
Applying Best Practices for Hail-Resistant Installation
A Class 4 label doesn't rescue a poorly installed roof. The installer must reproduce the conditions under which the material or assembly was tested, then adapt only where the manufacturer and governing requirements allow it.
The most important document is the product's current installation instruction and evaluation information. It should identify the exact covering, approved underlayment, fastening pattern, substrate, slope range, perimeter details, and limitations. If a proposal names only a roofing category and doesn't identify the tested assembly, request clarification before signing.
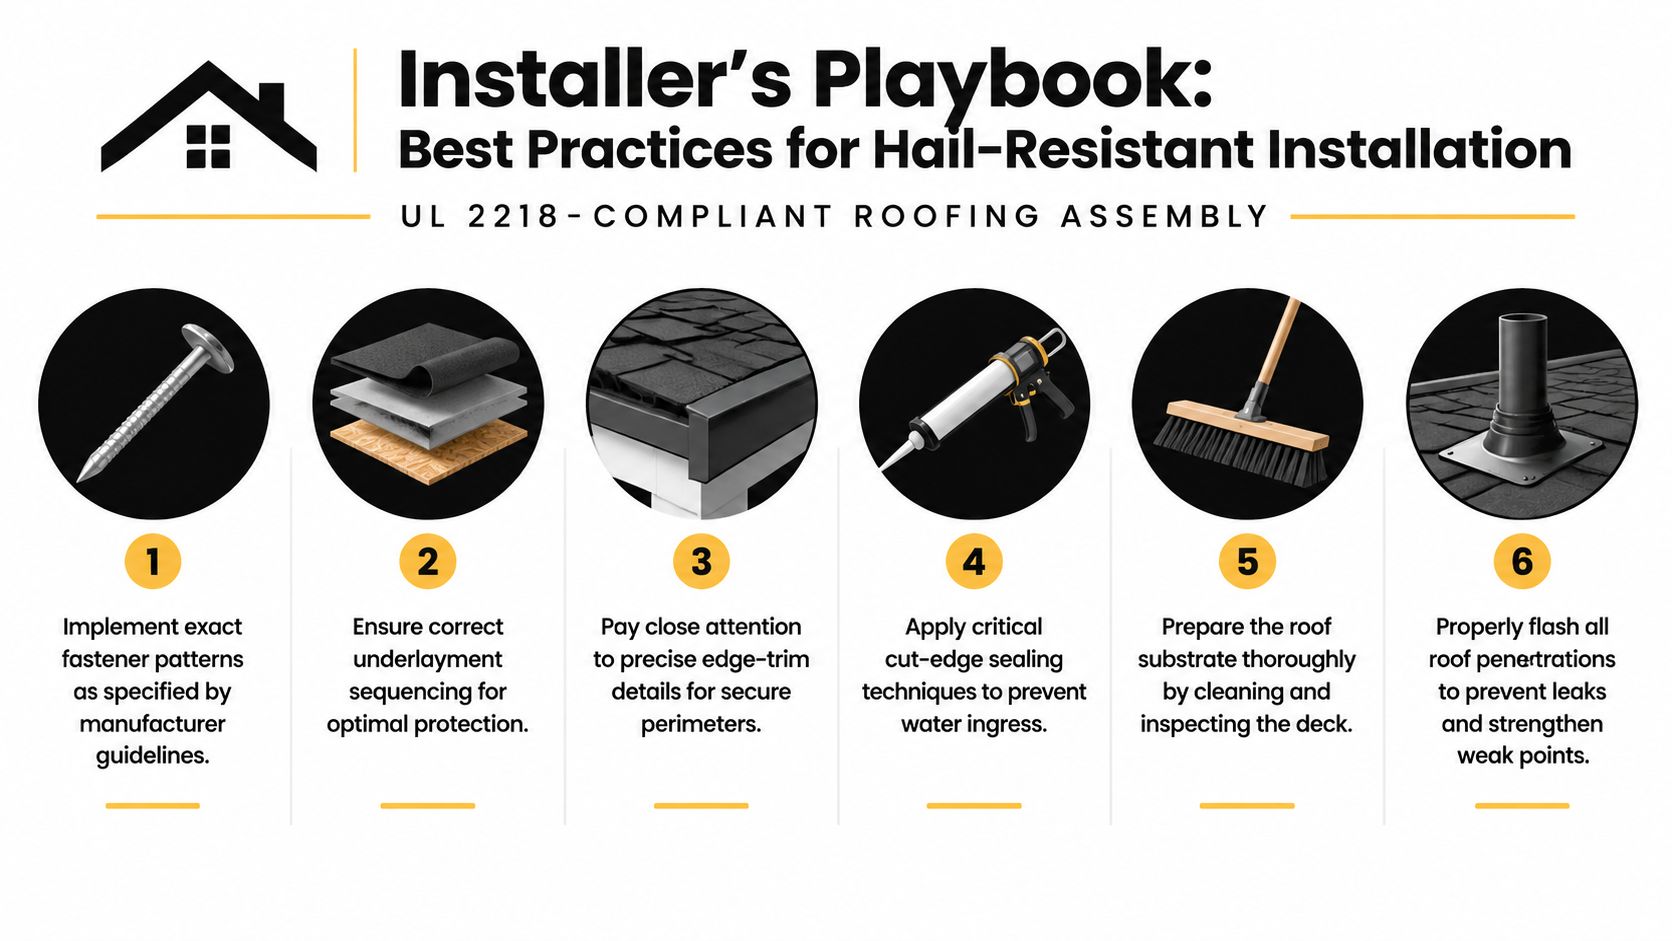
The installer's field checklist
Prepare the substrate. Remove loose material, clean the deck, and inspect for rot, delamination, moisture, and uneven surfaces. A damaged base can compromise fastening and alignment.
Sequence the underlayment correctly. Follow the manufacturer's laps, direction, sealing, and fastening instructions. The underlayment must integrate with valleys, eaves, rakes, walls, and penetrations.
Use the specified fastener pattern. Nail placement, penetration, spacing, and fastener type affect wind and impact performance. A crew shouldn't substitute a convenient pattern for the documented one.
Build secure edges. Eave, rake, ridge, hip, and flashing transitions receive concentrated weather exposure. Edge metal and trim must be compatible with the covering and installed with the prescribed overlaps and attachments.
Seal cut edges where required. Cut tiles, panels, membranes, and shingles can create vulnerable paths if the assembly calls for sealing or protective treatment. Use compatible materials and avoid improvised sealants that can damage the roof.
Flash every penetration. Vents, pipes, skylights, walls, HVAC supports, and other penetrations need integrated flashing. These locations often fail because crews treat them as accessories instead of part of the roof system.
Inspect the assembly, not just the product
The International Institute of Building Enclosure Consultants guidance on hail resistance supports pairing impact-rated materials with an installed-assembly review. UL 2218 ratings apply to tested assemblies, not standalone shingles detached from their installation conditions.
At completion, collect product packaging or invoices, installation photos, permit records, warranty documents, and the installer's confirmation of the approved assembly. Look closely at fastener placement, laps, flashing integration, cut edges, and transitions. That record can support future maintenance and help an insurer understand what was installed.
Performing Maintenance and Filing Insurance Claims
Impact resistance reduces risk, but it doesn't eliminate maintenance. Sun, salt air, thermal movement, ponding water, blocked drainage, failed sealants, and damaged flashing can create problems that have nothing to do with the roof's laboratory rating.
A seasonal inspection should be practical and repeatable. Walk the property from the ground, inspect accessible attic areas, clear debris from drainage paths, and arrange a roof-level review when conditions or safety require it. Photograph unusual conditions before anyone repairs or cleans the area.
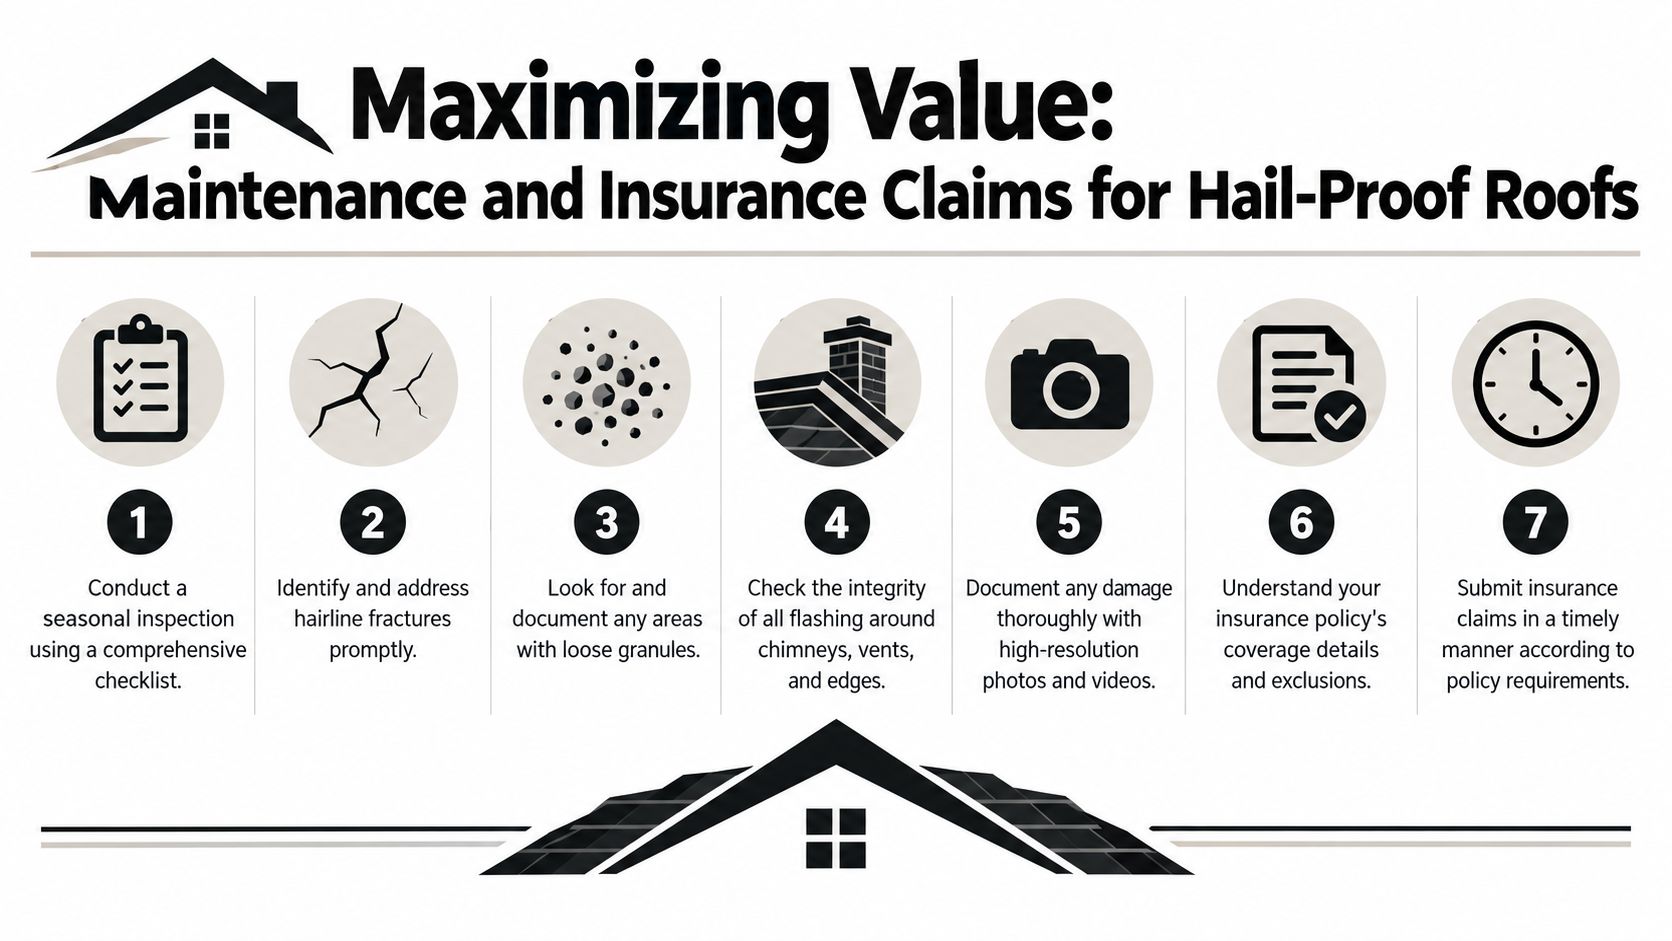
What to record during maintenance
- Surface changes: Look for cracked or displaced tile, exposed reinforcement, lifted edges, punctures, loose granules, dents, and unusual wear.
- Water-shedding details: Check valleys, gutters, downspouts, scuppers, drains, wall transitions, and areas where water collects.
- Flashing condition: Examine accessible flashing around vents, chimneys, parapets, skylights, and rooftop equipment.
- Interior evidence: Note attic staining, damp insulation, musty odors, peeling paint, ceiling marks, or daylight where it shouldn't appear.
- Storm history: Keep inspection reports, repair invoices, photographs, and roof documents together so the roof's condition isn't reconstructed from memory after a loss.
For a broader maintenance reference, use this preventive roof inspection resource.
Florida deductibles require policy-level attention
Florida law permits percentage deductibles for hurricane losses based on a home's insured value, and that framework can affect how insurers evaluate storm-related roof claims (Florida homeowners insurance roof coverage information). Don't assume the deductible printed in a conversation with an agent is the deductible that applies to every storm category or every type of roof damage.
Read the declarations page and endorsements before a storm. Identify the applicable deductible, covered causes of loss, exclusions, roof payment terms, matching provisions, depreciation treatment, notice requirements, and duties after loss. Hail and hurricane-related damage may be handled differently, so ask the carrier to explain the distinction in writing.
A disciplined claim process
- Make the property safe. Use temporary measures to limit interior damage, but don't make permanent repairs before documenting the condition unless an emergency requires it.
- Photograph broadly and closely. Capture the whole roof, elevations, drainage, flashing, interior areas, and individual marks. Include dates and locations in your records.
- Notify the insurer promptly. Follow the policy's notice process and keep copies of every submission.
- Request an itemized scope. Compare the adjuster's description with the contractor's inspection, including decking, flashing, ventilation, and code-related work where applicable.
- Separate cosmetic from functional damage. A dent or appearance change may not trigger the same coverage response as a crack, opening, leak, or failed weatherproofing component.
- Avoid pressure to exaggerate. A credible claim documents observed damage and connects repairs to the covered event without overstating conditions.
If you're comparing storm-repair documentation practices across markets, ACR Roofing Dublin storm roof repairs offers another practical reference for organizing post-storm work. The claim should still be managed according to your Florida policy and local requirements.
Conclusion and Next Steps
The common assumption is that a hail proof roof means buying the toughest-looking material and forgetting about it. That approach fails because hail performance depends on the tested assembly, roof pitch, deck condition, fastening, edges, penetrations, maintenance, and insurance terms.
For a South Florida property, the decision path is straightforward:
- Map the exposure: Review local storm history and document the roof's material, pitch, age, drainage, and vulnerable details.
- Choose the benchmark: For steep slopes, target UL 2218 Class 4 where appropriate. For flat and low-sloped roofs, evaluate the applicable FM Approvals or UL 2218 options identified for that roof geometry.
- Match the material to the building: Compare shingles, metal, tile, slate, and layered underlayment based on weight, appearance, service demands, repairability, and documented testing.
- Decide between retrofit and replacement: Keep a retrofit on the table only when the deck, structure, existing layers, and approved installation method support it.
- Control installation quality: Verify the exact fastener pattern, underlayment sequence, perimeter detailing, cut-edge treatment, and flashing integration.
- Protect the claim record: Maintain inspection reports, photographs, product documents, and policy information before severe weather arrives.
Don't wait for visible leaking to investigate impact resistance. A roof can remain dry while damage weakens the covering, exposes vulnerable layers, or creates a future path for water. A professional assessment should tell you what is present, what has failed, what rating applies, and which work is justified.
Ask for a written proposal that identifies the roof assembly, not just the material name. Confirm the deductible and claim requirements with your insurer. Then compare the cost of preserving a sound roof with the disruption and technical advantages of a full replacement.
Paletz Roofing and Inspections provides roof inspections, hail-damage assessments, repairs, replacements, and installations for shingle, tile, metal, and flat roofing systems across South Florida. Visit Paletz Roofing and Inspections to arrange an assessment, review impact-rated options, and prepare your property before the next severe storm.