
A solid roof inspection report template is more than just paperwork. It's a critical business tool that elevates you from simply listing issues to delivering professional, trust-building assessments. It standardizes your process, protects you legally, and makes sure clients actually understand complex findings.
Why Your Roof Inspection Template Matters

Let's be honest—relying on handwritten notes or a generic checklist is a recipe for disaster. You end up with inconsistency, confused clients, and a lot of potential liability. A well-structured roof inspection report template is your first line of defense and a powerful tool for building a professional reputation.
It's the framework that forces every inspection to be as thorough as the last, leaving no shingle unturned.
This standardization does more than just make your life easier; it builds undeniable trust. When a client gets a detailed, organized document complete with photos and clear explanations, they see an expert, not just another contractor.
From Haphazard Notes to Professional Assessments
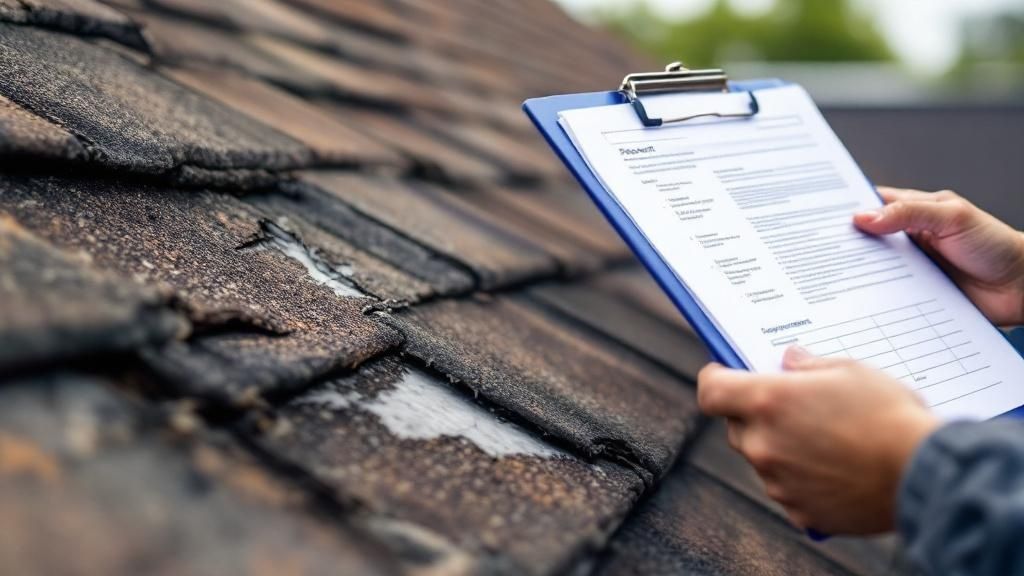
Think about this real-world scenario. Inspector A shows up, jots down some notes on a legal pad, and snaps a few blurry photos on his phone. Later, he emails a vague summary mentioning "a few cracked tiles and some granule loss." The homeowner is left with more questions than answers.
Now, consider Inspector B. He uses a detailed roof inspection report template on a tablet. He methodically works through each section—materials, flashing, drainage, penetrations—and attaches high-resolution, annotated photos right into the report. The final document he delivers includes a clear summary, a prioritized list of problems, and even ballpark repair costs.
The difference in perceived value is massive. Inspector B’s report doesn't just list problems; it delivers a comprehensive health assessment of the entire roofing system.
A great template forces you to be systematic. It’s a quality control mechanism for your own work, ensuring you document everything from minor cosmetic issues to critical structural defects with equal diligence.
Building Trust Through Transparency
Ultimately, perfecting your template is a direct investment in your business. It streamlines your workflow, allowing you to complete more inspections without cutting corners or sacrificing quality.
More importantly, it shows a commitment to transparency and professionalism that resonates with everyone from homeowners to commercial property managers. A clear, consistent report empowers them to make informed decisions, cuts down on follow-up calls, and solidifies your role as a trusted advisor.
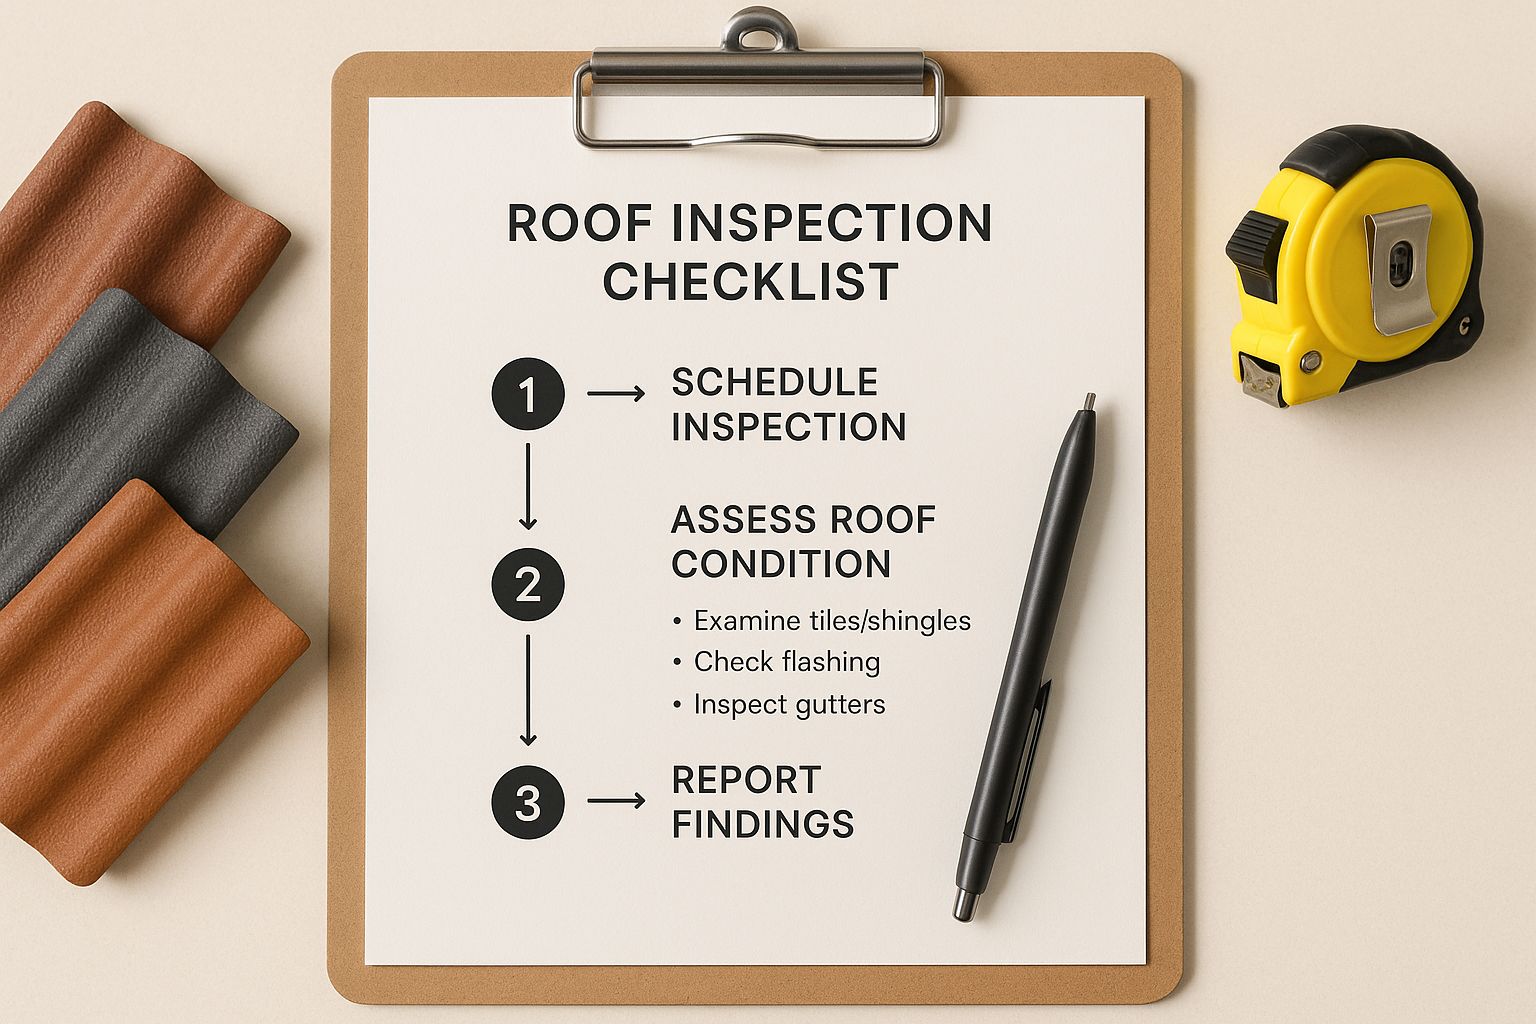
Anatomy of a High-Impact Roofing Report
A top-tier report does more than just tick off boxes on a checklist—it tells the complete, clear story of a roof's condition. Your roof inspection report template is the blueprint for a document that not only protects you legally but, just as importantly, gives your clients the confidence to make smart, informed decisions. It all starts with a logical structure and an obsession with detail.
Every professional report kicks off with the basics: Client and Property Details. This is where you lock in the client’s name, contact info, property address, and the inspection date. It’s a simple step, but it establishes a clear record and sets a professional tone right out of the gate.
Right after that, you need an Executive Summary of Findings. Think of this as the 30-second rundown for a busy property owner. It should briefly touch on the roof's overall condition and flag the most critical issues you found, steering the reader toward the details without overwhelming them.
Drilling Down into the Detailed Roof System Analysis
This section is where your expertise really comes to life. It’s the heart of the report, and to make it effective, you have to break it down into logical, digestible chunks. A well-organized analysis prevents confusion and shows your client that you have a systematic, professional approach, which builds a ton of trust in your findings.
Here’s how you can structure this core part of the report for maximum impact:
- Roofing Materials and Layers: Pinpoint the main roofing material—asphalt shingle, tile, metal, you name it—and note its approximate age and the manufacturer if you can identify it. You’ll also want to document how many layers are present, since that has huge implications for the roof's weight and future replacement costs.
- Condition of Flashing: Get specific about the state of the flashing around chimneys, vents, skylights, and in the valleys. This is where most leaks start, so detailed notes on rust, broken seals, or shoddy installation are absolutely critical.
- Drainage System Assessment: Take a close look at the gutters, downspouts, and scuppers. Make a note of any blockages, sagging sections, or improper pitch that could cause water to pool up and potentially lead to foundation damage down the road.
To give you a better idea of how all the pieces fit together, take a look at the key sections every professional report should include.
Key Sections for Your Roof Inspection Template
This table serves as a quick-reference guide to the essential sections of a professional roof inspection report and what each one should accomplish.
| Section Name | Primary Purpose | Example Data Points |
|---|---|---|
| Client & Property Details | Establish a clear record of the inspection. | Client Name, Address, Inspection Date, Contact Info |
| Executive Summary | Provide a high-level overview of key findings. | Overall Condition (Good, Fair, Poor), Critical Issues Noted |
| Roof System Analysis | Detail the specific components and their condition. | Material Type, Flashing Condition, Drainage Issues |
| Observations & Deficiencies | Document all issues with supporting evidence. | Annotated Photos, Specific Locations of Damage |
| Recommendations | Offer actionable solutions and next steps. | Urgent Repairs, Maintenance Suggestions, Cost Estimates |
Following this structure ensures nothing gets missed and your client gets a report that's both comprehensive and easy to understand.
Documenting Observations and Framing Recommendations
A detailed log of your observations and any deficiencies you find is where you present the hard evidence. This section should list every single issue, from small cosmetic blemishes to major structural problems. Crucially, every entry needs to be backed up by high-resolution photographic evidence.
The golden rule here is simple: if you write it down, take a picture of it. Photos with annotations that circle or point to specific damage are incredibly powerful. They eliminate any gray areas for both the client and any insurance adjusters who might see the report later.
Finally, your report has to wrap up with clear Recommendations and Cost Estimates. You’ll want to prioritize your suggestions, making a clear distinction between urgent repairs needed for safety and long-term maintenance items. Providing ballpark cost estimates is a game-changer; it helps clients budget and plan, turning your report from a list of problems into a practical guide to solutions.
To make sure your reports aren't just thorough but also convincing, it's worth brushing up on professional report writing techniques.
Inspecting Commercial and Industrial Roofs
The moment you step onto a commercial or industrial roof, you realize you're in a completely different world. The sheer scale is one thing, but the complexity of the systems up there and the stakes involved are on another level entirely. A standard residential checklist just won't cut it; your roof inspection report template needs a serious upgrade for these beasts.
Unlike the sloped shingle roofs on most homes, commercial properties typically have vast flat or low-slope surfaces. These are covered in specialized systems like TPO, EPDM, or modified bitumen, each demanding a unique inspection approach. You’re no longer just looking for cracked shingles; you’re hunting for seam failures, membrane degradation, and drainage issues across massive square footage.
Documenting Complex Systems and Penetrations
One of the biggest hurdles is the number of penetrations. While a house might have a few vents and a chimney, a commercial roof is often a jungle of large HVAC units, intricate pipework, skylights, and access hatches. Every single one is a potential point of failure waiting to happen.
This means your report has to document each penetration individually. Forget a quick glance. You need to be noting specifics:
- Flashing Condition: Are the seals around the curb of each HVAC unit tight and free of cracks?
- Drainage Obstructions: Is water ponding around equipment bases, creating a mini-lake that will inevitably find a way in?
- Structural Support: Can you see signs of stress or sagging on the roof deck from the weight of heavy machinery?
This isn’t just about being thorough; it’s non-negotiable. A tiny leak around an HVAC unit can cause catastrophic interior damage, shutting down a business and costing them thousands in lost revenue. Your template must force this granular level of detail for every single item that breaks the roof plane.
For a commercial client, a roof inspection report is more than a leak-finding mission. It's a critical tool for asset management, long-term capital budgeting, and preventing operational disasters. You're giving them the hard data they need to make strategic financial decisions.
Integrating Advanced Diagnostics and Safety Protocols
With commercial inspections, what you see isn't always what you get. We often rely on advanced diagnostic tools to uncover problems that are completely invisible to the naked eye.
Take thermal imaging, for instance. It’s an absolute game-changer for finding subsurface moisture trapped within the layers of a flat roof’s insulation. A solid roof inspection report template must have a dedicated section where you can embed and annotate these thermal scans. You can clearly point out the temperature anomalies that scream "moisture intrusion," providing undeniable proof to back up your repair recommendations.
The demand for this level of detail is exploding. The market for industrial roof inspection services was valued at around USD 1.2 billion in 2024 and is on track to more than double by 2033. This growth, which you can read more about in these industrial roof inspection market trends, is fueled by facility managers who know that a data-driven report is key to avoiding costly disruptions.
Finally, safety can never be an afterthought on these jobs. Documenting your safety protocols is a crucial part of the process. Your report should include a section confirming that all safety measures—like tie-off points and perimeter warnings—were in place and used during the inspection. This doesn't just protect you; it shows your commercial clients that you’re a true professional.
Integrating Technology Into Your Reports
It's time to hang up the clipboard and step down from the ladder for good. Modern roofing inspections are driven by technology, and your reports need to reflect that edge. A simple checklist just doesn’t cut it anymore when compared to the detailed, undeniable evidence you can capture with today's tools.
Using this tech correctly is about more than a flashy presentation—it’s about delivering pinpoint accuracy that builds rock-solid trust with your clients. A roof inspection report template designed to handle this data is your single most powerful communication tool.
Drones and Aerial Imaging
Drones have completely changed the game. These tools give you safe, high-resolution aerial imagery of every nook and cranny, especially areas that are dangerous or just plain impossible to access otherwise. Instead of relying on a grainy photo from the ground, you can capture crystal-clear images of ridge caps, chimney flashing, and entire roof surfaces.
Your template absolutely needs a dedicated section for this kind of visual proof. Here’s how you make it count:
- Annotated Photos: Don't just dump a gallery of images on your client. Mark them up. Use arrows, circles, and short text overlays to point out specific issues like hail strikes, granule loss, or failing sealant. You’re guiding their eye directly to the problem.
- Contextual Views: Give them the full picture. Include wide-angle shots showing the entire roof, then zoom in with close-up images that detail specific defects. This combination tells a complete and compelling story.
For inspectors who want to take their precision to the next level, advanced methods can provide even more detailed topographical data. You can learn more in a practical guide to LiDAR for drone setups.
Thermal Cameras and Subsurface Diagnostics
Thermal cameras are another game-changer, especially for commercial flat roofs. They can spot temperature variations that reveal subsurface moisture trapped deep within the insulation—a critical problem that’s completely invisible to the naked eye. Any effective report template will have a section specifically for thermography.
The key is to present this data clearly. Place the thermal image right next to a standard photo of the exact same area. This side-by-side comparison makes an invisible problem immediately obvious to your client. You can show them a cool, blue patch on the thermal scan and explain that it represents trapped water, giving them a clear reason to approve core sampling or more invasive repairs.
Technology transforms your findings from an opinion into a documented fact. When an insurance adjuster sees a high-resolution, annotated photo of a clear hail impact, the claim becomes much harder to dispute.
This evolution in inspection tools is driving serious industry growth. The global market for these services is on track to hit USD 19.5 billion by 2033, a boom fueled by the reliability that tech brings to modern reports. You can dig into more data on this trend in this roof inspection market analysis. Bringing these tools into your workflow isn't just an upgrade anymore—it's fast becoming the standard for any professional, high-value assessment.
A great report is only useful if your client actually understands it. After you’ve documented every little detail in your roof inspection report template, the last and most important step is all about communication. This is where you graduate from being just another inspector to a trusted advisor.
The real skill is translating our industry jargon into plain language a homeowner can immediately connect with. Instead of saying, "significant granule loss on the southern exposure," try something like, "The protective top layer on the shingles facing the sun is wearing thin, almost like the tread on a tire." An analogy like that just clicks for people and makes the problem feel real.
You don't need to get bogged down in technical terms for common issues. A homeowner doesn't care about the chemical makeup of failing sealant, but they absolutely need to understand the leak risk it creates.
Adopting a Visual-First Approach
It's a simple fact: people process images way faster than text. The photo log in your report should do more than just show problems; it needs to tell the story of the roof's current condition. A visual-first approach builds instant trust because the evidence is right there in front of them.
You want to structure your photos to create a clear narrative. Here’s a method that works wonders:
- Set the Scene: Start with a few wide-angle shots of the entire roof. This gives everyone context and an overall impression before you zero in on specific issues.
- Zoom in on the Trouble: For each problem you find, include a couple of photos. A medium shot shows where the issue is, and a close-up shows the nitty-gritty details of the damage.
- Mark It Up: Don't underestimate the power of simple annotations. A red circle around a popped nail or a bright yellow arrow pointing to cracked flashing immediately guides your client's eyes to the exact spot you're talking about.
A well-curated photo log is your best communication tool. It shifts the conversation from "you say there's a problem" to "we can both see the problem," making your recommendations feel collaborative rather than prescriptive.
Structuring Your Recommendations for Action
The final stretch of your presentation needs to be all about clear, actionable solutions. How you frame your recommendations can be the difference between a client feeling overwhelmed and feeling empowered to make a decision. The goal is to guide them, not just dump a list of problems in their lap.
I find it helps to prioritize your findings into a few distinct categories. This helps clients see what needs to be fixed right now versus what can be budgeted for down the road. A simple, effective structure looks like this:
- Urgent Safety Issues: This is for anything that’s an immediate risk, like a major active leak or structural instability. These are the non-negotiable, must-fix-yesterday items.
- Required Repairs: These are the problems that will cause serious damage if they aren't dealt with, like failing flashing or widespread shingle damage. You can frame these as essential for protecting the home's integrity.
- Long-Term Maintenance: This bucket includes things like cleaning out clogged gutters or treating some minor moss growth. Present these as proactive steps they can take to get more life out of their roof and head off bigger costs later.
By presenting your findings this way—with clarity, visuals, and a logical plan—you turn a simple report into a powerful tool that builds lasting client relationships and cements your professional expertise.
Common Questions About Roof Inspection Reports
Even with the best roof inspection report template at your disposal, questions are going to come up. That’s just part of the job. Getting ahead of these common concerns will help you clear hurdles, sharpen your process, and deliver reports that you can stand behind with total confidence.
Let’s tackle some of the most frequent questions I hear from other inspectors.
How Detailed Should My Report Photos Be
Think of your photos as your evidence—they have to be rock-solid and tell the whole story. You’re aiming for high-resolution images that leave absolutely no room for interpretation about the issue you’re documenting. For every single significant finding, you should have a trio of photos.
First, grab a wide shot. This gives everyone context and shows exactly where the problem is located on the roof. Then, move in for a medium shot to zero in on the problem area itself. Finally, get a close-up that shows the specific damage in detail, like a single cracked shingle, some rusted flashing, or a sealant bead that’s completely failed.
Here's a rule of thumb I live by: if you mention a defect in your report, you must have a photo of it. This visual proof isn't just a nice-to-have for clients; it’s non-negotiable for insurance claims and a critical piece of your own records.
And don’t forget the captions. Every important photo needs a short, clear caption explaining what the client is looking at and, more importantly, why it matters. This one small step transforms a simple picture into powerful, undeniable evidence.
What Legal Disclaimers Should I Include
This is a big one. Including a "Limitations" or "Scope of Inspection" section in your report is absolutely critical for managing your liability. This disclaimer is your professional safety net, so it needs to be crystal clear.
Your disclaimer should state plainly that the inspection is a visual assessment of accessible areas conducted at a specific point in time. That specific wording is key because it manages client expectations by clarifying what you could and couldn't see.
It’s also crucial to state that the report is not a warranty or guarantee against future leaks or any other kind of roof failure. You also need to specify that any concealed or inaccessible areas were not part of the inspection. Because these disclaimers carry real legal weight, I always tell people it's a smart move to have a legal professional help you draft one. They can tailor it to your business and local regulations, making sure you’re properly protected.
How Do I Handle Inaccessible Roof Areas
When you run into an area you can't inspect, complete transparency is the only way to go. You have to clearly document any section of the roof that was inaccessible or unsafe to assess directly. Don't just skip over it; make a specific note in your report.
Be direct about the reason for the lack of access. For instance, you could write, "Steep pitch of upper roof section prevented direct foot traffic for safety reasons," or "Northern roof surface was completely obscured by heavy snow cover." This does two things: it manages the client's expectations and protects you from any future claims about undiscovered issues in those areas.
If you managed to get a partial view with tools like a drone or a telescoping pole camera, document that, too. Note what you were able to see and what limitations still existed. Being upfront about what you couldn't inspect is just as important as detailing what you did.
At Paletz Roofing and Inspections, we bring over 30 years of experience to every job, combining it with meticulous reporting to give you a clear, actionable picture of your roof's health. For a professional inspection in South Florida that truly leaves no stone unturned, contact us today for a free quote.