To stop a leak, you first need to play detective. The source is rarely right above the stain you see. Your mission is to trace the water's path by looking for clues inside, then inspecting your attic and the roof itself. For a quick, get-you-through-the-storm fix, roofing cement or a tarp can work wonders. But for a permanent solution, you'll need to replace the damaged shingles or flashing to create a seal that'll last.
Recognizing the First Signs of a Roof Leak
That sinking feeling you get when you spot a dark, discolored patch on your ceiling is a universal homeowner nightmare. It's the most glaring sign of a roof leak, but it's often the last to show up. Long before water ever drips into your living room, your home is usually sending out subtle distress signals. Learning to read these clues is the key to catching a small problem before it morphs into a structural disaster and a massive repair bill.
The earliest signs are often easy to write off if you don't know what you're looking for. Don't wait for a drip. Start paying attention to the less dramatic indicators that hint at moisture getting in where it shouldn't.
Interior Clues to Look For
Your investigation should always start inside your home, where the signs are easiest to spot. Don't just glance up at the ceiling; check the walls and corners, especially in rooms on the top floor.
Here’s a practical checklist of what to keep an eye out for:
- Stains and Discoloration: Look for those classic yellow, brown, or copper-colored spots on ceilings or walls. This is the tell-tale sign of water slowly seeping through drywall.
- Peeling or Bubbling Paint: When moisture gets behind the paint, it loses its grip. This leads to bubbles, blisters, or peeling, often right where the wall meets the ceiling.
- Musty Odors: A persistent damp, earthy smell, especially in attics, closets, or upper-floor rooms, often points to hidden moisture and the beginnings of mold growth.
- Visible Mold or Mildew: Finding dark spots of mold, particularly in corners, is a sure sign that moisture has been present for a while.
This isn't just about cosmetic damage. A small, faint stain can be the tip of the iceberg, pointing to saturated insulation and decaying roof decking just out of sight. Ignoring these early signs just gives moisture more time to cause serious, expensive harm.
Exterior Warning Signs
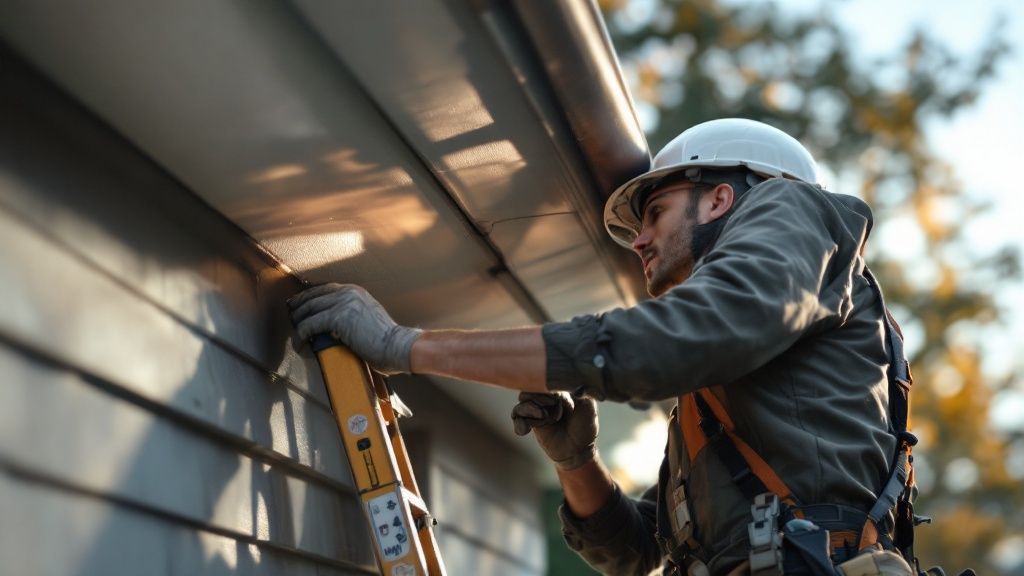
Once you’ve done a thorough check inside, a safe visual inspection of your roof from the ground can reveal the likely culprits. A pair of binoculars can give you a much closer look without ever leaving the ground.
Your roof is the primary shield for your entire home. Early detection isn't just about fixing a leak; it's about preserving the structural integrity and value of your property. Catching a problem when it's just a curled shingle saves you from dealing with rotted rafters later.
The hard truth is that many homes are at risk. Industry reports show that nearly 38% of U.S. homes have roofing systems in 'moderate' or 'poor' condition, putting millions of properties at a higher risk of leaks. Many of these roofs are simply past their prime, made with materials that can't hold up to modern standards.
From the ground, look for these exterior red flags:
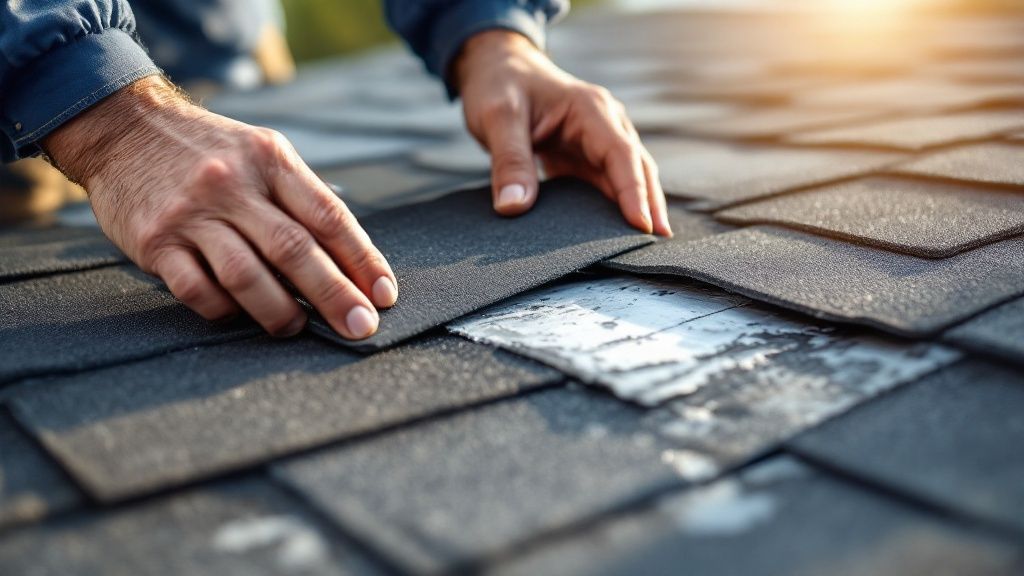
- Damaged or Missing Shingles: Scan for shingles that are cracked, have curled edges, or are completely gone, especially after a storm. You may see a visual guide to shingle damage here: https://paletzroofing.com/wp-content/uploads/2025/09/thumbnail-25-768×432.jpg.
- Cracked Flashing: The metal strips around chimneys, vents, and skylights are critical. Cracks or gaps in the flashing are some of the most common entry points for water.
- Clogged Gutters: When gutters are stuffed with leaves and debris, water has nowhere to go but up and under the edge of your roof. This backup is a frequent and preventable cause of leaks.
How to Pinpoint the Exact Source of a Leak
Let's get one thing straight: finding the entry point of a roof leak is rarely a simple task. That water stain blooming on your ceiling is just the final stop on a long, winding journey. Water is sneaky. It can creep down rafters, snake behind walls, and travel across ceiling joists before it finally decides to say hello, often feet away from the actual breach in your roof. This makes your detective work absolutely crucial for an effective, long-lasting repair.
Your investigation should start not on the roof, but in the attic. The best time to do this is on a bright, sunny day. Safely get into your attic, turn off all the lights, and let your eyes adjust. Look for any slivers of daylight piercing through the roof deck—those are your smoking guns, clear signs of holes or gaps.
The Attic Inspection
Once you're situated, grab a powerful flashlight and start scanning the underside of the roof deck. You’re hunting for the breadcrumbs water leaves behind. These signs can be subtle, but they become glaringly obvious once you know what to look for.
Keep a close eye out for these telltale indicators:
- Water Stains: Look for dark streaks, telltale water spots, or rings on the wood sheathing and rafters.
- Soggy Insulation: If you see insulation that’s compressed, matted down, or discolored, it’s almost certainly been soaked.
- Mold or Mildew: Any dark, black, or musty-smelling patches on wood surfaces are a dead giveaway of a long-term moisture problem.
Always remember to trace any water stains uphill toward the peak of the roof. Water obeys gravity, so the entry point will almost always be higher than the interior damage you can see.
Performing a Controlled Water Test
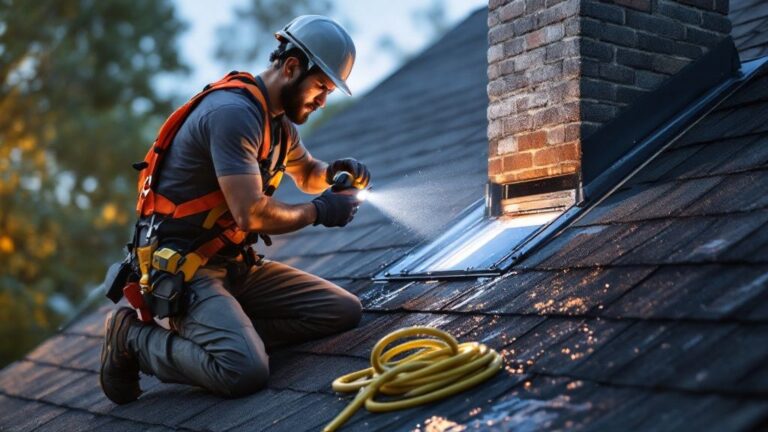
What if the attic inspection comes up empty? Your next move is a controlled water test, a classic technique we pros use to isolate those really stubborn leaks. This is a two-person job: one of you will be on the roof with a garden hose, and the other will be inside the attic, acting as a spotter. A word of caution: Never use a high-pressure nozzle. You could force water into places it wouldn't normally go and even damage your shingles in the process.
Start by gently soaking the roof just above where the stain appeared inside. Work in small, isolated sections, starting low and moving up slowly. Focus on the usual suspects first—around vents, flashing, and skylights. The moment your spotter inside sees a drip, they should yell. It’s a process that demands patience, but it’s hands-down the most reliable way to find the exact point of entry.
This infographic breaks down the basic tools and materials you'll need for most minor repairs. As you'll see, they typically fall within a very reasonable budget.
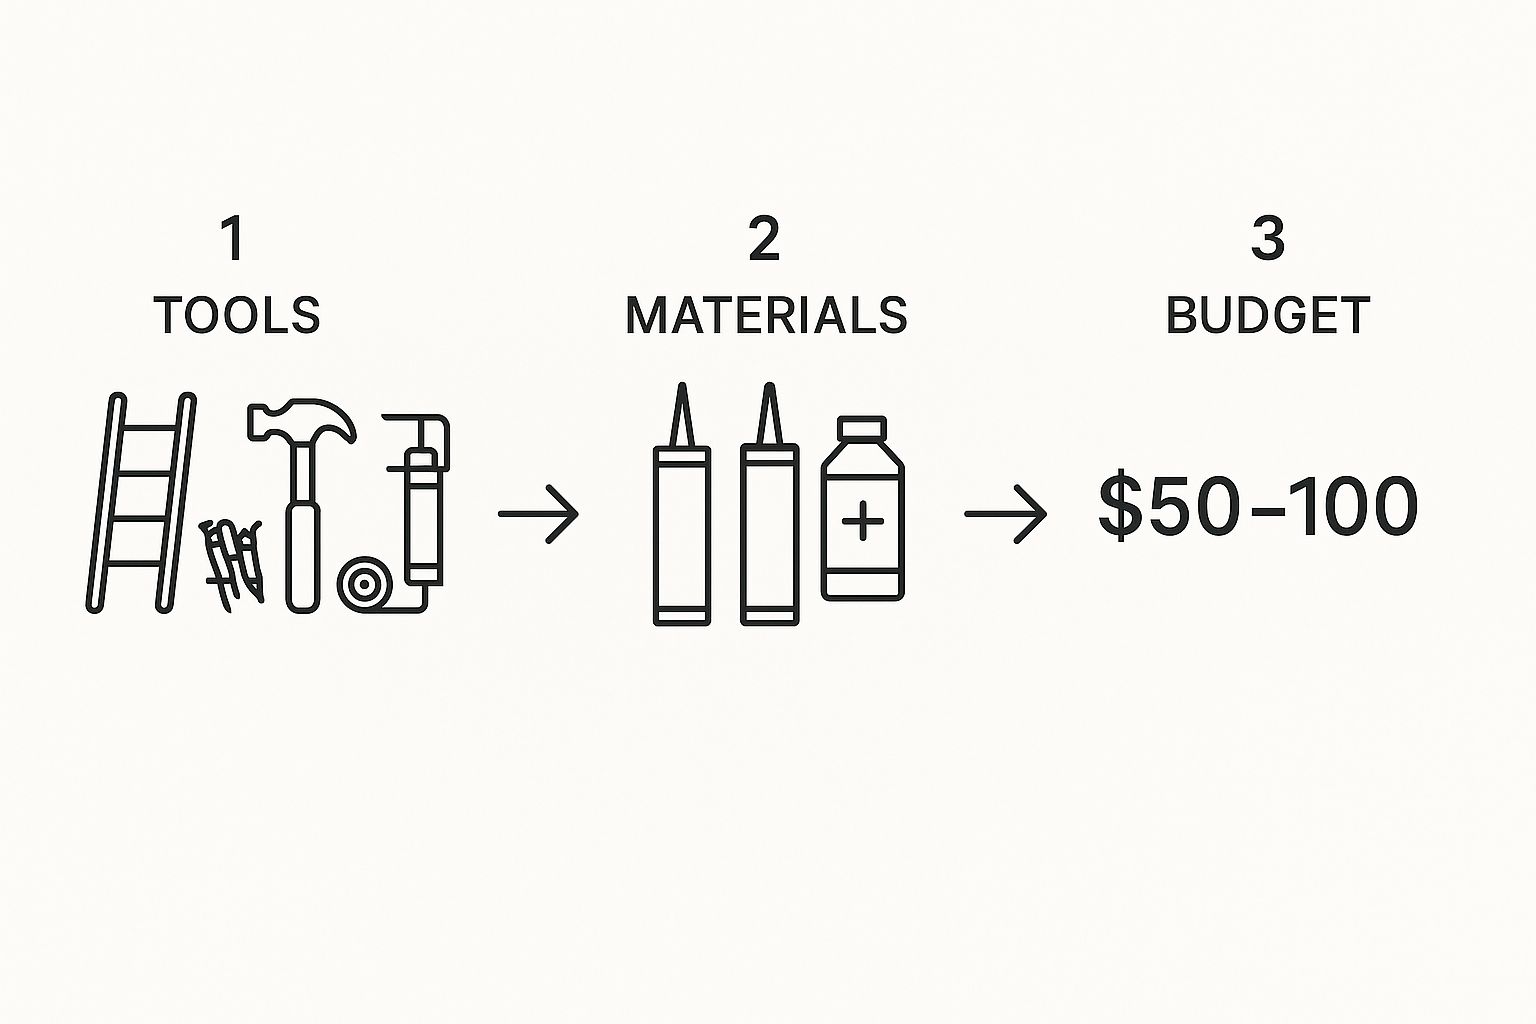
Gathering the right supplies for a DIY patch is pretty manageable and won't break the bank for most common leak scenarios.
The most common leak sources—about 90% of them—occur in just 10% of the roof area. Focus your search on penetrations and transitions, as these are the most vulnerable spots.
To help you narrow down your search even faster, here’s a quick reference guide that connects what you see inside to the most likely problem area on the outside.
Common Roof Leak Sources and Their Telltale Signs
Use this reference guide to connect interior water damage to the most likely problem area on your roof, helping you focus your inspection.
| Interior Sign | Most Likely Exterior Culprit | What to Look For |
|---|---|---|
| Stains on a ceiling or wall | Damaged or missing shingles | Cracked, curled, or completely missing shingles. |
| Drips around a bathroom fan or pipe | Plumbing vent boot failure | Cracked, brittle, or torn rubber boot around the vent pipe. |
| Water around a chimney | Damaged chimney flashing | Gaps, rust, or sealant failure where the flashing meets the chimney. |
| Leaks around a window on an upper floor | Compromised step or dormer flashing | Loose, bent, or rusted metal flashing along wall-to-roof intersections. |
| Ceiling stains under a skylight | Skylight sealant or flashing failure | Cracked sealant around the glass or gaps in the metal flashing. |
| Water spots far from any penetration | Nail pops or ice damming (in cold climates) | Shingles lifted by a backed-out nail; thick ridges of ice at the eaves. |
The most frequent offenders are almost always the things that interrupt the smooth, continuous surface of your roof. For a truly exhaustive list of potential weak points, a professional roofing inspection checklist can be an invaluable guide.
Think about it: plumbing vent boots made of rubber that get brittle and crack over time, flashing around chimneys that has pulled away from the brick, or old sealant around a skylight that has completely deteriorated. By methodically checking these high-risk areas first, you can pinpoint the source much faster and finally move on to stopping that leak for good.
Emergency Fixes to Minimize Water Damage
When you’re staring at a new water stain on your ceiling during a downpour, a permanent fix is the last thing on your mind. The immediate priority is simple: damage control. Getting on the roof is out of the question, so your focus has to shift to containing the water inside and stopping a minor headache from turning into a full-blown renovation nightmare.
Acting fast with a few temporary measures can be the difference between a small puddle and ruined floors, furniture, and drywall. This isn't about solving the roof problem; it's about buying yourself precious time until a pro can get up there safely.
The first and most important job is to get that water under control. Grab a bucket or any large container and place it directly under the drip. If the constant "drip, drip, drip" is driving you crazy, here’s an old roofer’s trick: hang a long piece of string from the ceiling so the water quietly runs down it and into the bucket.
Interior Containment Strategies
Once you’ve got a bucket in place, don't stop there. Water has a nasty habit of splashing farther than you’d think, and even a small amount can warp a wood floor or leave a permanent stain on your carpet.
- Create a Splash Zone: Lay down thick plastic sheeting or a tarp around the bucket. Give yourself a wider perimeter than you think you need—water always finds a way.
- Soak Up the Excess: Use old towels or rags around the base of the bucket to catch any overflow or splashes. Be ready to swap them out as they get soaked.
- Deal With Ceiling Bulges: If you see a bubble or bulge forming on your ceiling, that’s a pocket of water putting a dangerous amount of stress on the drywall. It's a collapse waiting to happen. Carefully position your bucket underneath, then take a screwdriver and puncture the center of the bulge. This lets the water drain in a controlled stream instead of a catastrophic burst.
This initial containment is your best defense against a leak escalating into a major disaster.
Remember, the point of an emergency fix is to stop the bleeding, not perform surgery. Your safety and protecting your home's interior are the only things that matter when water is actively coming in.
Safe Exterior Stopgap Measures
If there’s a break in the weather and you can get outside safely, a quick exterior patch can slow the leak to a crawl. But let me be clear: getting on a wet, steep, or slippery roof, especially during or just after a storm, is incredibly dangerous. Never take that risk.
If the conditions are safe—the rain has stopped, the roof is dry, and you have secure footing—you have a couple of options. A quick smear of roofing cement or plastic sealant from a tube can temporarily plug a small hole or a crack around flashing.
For a larger area of damage, securing a heavy-duty tarp is the go-to emergency tactic. Lay it over the damaged section, ensuring it extends well beyond the problem area. You'll need to weigh down the corners securely with something heavy and blunt, like sandbags or wood blocks, so the wind can't get underneath and turn it into a kite. These are strictly temporary Band-Aids to get you through until a proper repair can be done.
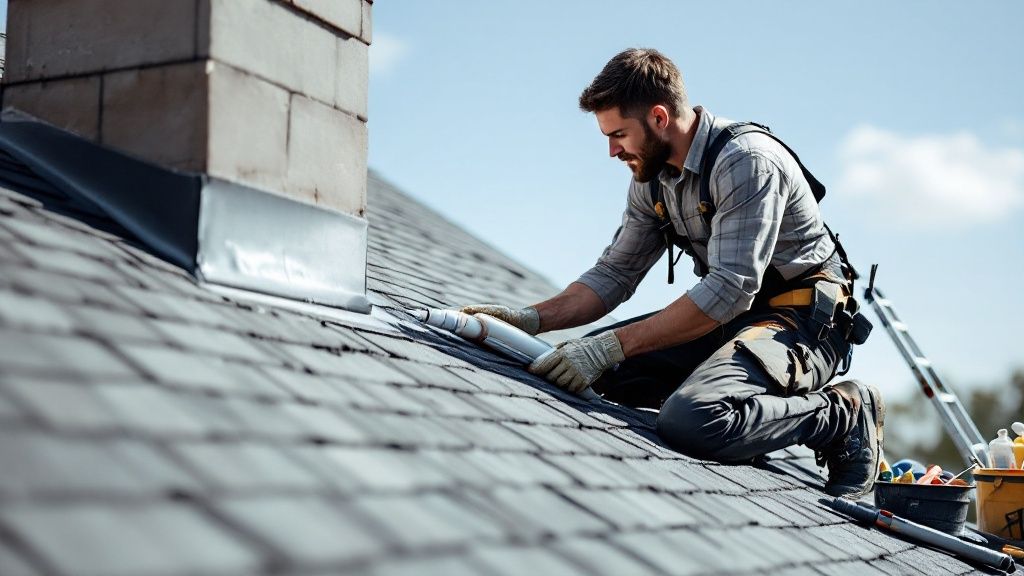
Performing a Permanent DIY Roof Repair
Alright, so your temporary patch got you through the storm. Now it's time for a real, lasting fix.
The good news is that with the right tools and a little patience, you can tackle many common roof repairs yourself and save a few hundred bucks on a professional call-out. We're going to walk through three of the most frequent culprits I see: damaged asphalt shingles, failing pipe vent boots, and compromised flashing.
This isn’t about just slapping on some tar and calling it a day. This is about doing the job right so you don’t have to think about it again for years. Each of these repairs needs a specific approach, but the goal is always the same—create a durable, watertight seal that blends right in with the rest of your roof.
Replacing a Damaged Asphalt Shingle
A single cracked, curled, or missing shingle is basically a "vacancy" sign for water. Thankfully, swapping one out is a straightforward job most homeowners can handle without much trouble.
Before you climb up there, make sure you have a few key items:
- A flat pry bar (a roofer's best friend)
- A hammer and some 1¼-inch galvanized roofing nails
- A utility knife with a fresh, sharp blade
- A tube of roofing sealant
- A replacement shingle that actually matches your existing ones
First, you need to gently break the seal on the shingles sitting directly above the damaged one. Use your pry bar to carefully lift their edges just enough to expose the nail heads holding the bad shingle in place. Slide the pry bar under the shingle and pop out the four nails. Once they're out, the old shingle should slide right out.
Now, slide your new shingle into position. Line it up and secure it with four new roofing nails in the same spots as the old ones. Here's a critical tip: never drive the nails through the new shingle’s exposed surface. The nails should go just below the tar line so the shingle above will cover and seal them.
To finish, apply a small dab of roofing sealant under the tabs of the shingles you lifted. This will reseal them against the new one and lock everything down.
Sealing a Leaky Vent Pipe Boot
The rubber boot around a plumbing vent pipe is notorious for failing. Years of getting baked by the sun makes the rubber brittle and cracked, creating a perfect path for water to get in.
Most sealants used for vent pipes can crack due to aging, vibration, or roof movement. A simple re-caulking often fails quickly. The best permanent fix involves addressing the entire boot.
If the boot itself is cracked and falling apart, you really need to replace it. This is a bigger job that involves tearing off surrounding shingles, swapping out the entire flashing unit, and then putting new shingles back. However, if the boot is still in one piece but the seal has broken, a quality sealant can provide a solid fix.
For this repair, get the area completely clean. Scrape away all the old, cracked caulk and any dirt or debris. Then, apply a generous bead of a high-quality, UV-resistant roofing sealant around the base where the rubber boot meets the pipe. You can also run a bead where the metal flashing of the boot meets the roof shingles. Just make sure you create a continuous, unbroken seal to stop that leak for good.
Resealing Compromised Flashing
Metal flashing is your roof’s main line of defense where surfaces meet—think of where your roof hits a chimney, dormer, or wall. When the sealant along these edges gives up, water gets in fast.
Your first move is to get rid of all the old, dried-out sealant. Use a putty knife or scraper to get it all off. The surface has to be perfectly clean and dry for the new sealant to stick properly.
Once it's prepped, use a caulk gun to apply a thick, continuous bead of flashing sealant right along the top edge of the metal flashing. You want the sealant to completely fill the gap, leaving no room for water to sneak behind it. This simple bit of maintenance can prevent some of the most destructive and expensive leaks you can get.
Proactive Maintenance to Prevent Future Leaks
The best way to stop a roof leak is to make sure it never gets a chance to start. I've seen it time and time again: shifting from a reactive mindset—only fixing problems after they appear—to a proactive one saves homeowners an immense amount of stress, time, and money. A simple, consistent maintenance plan really does act as a powerful shield for your home, letting you catch vulnerabilities before a single drop of water finds its way inside.
This kind of preventative care doesn't have to be a huge time commitment. It’s more about being observant and consistent. You're basically transforming a major potential expense into a manageable routine. A little bit of attention twice a year is a small price to pay for long-term peace of mind.
Your Biannual Inspection Checklist
Try to set aside a weekend in the spring and another in the fall for a thorough roof inspection. These two times of the year are perfect because they follow the harshest weather seasons—winter's ice and summer's intense heat—allowing you to address any damage that's popped up.
Here’s what you should have on your checklist:
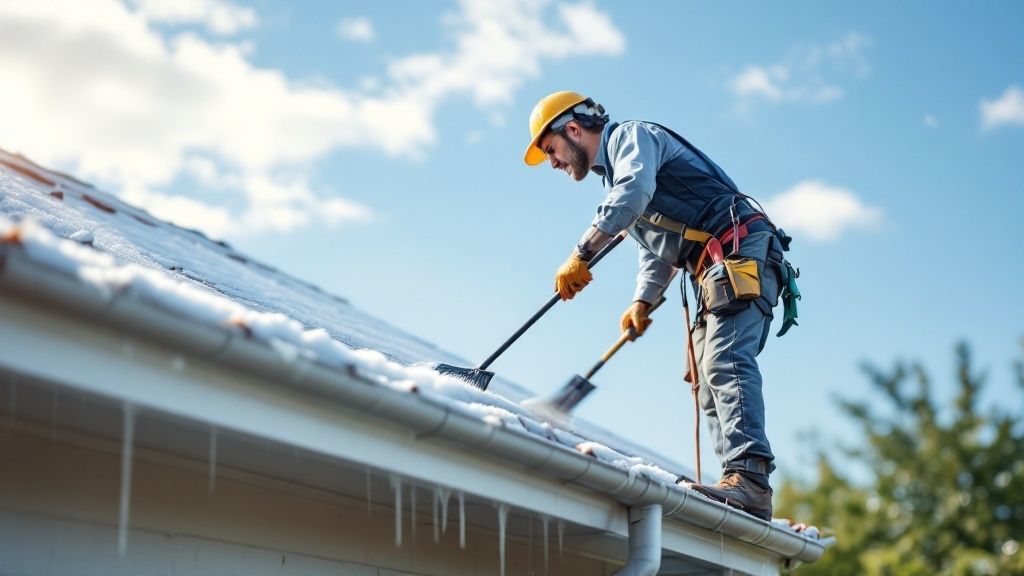
- Clean Your Gutters: This is an absolute must. Clogged gutters force water to back up and seep under the edge of your roof, which can quickly rot the decking. Make sure they are completely clear of leaves, twigs, and any other gunk.
- Examine All Seals and Boots: Take a close look at the rubber boots around your plumbing vents and the sealant around any flashing. You're searching for signs of cracking, brittleness, or gaps. These are some of the most common failure points on any roof.
- Look for Shingle Damage: Scan your roof for any shingles that are curled, cracked, or have lost their protective granules. It’s crucial to address these minor issues right away to stop them from becoming entry points for water. A visual guide can be a big help in knowing what to look for: https://paletzroofing.com/wp-content/uploads/2025/09/thumbnail-26-768×432.jpg.
- Trim Overhanging Branches: Tree limbs rubbing against your roof will wear away shingles over time. Even worse, falling branches can cause significant, direct damage. Keep them trimmed back.
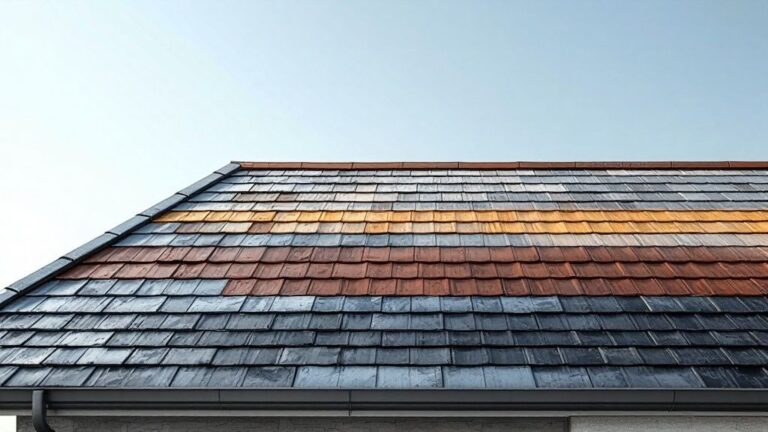
The Long-Term Value of Quality Materials
Investing in high-quality roofing materials from the very beginning is a foundational part of any good maintenance plan. While premium materials might have a higher upfront cost, their superior durability and longer lifespan dramatically reduce the likelihood of premature failures and leaks down the road.
Think of your roof as a complete system, not just a collection of shingles. The quality of the underlayment, flashing, and ventilation is just as critical as the top layer you see from the street. A failure in any one of these components compromises the entire system.
The demand for better, more resilient roofing solutions is definitely growing. In fact, the global roofing market is projected to hit USD 132.5 billion in 2025 and is expected to keep growing. This reflects a clear trend toward materials that are better at preventing common issues like leaks.
When you're thinking about other major home upgrades, it's also vital to make sure your roof is structurally sound and leak-free. For instance, understanding solar panel roof requirements is key, as those systems depend on a robust foundation. This proactive mindset is what protects your investment for years to come.
Common Questions About Fixing Roof Leaks
Finding a leak always opens up a flood of questions. Knowing the right answers helps you make smart, timely decisions instead of panicked ones. Figuring out the next steps, from checking the damage to calling a professional, can feel like a lot to handle.
Let's clear up the confusion with some straightforward answers to the questions homeowners ask us most when they're staring at a dripping ceiling.
This clarity will give you the confidence to act, whether you're just grabbing a bucket or picking up the phone to call for help.
Should I Attempt a DIY Repair or Call a Professional?
This is the big one. Honestly, the answer comes down to the complexity of the leak and how comfortable you are working at heights with the right tools.
Here’s a good rule of thumb I've shared with homeowners for years:
- DIY might be an option for: Replacing a single, easy-to-reach shingle on a low-slope roof. Applying some sealant to a tiny crack in flashing is another one. Even just cleaning out clogged gutters that are causing a backup can often be handled on your own. These are usually isolated issues you can see and get to safely.
- Call a pro for: Leaks that involve multiple damaged spots, any work on steep or multi-story roofs, or tricky areas around chimneys and skylights. If you see any sign of rotted roof decking, it's time to call for backup. Safety is everything, and professionals have the gear and experience to do it right.
When in doubt, calling an expert is always the safer bet. A botched repair can easily turn a small problem into a much more expensive disaster.
How Quickly Do I Need to Act on a Leak?
Immediately. No hesitation. Even a drip that seems minor is a major threat to your home.
Water can soak your insulation, weaken structural wood like rafters and joists, and create the perfect breeding ground for dangerous mold in as little as 24 to 48 hours.
The second you spot a leak, your first move is to contain the water with buckets and protect your floors and furniture. Your very next call should be to a roofer to find the source. Time is absolutely not on your side with water damage.
The longer you wait, the bigger the repair bill gets. A simple shingle replacement can quickly balloon into a project that includes new drywall, insulation, and even mold remediation if the leak is ignored.
Will My Homeowners Insurance Cover a Roof Leak?
This is a classic "it depends" situation. Coverage almost always hinges on what caused the leak in the first place.
Most standard policies will cover damage if it was from a sudden, accidental event—think a bad storm, hail, or a fallen tree. However, they will almost certainly deny claims if the leak is due to poor maintenance, a roof that's just plain old and worn out, or problems you knew about but didn't fix.
My advice? Document everything. Take photos of the damage inside and out, and keep detailed records of any repairs you have done. This information will be crucial if you end up filing a claim.
When you're facing a roof leak and need a partner you can trust, Paletz Roofing and Inspections brings over 30 years of experience protecting homes across South Florida. For fast, reliable repairs and expert advice, contact us today at https://paletzroofing.com.