If you're reading this, there's a chance something pushed roof replacement from "someday" into "now." Maybe your insurer sent a notice. Maybe you saw cracked tiles, curling shingles, or stains after a hard South Florida rain. Maybe you're in Broward, Miami-Dade, or Palm Beach and you know hurricane season doesn't give homeowners much room for procrastination.
A roof replacement is a big project, but it doesn't have to be a chaotic one. The homeowners who handle it effectively aren't the ones who know roofing jargon. They're the ones who prepare, ask sharp questions, and make decisions with our climate in mind. In South Florida, that means wind ratings, permit discipline, material approvals, jobsite access, and timing that respects the weather.
Your Home Preparation Checklist
South Florida homeowners wait until the roof forces the issue. That's understandable, but it's risky. In 2024, 44% of U.S. single-family homes are over 30 years old, and most asphalt shingle roofs have a lifespan of 20 to 30 years. Starting with an inspection 4 to 6 weeks in advance helps avoid costly emergencies, especially in climates like South Florida (roofing industry statistics).
That 4 to 6 week window matters more here than in calmer markets. Materials need to be selected carefully. Permits need to be pulled properly. Crews need access. And if a storm track starts shifting toward the coast, everyone involved needs enough runway to adjust.
A smooth project comes down to a few habits:
- Start before the leak gets worse: Early inspection gives you time to compare options instead of accepting the first rushed proposal.
- Treat compliance as protection: In South Florida, code, approvals, and documentation aren't paperwork for paperwork's sake. They protect your home and your claim history.
- Prepare the property like a work zone: Roof replacement is loud, messy, and vibration-heavy. Planning for that keeps surprises small.
- Save your final review for the end: A roof isn't done because the crew packed up. It's done when the installation, cleanup, and paperwork all check out.
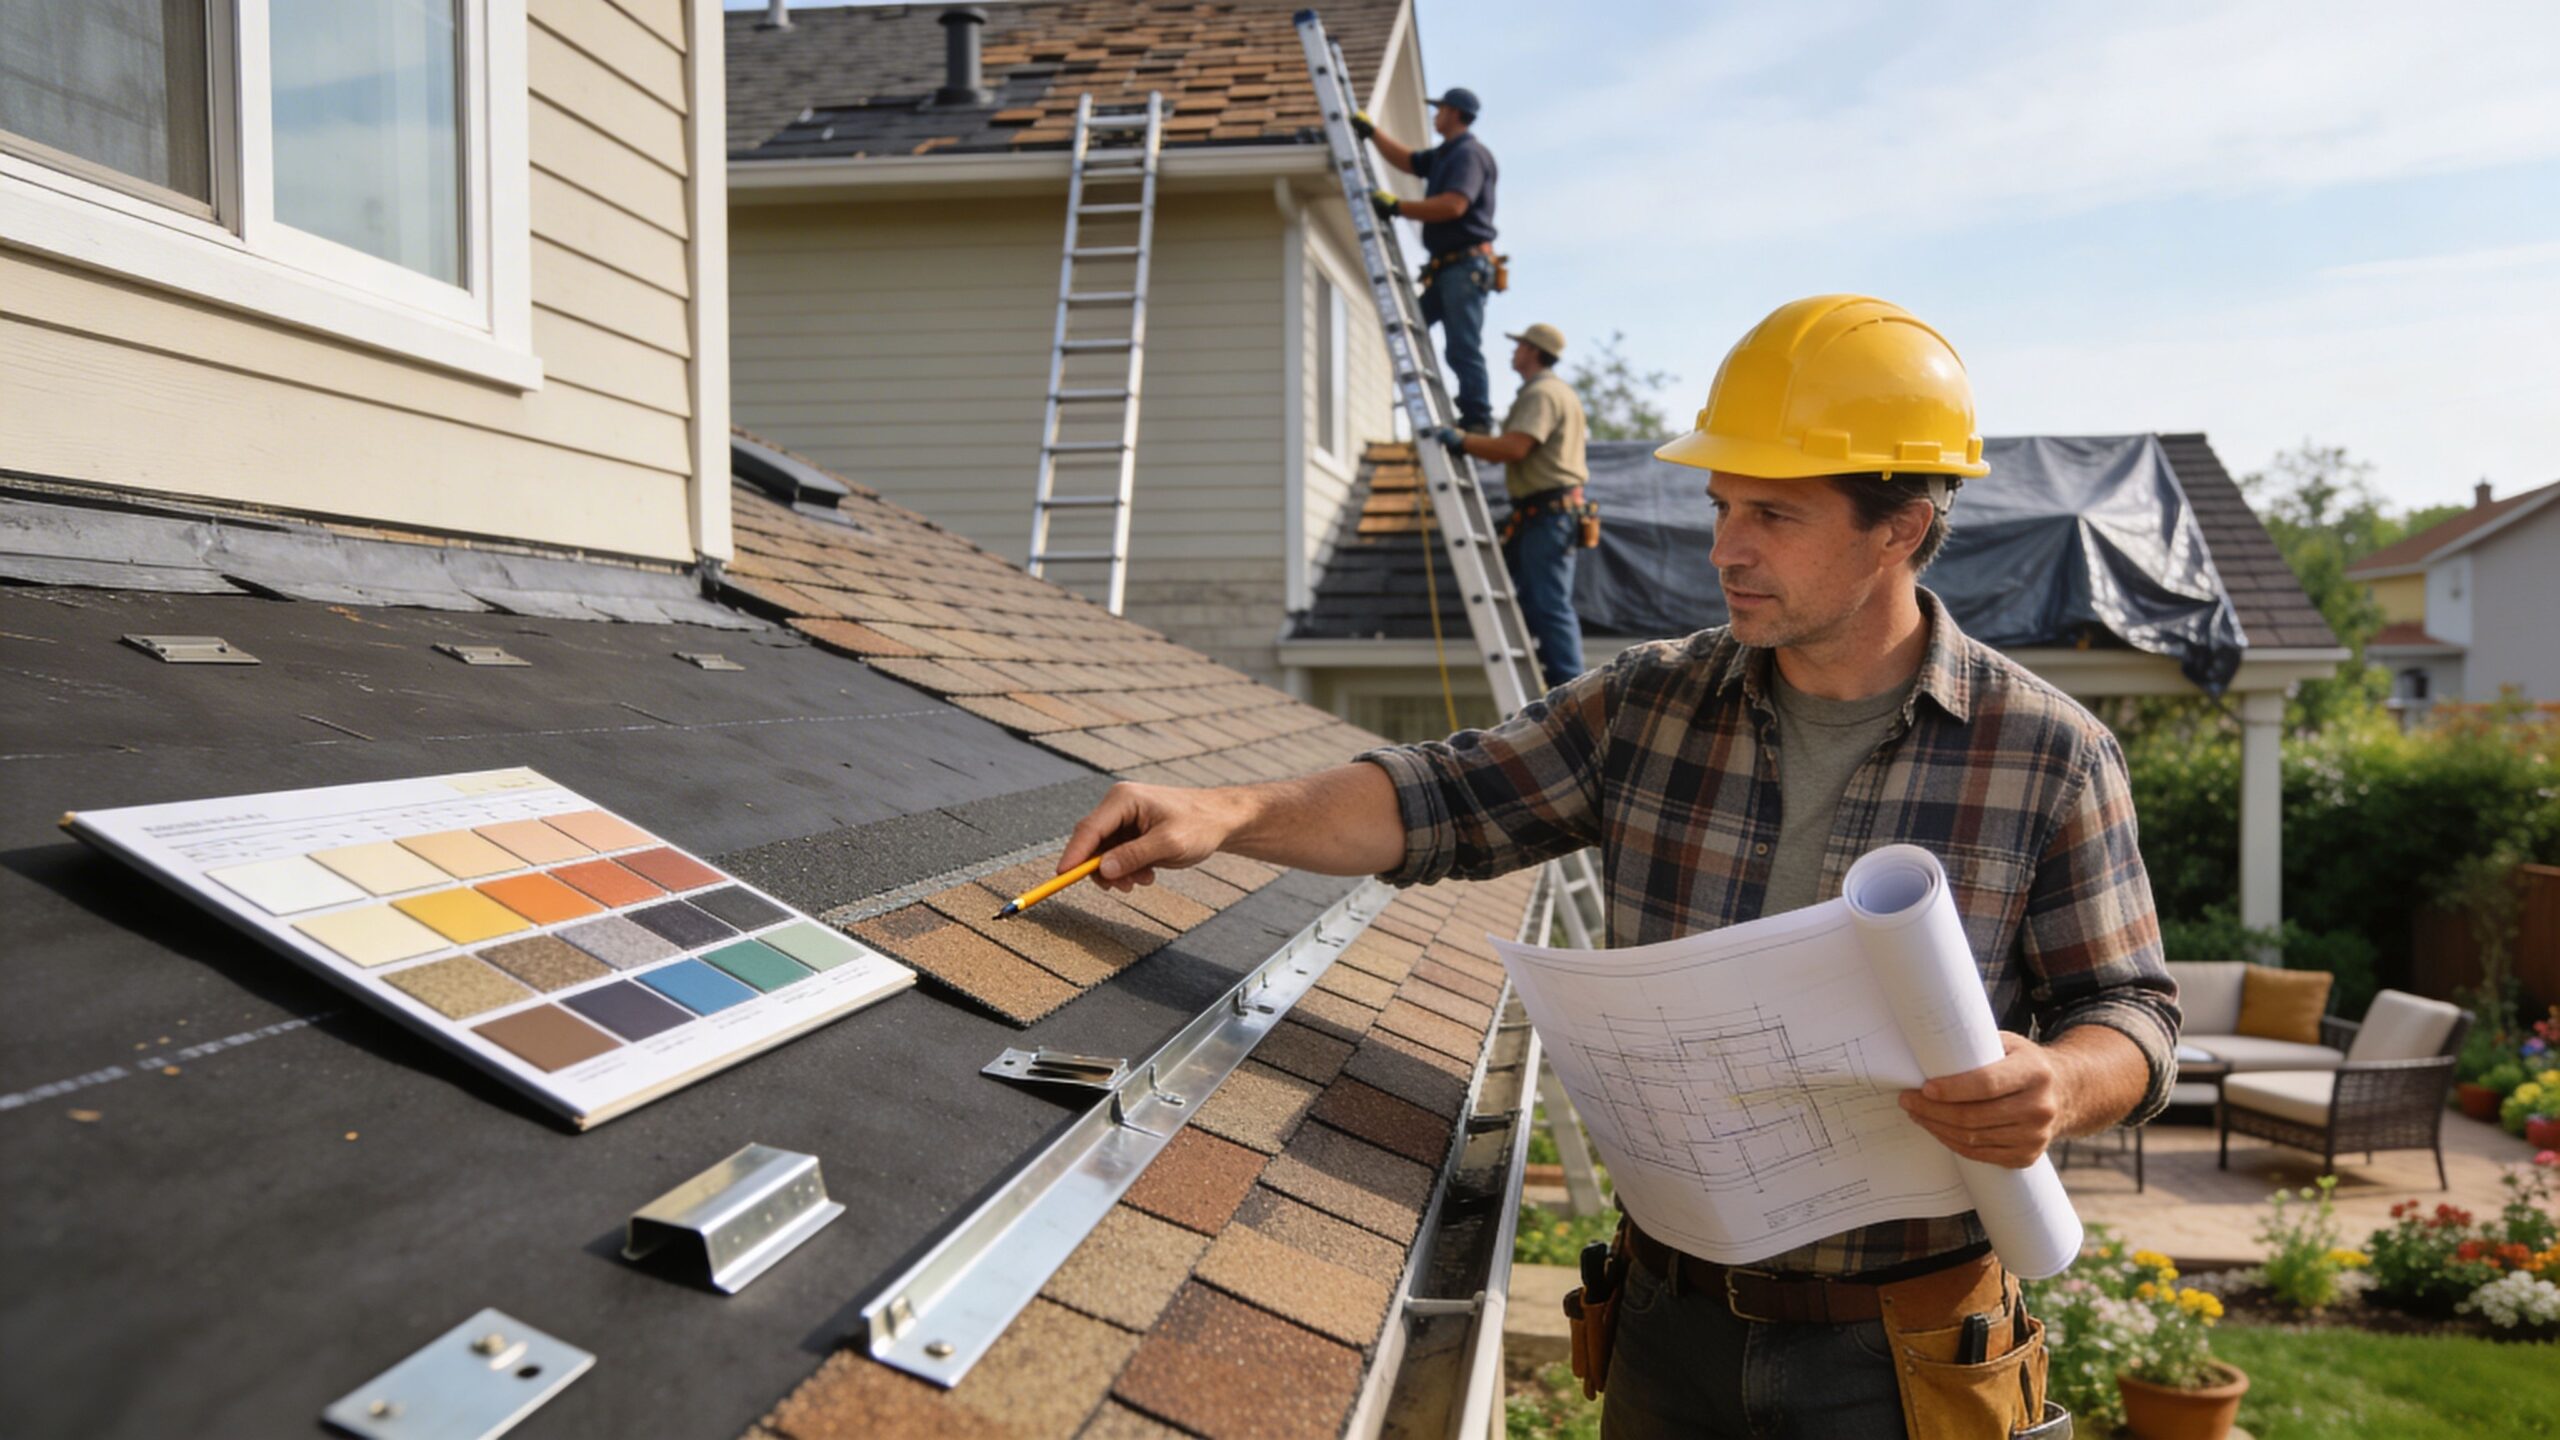
If you want a visual sense of the kind of planning mindset that helps, this roof replacement overview image captures the idea well. Good roof jobs start long before tear-off day.
A roof replacement feels overwhelming when it's vague. It gets manageable fast when you break it into inspection, selection, preparation, installation, and verification.
First Steps A 4 to 6 Week Plan
The job starts weeks before the first bundle hits the roof, and at this point, homeowners either create a clean project or inherit a pile of headaches.

Week one starts with a real inspection
A proper first visit shouldn't feel like a sales sprint. The contractor should look at the roof surface, the layout, penetrations, edge details, drainage, and accessible attic conditions. On older South Florida homes, they also need to keep an eye out for signs that hidden deck or ventilation issues may be waiting under the existing roof.
Bring up the history of the roof. If there were prior leaks, patch jobs, or storm claims, say so. That information helps shape a more accurate proposal.
Compare estimates line by line
Get multiple written estimates. Don't compare only the total. Compare the scope.
A useful estimate should address:
- Tear-off work: Does it include full removal of the old roof?
- Underlayment details: The type matters in our climate.
- Flashing scope: Chimneys, walls, valleys, skyllights, vents, and edge metal should be spelled out.
- Deck repair handling: The estimate should explain how hidden wood replacement is documented and billed if needed.
- Cleanup and disposal: Dumpster use and debris removal shouldn't be vague.
- Warranty information: Material and workmanship coverage should both be identified.
If a bid is much lower than the others, assume nothing. Ask what's missing.
Practical rule: The cheapest proposal becomes the most expensive one once supplements, change orders, and shortcuts show up.
Verify the contractor before you sign
In South Florida, credentials matter. A homeowner should confirm the contractor is licensed and insured, and that the company works in Broward, Miami-Dade, or Palm Beach.
Ask direct questions:
- Who pulls the permit?
- Who schedules inspections?
- Who supervises the crew?
- Who handles material delivery issues?
- Who is your contact if weather interrupts the project?
If the answers are fuzzy at this stage, communication doesn't improve once the roof is open.
South Florida approvals are not optional
This is the point generic advice misses. In our region, it's important to verify hurricane-rated material compliance, including Miami-Dade NOA approvals for tiles and shingles. Timing replacements outside peak storm season is wise because Florida averages 2 to 3 hurricanes annually (roof replacement preparation guidance for hurricane-prone areas).
Miami-Dade Notice of Acceptance, called NOA, is one of the first things I want a homeowner to hear and remember. If you're replacing a roof in this market, your material package can't look good in a sample board. It has to be approved for the local wind environment and installed according to that approval.
That affects more than the field material. It can influence underlayment assemblies, fastening patterns, edge details, and accessory components.
Permits protect you
A reputable roofer handles permit submission and inspection coordination. That's not a convenience. It's part of a compliant job.
Permits and inspections create a paper trail that matters when you sell the house, deal with an insurer, or need to prove the work met code. If someone suggests skipping that process to save time, walk away.
If insurance is involved, document early
Storm-related replacements add another layer. Before work starts, keep copies of:
- The carrier correspondence
- Photos of visible damage
- The signed contract
- Material selections
- Permit records
- Any claim or adjuster paperwork
The cleaner your file is before installation, the easier it is to answer questions later.
Ordering and timing matter more than homeowners expect
Once you pick the material and color, the contractor should lock in ordering, dumpster scheduling, labor, and permit timing. Delays usually come from one of three places: paperwork, product availability, or weather.
Here's a planning view:
| Pre-job item | Why it matters |
|---|---|
| Contractor verification | Reduces legal and quality risk |
| Written estimate comparison | Prevents scope surprises |
| Miami-Dade NOA review | Confirms wind-rated compliance |
| Permit handling | Protects code compliance and resale record |
| Material ordering | Avoids start-date delays |
| Insurance file organization | Helps with claim clarity |
Choosing Materials and Colors for the Florida Climate
The wrong roof can still be brand new. That's the mistake homeowners make when they shop by appearance first and performance second.

What works best here
South Florida roofs deal with hard sun, wind-driven rain, salt exposure near the coast, and long humid stretches. The best material for your home depends on structure, budget, neighborhood style, and how long you plan to keep the property.
Here's how I frame the main choices.
| Material | Best fit | Main trade-off |
|---|---|---|
| Tile | Strong curb appeal, common in South Florida, long-term ownership | Heavier system, more structural and accessory considerations |
| Standing seam metal | Excellent for weather resistance and modern design | Higher upfront cost and detail-sensitive installation |
| Architectural shingle | Broad style range and budget flexibility | Material quality and wind-rated assembly matter a lot |
Tile remains popular because it fits the regional look and performs well when the full system is designed and installed correctly. Metal is a strong option for homeowners who want a clean profile and a system that handles severe weather well. High-performance architectural shingles can also be a solid choice when the assembly meets local requirements and the contractor doesn't cut corners on underlayment, fastening, and ventilation.
Don't choose by showroom logic
A sample in your hand doesn't tell you how that roof behaves after years of UV exposure, summer heat, and storm season. Ask how the full assembly performs, not surface material. True performance comes from the assembly.
For example, these questions lead to better decisions:
- How does this system handle wind uplift?
- What accessories are required for local approval?
- Will this color show staining or fading more visibly?
- How does this roof affect attic heat?
- How easy is it to repair after isolated damage?
Color is more than curb appeal
In Florida, color affects heat load. Lighter and more reflective options can help keep the roof and attic from running hotter than necessary. Homeowners focus on matching paint, pavers, or trim. That's fair, but don't ignore the practical side. A handsome roof that drives more heat into the home isn't always the smart choice.
Ventilation matters too. A good color choice can't compensate for a bad attic environment. If your roofer is discussing material but not also discussing ventilation and how the roof system breathes, the conversation is incomplete.
The best-looking roof is the one that performs after years of sun, moisture, and storm exposure. In South Florida, appearance should follow system design, not replace it.
Think ahead if solar may be next
A lot of homeowners replace the roof and only later start thinking about solar. That's backward. If solar is a possibility, discuss attachment planning, roof layout, penetrations, and service life before the new roof goes on. This resource on preparing your roof for solar installations is useful because it explains the coordination issues homeowners miss.
My practical preference
If the budget allows and the structure supports it, I like systems that hold up well to wind and heat while remaining serviceable over time. That puts well-installed tile or metal near the top of the list in South Florida. But there isn't one universal winner.
A compact single-family home may be well served by a strong architectural shingle system with the right approvals and details. A custom home near the coast may call for a different answer entirely. The right choice is the one that fits the building, the code path, the storm exposure, and your ownership plan.
Your Home Preparation Checklist
Once the contract is signed and the schedule is set, your next job is making the property ready for a crew, delivery trucks, debris removal, and several days of noise and movement. Most roof replacements go more smoothly when the homeowner does a little prep work in advance.

Outside the home
The yard and driveway become part of the jobsite. That means access is not a small detail. Successful roof replacements require clearing yards, removing vehicles from driveways for equipment access, and arranging alternative parking. Inadequate site access can increase labor costs by 15 to 25 percent (property preparation and logistics for roof replacement).
Use this checklist before the crew arrives:
- Move vehicles early: Don't wait until the morning of the job. Delivery trucks, dump trailers, and crew vehicles need room.
- Clear patio furniture and grills: If it can be moved, move it. Dust and falling debris don't care whether the item was expensive.
- Relocate potted plants: Set them well away from the perimeter of the house.
- Mark sprinklers and delicate features: Sprinkler heads, low lights, hidden edging, and decorative stone features are easy to damage if nobody flags them.
- Trim back branches if needed: Overhanging limbs can slow the crew and complicate material handling.
- Secure loose yard items: In South Florida, this includes anything that can become a problem if weather turns quickly while the project is underway.
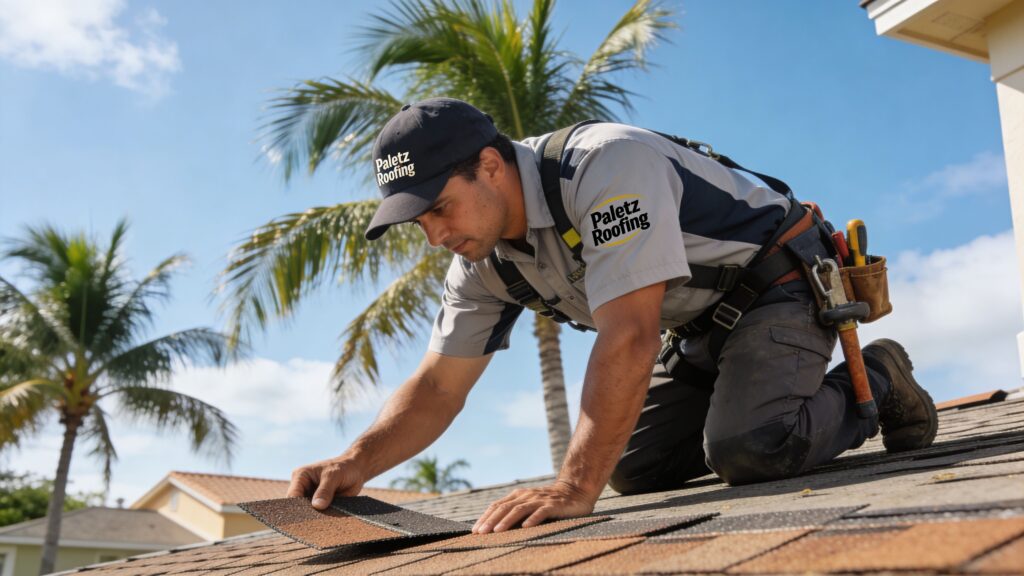
A helpful visual reference for the kind of prep homeowners overlook is this property readiness image.
Inside the house
This part surprises first-time homeowners. Roof replacement creates vibration. Nails are driven into decking. Old materials come off in sections. Dust can shift through attic spaces and garages.
Walk through the interior with that in mind.
- Remove fragile wall items: Take down pictures, mirrors, and loose shelves, on upper floors.
- Cover stored belongings: Attics and garages are dust magnets during reroofing.
- Protect valuables near exterior walls: If something is delicate, don't leave it in place and hope for the best.
- Close windows and doors well: Keep dust and debris from drifting in.
- Think about your workday: If you work from home, plan on noise. Tear-off and installation aren't quiet tasks.
- Make a plan for pets: Dogs, cats, and nervous animals do better away from the house during active work.
In the attic and garage
The attic tells part of your roof's story. Before installation day, make it accessible if your contractor needs to inspect it. If the attic is packed floor-to-rafter with boxes, old furniture, and holiday storage, visibility drops.
A few practical moves help:
- Create a walking path: Safe access matters.
- Look for existing leak signs: Water staining, moldy smell, or damp insulation should be pointed out.
- Cover stored items: Dust from tear-off has a way of getting everywhere.
- Protect garage contents: This is important if the garage roof is part of the work scope.
If you don't want roofing dust on it, cover it or move it. That's the rule.
Prepare the people around you
This is the part many homeowners skip. It's also the easiest way to avoid friction.
Let neighbors know:
- The expected start date
- That there will be loud noise
- Where the dumpster may sit
- Whether street parking may be tighter than usual
- Who to contact if they notice debris crossing property lines
You don't need a formal notice. A text, a quick conversation, or a note works fine. The point is courtesy.
For condos, rentals, and managed properties
Property managers and owners have a few extra moving parts. If there are tenants, service teams, HOA rules, loading restrictions, or designated parking patterns, coordinate those before material delivery day. The roofing crew should not be learning your access rules after the dumpster arrives.
A simple day-before checklist
| Area | What to do |
|---|---|
| Driveway | Move all vehicles and keep access open |
| Yard | Clear furniture, décor, and movable items |
| Landscaping | Mark delicate plants, sprinklers, and features |
| Interior walls | Remove framed items and fragile décor |
| Attic and garage | Cover belongings and clear access |
| Pets and children | Arrange for a quiet, safe location |
| Neighbors | Give a brief heads-up |
What to Expect During The Replacement Process
The first day starts early. Material deliveries may arrive before the full crew gets moving, and once the team is set up, the sound level climbs fast.

Day one is the loudest
For many homes, tear-off creates the biggest shock if you've never lived through a reroof. You hear boots overhead, old material sliding, tools moving, compressors cycling, and nail guns firing. That's normal.
The core replacement timeline spans 1 to 3 days for simple ranch-style homes and can extend to 3 to 10 days for more complex roofs with steep pitches or extensive deck repairs. A roof deck inspection takes place after tear-off to identify and repair rot or water damage before new materials are installed (roof deck inspection and replacement timeline guidance).
That deck inspection is one of the most important moments in the whole job.
What the crew is looking for after tear-off
Once the old roof comes off, the exposed deck tells the truth. At this point, hidden trouble shows up.
A professional crew is checking for:
- Soft or deteriorated decking
- Water staining and rot
- Failed fastening areas
- Damage near penetrations
- Weak spots around valleys and transitions
If damaged wood is found, the contractor should document it, explain the repair need, and get approval if the contract treats deck replacement as additional work.
Then the roof starts going back together
Homeowners think roofing is surface material. It isn't. Actual performance comes from the assembly.
A typical sequence looks like this:
- Tear-off and debris removal
- Deck inspection and any necessary repair
- Underlayment installation
- Flashing and edge metal work
- Field material installation
- Ridge, cap, and detail work
- Cleanup and final review
On a clean, uncomplicated home, this can move fast. On a steep roof with valleys, dormers, long elevations, or hidden damage, it takes longer.
What happens if weather turns
South Florida weather can change the plan in a hurry. A good crew monitors radar continually and doesn't open more roof area than it can protect. If showers or squalls roll in, exposed sections should be secured quickly.
This is one reason rushed scheduling causes problems. If a contractor is juggling too many jobs, the response to weather gets sloppier.
A disciplined crew doesn't leave a home vulnerable to chase production speed.
What you should expect from the crew each day
The crew doesn't need to be silent or invisible. Roofing is active work. But they should be organized.
Reasonable expectations include:
- A defined staging area for materials
- Protection for landscaping and surrounding surfaces
- Ongoing debris control
- Orderly cleanup before leaving
- Clear communication if something unexpected is found
If you're home during the work, don't be alarmed by the rhythm of the process. Roofing sounds rougher than it looks. The key is whether the work appears methodical and supervised.
A note for business owners and managers
On commercial or mixed-use properties, the process needs tighter coordination. Access points, deliveries, tenant communication, and safety routes should be settled before work begins. A roof replacement should never feel improvised on an occupied property.
The Final Walkthrough and Project Wrap-Up
A lot of homeowners relax the minute the last truck pulls away. That's understandable, but this is when you need to slow down and verify the finish.
A roof replacement isn't complete until the visual work, cleanup, and documentation all line up. That's especially important because post-replacement verification matters. NRCA data shows 30% of new roofs fail early due to issues such as undetected deck problems, and a detailed walkthrough plus proper insurance documentation can help avoid disputes (post-replacement verification guidance).
What to check during the walkthrough
Start from the ground. Look at the rooflines from multiple angles. You want consistency.
Review these points with the project manager:
- Uniform appearance: Courses, lines, and visible details should look orderly.
- Flashing and penetrations: Vents, walls, valleys, and pipe areas should appear neat and properly integrated.
- Property condition: Look at siding, gutters, paint, screens, pavers, and landscaping.
- Debris cleanup: Check lawn areas, planting beds, and driveway edges for scraps and nails.
- Accessory reattachment: Confirm that anything removed for the work has been properly put back in place if it was part of scope.
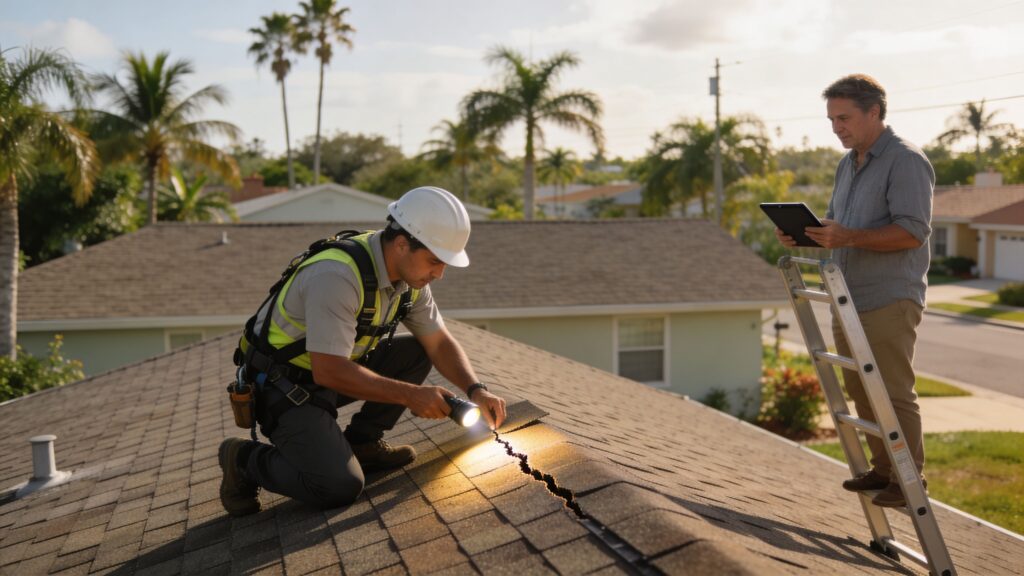
If your contractor uses photos or drone documentation for close-up review, that's useful. It gives you a record for your file and a way to inspect areas you can't safely see yourself.
Paperwork is part of the job
Many expensive misunderstandings begin at this stage. Before final closeout, make sure you receive and organize:
| Document | Why you need it |
|---|---|
| Final invoice | Confirms final contract amount and scope |
| Warranty documents | Defines material and workmanship coverage |
| Permit closeout record | Shows the job reached final inspection status |
| Product information | Helps with future service and insurance questions |
| Lien waivers if applicable | Reduces payment-related risk |
Keep digital copies and hard copies. If you ever sell the property or file a claim, that file becomes valuable quickly.
Don't ignore post-job dust and residue
Roof work leaves behind fine dust on windows, screens, patios, and exterior surfaces even after solid cleanup. If you want a practical homeowner reference for that stage, this guide to cleaning after construction covers the kind of detail-oriented cleanup people underestimate.
You should also keep a record of the contractor's information and a copy of the closeout materials together with this roof inspection reference image, permit paperwork, and warranty documents in one folder.
The final walkthrough is not a courtesy lap. It's your chance to confirm that the roof, the cleanup, and the paperwork all match what you paid for.
Frequently Asked Questions
How far in advance should I start preparing?
Start early enough to inspect, compare proposals, choose materials, and get permit handling underway before the job becomes urgent. If the roof is aging or showing warning signs, don't wait for the next major storm to make the decision for you.
Should I stay home during the roof replacement?
You can, but many homeowners prefer not to. It's loud, there will be steady movement around the house, and pets do not handle it well. If you work from home or have small children, planning to be elsewhere makes the day easier.
Do I need to let my neighbors know?
Yes. It's courtesy, and it prevents avoidable tension. A quick notice about noise, driveway use, and debris-control activity goes a long way in tight South Florida neighborhoods.
What matters most when choosing a roofer here?
Look for a licensed and insured contractor who understands local permitting, product approvals, wind-rated assemblies, and the conditions of working in Broward, Miami-Dade, and Palm Beach. Clear paperwork and direct answers matter as much as price.
What's the biggest mistake homeowners make?
Rushing the decision after a leak or insurance notice. That leads to poor estimate comparisons, weak documentation, and bad material choices. The homeowners who ask better questions at the start get better roofs at the end.
If you're planning a roof replacement in Broward, Miami-Dade, or Palm Beach, Paletz Roofing and Inspections can help you make sense of the process before the work begins. From inspections and replacements to guidance on materials, permits, and storm-related concerns, their team brings decades of South Florida roofing experience to residential and commercial properties.