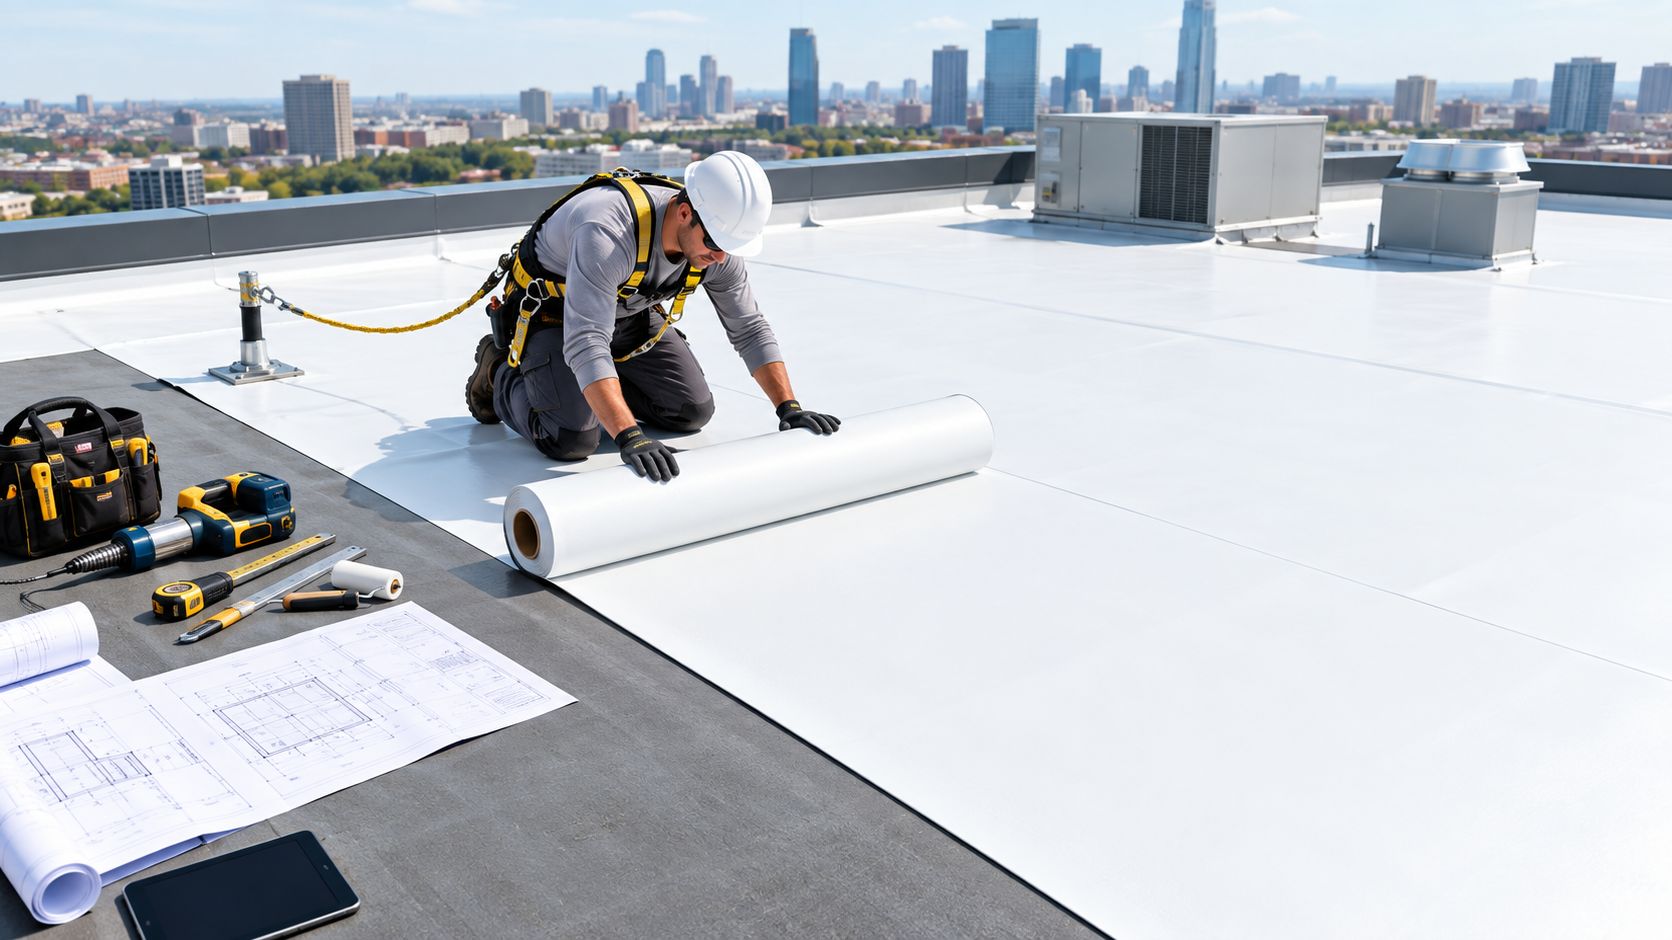
You're reviewing three commercial roofing bids that appear nearly identical. Each lists the roof area, a membrane, insulation, labor, and a warranty. Then the contractor opens the roof and finds wet insulation, deteriorated deck areas, abandoned equipment curbs, and drains that don't match the drawings. The lowest bid changes quickly, and the argument shifts from price to responsibility.
That outcome usually starts before the crew arrives. Commercial roofing installation succeeds or fails on scope definition, interface coordination, documentation, and verification, not just on the membrane selected. A facility owner who defines those items early has a much better chance of protecting the capital budget and the building beneath the roof.
Table of Contents
- Defining the True Scope of Your Roofing Project
- Selecting the Right Membrane for Low-Slope Systems
- Navigating Building Codes and Safety Requirements
- Managing Field Execution and Installation Timelines
- Quality Assurance and Post-Installation Maintenance
- Protecting Your Commercial Real Estate Investment
Defining the True Scope of Your Roofing Project
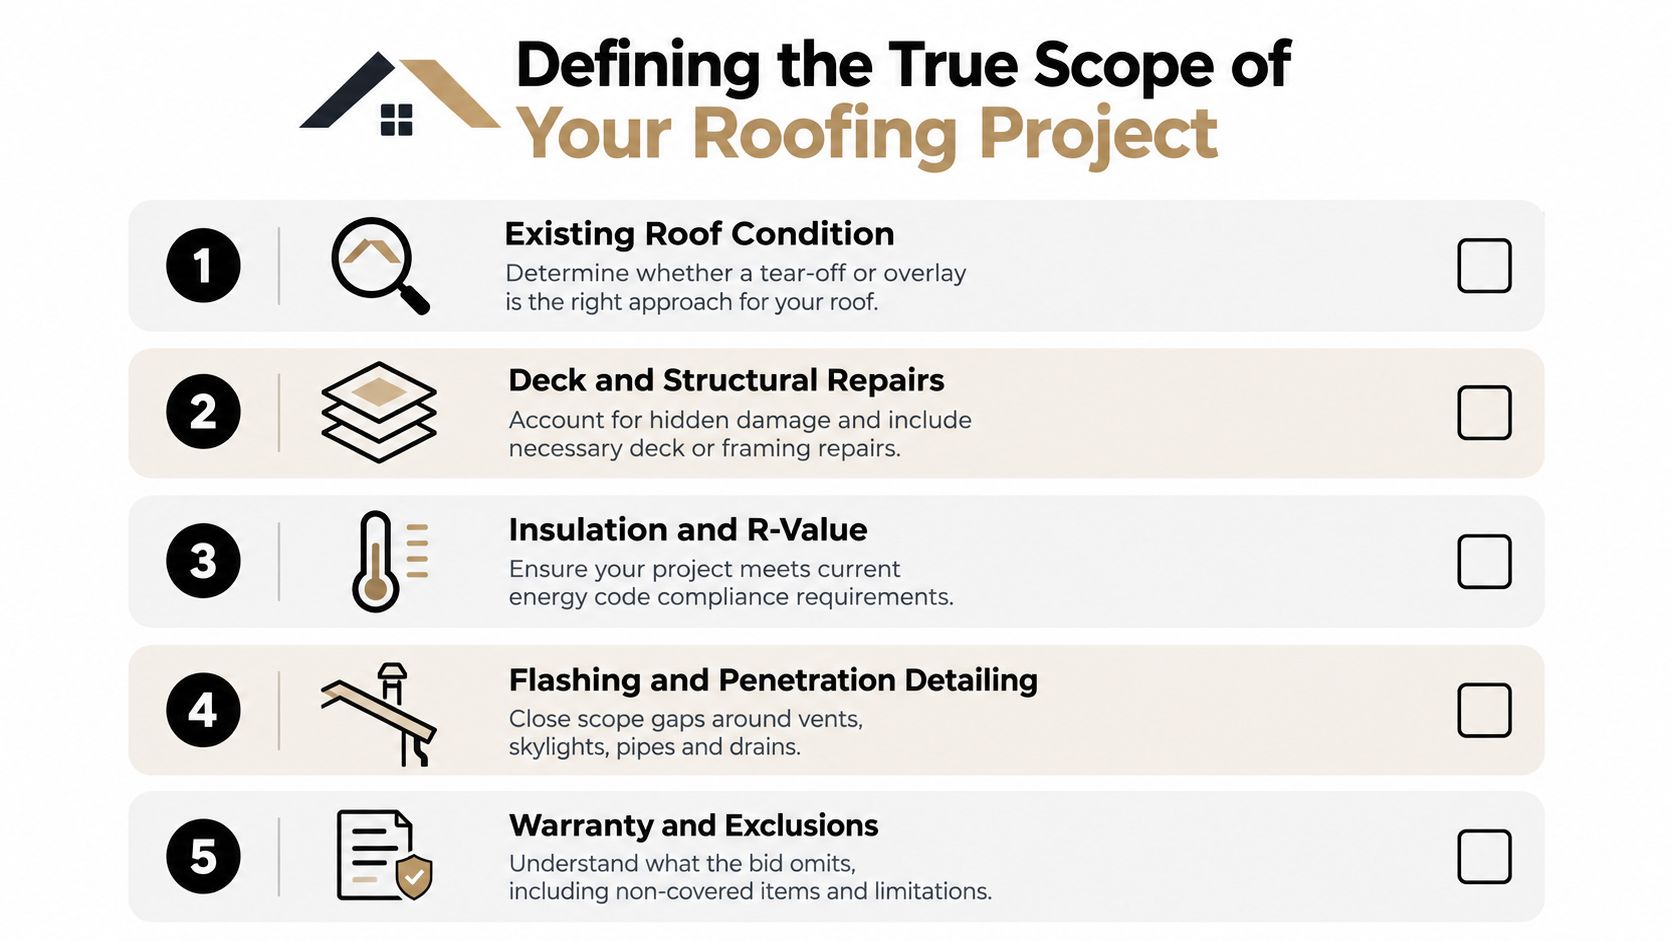
A commercial roofing proposal can look complete while leaving the most expensive decisions unresolved. Square footage is only the starting point. The owner also needs to know what happens to the existing roof, what the contractor assumes about the deck, how insulation and drainage will be handled, and which accessories are excluded.
Start with the existing assembly
Reroofing remains the practical center of commercial activity because owners replace aging systems across offices, retail properties, industrial facilities, and institutional buildings. A 2026 estimate places the global commercial roofing market at USD 26.67 billion, with projected growth to USD 41.08 billion by 2035 at a 4.92% CAGR, reflecting demand for reroofing and replacement across commercial sectors (market estimate for commercial roofing).
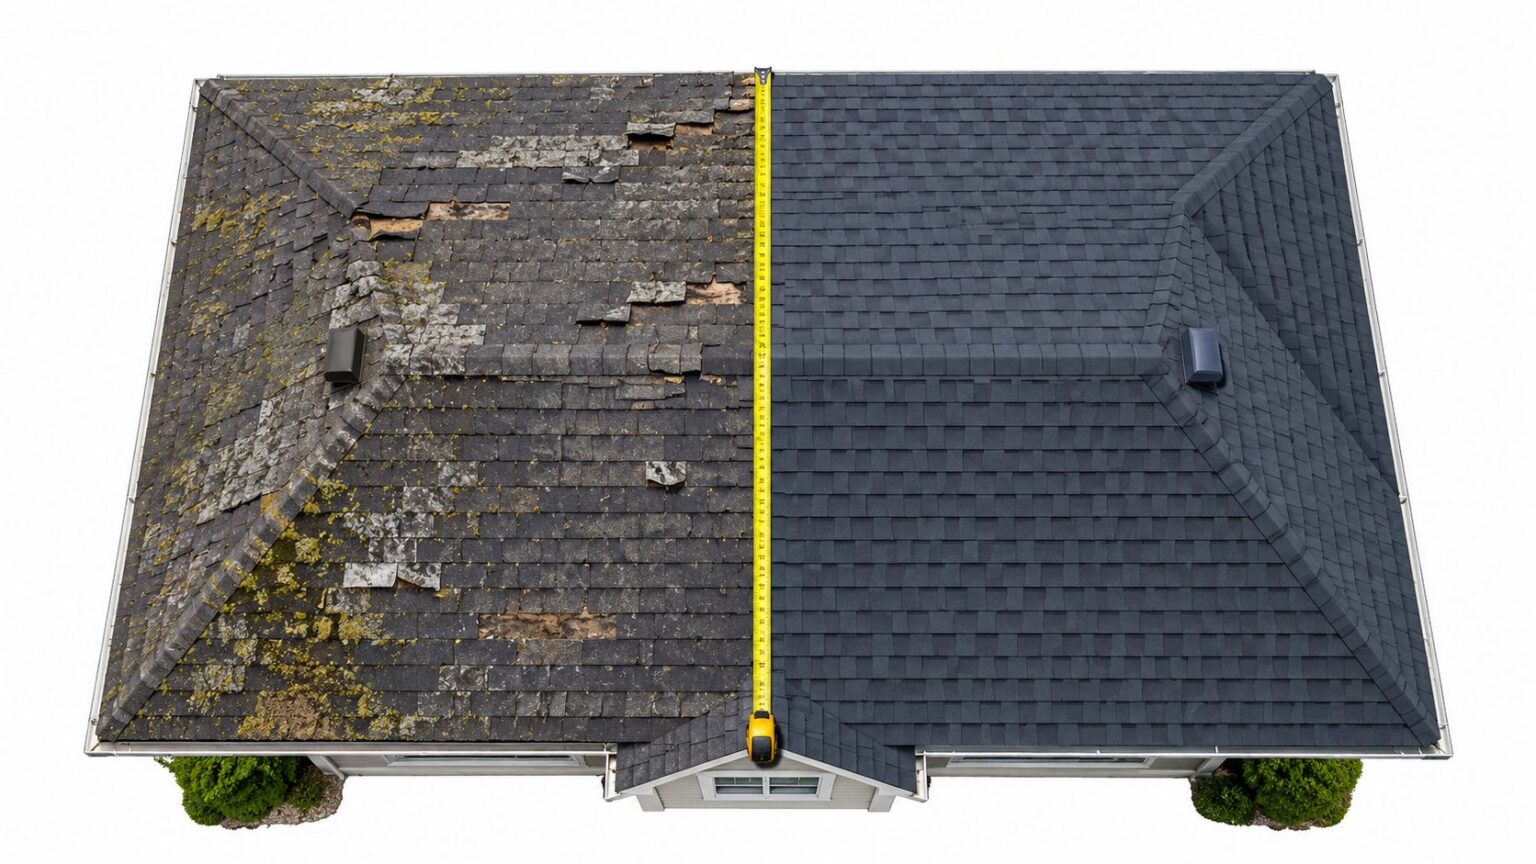
That scale doesn't make every overlay a good decision. An overlay may reduce disruption when the existing assembly is dry, stable, and compatible with the proposed system. A tear-off may be necessary when moisture, widespread adhesion failure, structural deterioration, trapped vapor, or drainage defects make the existing roof an unreliable substrate. The bid should state who performs that assessment and how concealed conditions are priced.
A useful RFP should require an investigation of representative roof areas, not just a visual walkover. Ask for documented findings on membrane condition, insulation, vapor retarder, deck type, fastener condition, ponding areas, curbs, penetrations, drains, and rooftop equipment. If exploratory openings are needed, specify who repairs them and how the contractor will use the findings in the final scope.
Put exclusions in writing
The most common change-order disputes begin with omissions that seemed minor during bidding. Neutral commercial roofing scope guidance identifies NDL warranty activation, flood testing, walkway pads, hazmat tear-off, permanent fall protection, drainage interfaces, and coordination with mechanical, plumbing, and electrical trades as items that can be left out unless the owner specifies them (commercial roofing scope guidance).
Your proposal should clearly identify:
- Deck preparation: State whether damaged deck replacement, fastener repair, cleaning, leveling, and substrate treatment are included or carried as allowances.
- Thermal and moisture control: Specify the insulation R-value, cover board, vapor retarder, attachment method, and compatibility with the existing assembly.
- Detail work: List curbs, pipes, drains, scuppers, expansion joints, edge metal, parapets, walkway pads, and access points.
- Trade interfaces: Assign responsibility for temporarily removing and resetting HVAC, plumbing, electrical, communications, and photovoltaic equipment.
- Closeout obligations: Include testing, as-built records, photographs, inspection reports, warranty applications, and owner training.
Practical rule: If a roof component affects water flow, air movement, fire performance, access, or warranty eligibility, it belongs in the written scope.
Energy-code pressure also changes the tear-off-versus-overlay decision. A project may need additional insulation or a revised vapor-control strategy, and those requirements can affect roof height, flashing dimensions, doors, rooftop equipment, and drainage transitions. The RFP should require bidders to identify code assumptions instead of burying them in a general compliance statement.
For a visual comparison of common roof conditions and replacement decisions, include the roof repair or replacement comparison in the owner review package. It won't replace an investigation, but it can help non-roofing stakeholders understand why two apparently similar areas may require different work.
Selecting the Right Membrane for Low-Slope Systems
Low-slope roofing is a system decision, not a color or brand decision. The building's use, exhaust chemistry, rooftop traffic, climate exposure, insulation strategy, wind conditions, and maintenance access all influence the appropriate membrane.
Commercial roofing moved from labor-intensive built-up systems toward factory-produced single-ply membranes. EPDM began appearing on low-slope commercial roofs in the 1960s, with adoption accelerating in the 1980s as the category matured. That shift improved consistency, installation speed, and weather performance on large flat roofs, while making seam preparation and detailing increasingly important (commercial roofing market history).
Compare the main options
| Membrane Type | Key Strengths | Ideal Building Profile |
|---|---|---|
| TPO | Heat-welded seams, reflective surface options, flexibility, and generally efficient installation | Facilities prioritizing reflective performance, lightweight construction, and welded seam technology |
| EPDM | Flexible rubber membrane, broad installation familiarity, and strong performance when adhesive and seam detailing are controlled | Buildings where rubber membrane behavior and available insulation choices fit the climate and operating conditions |
| PVC | Heat-welded seams, moisture resistance, and strong chemical-resistance potential | Facilities exposed to demanding exhaust conditions, grease, chemicals, or strict performance requirements |
| Modified bitumen | Multi-layer asphalt-based construction, robust detailing, and repair familiarity | Buildings where a more layered system suits the substrate, traffic pattern, or owner's maintenance approach |
The matrix is only a screening tool. TPO and PVC both rely heavily on heat-weld quality, so the specification should address membrane thickness, welding procedures, seam testing, perimeter attachment, and repair standards. TPO can be attractive where reflective performance and efficient installation matter, but the owner should evaluate the proposed formulation and installer experience rather than treating all TPO products as interchangeable.
EPDM uses adhesive or seam-tape approaches that demand clean, dry surfaces and disciplined preparation. It can be a sensible choice where the facility team understands the inspection and repair requirements, but exposed seams and flashing transitions deserve close attention. A dark membrane may also influence the building's thermal strategy, while a lighter option or coating may change that behavior.
PVC often earns consideration around restaurants, manufacturing spaces, or facilities with aggressive exhaust because chemical exposure can influence membrane selection. That advantage doesn't eliminate the need to verify compatibility with the exact exhaust profile, cleaners, oils, and adjacent materials.
Modified bitumen can provide a familiar, layered approach with substantial detailing options. The trade-off is that installation methods, staging, heat, adhesives, and odor control may affect occupied facilities. The contractor should explain how the chosen system will be installed without compromising occupants, inventory, or production.
Specify the system, not just the membrane
A vague line such as “60-mil TPO roof system” leaves too many decisions open. The contract should identify insulation and cover board, fastener type and pattern, adhesive coverage, membrane thickness, seam method, edge securement, flashings, penetrations, drains, walkway pads, and manufacturer requirements.
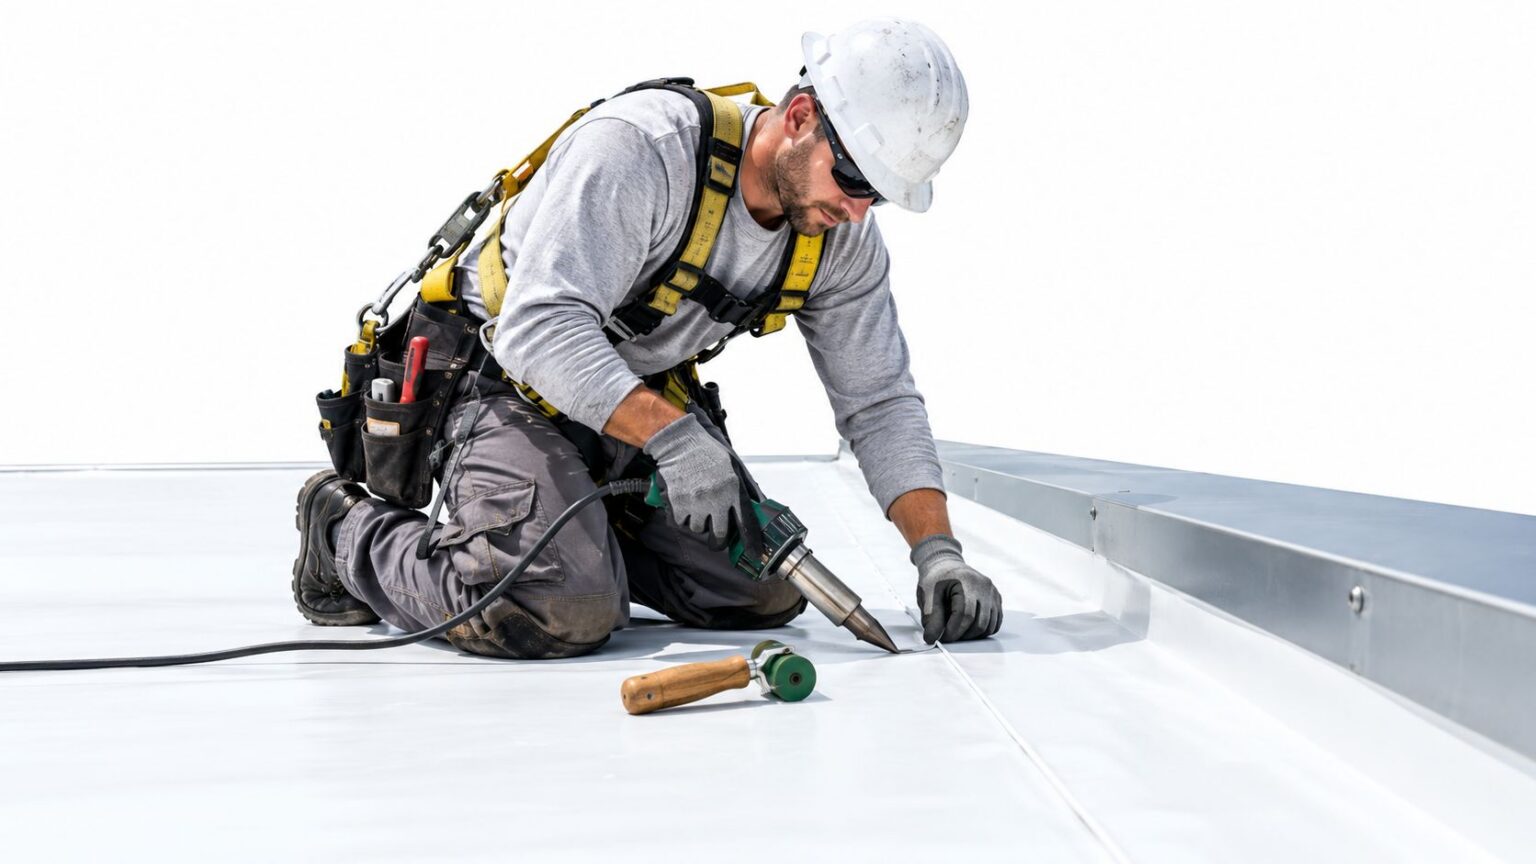
For a field reference showing how a crew handles TPO placement, see the TPO roofing installation image. The image is useful for discussing work sequencing, but the contract still needs measurable installation requirements and inspection records.
A material that looks economical on bid day may become expensive if it demands specialized repairs, frequent rooftop protection, or difficult coordination around equipment. The right choice is the one that matches the building's risks and can be installed, inspected, repaired, and documented by the team responsible for the asset.
Navigating Building Codes and Safety Requirements
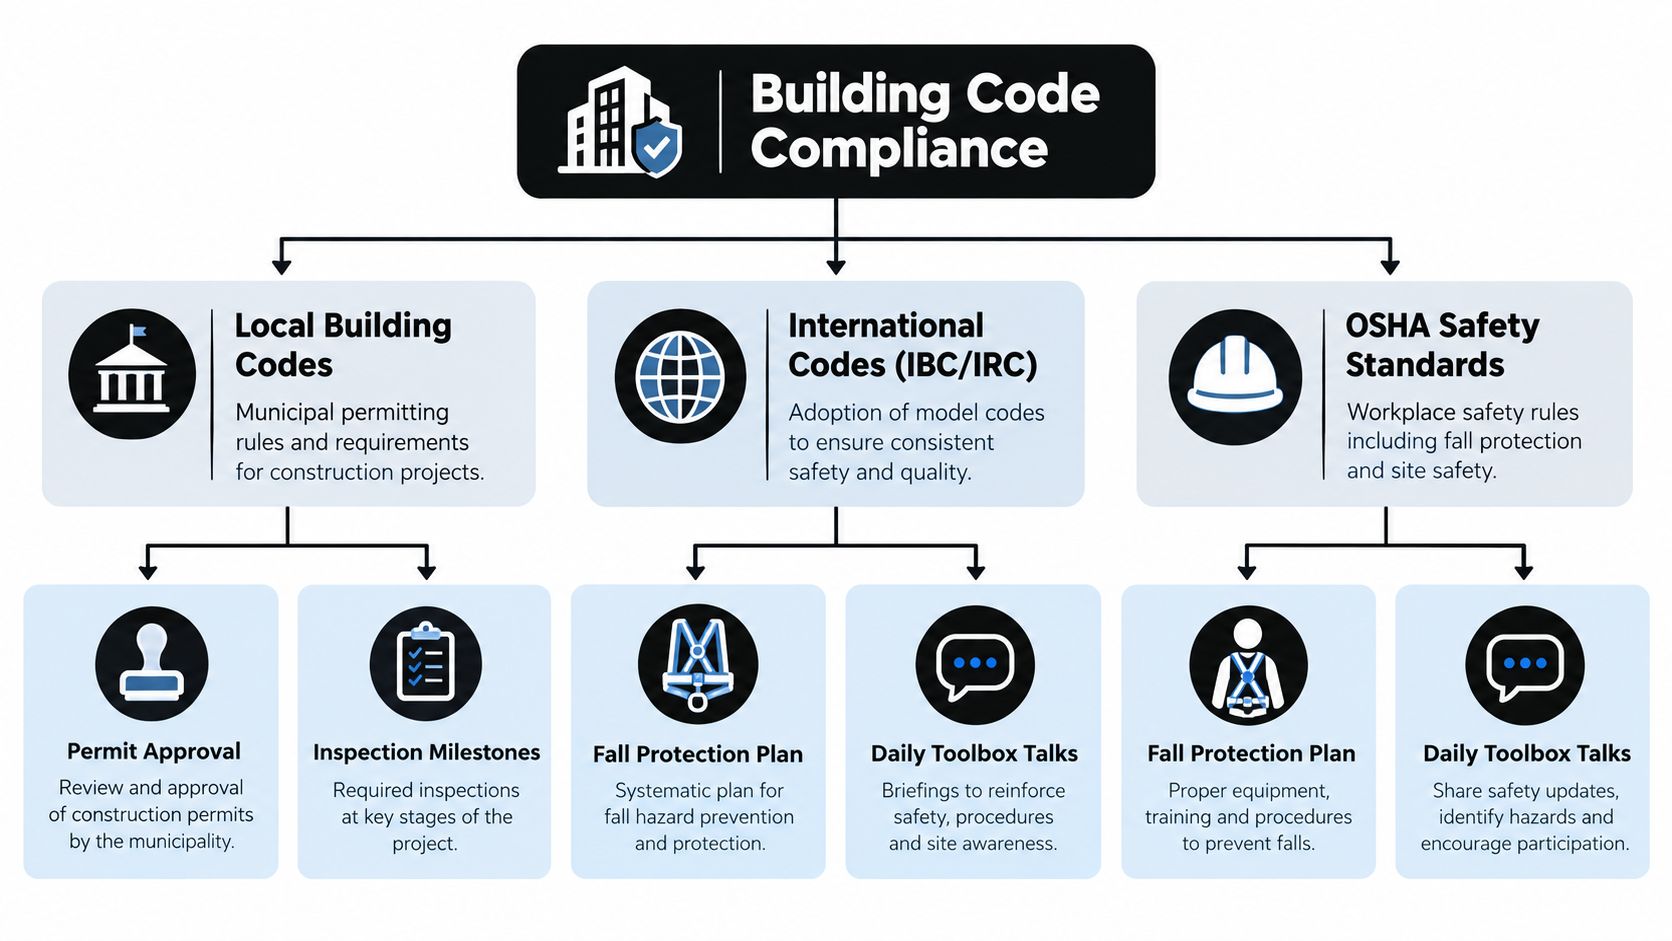
A roof can pass a visual inspection and still carry unresolved code or coordination risk. Before work begins, the owner should be able to trace requirements through the design documents, permit file, product approvals, and field records. A contractor's promise to “meet code” is incomplete unless the project identifies the rules governing slope, drainage, fire classification, wind uplift, access, and worker protection.
Verify drainage before covering the deck
NRCA generally defines low-slope commercial roof systems as weatherproof systems installed at slopes less than or equal to 3-in-12, or 14 degrees, a threshold used in design and code discussions (NRCA low-slope roof guidance). A roof may appear flat from the parking lot, yet its drainage design still needs deliberate slope, correctly located drains, functioning scuppers, and transitions that allow for deck deflection.
IBC and NRCA guidance requires membrane roof covering systems, except coal-tar built-up roofs, to have a minimum design slope of 1/4 unit vertical in 12 units horizontal, or 2 percent, for drainage (NRCA drainage guidance). NRCA also describes positive drainage as a design condition that accounts for deck deflection and allows water to drain within 48 hours of precipitation under drying conditions.
Request a drainage plan showing existing and proposed flow paths before installation. During construction, inspect tapered insulation, saddles, drain bowls, clamping rings, scuppers, and edge conditions before the membrane conceals them. Drain details often sit at the intersection of roofing, structural, and mechanical work, so missing dimensions or incompatible components can create a change order or later warranty dispute.
Confirm fire and wind requirements
Fire classification is a formal design requirement. NRCA points to IBC Section 1505 and Table 1505.1 for minimum roof system classifications based on construction type (NRCA fire classification guidance). The submittal package should identify the tested assembly, insulation combination, cover board, membrane, attachment method, and limits on substitutions. A material substitution that appears minor can invalidate the tested assembly.
Wind uplift resistance must match the site and the actual roof construction. IBHS states that metal panel roofing systems and attachments should follow manufacturer instructions and provide uplift resistance equal to or greater than the design uplift pressure based on wind speed and exposure. Its high-wind commercial roof guidance identifies a minimum benchmark of 110 mph Vasd and 140 mph Vult for high-wind conditions (IBHS commercial roof best practices).
Require engineering calculations or approved assembly information before materials arrive. Check perimeter and corner fastening, edge metal, parapet conditions, and attachment into the actual deck. Wind failures often begin at the edges, where a generic field fastening pattern does not address exposure or the building's geometry.
Treat safety as a production control
Roofing contractors accounted for 26% of all fatal construction falls in 2023, and 82% of roofing fatalities were caused by falls, slips, or trips, according to industry safety data (roofing safety data and skills guidance). Fall protection, access control, material staging, and daily pre-task checks therefore belong in the installation plan, alongside production and quality requirements.
A facility manager can request the fall-protection plan, roof access procedures, rescue provisions, anchor inspection records, and daily toolbox-talk documentation. The Safety Space working on heights resource provides practical material for reviewing site controls with the project team.
Use the roof inspection reference image as a reminder that inspection must follow the work sequence. The owner's representative should record conditions before tear-off, at substrate approval, during detailing, and at final closeout. Those records help separate pre-existing defects, installation issues, and later maintenance conditions when a dispute arises.

Managing Field Execution and Installation Timelines
A roofing schedule rarely fails because the crew can't roll out membrane. It fails because the deck isn't ready, the crane window changes, an HVAC contractor hasn't cleared a curb, rain interrupts dry-in, or detail work takes longer than the estimator allowed.
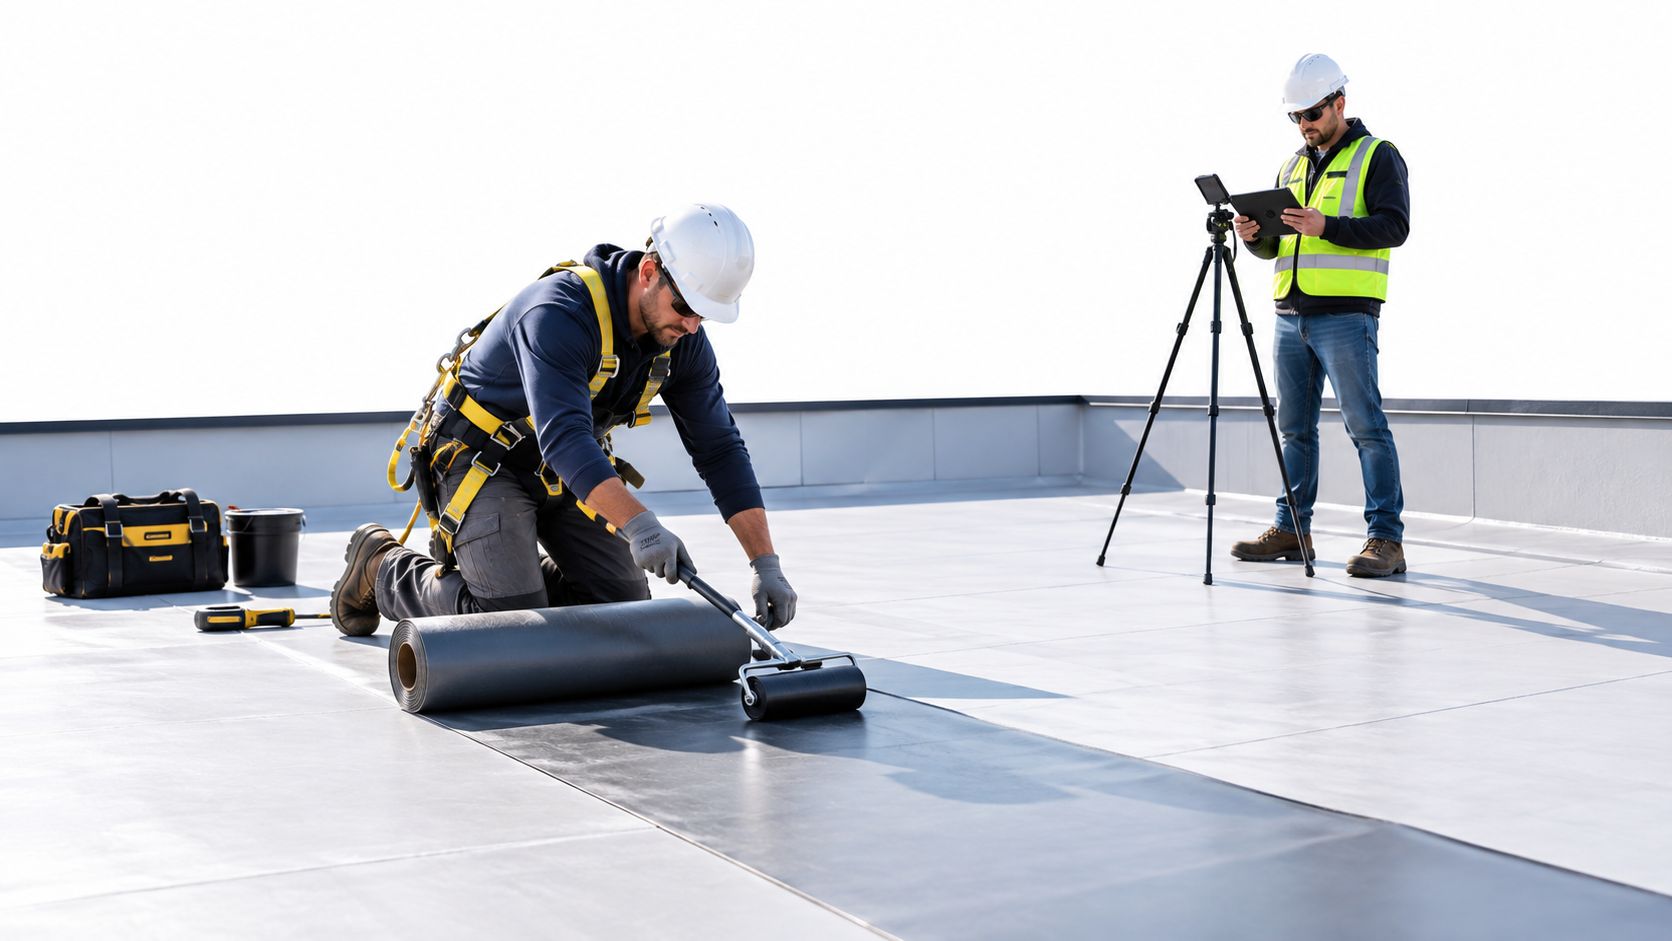
A superintendent should divide the work into visible production phases: tear-off, substrate preparation, dry-in, insulation and cover board placement, membrane or panel installation, flashing and penetration detailing, and punch-list closure. Each phase needs a start condition, an acceptance condition, and an owner for unresolved issues.
Track the work that crews actually perform
A cited benchmark for flat commercial roofs is 10 to 15 square feet installed per labor hour, depending on system complexity (commercial roofing productivity benchmark). That figure shouldn't become a blunt quota. It works better as a diagnostic signal.
If production falls below the planned rate, the superintendent should identify the cause rather than merely demand speed. Common explanations include:
- Preparation burden: Wet insulation, damaged deck, adhesive removal, and surface cleaning consume hours before membrane placement begins.
- Detail density: Curbs, penetrations, drains, parapets, expansion joints, and edge metal require more labor than open field areas.
- Access constraints: Occupied buildings, restricted staging, elevators, cranes, and tenant schedules can limit material movement.
- Weather exposure: Wind and rain affect adhesive curing, welding conditions, lifting operations, and temporary protection.
- Coordination gaps: Mechanical, electrical, plumbing, and roof crews can block one another when responsibilities aren't assigned.
The daily report should show installed area, labor hours, weather interruptions, open RFIs, deck repairs, completed details, temporary dry-in status, and safety observations. A raw square-foot figure without those notes can make a difficult project look like an underperforming crew when the actual problem is incomplete scope.
Keep safety and sequencing together
The safest sequence is usually the most predictable one. Protect access routes, establish material staging zones, maintain temporary watertightness, and inspect each completed area before the next trade disturbs it. Don't allow a schedule recovery effort to bypass deck approval, perimeter securement, seam checks, or fall-protection controls.
Commercial new construction and service or maintenance work carry different execution pressures. New construction often involves aggressive coordination with multiple trades and a fixed turnover date, while service work may require maintaining operations around tenants, inventory, and equipment. A facility owner should ask for a look-ahead schedule, daily communication protocol, weather contingency, and clear criteria for declaring an area complete.
The strongest project teams don't hide slippage until the end of the week. They report it when the cause is still correctable, price concealed-condition work through an agreed process, and protect the dry-in milestone even when the final detailing continues.
Quality Assurance and Post-Installation Maintenance
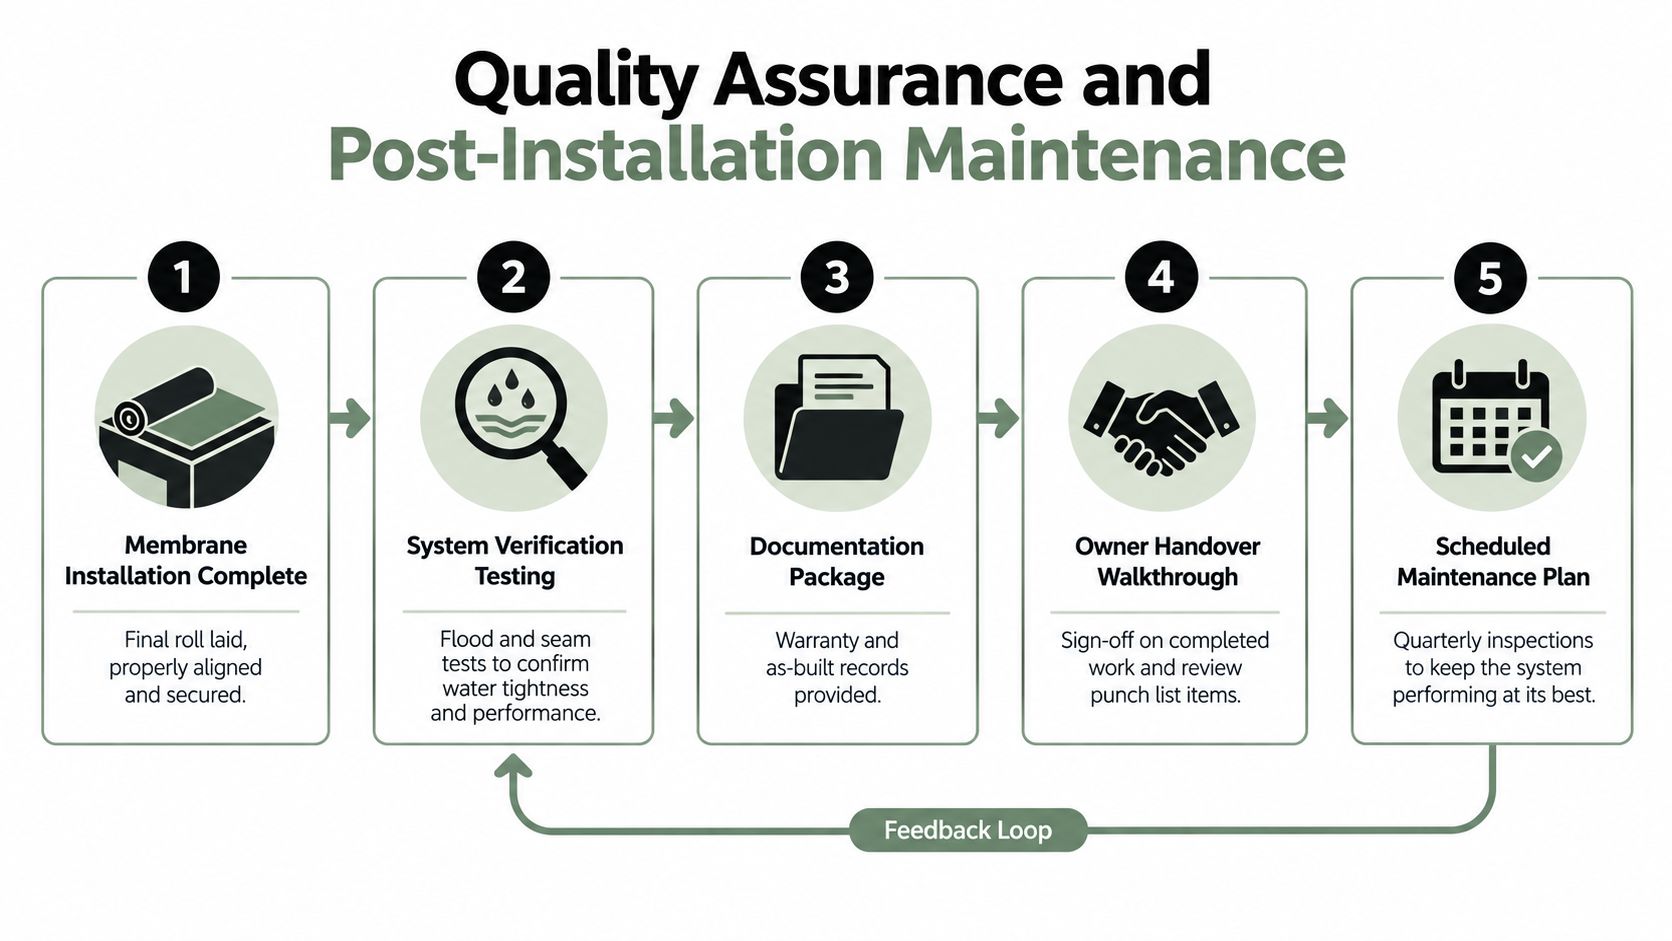
The final membrane roll does not complete the project. Before turnover, the installer must verify the assembly, resolve the punch list, activate the warranty, and provide records that let the owner manage repairs without depending on someone's memory.
Build a defensible closeout file
The closeout file should identify what was installed and how it was accepted. Include the final roof plan, membrane and insulation data, fastening patterns, product submittals, approved substitutions, photographs, inspection records, repair logs, and manufacturer correspondence. Record responsibilities for rooftop equipment, access routes, testing, and protection so those interfaces do not become disputed omissions later.
NDL, or No Dollar Limit, warranty activation requires particular attention. A contractor can install a manufacturer-approved system and still leave the owner without coverage by missing an inspection, paperwork requirement, or activation step. The bid and contract should state who submits the warranty application, who pays related fees, what inspection is required, and when the owner receives the final document.
Neutral commercial roofing warranty and scope guidance identifies NDL warranty activation, flood testing, walkway pads, and permanent fall protection as quality-assurance items frequently left out of scope. Specify each item before work begins. Their omission can affect acceptance, future access, and warranty disputes.
A practical closeout sequence is:
- Inspect the field membrane: Check for open seams, fishmouths, wrinkles, punctures, inadequate bonding, and inconsistent welds.
- Check every transition: Review drains, scuppers, curbs, pipes, parapets, expansion joints, edge metal, and rooftop equipment.
- Test where the design requires it: Complete flood testing or another approved test, record the area tested, and document corrective work.
- Install protection: Add walkway pads and permanent fall-protection components wherever the scope requires them.
- Release final payment after records arrive: A promise that paperwork is coming is not a closeout package.
Manage the roof after turnover
Maintenance begins with a baseline inspection and a written calendar. Document drains, seams, flashings, penetrations, equipment supports, walkways, edge conditions, and interior areas vulnerable to water intrusion. Later inspections can then separate new damage from pre-existing conditions and connect repairs to the responsible trade or event.
Track the work that crews perform
Roof access needs control. HVAC technicians, electricians, solar contractors, sign installers, and maintenance staff can puncture or overload a membrane without recognizing the risk. Provide designated routes, require protective pads where appropriate, and record who accessed the roof, what work they performed, and whether they left penetrations or debris.
Inspection services matter because small defects are easier to correct before water reaches insulation, the deck, finishes, inventory, or occupied space. Require photographs, defect locations, drainage conditions, debris notes, unauthorized penetrations, and repair priorities. A generic “roof looks good” report gives the owner little basis for action or warranty support.
Closeout standard: If the owner cannot identify the installed assembly, verify drainage details, prove warranty activation, and locate maintenance records, the project has not been fully handed over.
Keep inspection reports, service invoices, storm documentation, repair approvals, and photographs together. When a problem appears, these records help establish whether it relates to installation, later trade work, weather, deferred maintenance, or a change in rooftop use.
Protecting Your Commercial Real Estate Investment
A commercial roof protects tenants, equipment, inventory, finishes, and business continuity. Treating it as a commodity encourages owners to compare only the initial price, even though the true cost is shaped by concealed conditions, access, maintenance, disruption, and the quality of the handover.
The owner's decision framework should be straightforward:
- Define the existing condition before choosing tear-off, overlay, or replacement.
- Write the hidden scope into the RFP, including deck work, insulation, vapor control, flashings, drainage, testing, fall protection, and warranty activation.
- Match the membrane to the building rather than accepting a default system.
- Verify code and engineering documents for slope, drainage, fire classification, and wind uplift.
- Measure field progress accurately by separating open-area production from preparation and detail labor.
- Preserve the record through photographs, testing, as-built information, warranty documents, and maintenance reports.
Red flags include a proposal with no exclusions, no allowance process for deck damage, no membrane thickness, no fastening pattern, no drain coordination, no responsibility for rooftop equipment, or no closeout deliverables. A low number isn't a bargain if it transfers essential work into change orders or leaves the owner unable to prove warranty compliance.
Commercial roofing installation should be managed as the first phase of a building asset's service life. Owners who stay involved from investigation through maintenance make better decisions, reduce avoidable disputes, and give the roof a realistic chance to perform as designed.
Paletz Roofing and Inspections provides commercial roof installations, repairs, replacements, and inspections for flat and metal roofing systems across South Florida, including Broward, Miami-Dade, and Palm Beach counties. For help defining hidden scope items, documenting roof conditions, and planning a commercial roofing project, visit Paletz Roofing and Inspections to request an inspection or quote.