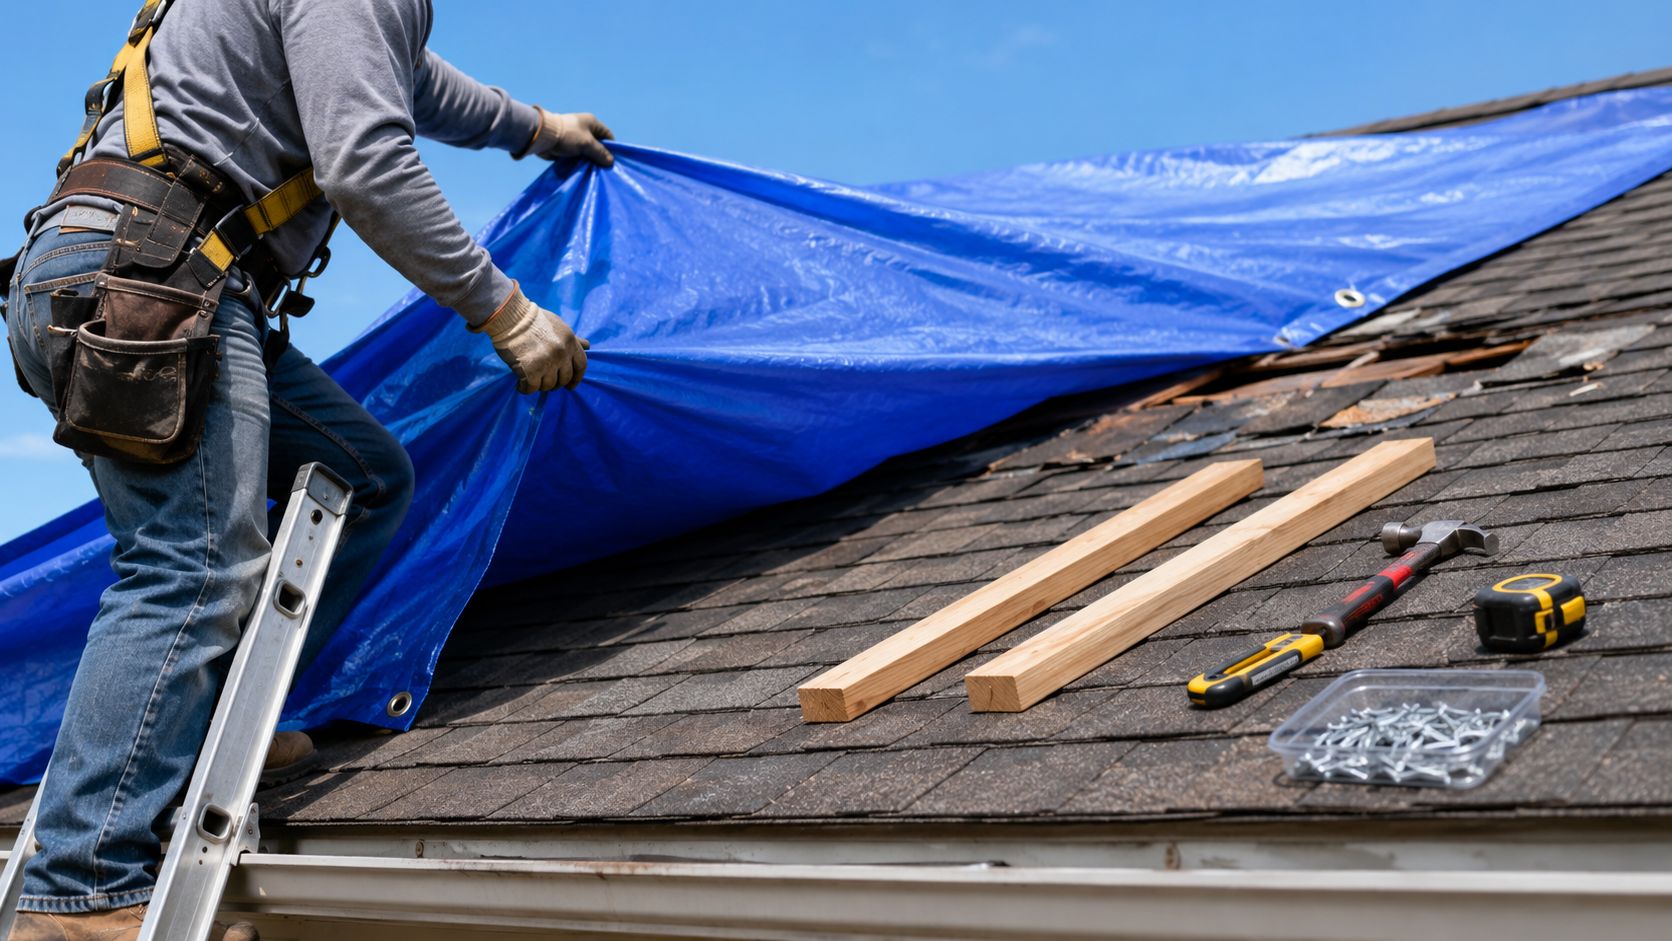
The first sign is usually not a missing shingle, it's the drip you hear when the house is still, or the brown bubble forming on a ceiling corner the morning after the storm. In South Florida, that's the moment homeowners start weighing a hard question fast, can this roof be safely covered tonight, or does the roof need a professional on it before anyone climbs a ladder?
A good emergency tarp for roof damage is a temporary barrier, not a fix. It's there to buy time, limit interior water damage, and preserve evidence for the repair and insurance process, which is why the decision before the work matters just as much as the tarp itself.
Table of Contents
- What an Emergency Roof Tarp Does
- Materials and Tools You Need Before Climbing Up
- Ladder Safety and Ground Assessment First
- Tarp Installation Methods for Shingle, Tile, and Flat Roofs
- When Self-Tarping Makes Sense and When to Call a Pro
- Documenting the Damage for Your Insurance Claim
- Aftercare, Inspections, and Permanent Repair Planning
What an Emergency Roof Tarp Does
A Broward homeowner once called after a tropical storm and described the same thing I've heard many times, drywall bubbling near a hallway light, a damp smell in the attic, and one section of shingles that looked fine from the driveway but wasn't fine at all. Covering that opening kept the home from getting worse while the next steps got organized.
Mitigation, not repair
That's the job of an emergency roof tarp. It creates a temporary waterproof barrier over the damaged area until permanent work can happen, and roofing crews and insurers treat tarping as a mitigation step in the claims process. A proper tarp can keep water out for a short period, but it does not restore the roof to normal service.
Published guidance puts a properly installed temporary tarp at about 60 to 90 days on average, with some longer-term temporary uses stretching farther under favorable conditions, and other emergency-response guidance recommends replacement within 30 to 90 days to limit deterioration and water intrusion HomeGuide roof tarp cost. In practical terms, that window buys time for adjusters, inspections, and permanent repair scheduling.
Practical rule: if the roof is still actively leaking, the tarp's value is measured in avoided interior damage, not in how long it looks neat from the ground.
What situations usually trigger it
Storm damage is the common trigger, especially missing shingles, punctures, torn flashing, ridge damage, and debris impact. Timing matters too, because a small breach on a dry day is different from a small breach with another storm rolling in.
The mistake I see most is assuming any tarp from the garage will do the job. It won't. The cover has to be sized, fastened, and routed so water sheds away from the opening, not back toward it.
For the money side, emergency tarping is still short-term protection compared with full roof repair. Pricing guides put the national average at about $450, with many jobs ranging from $150 to $3,300, and emergency calls can add roughly 30% to 50% above scheduled service rates Angi roof tarp cost. That premium reflects speed, labor, and safety, not tarp material alone.
Materials and Tools You Need Before Climbing Up
A tarp only helps if it can survive the roof conditions around it. For short-term emergency roof work, 10 to 12 mil polyethylene is the practical baseline, and 12 to 16 mil makes more sense when the cover may need to stay up longer. Light consumer tarps in the 3 to 8 mil range are built for brief, low-stress use, not storm response, and they tend to fail once wind starts moving across the roof.
Size and coverage come before fastening
The first measurement is not the fastener spacing, it is the coverage. A tarp needs to extend at least 4 feet beyond the damage on every side, and if the breach sits near the ridge, it should continue over the ridge and down the opposite slope so water cannot run back into the opening roof tarp sizing guidance. Another emergency guide gives a similar rule, calling for extension at least 3 feet beyond the damaged area on all sides and over the ridge line advanced emergency tarping guidance.
For the job itself, keep the tools simple and durable:
- Heavy-duty tarp, matched to the damaged area and how long it may stay exposed
- Furring strips or 1×3 lumber, so the load spreads across the material instead of tearing through one point
- Cap nails or screws, preferably corrosion-resistant
- Utility knife, for clean cuts around vents, pipe boots, and other obstacles
- Measuring tape, because guessing usually leads to undersizing
- Stapler or screw gun, depending on the fastening method
- Heavy-duty extension ladder with standoff arms, so the ladder clears the gutter line
- Gloves, non-slip shoes, eye protection, and a harness, if the pitch calls for fall protection
Fastener placement matters as much as the tarp itself. Professional-style guidance calls for fasteners spaced roughly 12 to 24 inches on center roof tarp fastening guidance, which helps spread wind load and reduces tear-out.
| Thickness | Best Use | Notes |
|---|---|---|
| 6 to 10 mil | Short-term emergency use | Common in emergency-style polyethylene tarps |
| 10 to 12 mil | Standard short-term roof mitigation | Good balance of weight and tear resistance |
| 12 to 16 mil | Longer temporary coverage | Better when the tarp must stay in place longer |
A practical labor note belongs here too. Published estimates put standard professional tarping for a 1,500-square-foot area at $1,050 to $3,000, while emergency tarping rises to $1,500 to $4,200 Angi roof tarp cost. That spread comes from dispatch time, labor, and safety prep, not tarp material alone.
Ladder Safety and Ground Assessment First
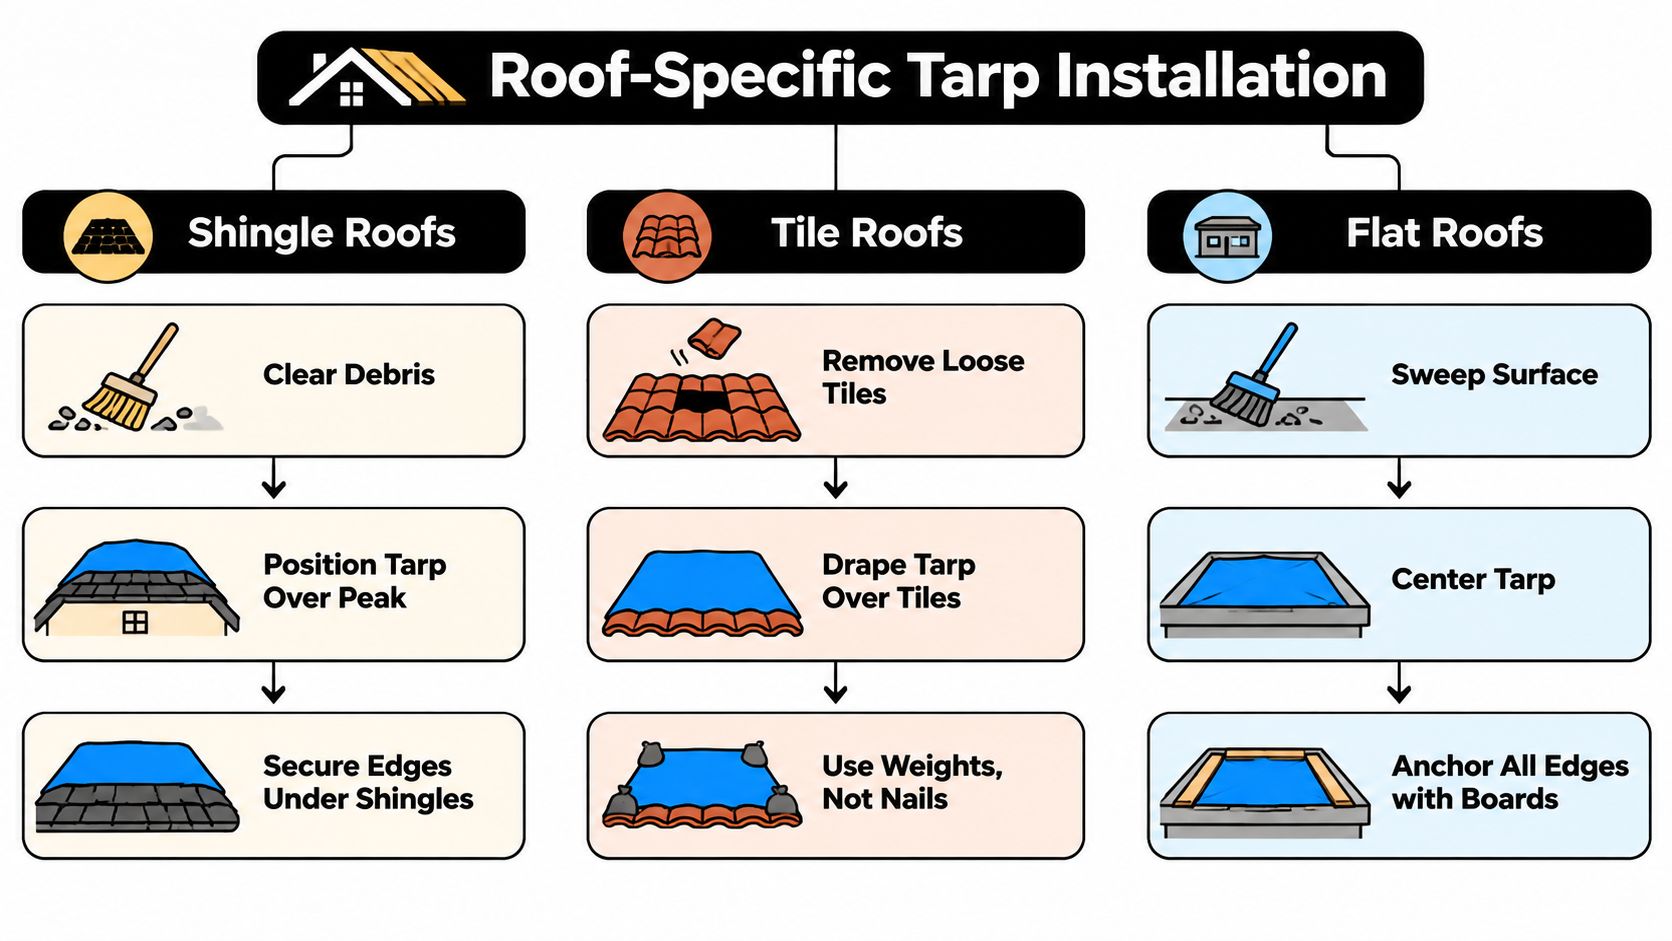
Before anyone sets a foot on the roof, I want a ground-level walkaround. You can spot a lot from below, sagging decking, obvious dips, downed lines, missing sections, or areas where water is still pooling in a way that suggests the roof shouldn't be walked.
Read the roof before you touch the ladder
If the decking looks soft, the roof is telling you not to go up. If there are lines down, if the surface is visibly unstable, or if debris has punched through multiple areas, self-tarping stops being a convenience decision and becomes a risk decision.
The ladder setup should be boring and repetitive, because boring is what keeps people safe. Extension ladders should follow the 1-to-4 ratio against the gutter line, the base should sit on level ground or a proper stabilizer, and standoff arms help keep the ladder off the eaves and gutters.
Don't climb in weather that's still moving against you. Active rain, lightning in the area, or strong wind turns a tarp job into a fall risk fast.
A second person on the ground isn't optional for homeowner work. That person spots shifting ladder feet, manages tools, watches the weather, and calls out trouble before it becomes a slip or a drop.
Weather and roof type change the answer
A dry day with light wind is one thing. Wet decking, a steep pitch, or a tile roof is another. Tile roofs are especially unforgiving because stepping wrong can break more material than the storm already did.
For steeper roofs, fall protection matters. A harness and anchor setup can be the difference between a controlled job and a rescue call, but only if the homeowner already knows how to use the gear. If there's any doubt, the safer move is to stop before climbing.
One of the best neutral safety notes I've seen says not to tarp in rain, lightning, or strong winds, to assess roof stability from the ground first, and to avoid roof access if decking is soft or lines are down storm safety guidance. That's the right mindset in South Florida too.
Tarp Installation Methods for Shingle, Tile, and Flat Roofs
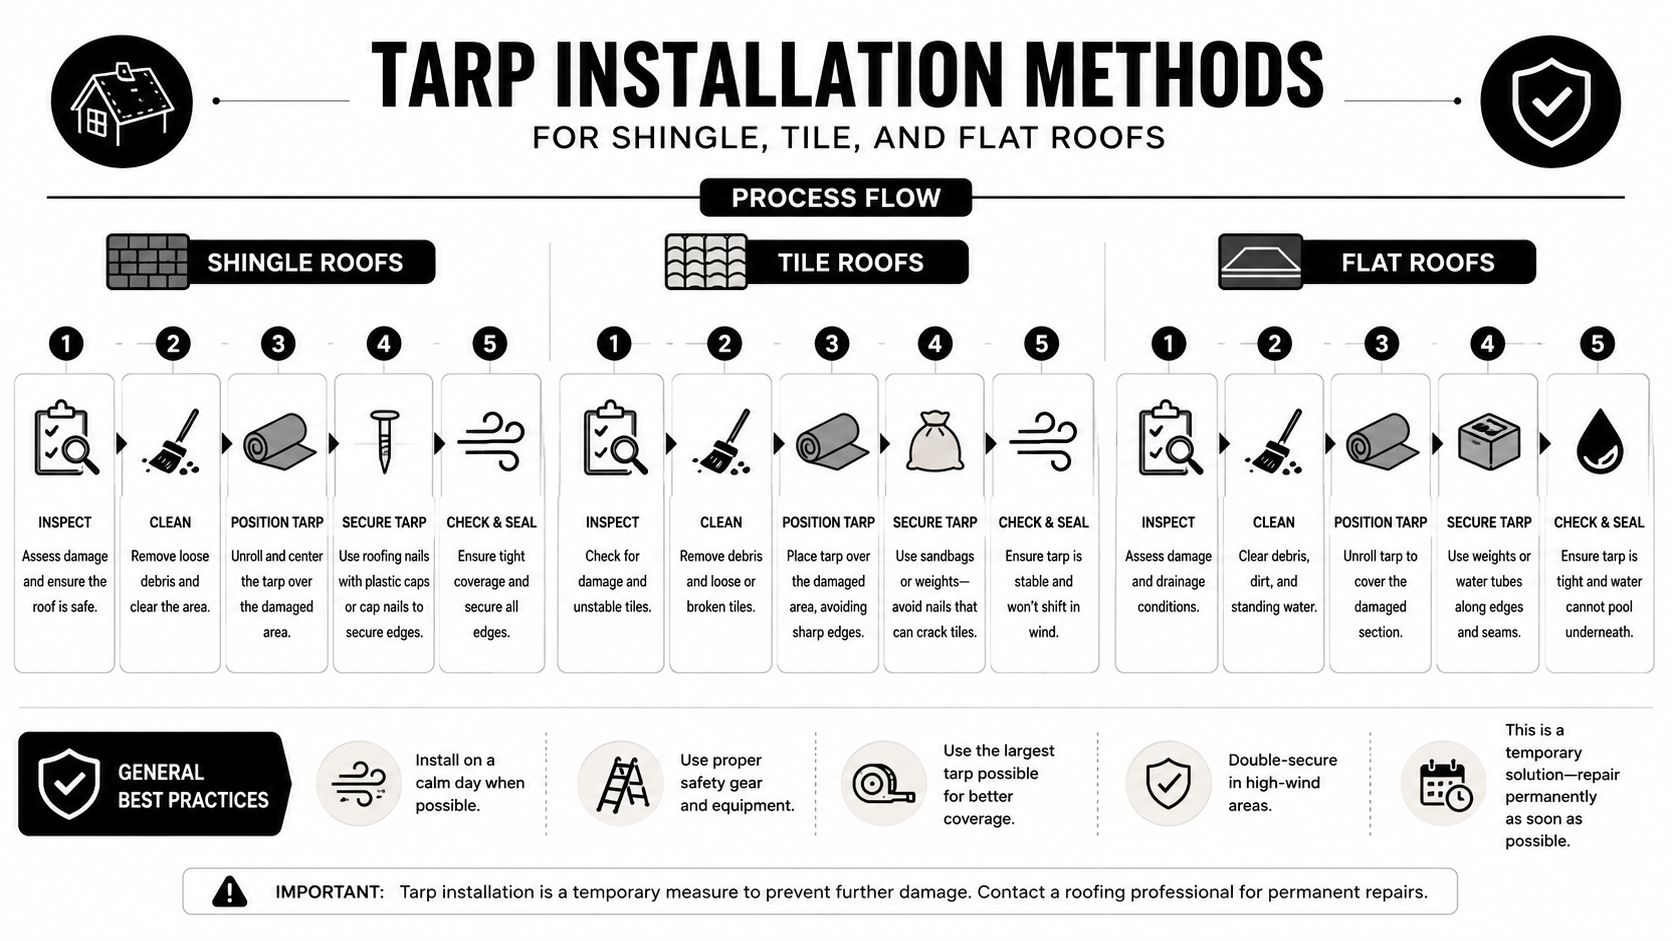
The first decision is whether the roof is even worth climbing. If the damage is small, the deck is dry, the slope is manageable, and the weather has settled, a homeowner may be able to place an emergency tarp with care. If the roof is wet, the pitch is steep, the tile field is fragile, or the storm is still active, the smarter call is to stay off and bring in help. The goal is not just to cover the hole, it is to keep runoff moving away from the breach instead of sending it back under the tarp.
Asphalt shingle roofs
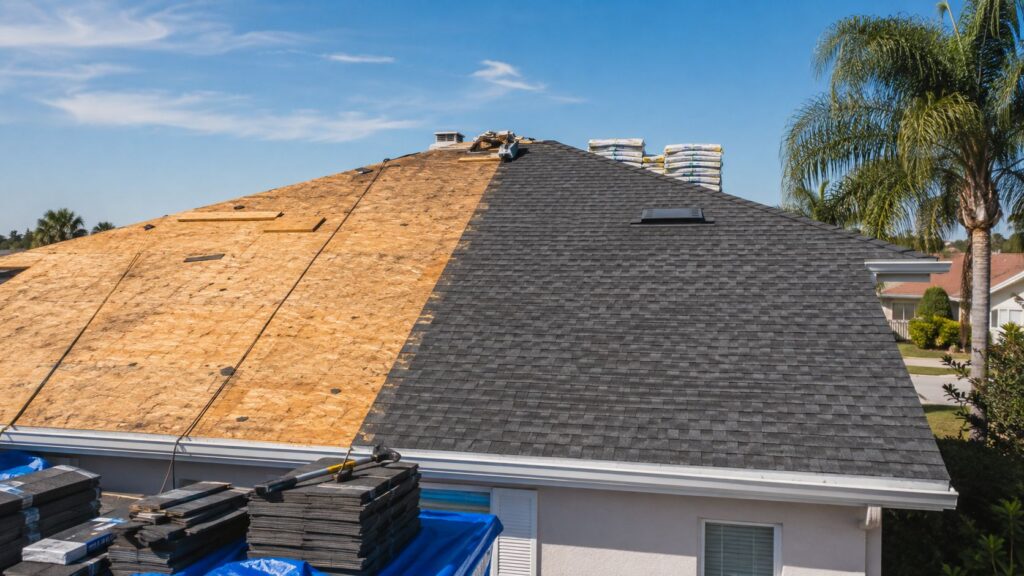
Shingle roofs are the most workable DIY case because the tarp can usually be anchored over sound decking without disturbing fragile surfaces. Clear loose debris first so the cover lays flat, then run or drape the tarp from the lower edge upward so it can extend over the ridge when the damage needs that kind of coverage. Place two furring strips or lengths of lumber over the tarp edges, then fasten through the lumber into sound decking with cap nails or screws so the load is spread out.
A tarp that sits loose will flap, wear through, and loosen the fasteners. Pull it tight before it goes down, and keep the overlap clean so water sheds off the surface instead of catching an edge and blowing back inside. On a shingle roof, a neat cover is better than a oversized one that creates extra drag.
For surface context, see a shingle roof replacement example.
Tile roofs
Tile calls for a different approach because clay and concrete units break easily under foot traffic. Lift tiles only where the opening needs access, stay off unsupported sections, and use foam blocks or sandbags where a direct fastener or edge would otherwise damage the roof surface. The tarp should cover the breach without turning the repair into a wider tile replacement job.
This is the roof type that can quickly shift someone from “I can handle this” to “I should have called.” If the leak sits high on the slope, the tile field is already loose, or the walking path looks uncertain, the risk is often greater than the savings. I have seen rushed tile work create more damage than the storm itself, because one cracked unit can lead to several more around it.
Flat roofs
Flat roofs are all about water behavior. The tarp has to be set so it does not create a shallow basin that holds standing water, which means building enough shape into the cover to push runoff away from the opening instead of trapping it there. Anchor points may be placed at parapets or with mechanical fastening where the surface allows, but every edge needs to stay tight and controlled.
A simple check after the tarp is down is to trace where the water will go. If runoff can still find its way under the cover, the layout is wrong and needs to be corrected before the next rain. For shape and placement, roof tarp placement geometry matters more than covering every inch of the roof.
When Self-Tarping Makes Sense and When to Call a Pro
A homeowner can sometimes self-tarp a roof, but the safe window is narrower than many expect. The practical DIY path is small, accessible damage on a low-slope shingle roof, done in dry daylight, with a second person on the ground, a properly set ladder, and no sign that the roof structure itself is compromised.
The line between manageable and risky
That line changes quickly when the roof is wet, steep, or fragile. Wet or rotted decking, steep pitches, tile roofs, active severe weather, or any discomfort with heights push the job into professional territory. Tile roofs are especially poor DIY candidates because the roof can take more damage from the walk than from the leak.
When the call goes to a professional, you are paying for more than material. You are paying for dispatch speed, liability coverage, safety gear, and documentation that supports the claim and the permanent repair plan. Emergency response pricing tends to run higher than scheduled work because the crew is responding quickly and often in poor conditions, not because the tarp itself is complicated.
A practical way to decide is to ask these four questions:
- Can I see the damage clearly from the ground?
- Is the roof dry enough to walk safely?
- Is the slope low enough that I can work without fighting balance?
- Would a second person be enough to keep this controlled if conditions change?
If any answer is shaky, stop there. That pause is cheaper than a fall, and usually cheaper than extra interior damage.
For homeowners comparing options, a licensed roofing company can provide the temporary cover, the assessment, and the next repair plan in one visit. In South Florida, Paletz Roofing and Inspections is one such option for emergency roof repair, inspections, and permanent roofing work when the tarp is only the first step.
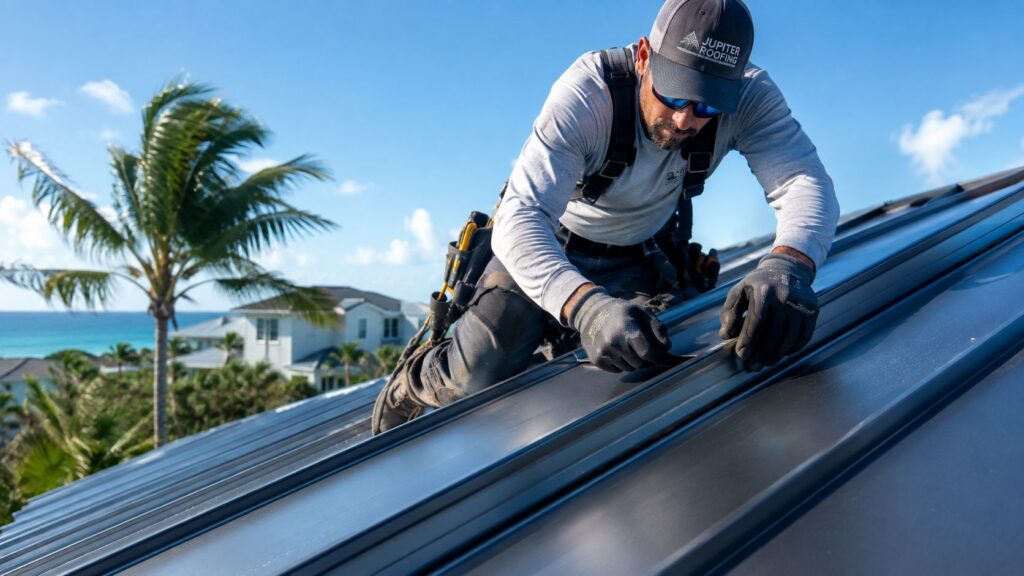
For a sense of how a crew stages a temporary cover on a metal system, reference a professional metal roof installation context. If you are also working through the claims side, keep your home insurance California paperwork and photos organized so the mitigation timeline is easy to show.
Documenting the Damage for Your Insurance Claim
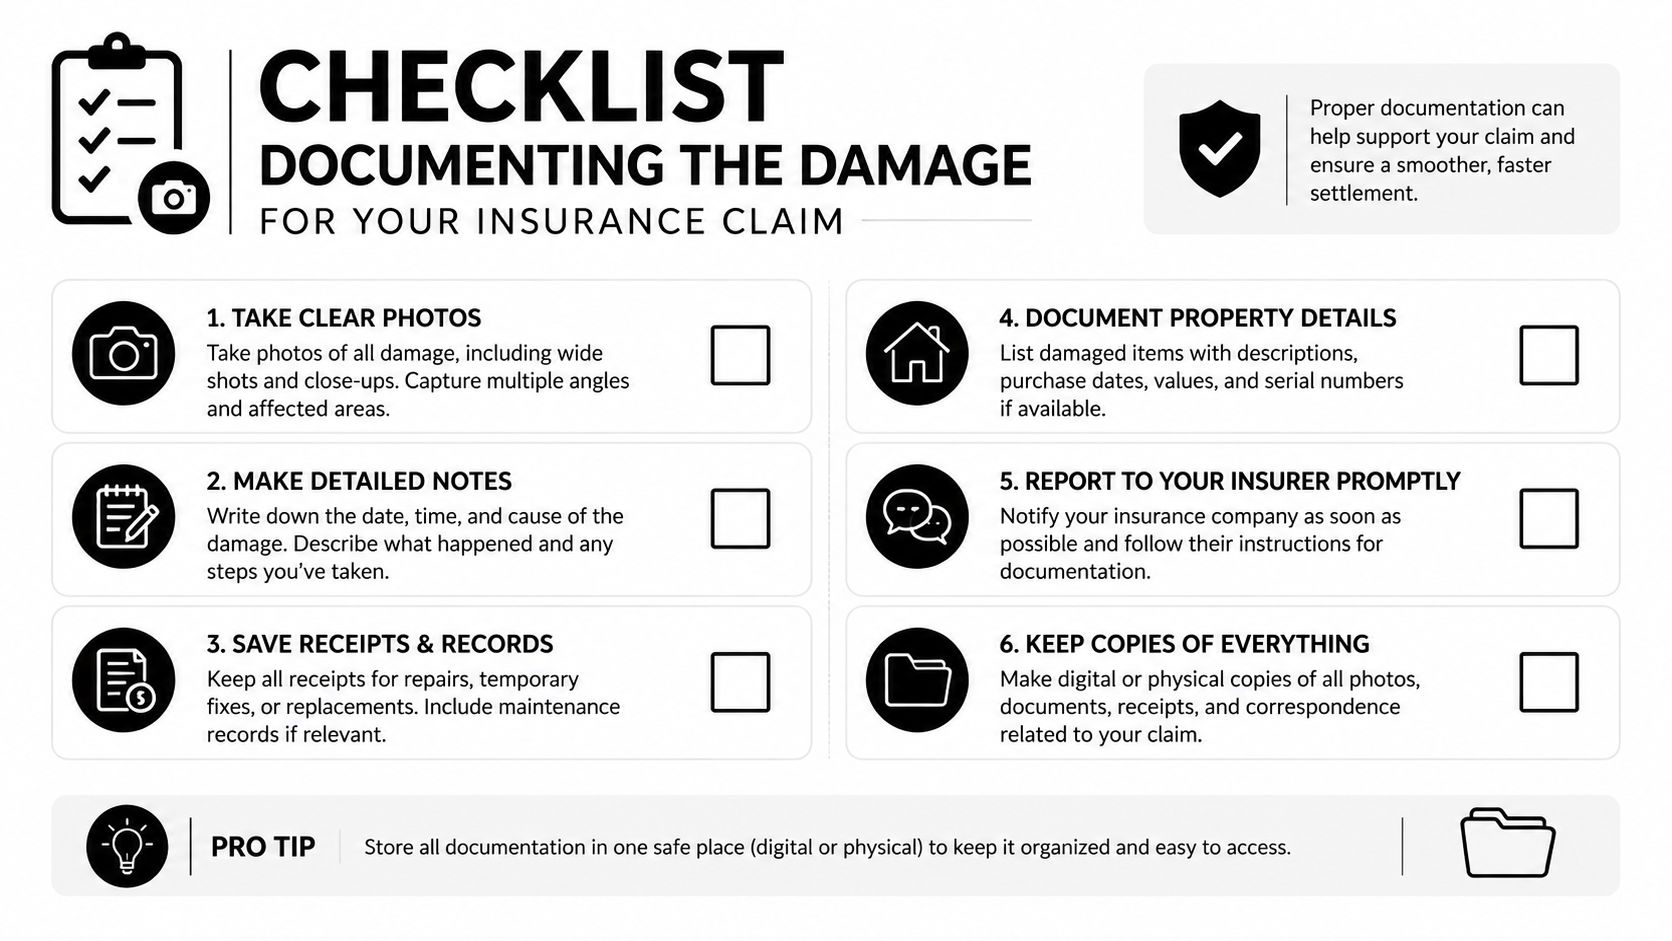
A tarp protects the home, but the photos protect the claim. If you want the insurer to understand the loss clearly, document before you cover anything, and then document again after the tarp is on.
What to capture
Start with wide shots from the ground showing the roof slope in context. Then move to mid-range shots that place the damage within the roof field, followed by close-ups of the breach, torn flashing, or lifted shingles. If water is already inside, photograph stains, wet flooring, and damaged drywall too.
- Wide roof views: show the overall slope and where the problem sits
- Mid-range views: show the damaged section in relation to the rest of the roof
- Close-ups: capture the actual breach and visible wear
- Interior damage: document drips, stains, wet insulation, and floor damage
- After-mitigation photos: show the tarp covering the damaged area
- Notes: record date, time, weather, and who was home
If your phone embeds timestamp and geotag data, keep it intact. That metadata helps establish when the loss and mitigation happened.
Talk to the insurer early
Call the insurer, open the claim, and then share the photo set before paperwork gets scattered between vendors. A claims folder on your phone or cloud storage makes that easier. If you're also sorting out policy questions, a resource like home insurance California from Mai & Associates can help homeowners think through policy language and coverage basics, even if the roof damage is happening somewhere else.
Keep the same-day record simple. If you can explain the event in one paragraph, you'll remember it better when the adjuster asks for details.
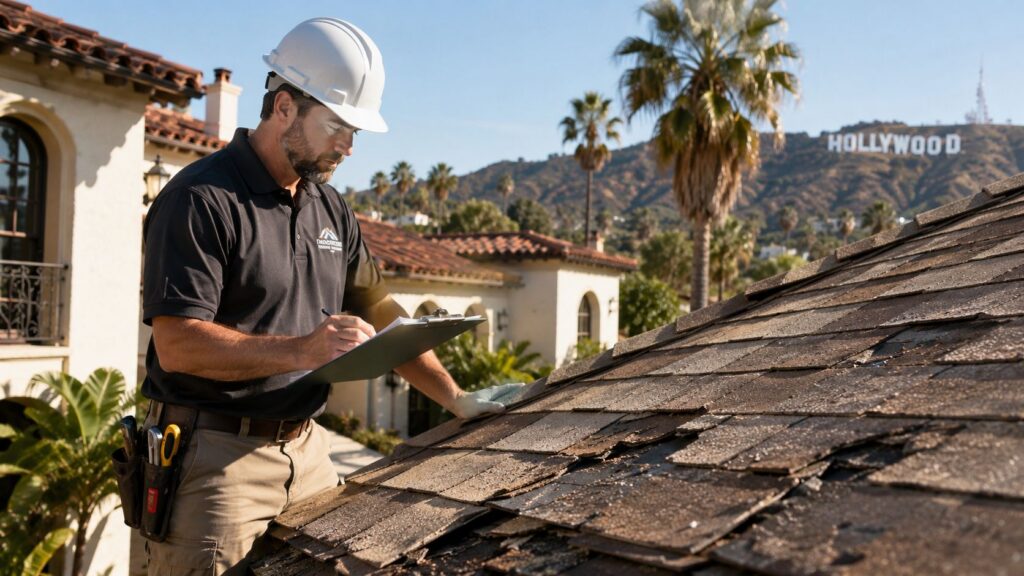
Use this roof inspection context as part of your damage file
Aftercare, Inspections, and Permanent Repair Planning
Once the tarp is on, the work shifts from installation to monitoring. Check it from the ground after each heavy rain, look again after strong wind, and do a fuller inspection after a named storm. Edges can lift, fasteners can back out, and water can follow a different path if the cover shifts even a little.
Watch the tarp, not just the ceiling
Ballooning is a warning sign. So are a loose edge, a torn corner, or fresh interior staining after you thought the leak was contained. If the tarp starts moving, the roof is telling you the seal is failing somewhere, and that needs attention before the next round of weather tests it again.
The tarp has a limited service life even when it is installed correctly. UV exposure, heat, standing water, and repeated storms will wear it down, so emergency tarping has to stay temporary. The smart move is to keep monitoring it, not assume it bought unlimited time. Plan the permanent repair early, because a weak stopgap can turn into another leak if it is left in place too long.
Bottom line: a tarp that still looks fine from the driveway can still be failing at the seam or fastener line.
Line up the permanent repair
The next step is a written damage assessment from a licensed roofer, then a decision between repair and replacement based on roof age and the amount of damage. If permits are required, get them handled before the permanent work starts. The insurance adjuster's schedule also needs to be coordinated so access, scope, and photographs all line up instead of getting guessed at later.
After the roof is stabilized, prevention becomes the focus. Trim branches that hang over the roof, clear gutters before hurricane season, and keep up with regular roof inspections so small problems are caught before the next storm exposes them. Use the post-tarp period to watch for loose fasteners, sagging spots, or water intrusion around the patched area, because those signs tell you whether the temporary cover is still doing its job or needs a roofer back on site.
If your tarp has already been through several storms, or if the roof still leaks after the first patch, do not keep waiting for it to hold one more week. Get the roof inspected, get the scope in writing, and move the home from mitigation to permanent repair with a crew that can finish the job cleanly.