
When you're installing a metal roof, getting the overlaps right is everything. This is where you layer the panels at their vertical seams (side laps) and horizontal joints (end laps) to create a seal that’s completely watertight. It’s a game of precision, requiring exact measurements, the right sealants, and specific fastening techniques to make sure water has no choice but to roll right off the roof.
Why Proper Overlaps Are Critical
Let's be clear: the overlap is the single most important part of any metal roof installation. It's the difference between a roof that lasts 30 years without a single drip and one that fails after the first big storm. Don't think of it as just laying one panel over another. You’re engineering a system designed to defeat water, no matter what.
A perfect overlap does more than just let gravity do the work. It’s built to handle everything from a gentle drizzle to hurricane-force winds that drive rain sideways. The integrity of your entire roof—every single square foot of it—depends on these seams being meticulously executed.
The Physics of a Watertight Seam
At its core, overlapping metal roofing is about creating a path of most resistance—one that water simply won't follow. This comes down to two key concepts that every installer has to master to avoid a callback.
First is effective water shedding. The main job here is to make sure water flows down and off the roof without finding a way in. Both side laps, where the vertical ribs of the panels lock together, and end laps, where one panel lays over the one below it, are designed and sealed to put gravity on your side.
The second challenge is beating capillary action. This is the sneaky tendency of water to pull itself into tiny gaps, even fighting gravity to do so. A poorly sealed or improperly fastened overlap creates the perfect little channel for water to wick its way right under the panel.
Key Takeaway: A successful overlap isn't just about coverage. It’s a deliberate defense against wind-driven rain and capillary action, ensuring water is actively channeled away from vulnerable seams.
To nail this, every detail matters. This includes:
- Precise Measurements: Sticking to the manufacturer's specs for overlap width isn't a suggestion—it's a rule.
- Proper Sealant: Using products like butyl tape is non-negotiable. It creates a physical gasket that water can't get past.
- Correct Fastening: Driving screws just right—not too tight, not too loose—prevents panel distortion and keeps the seal intact.
Side Laps vs. End Laps
You have to understand the job of each type of overlap. Side laps are the vertical seams that run from the eave all the way up to the ridge. Their interlocking ribs are designed to create a natural channel for water to follow.
End laps, on the other hand, are the horizontal seams you only use when a single panel isn't long enough to cover a full roof run. These demand a much more generous overlap, usually a minimum of six inches, to stop water from backing up under the panel, especially during heavy rain or as snow melts. Getting both of these techniques down is what separates the pros from the amateurs.
To help keep these details straight on the job site, here’s a quick cheat sheet.
Quick Reference for Metal Roof Overlaps
| Overlap Type | Standard Measurement | Primary Purpose |
|---|---|---|
| Side Lap | 1 full rib or as specified | To interlock panels vertically and channel water downward. |
| End Lap | 6-inch minimum | To join panels horizontally and prevent water backup. |
This table is a great starting point, but always, always double-check the manufacturer’s specific installation guide for the panels you’re working with. Those documents are your best friend on any roofing project.
Gathering the Right Tools and Materials
Showing up to the job with the right gear is half the battle. When you're learning how to overlap metal roofing, the tools you pick have a direct impact on the quality and longevity of your work. It's not just about getting the panels on the roof; it's about doing it without wrecking the material itself.
This is especially true when it comes to cutting the panels. A lot of DIYers instinctively grab a circular saw with an abrasive blade, and that's a huge mistake. The heat and sparks from that kind of saw will literally burn off the panel's protective galvanized coating. You're left with a raw steel edge that's a magnet for rust.
Essential Cutting and Fastening Tools
To keep the integrity of your metal panels, you have to stick with cold-cutting methods. These are tools that slice through the metal without generating the damaging heat that leads to corrosion down the road.
Your must-have toolkit should include:
- Electric Metal Shears: These are your go-to for making long, straight cuts. They slice through the metal cleanly and leave the protective coating intact.
- A Nibbler: This tool is perfect for making those tricky cuts, curves, or notches you'll need around vents and chimneys. It works by punching out tiny "crescents" of metal, so you get a clean cut without distorting the panel.
- A Screw Gun with a Torque Setting: This is non-negotiable for driving fasteners correctly. A variable speed and clutch let you set screws perfectly without overtightening and destroying the washer seal.
Pro Tip: Never use a grinder or an abrasive-blade saw to cut metal roofing panels. The heat will destroy the finish and the zinc coating, which not only voids the manufacturer's warranty but also creates a rust point that can compromise the entire panel.
Choosing Your Sealants and Fasteners
The materials holding your overlaps together are just as critical as the panels themselves. Using the wrong sealant or fastener is a guaranteed way to deal with leaks in the future.
For weatherproofing your seams, butyl tape is the industry standard for a good reason. This sticky, pliable sealant comes on a roll and creates a permanent, waterproof gasket inside the panel overlap. It stays flexible, which is crucial for allowing the natural expansion and contraction of the metal without breaking its seal.
Finally, let's talk screws. They are your roof's last line of defense. Always, always use fasteners specifically designed for metal roofing. These screws have a self-drilling tip and a bonded EPDM washer. This special synthetic rubber washer creates a watertight seal when compressed, flexing with temperature changes to prevent leaks for decades. Using standard screws with simple neoprene washers is a shortcut that will absolutely fail over time.
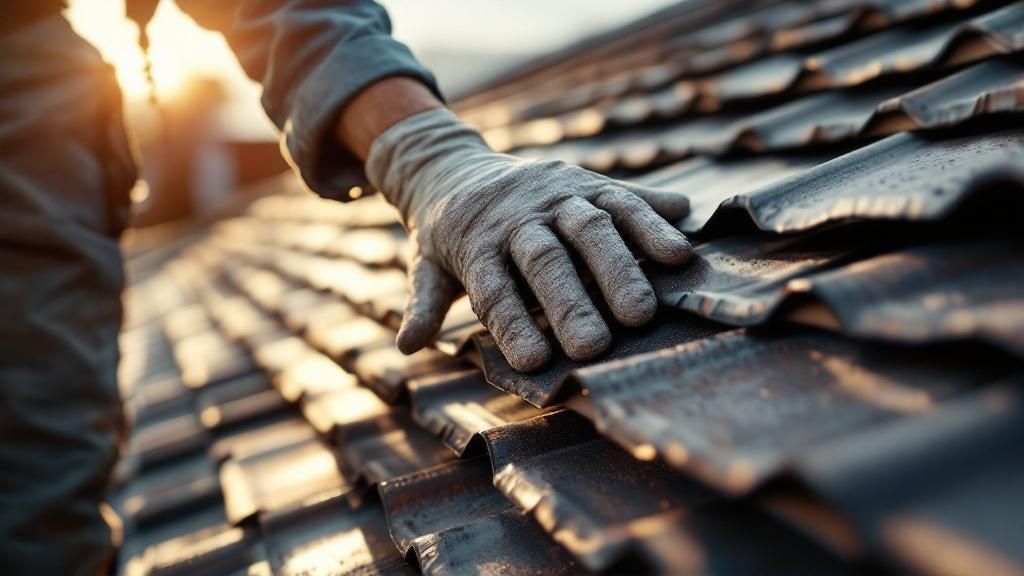
Executing Flawless Side Laps
Side laps—those vertical seams where your metal panels meet—are notorious weak points if you don't handle them with precision. This is where wind-driven rain will test your work most aggressively. Getting these seams perfectly sealed and secured is a non-negotiable step for any metal roofing job.
The core principle here is consistency. Each panel has to overlap the previous one by the exact same amount, usually one full corrugation or "rib." This consistency creates a uniform, interlocking barrier that channels water straight down to the eaves, leaving no gaps for moisture to exploit.
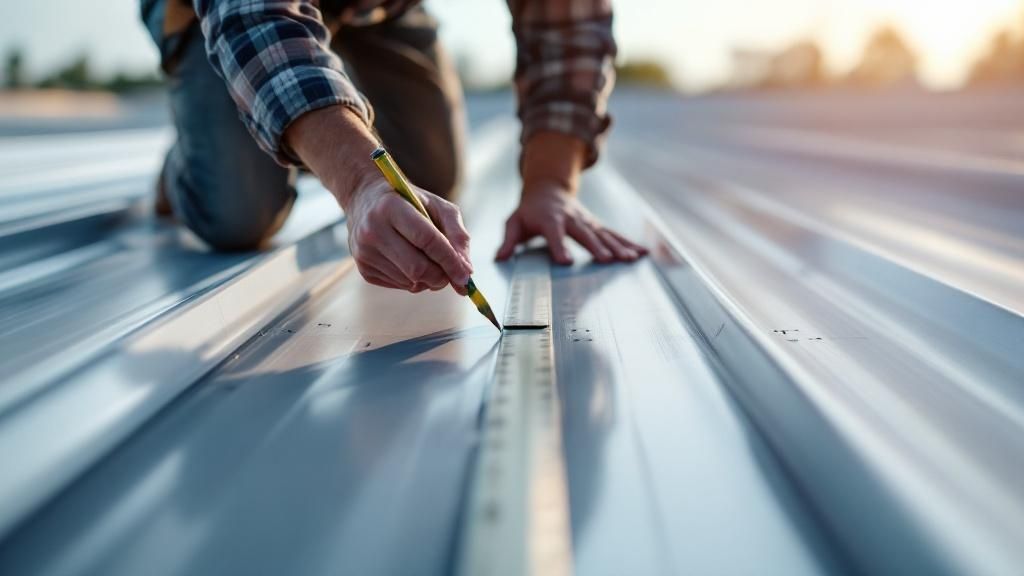
Mastering the Overlap Measurement
Before you even think about fasteners, your alignment has to be perfect. Even a tiny deviation at the bottom of a panel can turn into a major gap by the time you reach the ridge. Always start by laying your first panel and making absolutely sure it's square to your eave line.
For the second panel, you'll establish the overlap. Industry standards typically call for overlapping panels by 1.5 to 2 full corrugations, which works out to about 3 to 4 inches. This overlap is what prevents water from getting underneath and ensures runoff behaves as it should. If you want to dive deeper, you can explore detailed overlap techniques and measurements from industry pros.
A crucial part of this process is applying butyl tape, a sticky, pliable sealant that’s your best friend for waterproofing. Run a continuous bead of this tape down the entire length of the underlapping panel's rib, right where the overlapping panel will sit. This creates a gasket that forms a permanent, waterproof barrier.
The visual guide below breaks down the essential steps for getting a perfect overlap every time.
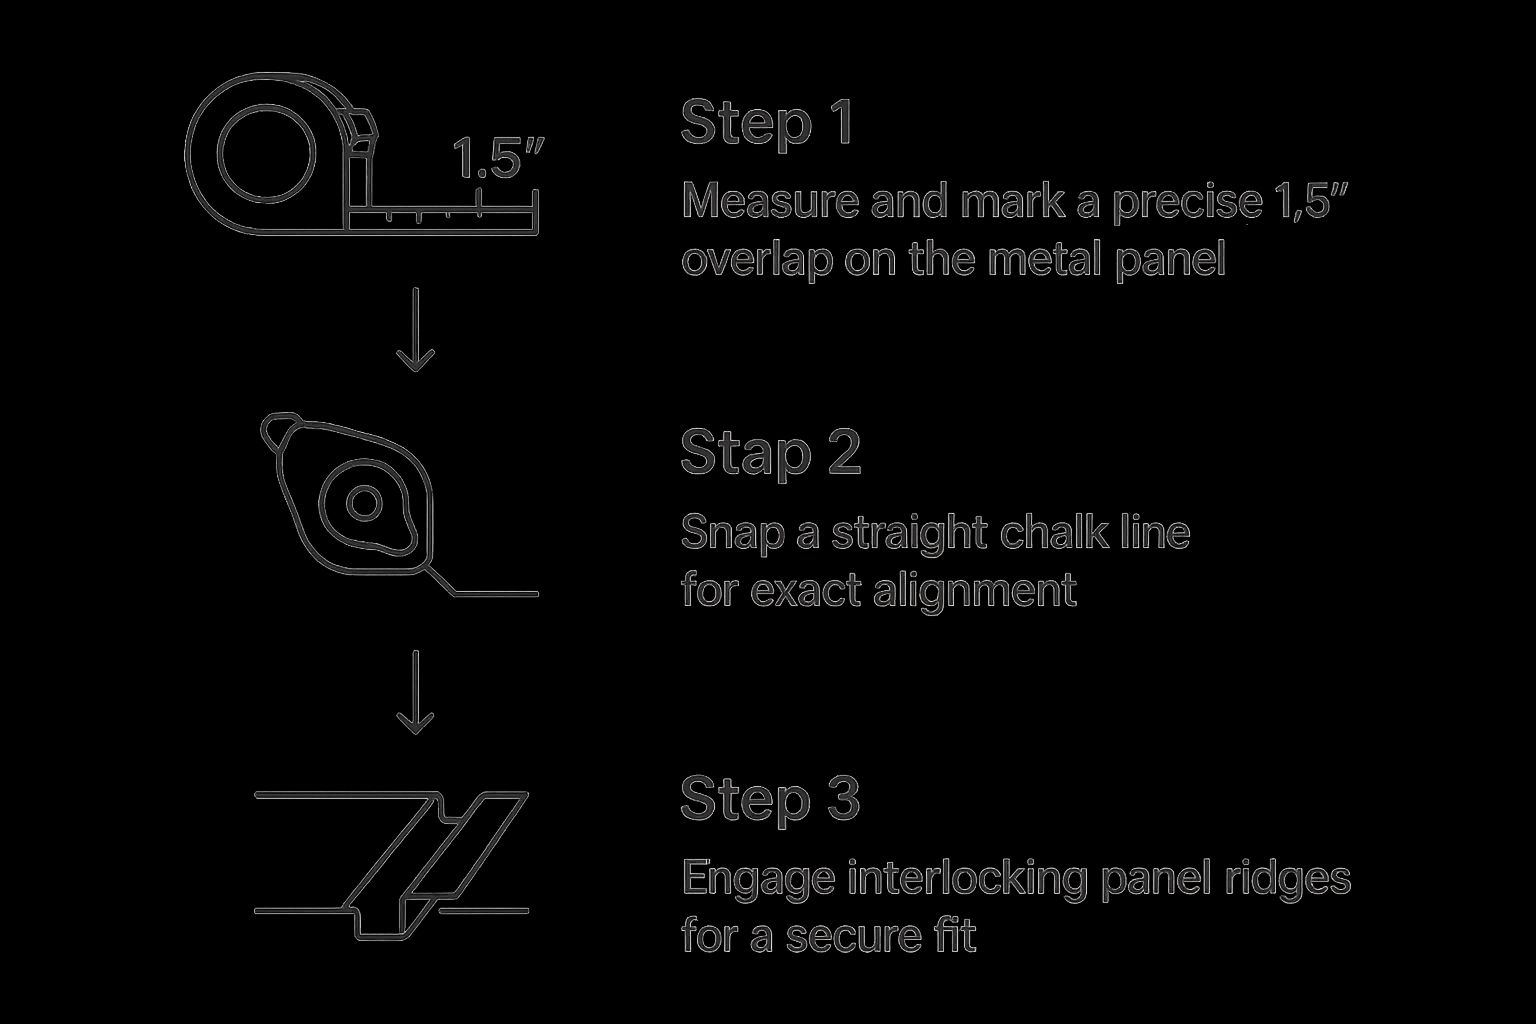
This process really highlights how precision in your measurements and alignment directly leads to a secure, weather-resistant seam.
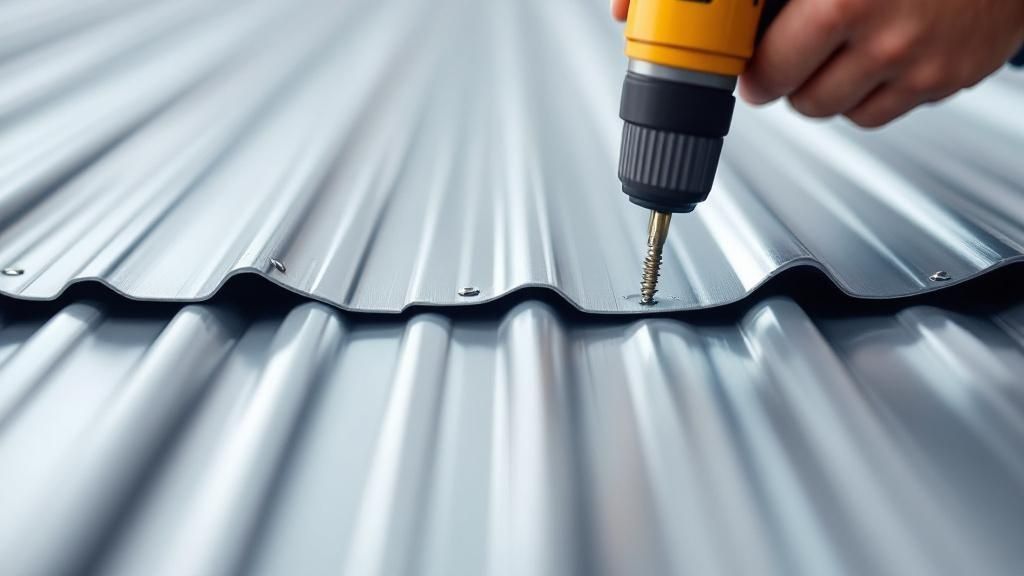
Stitching Panels for Maximum Strength
Once your panel is aligned and the butyl tape is in place, it’s time to "stitch" the two panels together. This is done with special lap screws, which are shorter than your main fasteners and designed specifically to clamp the overlapped ribs together tightly.
Don't just drive screws in randomly—proper placement is everything for both weather resistance and structural integrity.
- Spacing is Critical: Place lap screws no more than 16 inches apart along the entire vertical seam. This is what keeps the wind from getting under the seam and trying to lift the panel.
- Location Matters: Always drive the screw through the high point of the overlapping rib, making sure it goes through both layers of metal.
- Correct Torque: Use a screw gun with an adjustable clutch. You want to compress the EPDM washer just enough to create a seal without over-tightening and dimpling the panel—a classic rookie mistake.
Real-World Scenario: Imagine you’re roofing a standard two-car garage. After laying your first panel square, you apply butyl tape along its final rib. You then lay the next panel over it, ensuring the ribs nest perfectly. Using a chalk line, you snap a straight guide for your lap screws, then drive them every 12-16 inches from eave to ridge. This creates a seam that’s as strong as a single piece of steel and is exactly what separates a professional job from a leaky DIY attempt.
Handling End Laps on Long Roof Runs
Sooner or later, you'll run into a roof that's just too long for a single metal panel to cover from eave to ridge. It’s a common situation, and the solution is something called an end lap—a horizontal seam where an upper panel overlaps the one right below it.
This isn't like the side laps where the panel ribs interlock. An end lap is all about creating a bulletproof seal over a generous overlap. Get it right, and it's seamless. Get it wrong, and you've just installed a major leak waiting to happen, especially on lower-sloped roofs or during a nasty, wind-driven rainstorm.
The Six-Inch Rule for Overlaps
When it comes to end laps, there's one number you can't ignore: six inches. That’s the non-negotiable, industry-standard minimum overlap.
This isn't just a random number someone came up with. Six inches of overlap creates a powerful barrier that stops water from getting pushed uphill by wind or creeping in through capillary action. It’s a proven dimension for consistent waterproofing and mechanical strength.
Trying to save a few inches of material by skimping on this—say, going with a four-inch overlap—is one of the biggest and most expensive mistakes you can make. It might look perfectly fine on a clear day, but you're setting yourself up for failure the first time a real storm rolls through. For a deeper dive into these standards, you can review detailed manufacturer guidelines that the pros follow.
Sealing and Fastening the End Lap
A proper end lap is more than just an overlap; it's a sealed system. This is no place for a quick bead of caulk. You're building a multi-layered defense to keep water out for good.
Here's how to create a seal that will last:
- Double Down on Sealant: Start by laying down two parallel rows of butyl tape across the top edge of the lower panel. Space them a few inches apart to create a redundant, dual-barrier seal.
- Add an Extra Layer: Right below the butyl tape, apply a solid bead of high-quality, non-curing polyurethane sealant. This acts as a third line of defense, filling any tiny imperfections the tape might miss.
- Set the Panel Carefully: Gently place the upper panel down, making sure you hit that six-inch overlap mark precisely. Press down firmly to squish the sealants and create a tight bond, but don't push so hard that you deform the panel.
Once the panels are in place, it's time to fasten them down. Drive your screws right through both panels and into the purlin or roof deck below, sticking to your established fastener pattern. You'll know the screw is set perfectly when the EPDM washer compresses just enough to create a small "pout" around the screw head—that's the visual cue for a perfect seal.
Key Takeaway: Think of an end lap as a complete waterproofing system, not just a simple overlap. By combining butyl tape and polyurethane sealant, sticking to the six-inch rule, and using properly driven fasteners, you can make that seam just as watertight as any other part of the roof.
Advanced Tips for Wind and Weather Resistance
A perfectly overlapped roof is great at shedding water, but a strategically fastened one can withstand a hurricane. The real muscle in a metal roof comes from the synergy between its overlaps, fastening patterns, and clip engagement. When done right, they create a unified shield built to defeat powerful wind uplift.
This isn't just about keeping your interior dry. It’s about making sure your roof stays physically attached to your building when the weather gets nasty. The techniques used in high-wind zones aren't just good ideas—they're based on solid engineering principles that distribute immense forces across the entire roof structure, preventing a catastrophic failure at a single weak point.
The Science of Wind Uplift Resistance
When high winds whip over a roof, they create a pressure difference—lower pressure above the roof and higher pressure inside the building. This effect generates a powerful lifting force, known as wind uplift, that literally tries to peel the panels right off. Your fastening pattern is your primary defense against this force.
A 2015 engineering study showed just how critical this system is. By testing metal roofing under realistic wind loads, it proved that overlapping panels locked with clips attached at the purlins are essential to resisting uplift. In their tests, 158 clips were strategically placed where panels met the purlins, demonstrating that proper overlaps and clip engagement dramatically reduce load concentrations and boost the roof's resilience. You can dive into the full study on metal roof performance for all the technical details.
This research just confirms what seasoned roofers know from years of experience: the system’s strength is in the details.
Expert Insight: Think of your fastening pattern as a grid that spreads the wind's load evenly. A single, poorly driven screw can create a focal point for failure, potentially allowing wind to get underneath and start a chain reaction that peels back an entire section of your roof.
Strategic Fastening for High-Wind Zones
If you're working in a coastal area like South Florida or any region prone to severe storms, you can't just follow a standard fastening schedule. Building codes in these areas often demand specific, more robust installation methods for a reason.
Here are a few advanced practices that make a world of difference:
- Increased Fastener Density: In critical zones like the eaves, ridges, and corners—where wind forces are highest—you need to seriously decrease the spacing between fasteners. Instead of the standard 16-24 inches, you might tighten that up to 12 inches or even less.
- Clip Engagement: For standing seam systems, making sure every single clip is fully engaged and properly fastened is non-negotiable. A partially engaged clip is a weak link that compromises the entire panel's holding power.
- Staggered Fastening Patterns: Instead of lining all your screws up in perfect, neat rows, a staggered pattern can help distribute the stress more effectively across the roof deck or purlins. This makes it much harder for fasteners to pull out under an extreme load.
By understanding how these elements work together, you're not just installing a roof; you're engineering a structural defense system. This deeper knowledge of how to overlap metal roofing ensures your work will stand up to the worst that nature can throw at it.
Common Questions About Overlapping Metal Roofing
Even with the best game plan, every roofing project throws a few curveballs. Knowing how to properly overlap metal roofing is more than just following the steps—it's about knowing how to handle the real-world variables you'll run into on the job. This section tackles some of the most frequent challenges we see homeowners face.
From dealing with old shingles to picking the right sealant for Florida's climate, getting these details right is just as critical as mastering your side and end laps. Let's dig into a few common questions that can make or break your installation.
Can I Install Metal Roofing Over Old Shingles?
This is easily one of the most common questions we get, and the short answer is usually yes, but with some very important strings attached. Laying new metal panels directly over a single layer of asphalt shingles can save you a ton of time and money on tear-off and disposal. However, you absolutely must inspect the existing roof deck first.
Any soft spots, rot, or structural damage needs to be repaired before a single panel goes down. A compromised deck won't give your fasteners the solid bite they need, and that puts the entire system at risk.
Important Note: Before you even think about a roof-over, check your local building codes. Some municipalities have strict limits on the number of roofing layers allowed, and getting it wrong can lead to costly fines and having to tear it all off anyway.
You'll also need to roll out a high-quality synthetic underlayment over the old shingles. This creates a clean, even surface for your new panels and, more importantly, adds a vital secondary moisture barrier.
What Is the Best Sealant for Metal Overlaps?
When it comes to sealing your overlaps, not all goops and tapes are created equal. The hands-down industry standard is butyl tape. This stuff is incredibly sticky and pliable, creating a permanent, waterproof gasket that stays flexible. That flexibility is key, as it allows the sealant to move with the metal as it expands and contracts with the daily temperature swings.
For end laps and critical spots around flashing, a lot of pros (including us) use a "belt and suspenders" approach. We'll use butyl tape and a high-quality, non-curing polyurethane sealant. This double-team creates a seal that is practically bulletproof against water.
Whatever you do, stay away from standard silicone caulk for your overlaps. It gets hard and brittle, especially under the relentless sun, and will eventually crack and fail, leaving you with a leak.
Do I Need Special Fasteners for Overlaps?
Absolutely. Using the wrong screws is a rookie mistake that will cost you dearly down the road. You'll need two main types of fasteners to do the job right:
- Panel Screws: These are the longer screws designed to punch through the metal panel and underlayment to anchor securely into the roof deck or purlins. They have a bonded EPDM washer that compresses to create a watertight seal around the screw head.
- Stitch Screws (or Lap Screws): These are shorter screws used for one specific job: fastening the overlapping ribs of your side laps together. Their purpose is to clamp the two layers of metal down tight so wind can't get underneath and peel them apart.
Using roofing nails or plain old wood screws is a massive error. They don't have the holding power and, critically, they lack the EPDM washer needed to create a lasting, waterproof seal on your new metal roof.
For any roofing project in South Florida, from complex installations to routine inspections, trust the experts at Paletz Roofing and Inspections. With over 30 years of experience, our licensed and insured team ensures your roof is built to last. Contact us today for a free quote.