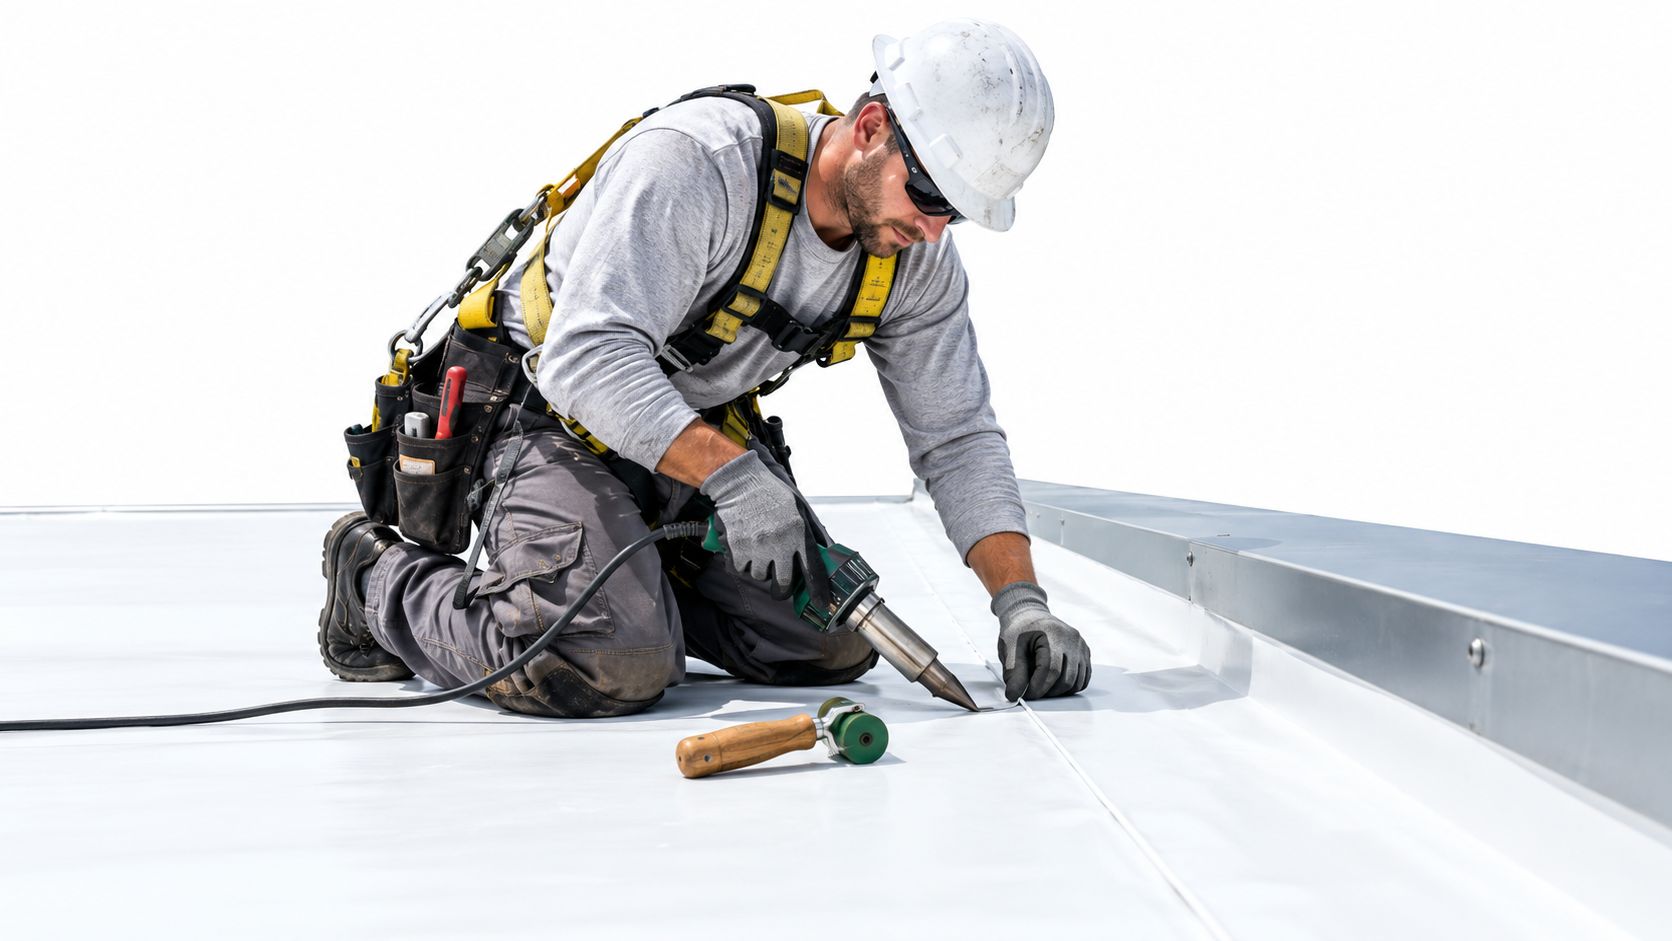
A building owner in South Florida can have a clean deck, bright white membrane, and a crew that finishes ahead of schedule, then still discover water inside after the first hard storm. The failure often starts at a seam, parapet, curb, or edge where the crew rushed heat control, skipped a probe test, or used an attachment method that didn't match the building's wind exposure.
Installing TPO roofing isn't just rolling out a sheet and welding the laps. TPO, or thermoplastic polyolefin, is a roof system that depends on substrate preparation, drainage, fastening, edge securement, heat-weld continuity, and competent detail work. The membrane entered the commercial roofing market in the early 1990s, and by 2018 it held more than 50% of the United States roofing-membrane market, with annual installations exceeding 185 million square meters, or about 2 billion square feet (CIB technical review).
Table of Contents
- Introduction to Installing TPO Roofing the Right Way
- What to Prepare Before You Unroll the Membrane
- Choosing Your Attachment Method and What It Changes
- Laying Fastening and Hot Air Welding for Watertight Seams
- Flashings Edges and Penetrations That Prevent Leaks
- Final Checks Safety and Keeping Your TPO Roof Performing
Introduction to Installing TPO Roofing the Right Way
I've seen two flat roofs with nearly identical footprints produce completely different results. On one, the crew checked the deck, corrected drainage, let the membrane relax, kept every sheet square, and tested the welds as the work progressed. On the other, the crew treated the membrane like a large white tarp. They fastened through uneven areas, left unsupported laps at transitions, and relied on visual inspection instead of probing the welds. The second roof looked finished until wind-driven rain found the weak points.
TPO became a dominant low-slope roofing choice because it combines a heat-weldable surface with a reflective membrane and flexible installation options. Its rapid adoption is documented in the history of TPO's rise in commercial roofing, which describes TPO and PVC together holding about 30% of the commercial roofing market by 2006, while later industry coverage placed TPO at around 53% of the total low-slope roofing market. Those figures explain why owners see TPO everywhere, but they don't guarantee a successful roof. The crew's workmanship still controls the result.
The system matters more than the roll
A sound installation has watertight field seams, properly supported laps, secure perimeters, correctly flashed penetrations, positive drainage, and documentation that satisfies the system warranty. Membrane selection matters, but a well-specified product can't compensate for a cold weld or a loose edge at a parapet.
South Florida adds pressure from intense sun, humid conditions, sudden rain, and demanding wind design. A roof can tolerate none of those conditions well if moisture is trapped below the membrane or if the perimeter securement is treated as decorative trim.
Field rule: A TPO roof is only as dependable as the least competent weld and the weakest transition detail.
Owners and facility managers also need a practical way to compare scope, materials, labor, and attachment methods before approving work. A roofing estimator such as Exayard roofing estimating software can help organize quantities and line items, while an inspection image like this flat-roof inspection reference can support clearer discussions about existing conditions. The important point is to estimate the complete assembly, not just membrane area.

What to Prepare Before You Unroll the Membrane
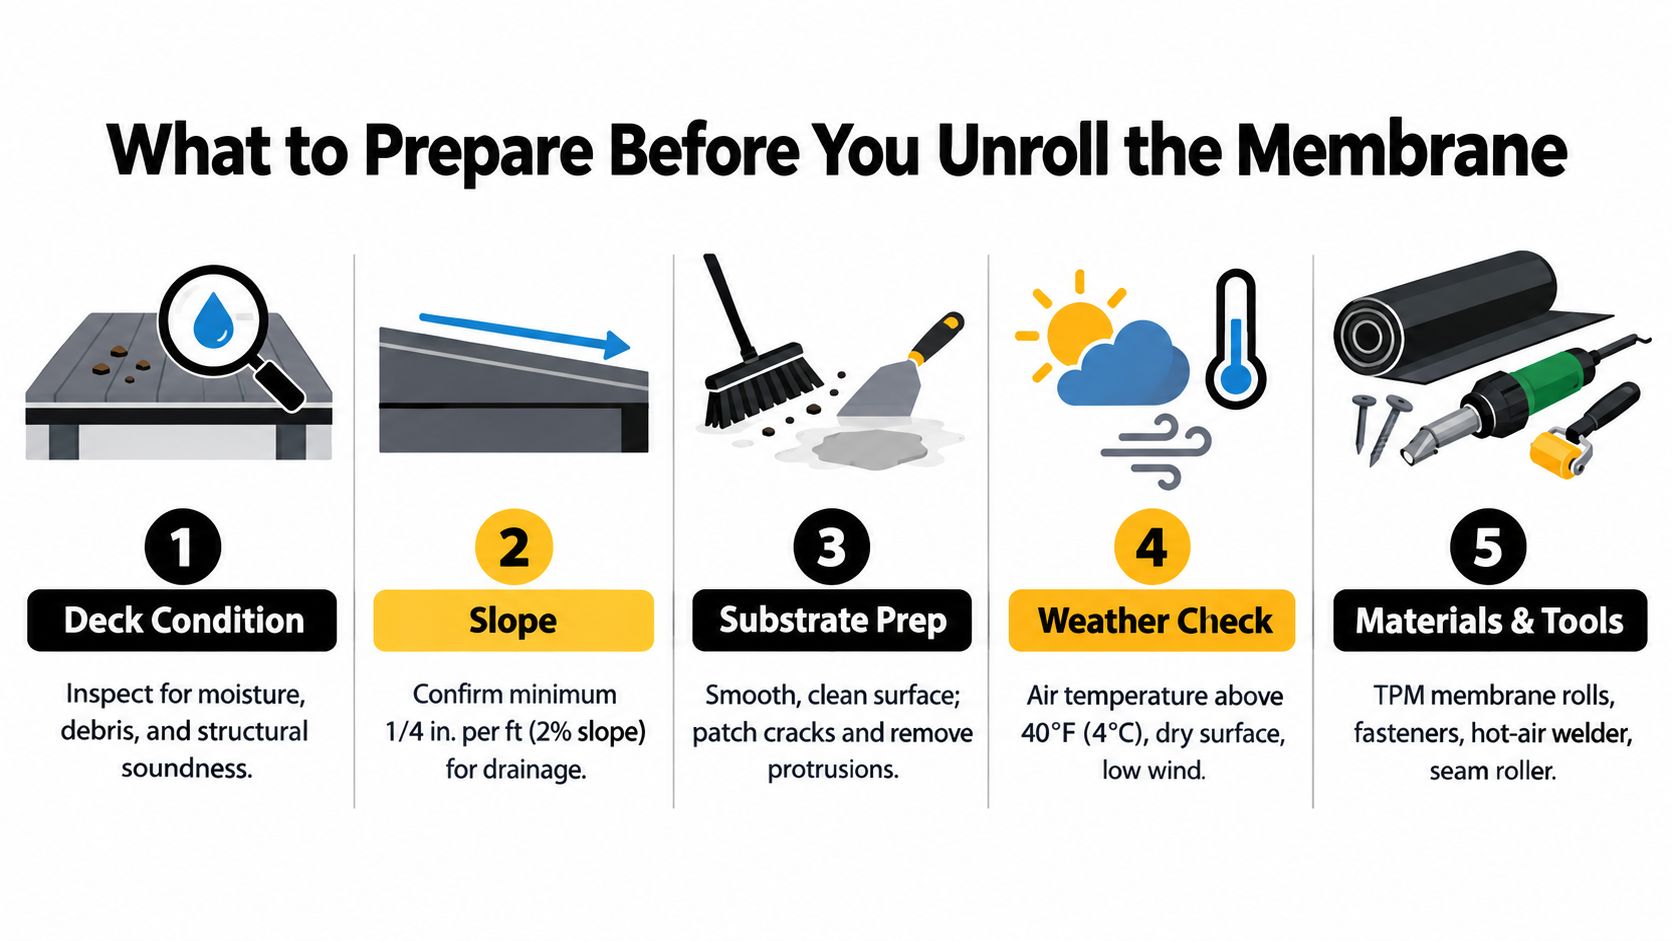
Preparation determines whether TPO lies flat, bonds properly, and sends rain toward the drains instead of holding it around rooftop details. Before staging rolls, inspect the deck and existing assembly for moisture, deterioration, debris, soft areas, and protrusions. An overlay works only when the substrate can support the proposed assembly. Wet insulation, damaged decking, or unstable materials must be removed or corrected before they are covered.
Drainage must be resolved before membrane placement. Correct the substrate to at least 1/8 inch per foot where needed, according to the single-ply roofing market installation guidance. Confirm drains, scuppers, crickets, and tapered insulation on the layout. A watertight sheet still creates trouble when ponding remains at curbs, penetrations, or low seams.
Get the substrate clean and dry
Clean, dry surfaces are required before welding or applying adhesive. Remove dust, oil, loose material, sharp edges, and anything that could puncture the sheet or interrupt contact. Adhesive work exposes preparation mistakes quickly. Moisture can reduce tack and leave a bond that looks acceptable at first but never develops properly.
Monitor temperature and dew point during the work. One technical specification advises against applying solvent or low-VOC adhesive when the dew point is within 10°F of ambient temperature, and recommends storing adhesive between 60°F and 80°F in cold conditions (GAF TPO specification). South Florida crews still need to watch humidity, condensation, and sudden rain. A dry-looking deck can gain surface moisture before adhesive application.
Stage and relax the material
Stage rolls so workers do not drag membrane across rough surfaces. Unroll each sheet and let it relax before fastening or adhering. TPO is manufactured under tension, and rushing this step can leave wrinkles, fish mouths, and stress along seam edges.
Plan the sheet layout around the roof edge, drains, curbs, parapets, and penetrations. On steel decks, run sheets perpendicular to the deck flutes when the design requires in-splice attachment. Keep the membrane square as it is positioned. Careful staging reduces forced seams and awkward cuts at high-stress locations, where small layout errors can become leak points during wind and heavy rain.
Choosing Your Attachment Method and What It Changes
A roof retrofit can look straightforward until the attachment method meets the existing deck, wind exposure, and crew's welding skill. The choice affects labor, schedule, uplift performance, substrate preparation, and how much room the crew has to correct problems before they become concealed leaks. Start with the building's design loads and field conditions, not the method that appears fastest on paper.
| Attachment Method | Labor and Schedule Impact | Best Use Case |
|---|---|---|
| Mechanically attached | Usually faster because crews secure the membrane and insulation with fasteners and plates. Production is commonly reported at 3 to 5 hours per 1,000 square feet. | Large, open commercial roofs where the deck can receive fasteners and the approved assembly supports them. |
| Fully adhered | Takes more substrate preparation and adhesive handling. Production is commonly reported at 5 to 8 hours per 1,000 square feet. | Coastal or high-wind work where broad bonding and careful preparation support uplift performance. |
| Ballasted | Production is commonly reported at 2 to 4 hours per 1,000 square feet, but the structure must carry the ballast and the layout must accommodate it. | Large, low-slope commercial roofs with adequate structural capacity and a suitable design. |
These production ranges and labor trade-offs are summarized from the same independent market data cited earlier. That source also places single-ply labor at 40% to 55% of total project cost, so the attachment choice affects the budget before accounting for tear-off, insulation, access, details, or deck repairs.
Mechanically attached systems
Mechanical attachment drives fasteners and plates through the membrane and into the structural deck. It can suit a sound retrofit and keep installation moving, but every fastener row becomes part of the seam layout. Plates must be fully covered by the overlapping sheet, and fastener spacing must match the approved assembly and wind requirements.
The workmanship gap shows up at the perimeter. South Florida roofs need edge securement designed for wind forces, with proper fastening at corners, edges, and transitions. Fast field installation does not compensate for weak perimeter detailing.
Fully adhered systems
A fully adhered assembly bonds the membrane across the substrate and can improve wind performance when the design and installation are correct. The method requires a clean, dry, smooth surface, controlled adhesive coverage, and a crew that understands tack time. Damp substrate or cold adhesive can produce a bond that looks acceptable during installation but releases under stress.
Full adhesion can suit coastal exposure, though it brings its own trade-offs. The roof must support the method, weather may require work stoppages, and the crew must maintain consistent pressure and coverage. Good welding still matters at every seam. A bonded sheet does not rescue a poorly welded joint.
Ballasted systems
Ballasted roofs use weight to hold the membrane in place, reducing the amount of fastening work. The structure must carry the added load, and the design still requires sound perimeter, penetration, and drainage details. Ballast also changes access, inspection, and maintenance conditions.
For a retrofit, verify the existing assembly before choosing the method. A sound substrate with corrected drainage may support an overlay. Wet insulation, inadequate slope, or compromised decking can conceal failure beneath a new membrane, regardless of how well the attachment work begins.
Laying Fastening and Hot Air Welding for Watertight Seams
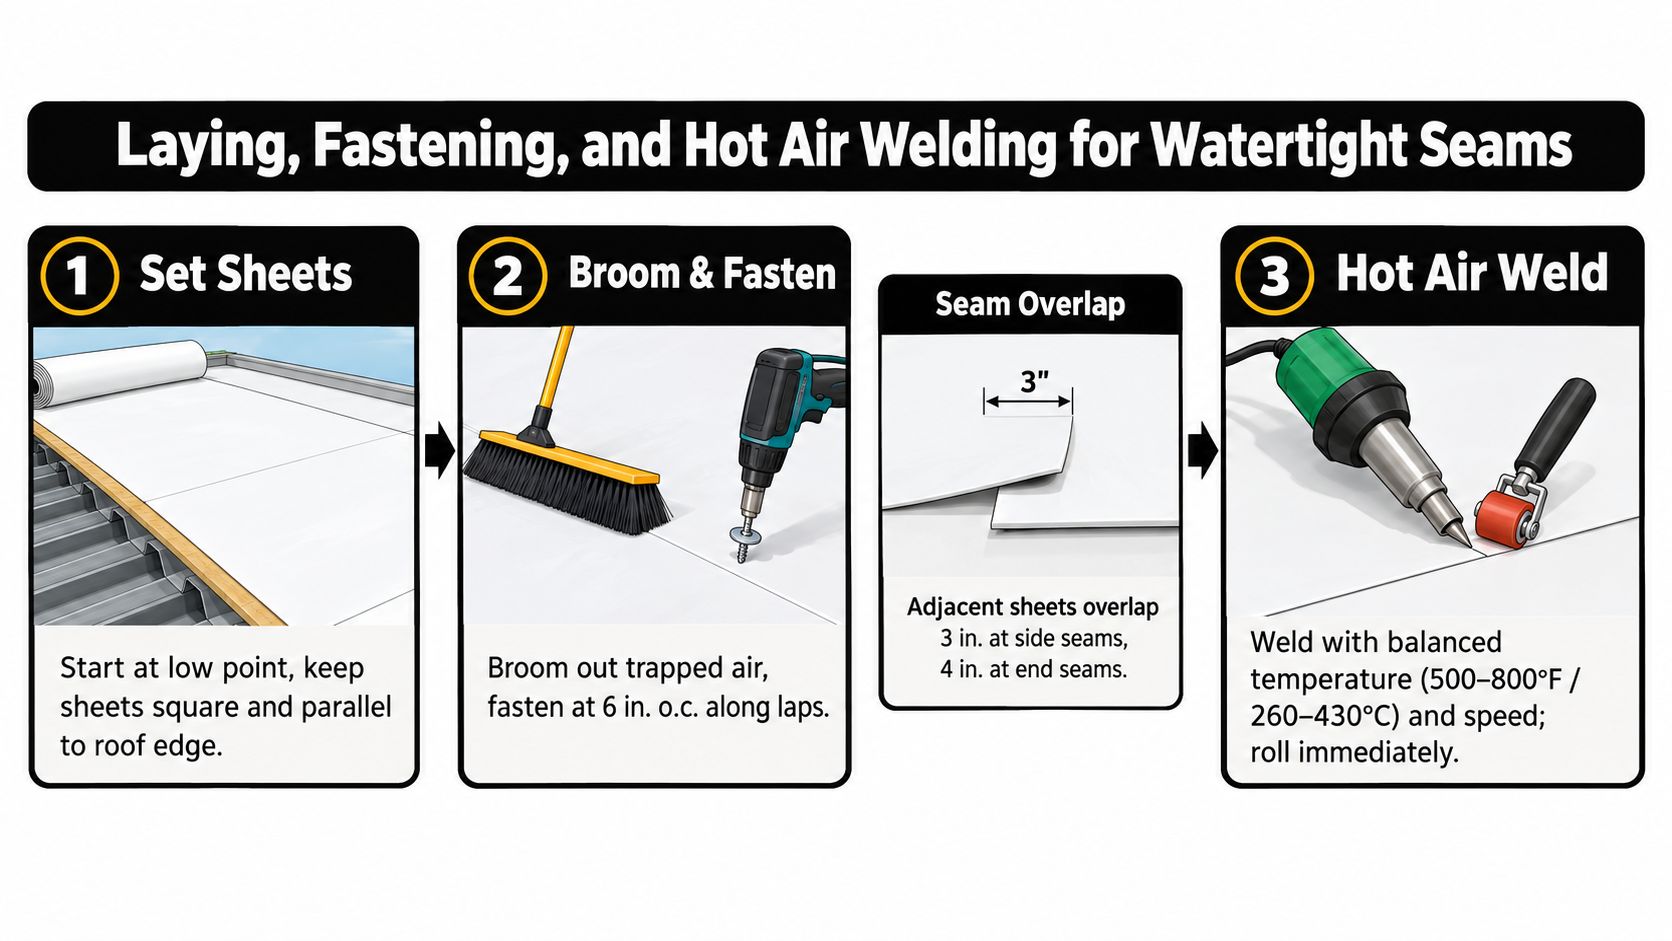
Start at the low point with the first sheet square to the roof edge. If that sheet drifts, each following sheet inherits the error. Crews then force the selvage edges together, creating wrinkles and uneven weld zones. Correct alignment at the start prevents that workmanship problem.
Unroll the membrane, allow it to relax, then broom or roll out trapped air before final attachment. After bonding, a 100-pound split-steel roller improves contact and reduces voids, as described in the system specification.
Fasten the assembly without creating weak seams
For mechanically attached work, drive fasteners and plates through the membrane into the structural deck according to the approved assembly. One system manual requires a minimum 6-inch overlap at plate locations and a minimum 1.5-inch welded seam over the fastening line (mechanically attached TPO installation manual).
The overlapping sheet must cover the fastener row before welding. Plates too close to the edge, uneven fastening, or a lap that fails to cover the plate can let the joint move. Do not bury a questionable fastener line under the next sheet and expect the weld to correct it. In retrofit work, inspect the deck and fastener engagement instead of assuming the existing substrate will hold the new assembly.
Plan lap geometry before laying out the sheets. One system manual specifies a 4.5-inch minimum side-lap overlap, a 3-inch minimum end-lap overlap, and end laps staggered by at least 5 feet (Tremco TPO system manual). Follow the approved documents for the membrane and assembly being installed, particularly where wind exposure or retrofit conditions limit working space.
Weld continuously, then probe
TPO seams require continuous hot-air welding. The weld must run without voids, skipped sections, or partial fusion, with a minimum weld width of 1.5 inches according to TPO lap-joint guidance.
Test-weld scrap membrane before production work. Adjust heat and travel speed for membrane temperature, wind, and moisture. A cold weld fails to fuse the sheets, while excessive heat can damage or burn through the membrane. Roll immediately behind the welder so the softened surfaces stay in consistent contact. Welding competence matters more than owning the machine.
Probe every seam: A visual pass can miss a cold weld. Probe the cooled seam, mark each weak point, and repair it before the area is covered or the crew leaves the roof.
Installation guidance calls for checking seam strength at least twice daily and repairing weak sample areas immediately. A technical study associated adhesive failure with seam strength at or below 4.5 kN/m, approximately 26 lbf/in, and reported 25 of 26 failed seams as adhesive failures (TPO roofing technical study). Test the welding process during production. Final inspection cannot recover a seam that was poorly fused and concealed earlier.
Flashings Edges and Penetrations That Prevent Leaks
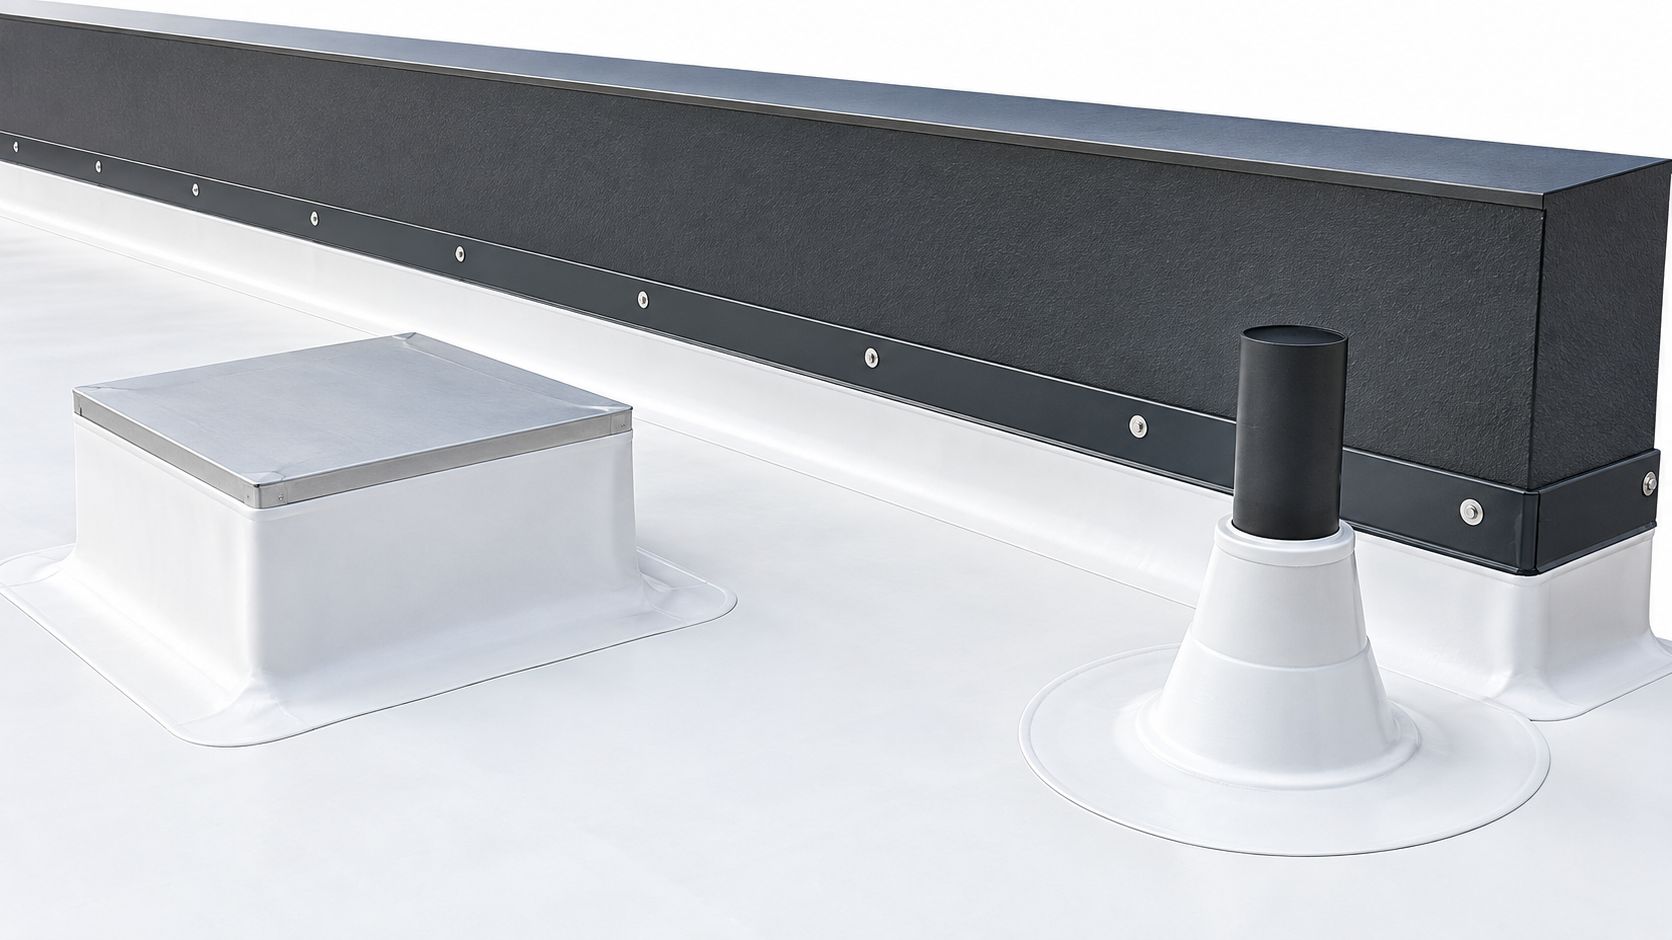
Field seams get most of the attention, but perimeters and penetrations decide whether a roof survives severe weather. Parapet walls, curbs, drains, vent pipes, pipe clusters, inside corners, outside corners, and angle changes all move differently from the field membrane. Each transition needs a detail that manages movement while maintaining continuous waterproofing.
Secure the perimeter before the wind tests it
Added fastening at roof edges, base flashings, and angle changes greater than 1 in 12 is a mechanical requirement in TPO systems. Reinforced perimeter strips, plates, and metal edging help resist membrane movement and wind forces, as required by IKO mechanically attached TPO specifications.
A crew that installs field fasteners correctly but leaves the edge under-secured has not completed the system. Check corners especially carefully because wind pressure and membrane movement concentrate there. Termination bars, edge metal, and welded strips must match the approved detail, not a generic sealant repair.
Support every transition lap
Side and end laps need full support at fields, curbs, parapets, walls, and penetrations. Unsupported seams can flex, fail to fuse completely, and split as the assembly moves. Place backing or approved support beneath the transition before welding, then confirm the membrane lies flat and the selvage edges remain aligned.
At penetrations, avoid stretching the membrane into a shape it can't hold. Cut cleanly, use compatible flashing membrane or preformed components where specified, and weld the flashing continuously to the field sheet. Pipe boots and curb corners deserve the same attention as long field seams because water concentrates around these interruptions.
Use a detail punch list
Before final welding, inspect each transition for:
- Edge securement: Confirm added fastening and approved perimeter components are installed at edges and angle changes.
- Lap support: Verify side and end laps have continuous support beneath the seam.
- Alignment: Keep weldable selvage edges consistent, with no narrowing lap caused by drifting sheets.
- Staggering: Offset end laps according to the system manual instead of stacking them in one line.
- Penetration welding: Look for complete fusion around pipes, drains, curbs, and corners.
- Drainage: Make sure flashing doesn't create a dam that holds water against a wall or curb.
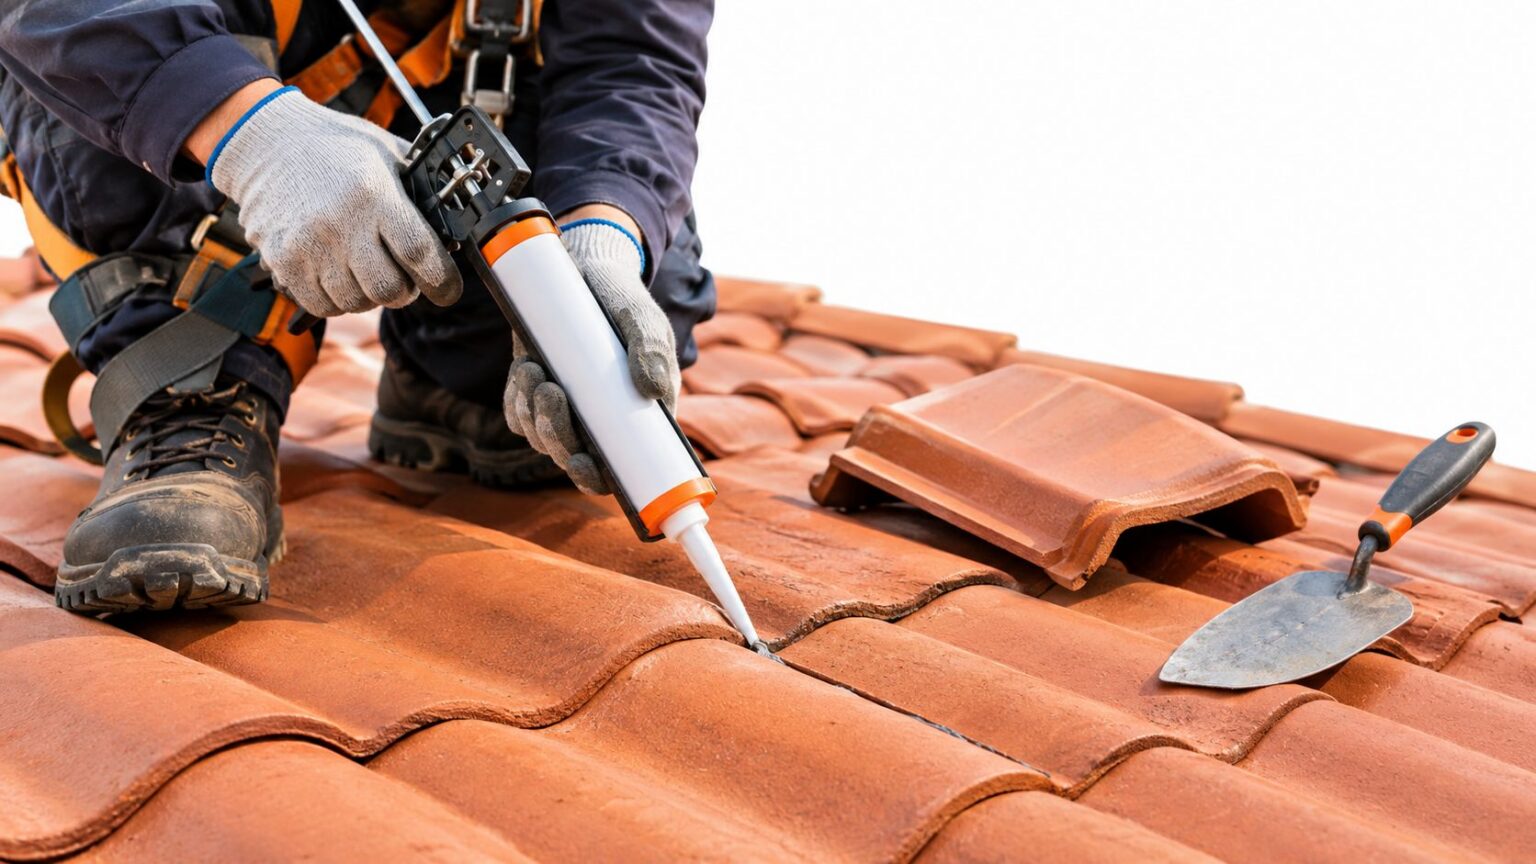
A useful field reference for discussing conditions before repair work is this roof detail inspection image. It isn't a substitute for the approved TPO detail, but it reinforces a point crews learn quickly: transitions expose shortcuts.
Final Checks Safety and Keeping Your TPO Roof Performing
A finished roof still needs a controlled closeout. Keep fall protection in place, secure tools and hot-air equipment, and stop work when rain, condensation, unsafe wind, or wet substrates compromise the operation. Hot-air welders can burn membrane, materials, and people, so the operator needs clear access, stable footing, and a safe place to set the tool between passes.
The quality review should be documented, not treated as a quick walk-around. Probe cooled seams, inspect weld width and continuity, check flashings and terminations, and repair weak areas immediately. Verify that drains remain clear, fasteners and plates are properly covered, and no loose membrane, debris, open edge, or exposed cut requires correction.
The closeout checklist
- Probe testing: Check every accessible weld for voids, skips, and weak fusion.
- Sample verification: Complete seam-strength checks at least twice daily during production and record the results.
- Detail review: Inspect curbs, parapets, penetrations, drains, corners, and edge metal separately from field seams.
- Warranty documents: Confirm the installed assembly, fastening pattern, materials, and details match the approved requirements.
- Maintenance plan: Schedule inspections after severe weather and address small splits, punctures, or edge movement before water reaches the substrate.
Training deserves its own check. Market coverage identifies a labor and training gap in TPO work, with crews often coming from bitumen or EPDM backgrounds and facing a steep learning curve on heat-welded seams and complex geometry (TPO market coverage). For parapet-edge terminations, multi-slope roofs, coastal exposure, and crowded mechanical areas, ask who will weld the details, how competence is verified, and how the work will remain warranty-compliant.
The right question isn't only which membrane is being installed. Ask who is welding the difficult details and how the crew will prove those welds are sound.
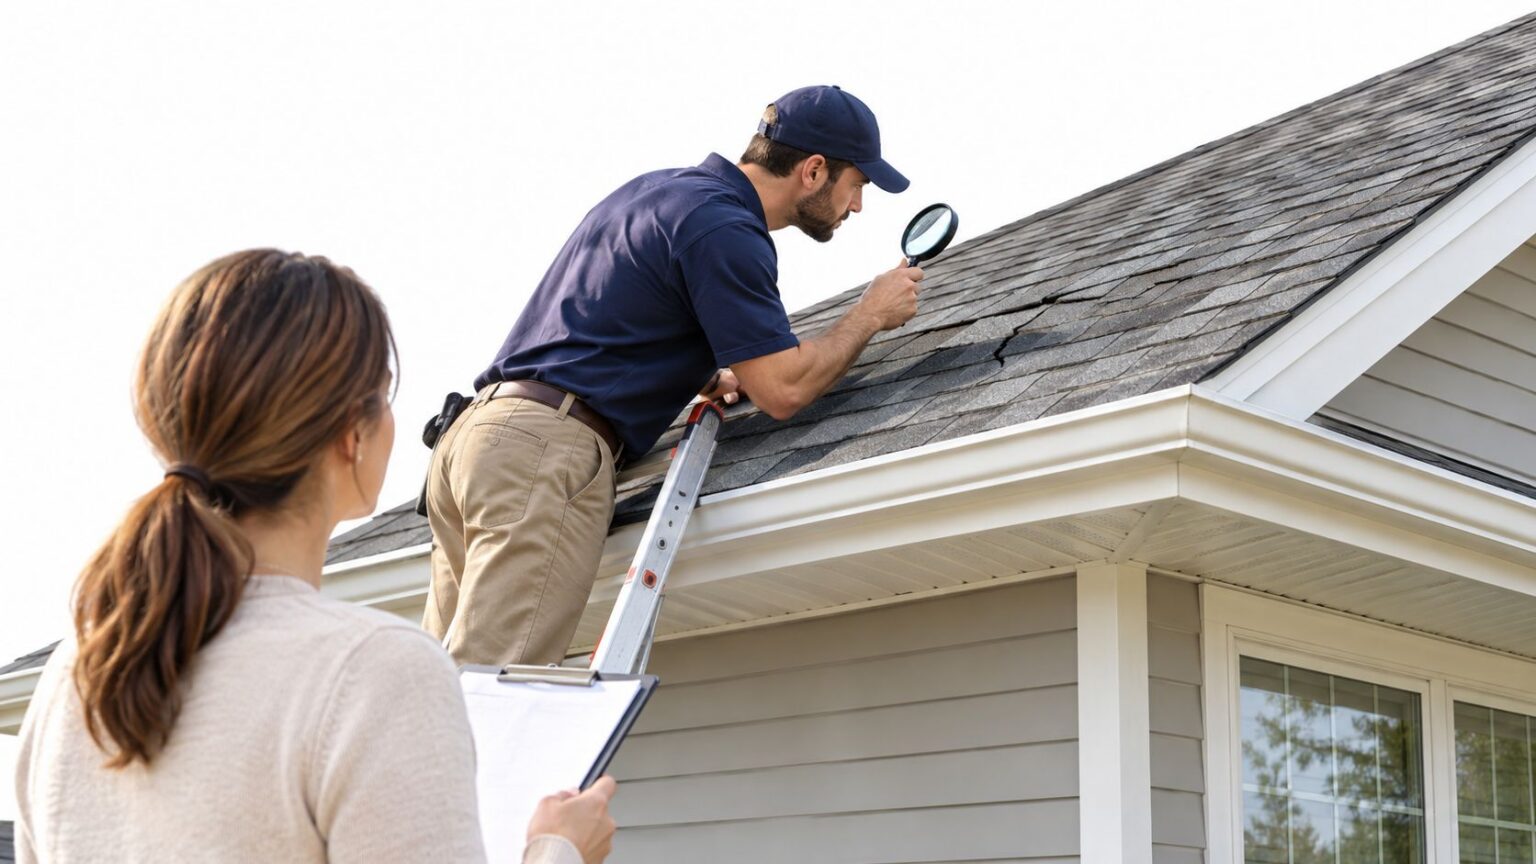
For owners, a professional inspection before purchase, replacement, or closeout can reveal substrate and drainage issues that aren't visible from the ground. Use a reference such as this roof inspection visual when organizing documentation for property managers, buyers, contractors, or adjusters. A qualified inspection doesn't replace installation standards, but it can prevent an unsuitable recover or an undocumented warranty problem.
Paletz Roofing and Inspections provides commercial TPO installation, flat-roof inspections, repairs, replacements, and guidance on selecting a suitable single-ply system for properties in Broward, Miami-Dade, and Palm Beach counties. If you're planning a South Florida TPO project, visit Paletz Roofing and Inspections to request an inspection and discuss seam welding, edge securement, drainage, and the attachment method before work begins.