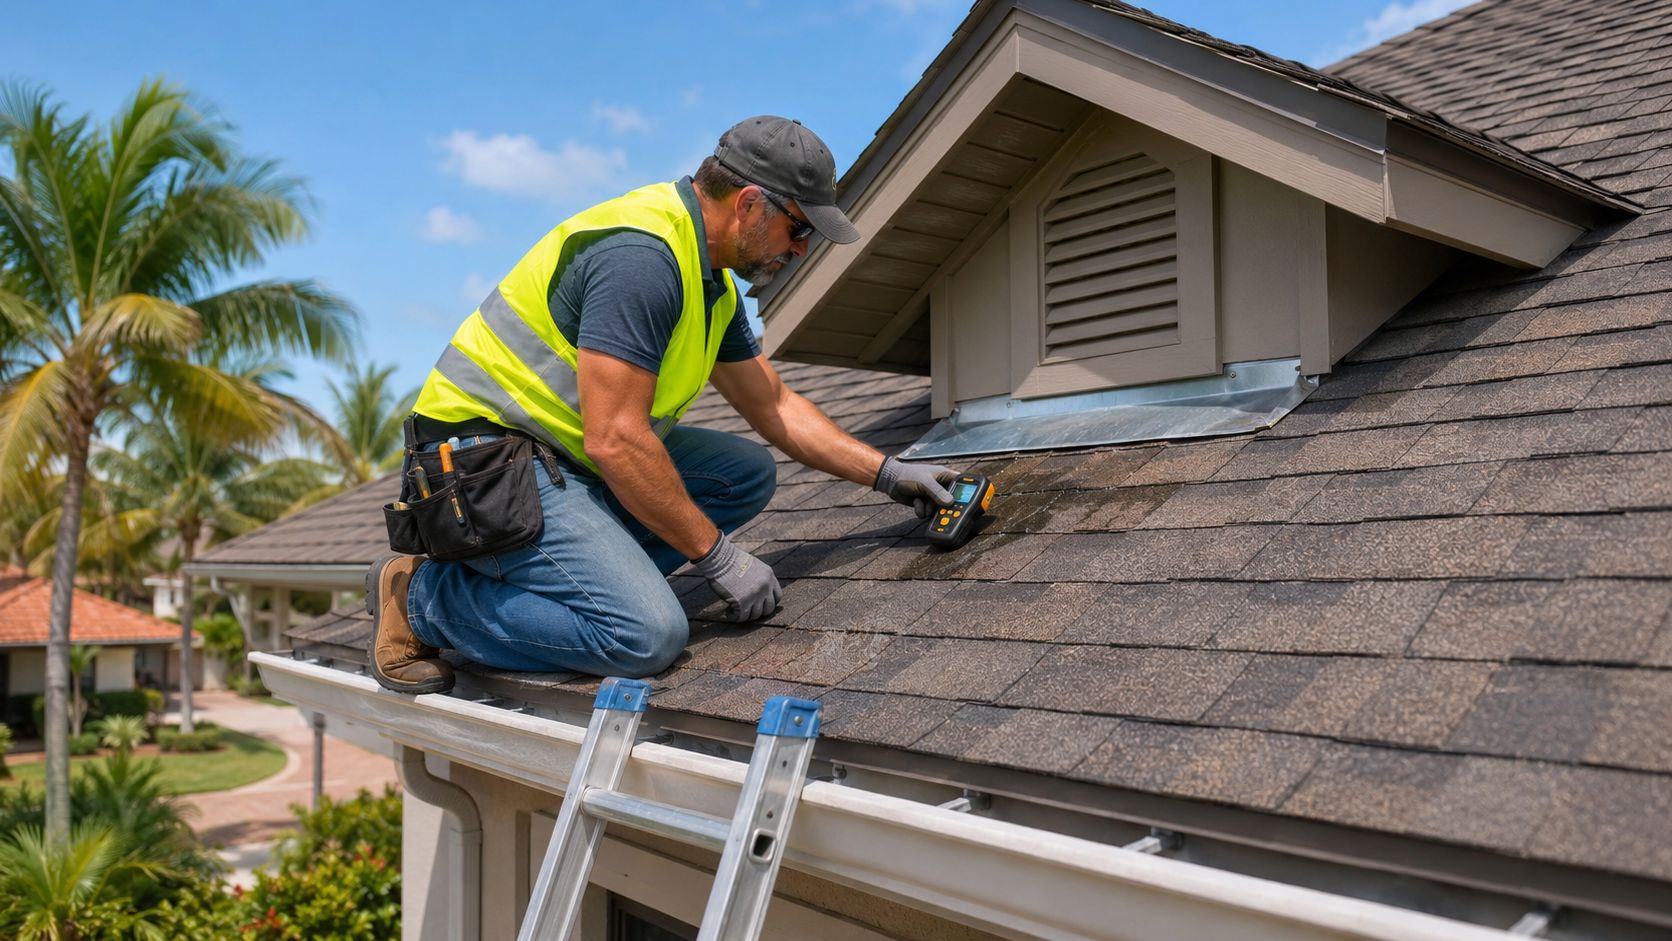
The call from a Coral Springs homeowner usually sounds the same. A brown ring showed up on a bedroom ceiling after a storm, the attic smells a little damp, and nobody can tell whether the problem is a loose tile, a failed flashing, or something hidden under the roof deck. At that point, the job isn't slapping on sealant. It's roof leak detection Coral Springs style, tracing water back to where it got in and proving the path before the repair crew touches anything.
Table of Contents
- When a Stain Is More Than a Stain
- Early Warning Signs Worth Taking Seriously
- Tracing the Leak from the Inside Out
- Exterior Inspection by Roof Type
- Tools and Testing Methods That Pinpoint the Source
- Documentation, Insurance Claims, and When to Escalate
- A Year-Round Prevention Plan That Works
When a Stain Is More Than a Stain
A fresh stain after a summer storm is usually where panic starts. The homeowner sees the ceiling, but the water may have entered at a flashing, moved along framing, and only then dropped through the drywall days later. That is why a roof leak starts as a diagnostic problem, not a spot repair.
Why Coral Springs leaks behave differently
Coral Springs homes sit in a climate that punishes weak roof details. High humidity, wind-driven rain, and strong sun all work against flashings and sealants, so small defects do not stay small for long. In South Florida, a leak is often not a shingle issue in the classic sense, it is a transition issue at a penetration, edge, seam, or prior repair.
That shift matters because the visible symptom can mislead you. A stain on the ceiling is just the last stop on the water's route. The actual entry point might be several feet away, especially after a storm pushes water sideways.
Practical rule: trace the water first, repair second. If you start with patching the stain, you can miss the actual entry point and repeat the damage.
A good inspection workflow starts with the inside, then moves to the roof features that leak most often, then uses testing to confirm what the evidence already suggests. That order saves time and keeps crews from chasing false positives.
One useful benchmark for how serious localized moisture can become comes from a Coral Springs drone thermal scan of a TPO roof. The scan found 9 moisture-anomaly areas totaling 372 square feet, concentrated near rooftop AC units, which shows how one failure pattern can affect a meaningful section of roof, not just a single puncture. See the Coral Springs TPO scan case study. For homeowners who need to find water leaks in your Las Vegas, that kind of workflow is the difference between guessing and proving where the problem starts.
Early Warning Signs Worth Taking Seriously
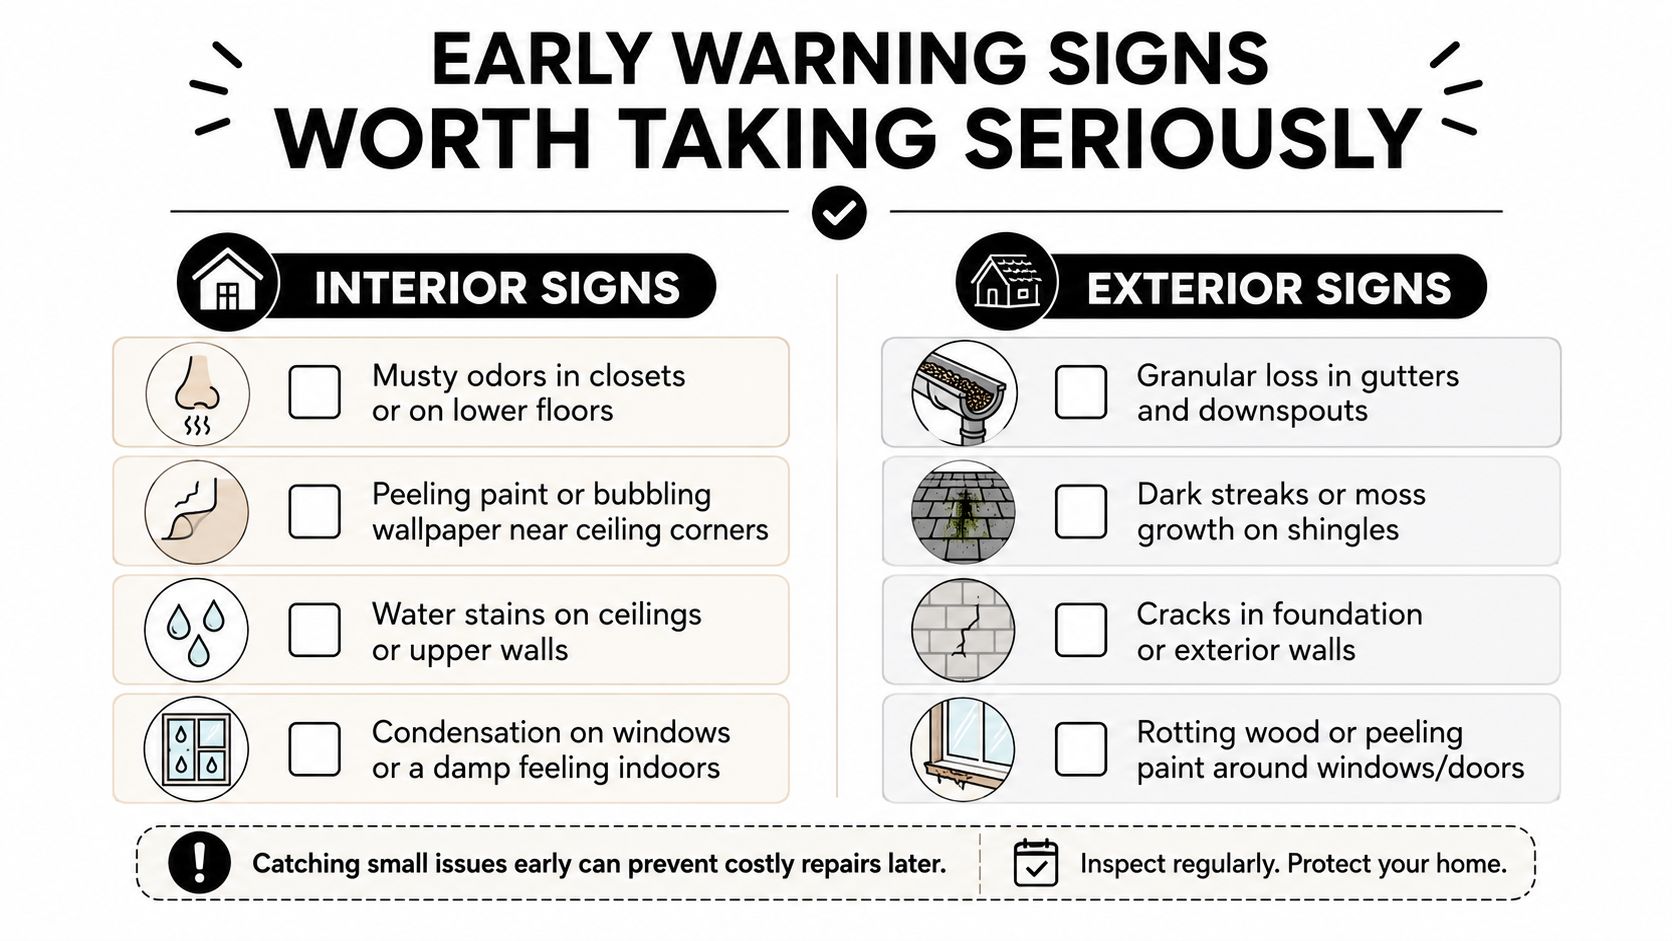
The earliest clues usually show up before any drip hits the floor. Inside the home, pay attention to musty odors, peeling paint near ceiling corners, soft drywall, or discoloration that appears after heavy rain and then fades. Outside, look for dark streaks under roof details, algae lines on soffits, debris collecting where water should move cleanly, and attic areas where daylight shouldn't be visible.
What the signs usually point to
A musty closet or lower-floor odor often means moisture is lingering somewhere above the finished space, even if the ceiling still looks clean. Peeling paint near a ceiling corner can point to a slow leak at a transition, while staining around a vent or skylight often suggests trouble at the flashing. Granular loss in gutters can be a wear indicator on shingle systems, but it also tells you the roof has started shedding material and deserves a closer look.
Subtropical humidity makes attic clues more useful in Coral Springs than in a drier market. A slightly high moisture reading up there can mean something real, because the attic shouldn't feel persistently damp unless water is getting in or ventilation is failing. That's one reason a quick visual scan isn't enough in this climate.
When homeowners want a practical comparison point outside Florida, the guide to find water leaks in your Las Vegas can be useful because it also treats leaks as a trace-and-confirm process instead of a patch-first job. The climate is different, but the diagnostic discipline is similar.
A fast walk-around checklist
- Inside corners and ceilings: look for rings, bubbling paint, or a patch that keeps returning after rain.
- Closets and lower rooms: smell for mustiness before the stain becomes obvious.
- Soffits and fascia: watch for algae streaks, staining, or sagging.
- Gutters and downspouts: check for shingle granules and overflow signs after a storm.
- Attic view lines: look for daylight, damp decking, or darkened wood around penetrations.
If two or more of those signs line up in the same area, don't assume it's cosmetic. That's usually the point where a real inspection starts to pay off.
Tracing the Leak from the Inside Out
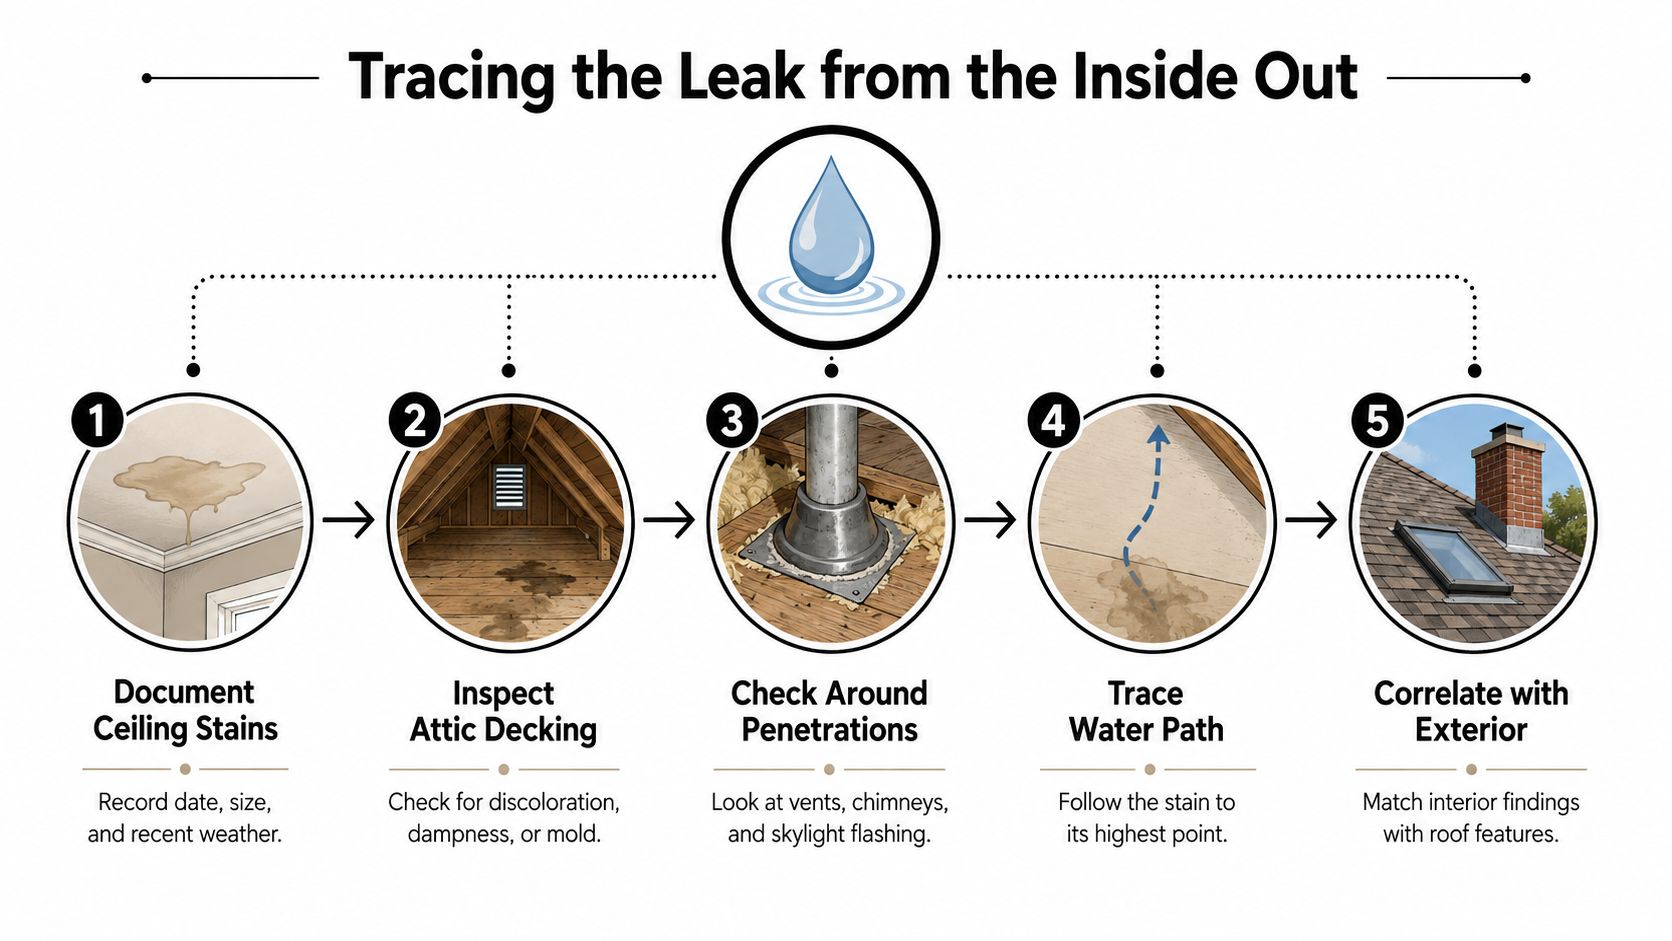
Start where the water finishes, not where you hope it started. Inside the house, photograph the stain, write down the date, and note the weather that came before it. Then move into the attic, if it's safe and dry enough, and look for discoloration, damp insulation, or a moisture trail on the underside of the deck.
Follow the path, not the puddle
Water almost never travels straight down from the entry point. It can run along rafters, follow a truss, or collect on a nail line before dropping into a room below. That's why the highest wet point in the attic often tells you more than the ceiling stain itself.
Check around bathroom vents, kitchen exhaust exits, plumbing penetrations, and any place where the roof structure was interrupted. Those are the areas where interior and roof systems meet, and they're common places for hidden movement. If the attic shows damp wood near a pipe boot or vent chase, that's a strong clue worth carrying to the exterior side of the inspection.
If the attic is still wet after a storm, don't rush in. Wait until the decking can safely support your weight and wear proper footwear, head protection, and a mask or respirator if the space is dusty or mold-prone.
Late-summer afternoon thunderstorms are often the trigger here, so a leak may only show up under a specific wind direction or rainfall pattern. That makes timing important. A stain that appears after one storm and then disappears before the next one still counts.
A homeowner can safely do the document-and-observe part. A professional crew handles the roof access, the pattern reading, and the confirmation testing that follows the interior clues. The point is to narrow the search field before anyone steps onto the roof.
Exterior Inspection by Roof Type
A roof leak inspection starts with the roof system itself, because each material gives up water in a different way. A broad walk-around can miss the failure point. In Coral Springs, the usual systems are asphalt shingle, tile, standing seam metal, and flat or low-slope membrane roofs, and each one concentrates wear at different details.
What to inspect on each surface
On asphalt shingles, start with ridge caps, valleys, step flashing, and roof-to-wall transitions. Most leaks on these roofs begin at the details, not in the middle of the field. Florida repair guidance also points to flashing as a common failure point and calls out the Florida Building Code Section 706 25% cumulative repair threshold as part of the repair decision, which is why those transition areas deserve close attention (South Florida flashing and repair threshold guidance).
On tile roofs, the tile can look sound while the underlayment underneath is already tired. That puts headwalls, hips, valleys, and older repair areas at the top of the list. The tile itself is often not the problem, the weak interfaces underneath it are.
On standing seam metal, inspect seams, fasteners, penetrations, and sealant around rooftop equipment. Metal handles broad weather exposure well, but one loose fastener or a compromised penetration can open a leak path quickly. On flat and low-slope roofs, the highest-value checks are seams, drains, scuppers, curbs, and the equipment stands around HVAC units.
Coral Springs roofs with low-slope sections are good candidates for thermal work because wet areas often show up as temperature differences before they show as visible damage. That kind of scan helps narrow the field around rooftop penetrations and membrane seams, which is why a thermal drone pass can be useful after the visual inspection has already pointed to a suspect zone.
For tile roofs, a tile roof replacement image can help a homeowner see the assembly, but the primary concern on site is still the condition of the underlayment and the flashing work hidden beneath the tile.

Homeowners can do the ground-level check, look for broken tile, lifted shingles, backed-out fasteners, clogged drains, or stained soffits. The roof walk itself belongs to a trained crew, especially when the roof is steep, fragile, or already showing signs of movement. If cleaning and maintenance are part of the picture, our roof maintenance guide is a useful reference for what to keep clear and what to leave alone.
A practical field note
Inspect the parts the roof has. If there is no skylight, no chimney, and no mechanical curb, skip those items and spend the time on the details that are on the house. A good exterior inspection stays narrow, specific, and honest about the roof in front of you.
Tools and Testing Methods That Pinpoint the Source
A good leak test doesn't guess. It confirms. Moisture meters show where moisture is high, infrared cameras highlight temperature differences on flat roof surfaces, electronic leak detection helps locate membrane breaches, and controlled hose testing proves whether a suspect detail really leaks under wetting.
What each tool does best
A moisture meter helps validate what the eye suspects in the attic or on the ceiling structure. Infrared thermography is especially useful on flat or low-slope roofs because wet areas often cool differently than dry ones. Electronic Leak Detection, or ELD, is a non-destructive method for finding membrane breaches by completing an electrical circuit through a wet surface, so it's used to pinpoint defects after the visual inspection has narrowed the field. Carlisle SynTec and the NRCA both describe it that way, and that distinction matters because ELD is a locator, not a blind moisture hunt (NRCA technical guidance).
Controlled hose testing still has a place, but only when it's done in sections. The field method that works is small and slow, about 10 to 15 square feet per zone, starting at the lowest suspected point and moving upslope. The goal is to reproduce the leak only when the suspect area is wetted, not when the whole roof gets blasted from above (controlled water testing guidance).
A hose test should confirm a theory, not create a new problem. If the spray is too aggressive, it can force water into places that wouldn't leak in real rain.
For homeowners, that means limited testing only, with someone inside watching the ceiling and attic at the same time. For a certified crew, it means more than a hose. It can include subsurface testing, drone thermal imaging, and pattern reading that tells a true roof defect from a stale stain.
One local service provider also positions leak detection as a non-invasive process using thermal imaging, moisture meters, and subsurface tools to pinpoint moisture without unnecessary demolition (Coral Springs leak detection service). If you're trying to keep the inspection focused and the ceiling intact, that's the right mindset.
For readers who want maintenance context around these tools, our roof maintenance guide is a helpful companion because clean drainage paths make diagnostics much easier.
Local pricing is part of the decision too. One Coral Springs provider says leak detection typically runs $250-$600 depending on leak location and complexity, and that range helps homeowners know they're paying for diagnosis, not just a quick patch (Coral Springs leak detection pricing).
Documentation, Insurance Claims, and When to Escalate
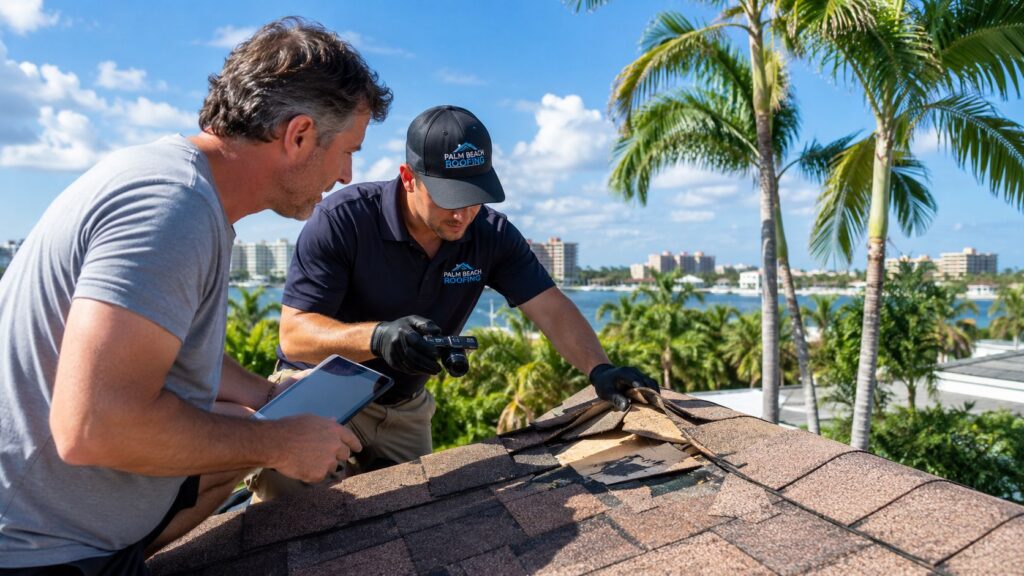
Good documentation turns a roof problem into a clear file. Take timestamped photos of the stain, save moisture readings if you have them, and keep notes on weather, location, and whether the leak returned after the next rain. A professional report should connect the interior damage to a specific roof component, not just say “roof leak present.”
What adjusters usually need to see
The strongest file usually includes a simple chain of evidence:
- Interior photos: show the stain, the room, and any repeated damage.
- Moisture readings: record where the meter spiked and where it didn't.
- Exterior detail photos: capture the flashing, seam, vent, or curb that appears to be the source.
- Scope notes: explain whether the issue looks isolated or part of a broader roof condition.
That matters because Florida repair decisions can shift fast once the scope grows. Florida Building Code Section 706 becomes the line homeowners start looking at when repairs are no longer just a small fix. If the same zone leaks again, if multiple repair attempts fail, or if moisture mapping shows spread beyond a narrow area, the conversation changes from repair to replacement planning.
For homeowners trying to understand whether sheetrock damage belongs in the claim file, does insurance cover sheetrock damage is a useful reference because it frames the claim question around damage documentation rather than assumptions.
A roof insurance claim assistance image can help visually anchor the paperwork side of the process, but on site the deciding factor is still whether the leak source has been tied to one roof detail or a broader system problem.
If the same ceiling area gets wet twice, or the attic keeps showing moisture even after a repair, stop treating it as an isolated nuisance. That's a professional roofing conversation, not another sealant run.
A Year-Round Prevention Plan That Works
A leak is easiest to stop before it reaches the drywall. After every named storm, do a ground-level walk-around for debris, missing components, loose flashing, or fresh staining. In Coral Springs, heat and afternoon storms can move parts just enough to open a path for water, so a quick exterior check after weather events helps catch trouble before it spreads inside.

A simple maintenance rhythm
A yearly professional inspection is the anchor point. One Coral Springs roofing source recommends once-a-year professional inspections, and that cadence fits a market where small defects can turn into repeat leaks fast (annual inspection guidance). If the inspector also gives you a written moisture and drainage report, that becomes useful when you compare future damage, file claims, or decide whether a repair stayed put.
Use this as a simple checklist:
- After each named storm: check for visible debris, displaced materials, and new stains.
- Spring and fall: inspect the attic, vents, drainage points, and roof edges.
- Once a year: schedule a professional inspection with written findings.
Homeowners can handle the basic walk-around and a safe attic look if the space is accessible and there are no signs of collapse or active electrical risk. Anything involving steep slopes, broken tiles, soft decking, recurring flashing movement, or roof access during wet conditions calls for a licensed roofing crew. That is where the diagnostic work starts to matter, because a surface stain does not always match the actual entry point.
A good prevention plan also fits the way Coral Springs roofs fail. Thermal drone scans can show heat patterns that point to trapped moisture, while repeated leaks around flashing often show up before larger field damage does. If the same spot keeps staining, or moisture keeps returning after a patch, the question is no longer whether you need more sealant. It is whether the leak is tied to a local repair or to a broader roof condition that is reaching the Florida Building Code repair threshold.
If you find recurring leaks, soft decking, or moisture that keeps coming back in the same area, do not wait for a bigger stain. Call a licensed roofing crew and stop the cycle of temporary fixes.