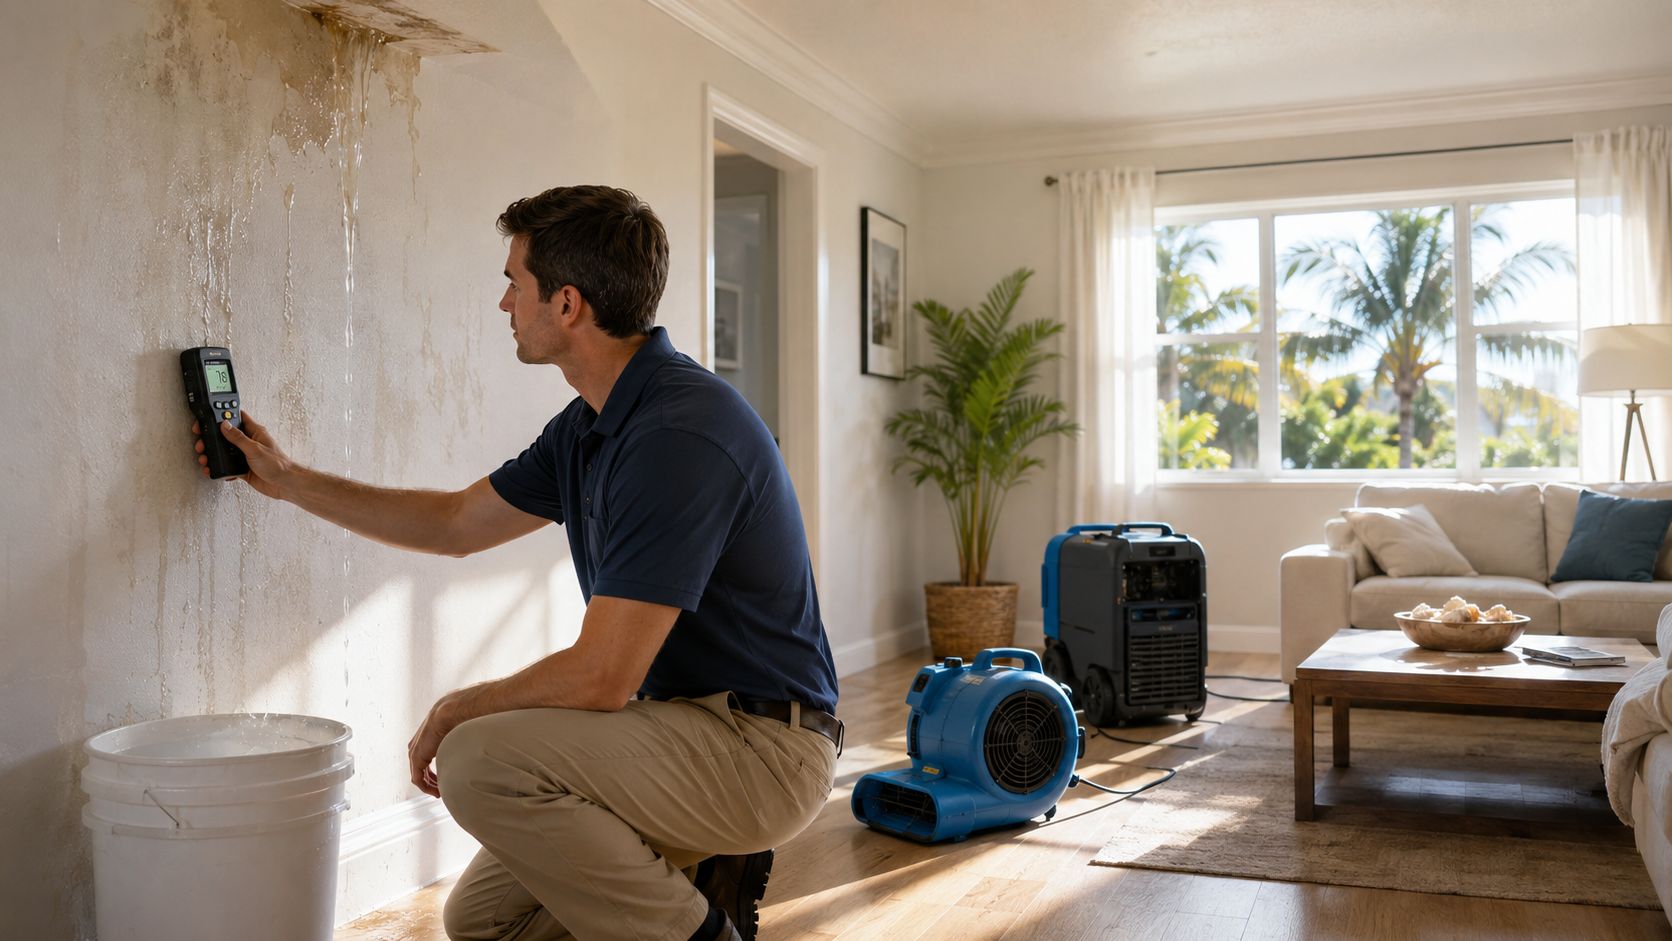
A July thunderstorm rolls over Boca Raton, and you hear the first drip above the living room. Towels spread across the floor, furniture gets pushed away from the wall, and every new drop raises the same question: What should happen first?
The answer isn't “wait for the adjuster” or “start repainting.” Water damage mitigation begins the moment water enters the home. You need to control the roof or plumbing source, protect people and contents, stabilize wet materials, and create a reliable record of what happened.
In South Florida, humidity makes delay especially unforgiving. The first 24 to 48 hours are the critical drying window, and the Environmental Protection Agency's mold remediation guidance says wet materials dried during that period won't support mold growth in most cases. The sections below follow the sequence I use when inspecting storm-damaged and leaking homes across Broward, Miami-Dade, and Palm Beach counties.
Table of Contents
- What Water Damage Mitigation Really Means
- The First Hour When Water Is Still Coming In
- Drying the Structure Before Mold Takes Hold
- Documenting Everything Your Insurance Adjuster Needs
- Where Mitigation Ends and Restoration Begins
- Roof-Related Causes That Drive Most South Florida Claims
- Long-Term Prevention That Actually Works in South Florida
What Water Damage Mitigation Really Means
The Boca Raton homeowner with the dripping ceiling doesn't need a painter first. They need someone to stop the water, determine whether the roof or another system caused it, protect the room, and measure what became wet.
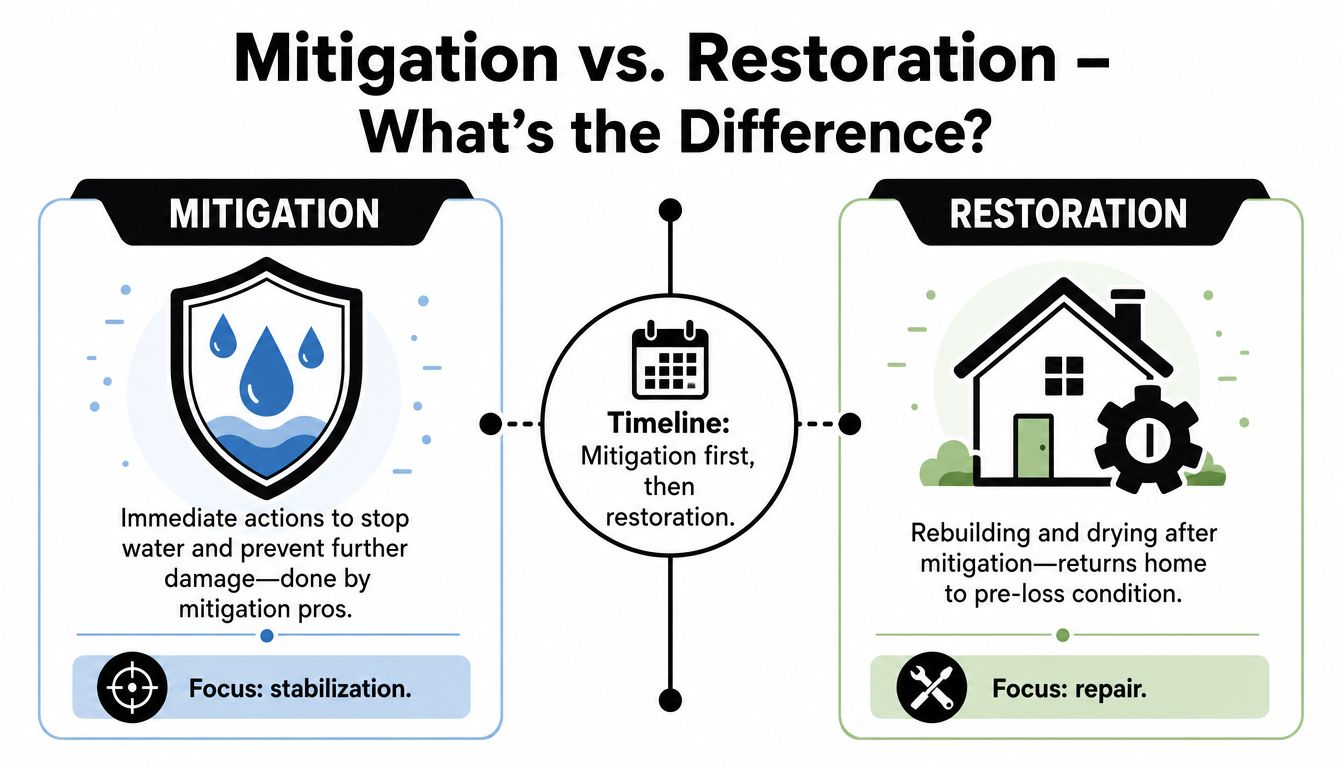
That response is mitigation, the controlled work between water intrusion and permanent restoration. It has four practical objectives:
- Stop active intrusion: Tarp or temporarily seal a roof opening, shut off a plumbing source, or address an overflowing air-conditioning drain.
- Prevent secondary damage: Remove standing water, separate wet contents, and control humidity before moisture spreads.
- Stabilize the structure: Protect ceilings, flooring, drywall, framing, and electrical areas from worsening conditions.
- Document the loss: Photograph the scene, map moisture, record equipment, and preserve evidence for the claim.
A tarp, extraction machine, air mover, or dehumidifier doesn't rebuild the house. Those actions stabilize it. Restoration comes later, with drywall replacement, painting, cabinet work, flooring repairs, and permanent roof work.
Practical rule: The roof is part of the mitigation plan, not a detail to address after the interior dries.
If the source is unclear, professional leak detection can help separate a roof failure from a plumbing problem, slab leak, or concealed supply-line issue. A resource such as Stultz Plumbing leak detection is useful when the visible stain doesn't identify the actual source.
Insurance carriers generally expect prompt action to prevent further damage, but coverage depends on the policy, cause, exclusions, and documentation. Delaying the response can give an adjuster a reason to question whether later damage was avoidable. The Association of State Floodplain Managers' history also shows how public policy evolved toward reducing flood losses through insurance and mitigation programs, rather than relying only on rebuilding after an event.
The First Hour When Water Is Still Coming In
When water is entering, follow the order below. Don't climb onto a wet roof or touch electrical equipment in standing water.
Confirm personal safety. Keep away from outlets, power strips, appliances, and visibly damaged wiring. If water is approaching electrical components, shut off the affected circuit only if you can reach the breaker without stepping through water. A sagging ceiling signals pooled water and possible failure, so clear the room rather than standing underneath it.
Look for the source without disturbing it. A roof leak may appear near a ceiling penetration, exterior wall, or attic path. A plumbing failure may follow a fixture, supply line, or pipe chase. Air-conditioning condensate often shows near a drain pan, closet, or ceiling-mounted unit. Don't open walls or remove fixtures before photographing the condition.
Contain the spread. Place buckets under active drips, use towels to protect walking paths, and move furniture away from wet walls. Plastic sheeting can protect contents, but don't seal wet materials inside plastic for long periods. The purpose is to redirect water and preserve airflow, not trap moisture.
Handle a ceiling bulge carefully. If a smooth, sagging area is clearly holding water and the electrical risk is controlled, a trained professional may create a controlled drain point into a bucket. Homeowners should avoid improvising with a ladder, especially where the ceiling is heavily swollen or cracked.
Call for mitigation and report the loss. Contact a qualified mitigation contractor and notify the insurance carrier promptly. Most policies require reasonable steps to limit additional damage, and early notice allows the carrier to assign an adjuster while conditions are still visible.
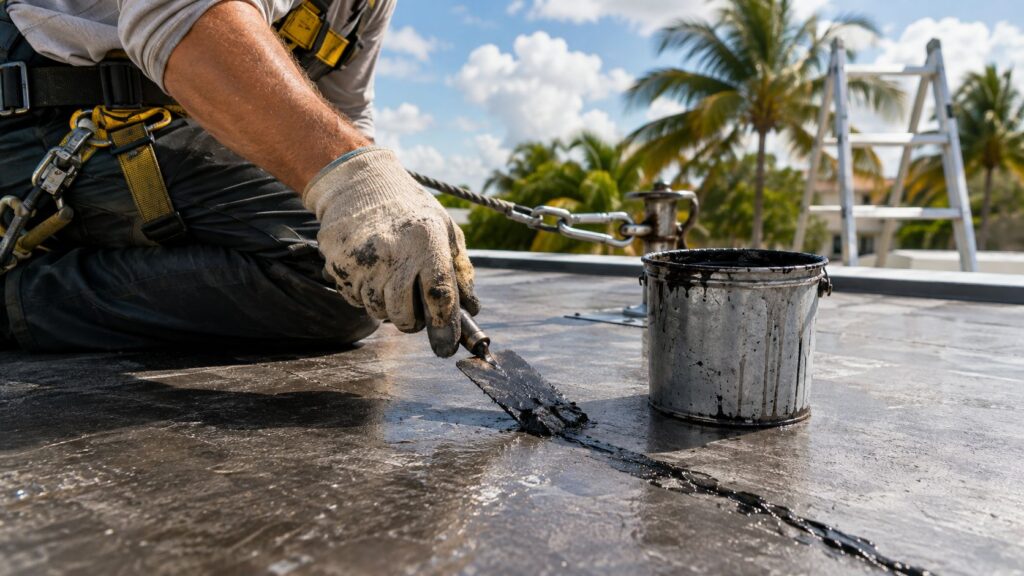
Move contents before they absorb more water, but photograph their original positions first. For roof-related damage, preserve the scene and arrange an inspection. This roof leak repair image illustrates the kind of exterior condition that should be connected to the interior evidence.

Drying the Structure Before Mold Takes Hold
Drying isn't complete because the carpet feels less wet or the ceiling looks normal. The EPA says affected areas and contents should be dried within 24 to 48 hours, and its disaster cleanup guidance says homeowners should assume mold growth when a home and its contents couldn't be dried in that period. Read the EPA cleanup guidance for homeowners and renters before deciding that a slow visual cleanup is sufficient.
What technicians actually measure
A professional technician compares readings from wet materials with unaffected materials in the same structure. The process tracks moisture content, temperature, relative humidity, and air movement, often using a moisture meter calibrated for drywall, subflooring, or wood framing.
Wood framing commonly sits around 12% to 16% moisture content, depending on climate, according to industry moisture-drying guidance. The target isn't a universal number. It is a return to the pre-loss condition or to the level found in comparable unaffected materials.
Air movers increase evaporation from surfaces. Dehumidifiers then remove moisture from the air so evaporation can continue. In humid South Florida conditions, technicians may need desiccant equipment when ambient moisture remains high, while low-grain refrigerant dehumidifiers often suit controlled interior environments. Opening windows can help only when outside air is drier than the indoor air. During a muggy storm period, opening the home can make drying slower, so sealing the envelope and mechanically controlling humidity is often the better choice.
Under-equipping a job wastes time and can leave moisture behind cabinets, beneath flooring, or inside wall cavities. Those concealed areas are why a surface-only inspection fails. The EPA's technical drying table emphasizes identifying the moisture source, inventorying wet materials, and drying, cleaning, and documenting the affected structure and contents.
A proper moisture log records the date and time, room, material, reading, temperature, humidity, equipment location, and comparison with unaffected areas. Contractors use those daily readings to demonstrate a dry standard before removing equipment and billing the drying phase. If hardwood is stained after the moisture issue is controlled, guidance on how to remove water stains from hardwood can help with the cosmetic phase, but it shouldn't replace structural drying.
Documenting Everything Your Insurance Adjuster Needs
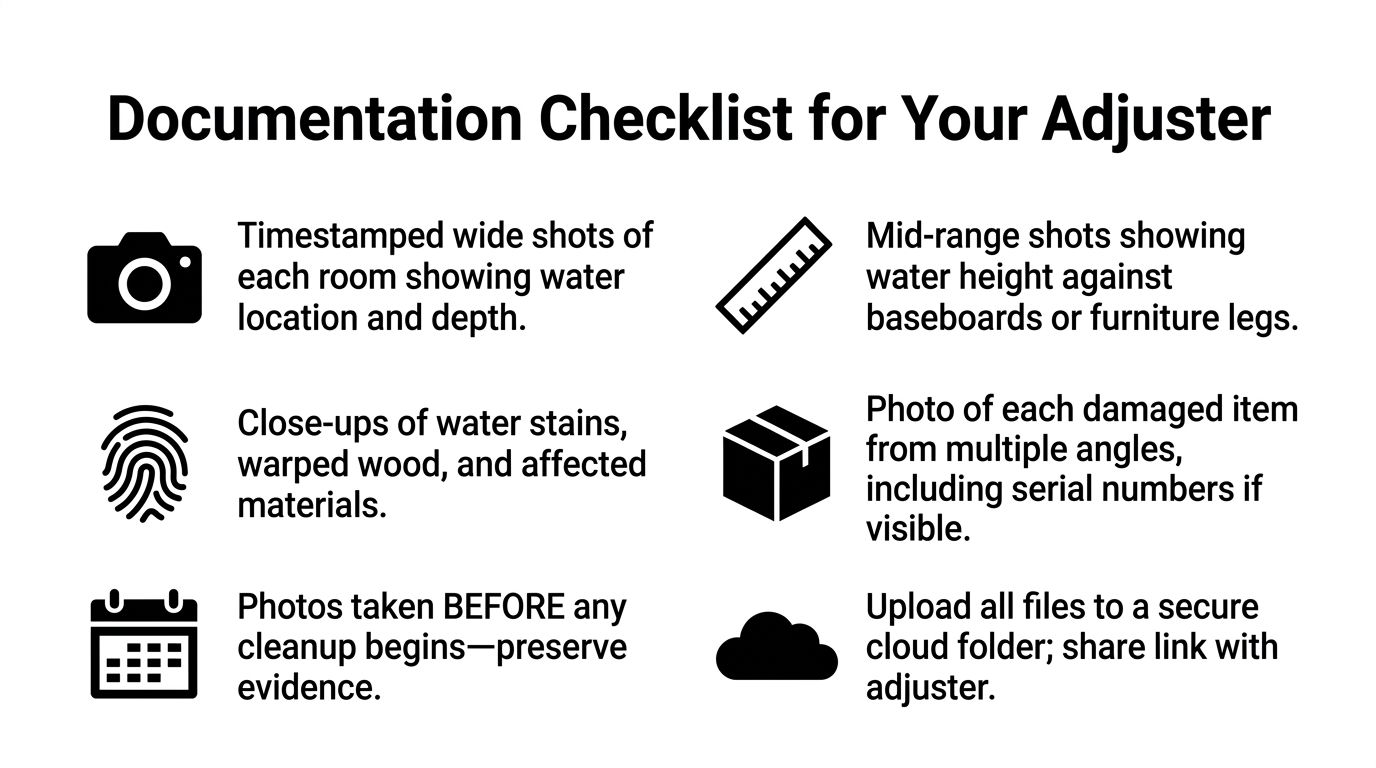
The strongest claim file tells a chronological story. Start before moving furniture, removing drywall, extracting water, or placing a tarp. Use your phone's original files when possible, keep the timestamps intact, and back up the material somewhere outside the affected home.
Build the visual record in layers
Take wide photographs of each affected room, including the ceiling, walls, floor, furniture, and visible water location. Follow with mid-range images showing water lines against baseboards, doors, cabinets, and furniture legs. Finish with close-ups of swollen wood, staining, failed finishes, damaged drywall, wet insulation, and contents.
Photograph each damaged item from multiple angles. Capture serial or model numbers whenever they're visible, and don't discard contents before documenting them and asking how the carrier wants them handled.
Keep the paperwork connected
A claim file should include:
- First notice of loss: Record when you discovered the water, what you observed, and whom you contacted.
- Moisture records: Include indoor humidity, material readings, equipment placement, and drying progress.
- Vendor documents: Save estimates, invoices, licenses, certificates of insurance, and written scopes.
- Roof evidence: Obtain a roof inspection report dated within the same week when possible, with photographs linking the exterior failure to the interior moisture.
- Written correspondence: Keep emails, adjuster notes, denials, partial approvals, and requests for additional information.
When you file a homeowners insurance claim, the carrier needs a clear account of cause, timing, emergency measures, and remaining repairs. A neat cloud folder with filenames that include the room and date makes review easier than a phone full of unsorted images.
Print this field checklist:
- Photograph every affected room before cleanup.
- Photograph water lines and damaged materials close up.
- Record contents, serial numbers, and disposal decisions.
- Save the first notice of loss and all carrier correspondence.
- Obtain the mitigation scope, invoice, and moisture log.
- Obtain a roof inspection report and exterior photographs.
- Back up the complete file away from the property.
Where Mitigation Ends and Restoration Begins
The dividing line is simple: mitigation prevents additional damage, while restoration returns the property to its prior condition. Confusing the two creates arguments about scope, timing, and authorization.
| Work item | Mitigation phase | Restoration phase |
|---|---|---|
| Active roof opening | Temporary tarp or emergency sealing | Permanent roof repair or replacement |
| Standing water | Extraction and disposal | Replacement of finishes damaged beyond repair |
| Wet structure | Air movement, dehumidification, and monitoring | Drywall, insulation, flooring, and paint reconstruction |
| Damaged contents | Inventory, protection, and controlled drying | Repair, replacement, or disposal decisions |
| Biological risk | Appropriate cleaning or containment based on conditions | Rebuild after the area is safe and dry |
Extracting standing water promptly is mitigation because it limits further absorption. Replacing soaked insulation after the structure has been assessed and dried belongs to the restoration scope. Likewise, antimicrobial work may be part of mitigation when conditions warrant it, while cabinet refacing and repainting are reconstruction tasks.
“Stop the source, stabilize the building, document the condition, then rebuild.”
Coverage isn't identical for every policy. Emergency mitigation may be treated differently from permanent improvements, depreciation, deductibles, exclusions, or limits. A carrier may reimburse reasonable mitigation expenses while evaluating restoration costs under the policy's settlement terms. Get written authorization where required, but don't allow uncertainty about the final repair to justify leaving an active leak or wet structure untreated.
The practical rule is mitigate first and restore second. You can remove water, place temporary roof protection, and dry affected assemblies while the permanent repair scope is being reviewed.
Roof-Related Causes That Drive Most South Florida Claims
The roof often explains the ceiling stain, but the visible location isn't always the entry point. Wind-driven rain can travel along underlayment, decking, framing, insulation, and drywall before it appears inside the room.
Hurricane winds can lift or crease shingles, loosen tile systems, and expose vulnerable seams. A roof may look acceptable from the ground while fasteners have pulled through metal panels or a flashing transition has opened. After a storm, the inspection should trace the water path instead of focusing only on the stain.
Failure points inspectors check
- Wall intersections and chimneys: Flashing and saddles can separate as materials move, creating a path for wind-driven rain.
- Plumbing vents: Cracked or deteriorated boots allow water around the penetration, often producing a localized ceiling mark.
- Tile roof underlayment: Tiles may remain visibly intact while aged underlayment below them permits water to reach the decking.
- Valleys and soffits: Leaves and storm debris can redirect runoff sideways toward soffit vents and roof edges.
- Drip edges and fascia: Rusted or displaced metal lets water wick beneath the fascia and into adjacent assemblies.
- Flat membrane sections: Ponding water, open seams, and failed edge details deserve close inspection after heavy rain.
The inspector should photograph lifted shingles, creases, cracked vent boots, displaced flashing, fastener pull-through, damaged underlayment, and ponding areas. The report should identify location, likely mechanism, affected roof assembly, and the connection to interior damage.
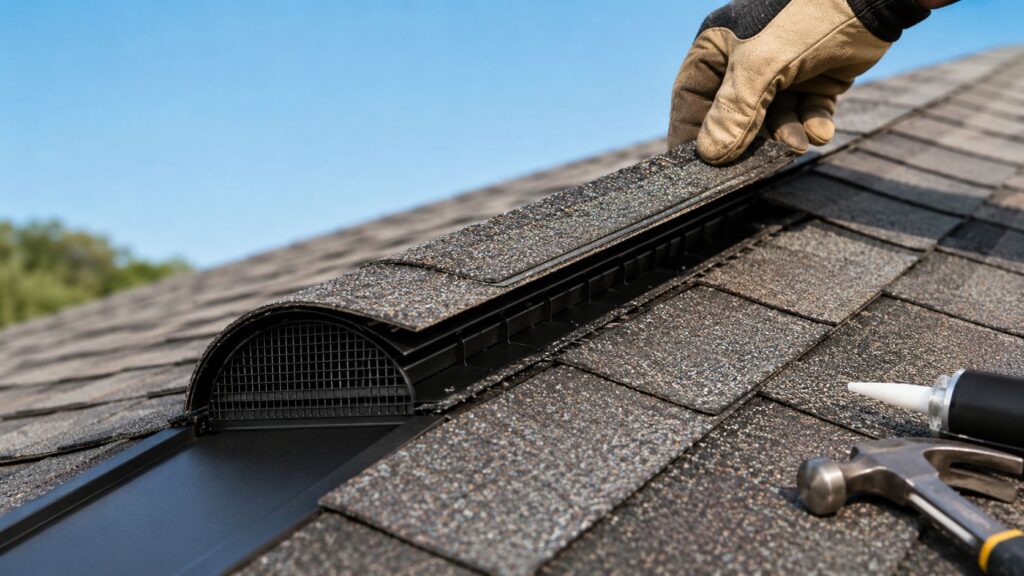
Roof age matters, but no single age determines failure. Material, installation quality, storm exposure, maintenance, ventilation, and prior repairs all influence risk. A roof ventilation reference image also shows why roof components need to be assessed as a system rather than as isolated shingles.
Long-Term Prevention That Actually Works in South Florida
“Maintain the roof” is too vague for this climate. A prevention plan should identify the connections and drainage paths that fail under wind, heat, and fast-moving rain.
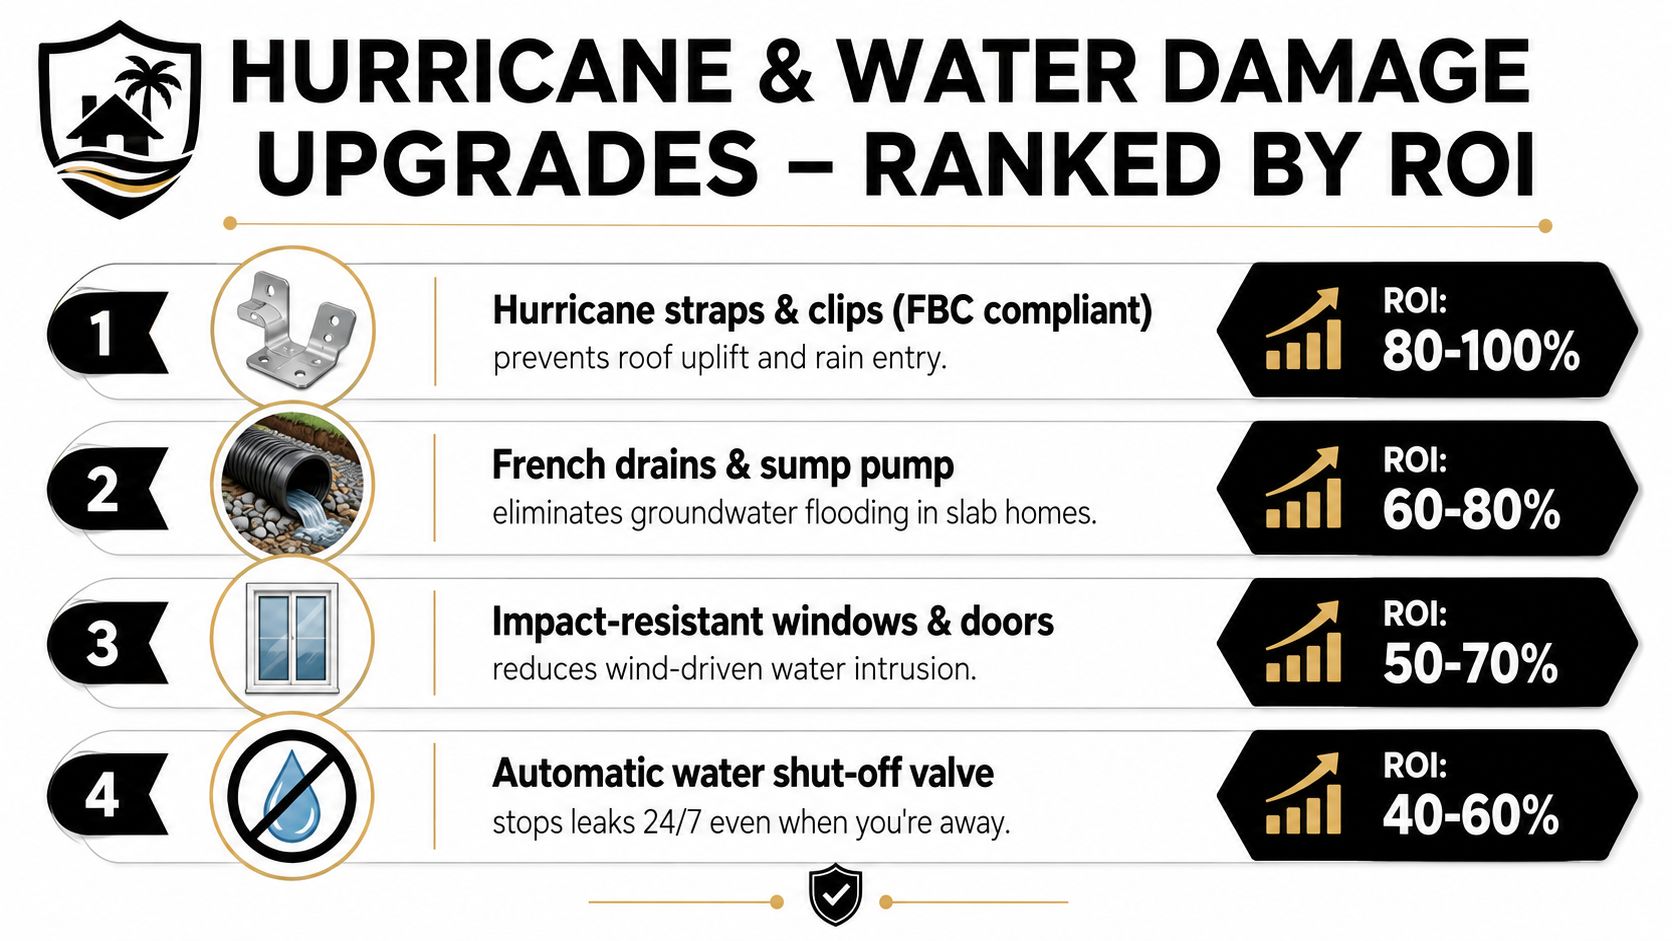
During reroofing or structural upgrades, ask whether hurricane straps and clips comply with the applicable Florida Building Code wind requirements. A secondary water barrier, such as peel-and-stick underlayment beneath tile or shingles, can provide another defense when the primary covering is damaged. Roof-to-wall connections should be sealed and verified during permitted work, not assumed to be sound because the ceiling is currently dry.
Prioritize the whole building envelope
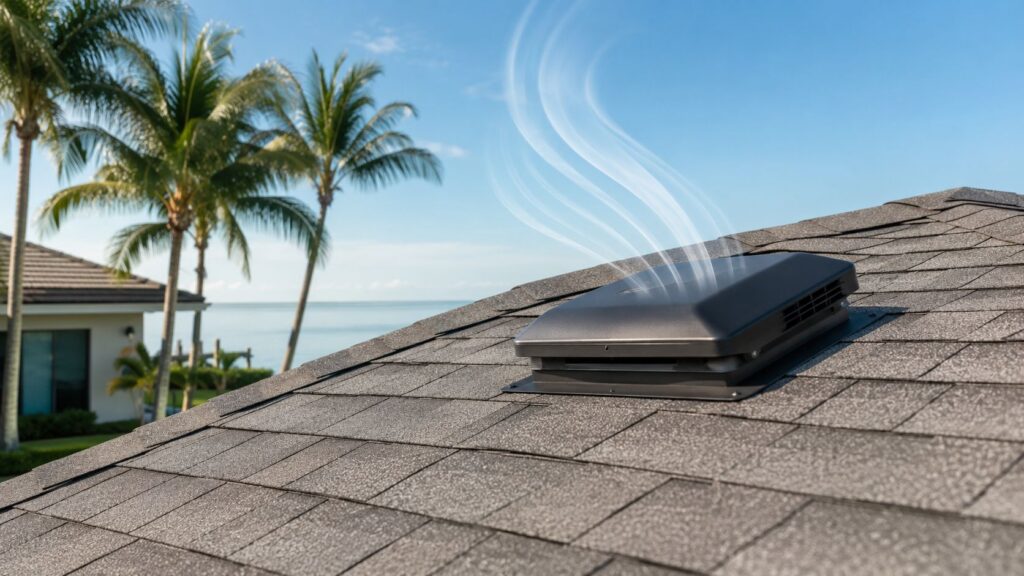
Attic ventilation needs working intake and exhaust. Ridge vents paired with soffit vents only perform when insulation doesn't block the intake path. South Florida heat can degrade underlayment and decking from below, so decorative vent openings that don't draw air aren't a meaningful ventilation plan. A powered roof vent image illustrates one approach, but the system still needs correct intake, placement, and installation.
Drainage deserves equal attention. Clear gutters, protect soffit paths, and correct discharge points so horizontal storms don't force water into roof edges. Indoors, water sensors near water heaters and upstairs bathrooms can provide an early warning, while smart shutoff valves on washing-machine supply lines can limit an unattended leak.
Store annual roof inspection photographs offsite, along with permits, invoices, warranties, and repair notes. That service record helps identify recurring defects and gives an adjuster a clearer maintenance history after a storm.
Treat the roof as a managed system with a record, inspection schedule, drainage plan, and emergency procedure. Paletz Roofing and Inspections provides roof inspections, leak assessments, repairs, replacements, and storm-related evaluations for residential and commercial properties across South Florida.
If a leak or storm has put your property at risk, contact Paletz Roofing and Inspections for a roof inspection, damage assessment, or emergency repair plan. Their team can help identify the exterior failure point, document conditions, and coordinate the roofing work needed to support responsible water damage mitigation.