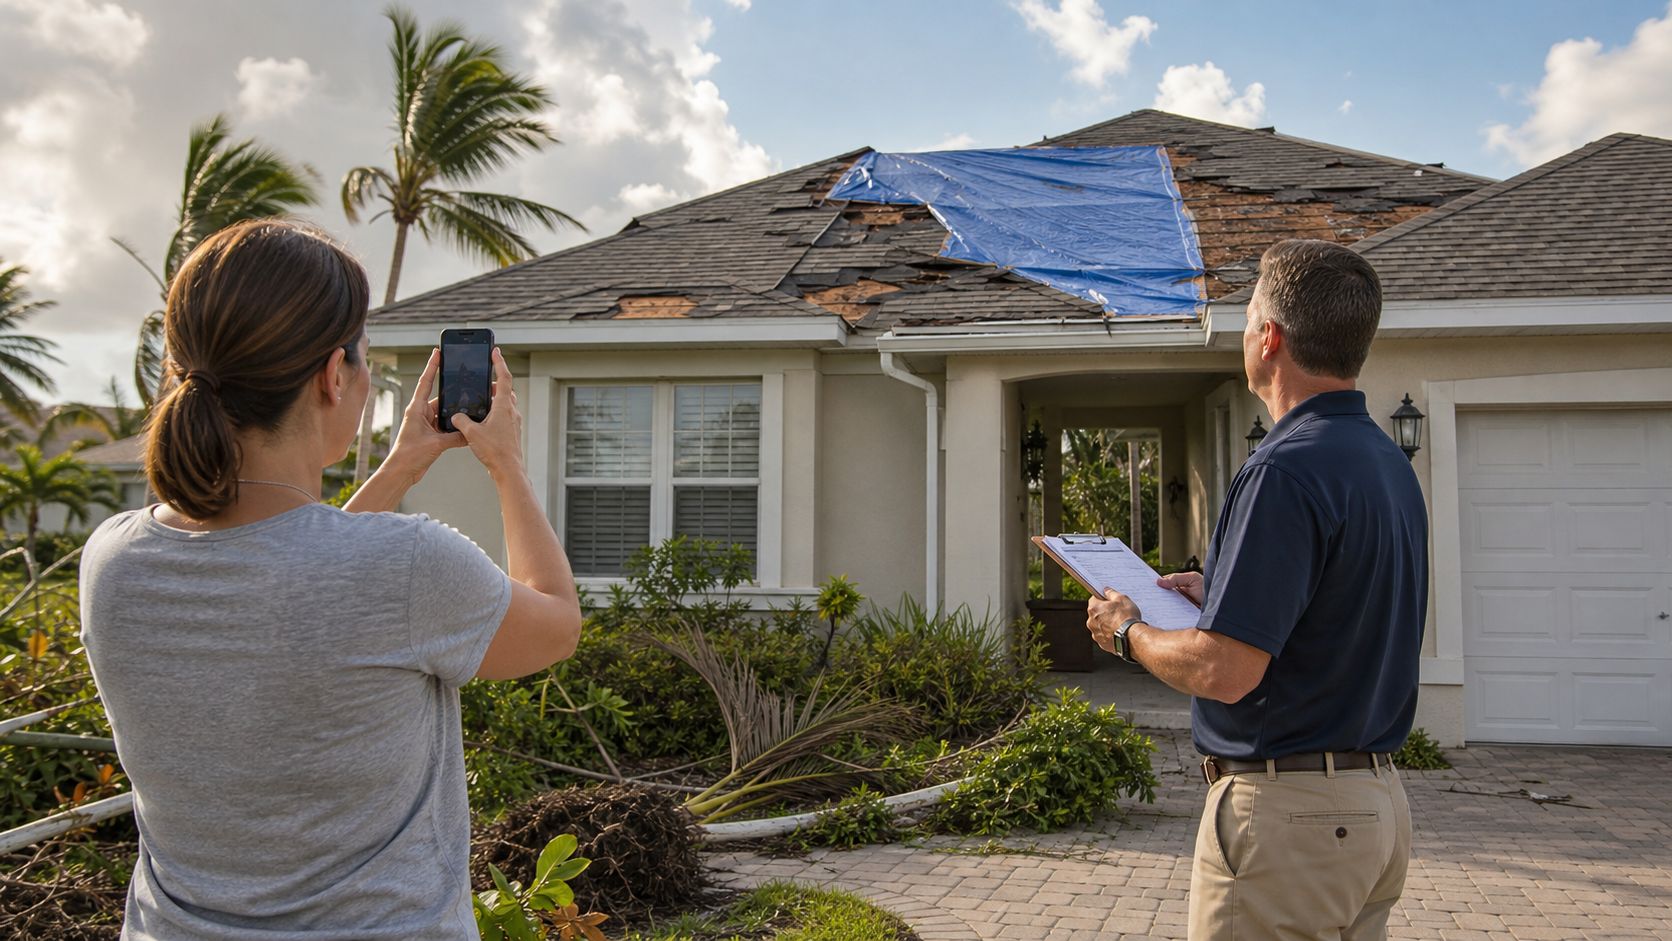
After a South Florida windstorm, the first signs can look minor: a few shingles appear lifted, granules collect near a downspout, or a ceiling stain shows up after the next rain. Many homeowners wait because the roof still looks mostly intact. That delay can make the claim harder to prove, especially when the insurer must decide whether one storm caused functional damage or whether the roof shows age and wear.
A strong wind damage to roof insurance claim is built around causation, function, and timing. You need to show what the roof looked like, what changed after the wind event, how the damage affects water-shedding performance, and what temporary steps you took to protect the home.
Table of Contents
- What Counts as Wind Damage and How Coverage Works in Florida
- Immediate Safety Checks and Emergency Protection for Your Roof
- How to Document Wind Damage So Your Claim Holds Up
- Filing Your Claim and Working With the Insurance Adjuster
- Common Reasons Wind Claims Are Denied and How to Avoid Them
- Final Checklist to Maximize Your Approved Coverage
What Counts as Wind Damage and How Coverage Works in Florida
The useful distinction is not “old roof” versus “new roof.” It's sudden storm damage versus gradual deterioration. A wind event can lift or tear shingles, break tile, loosen flashing, or expose the roof assembly. Age can make materials brittle, but brittleness alone doesn't prove that wind caused the loss.
Consider a common Broward or Miami-Dade scenario. A homeowner notices several displaced shingles after a strong weather event, then finds water intrusion in the attic. The roof may also show older granule loss and surface wear. The adjuster will likely focus on whether the displaced materials and water entry form a fresh, connected pattern caused by wind, rather than treating every visible defect as part of the claim.
A standard homeowners policy often covers roof damage when windstorm is a covered peril, with payment generally handled under the dwelling portion of the policy after the applicable deductible. Coverage still depends on the policy wording, exclusions, roof condition, and the insurer's cause-of-loss decision. Wear, neglect, and gradual aging generally don't become covered merely because wind occurred nearby.
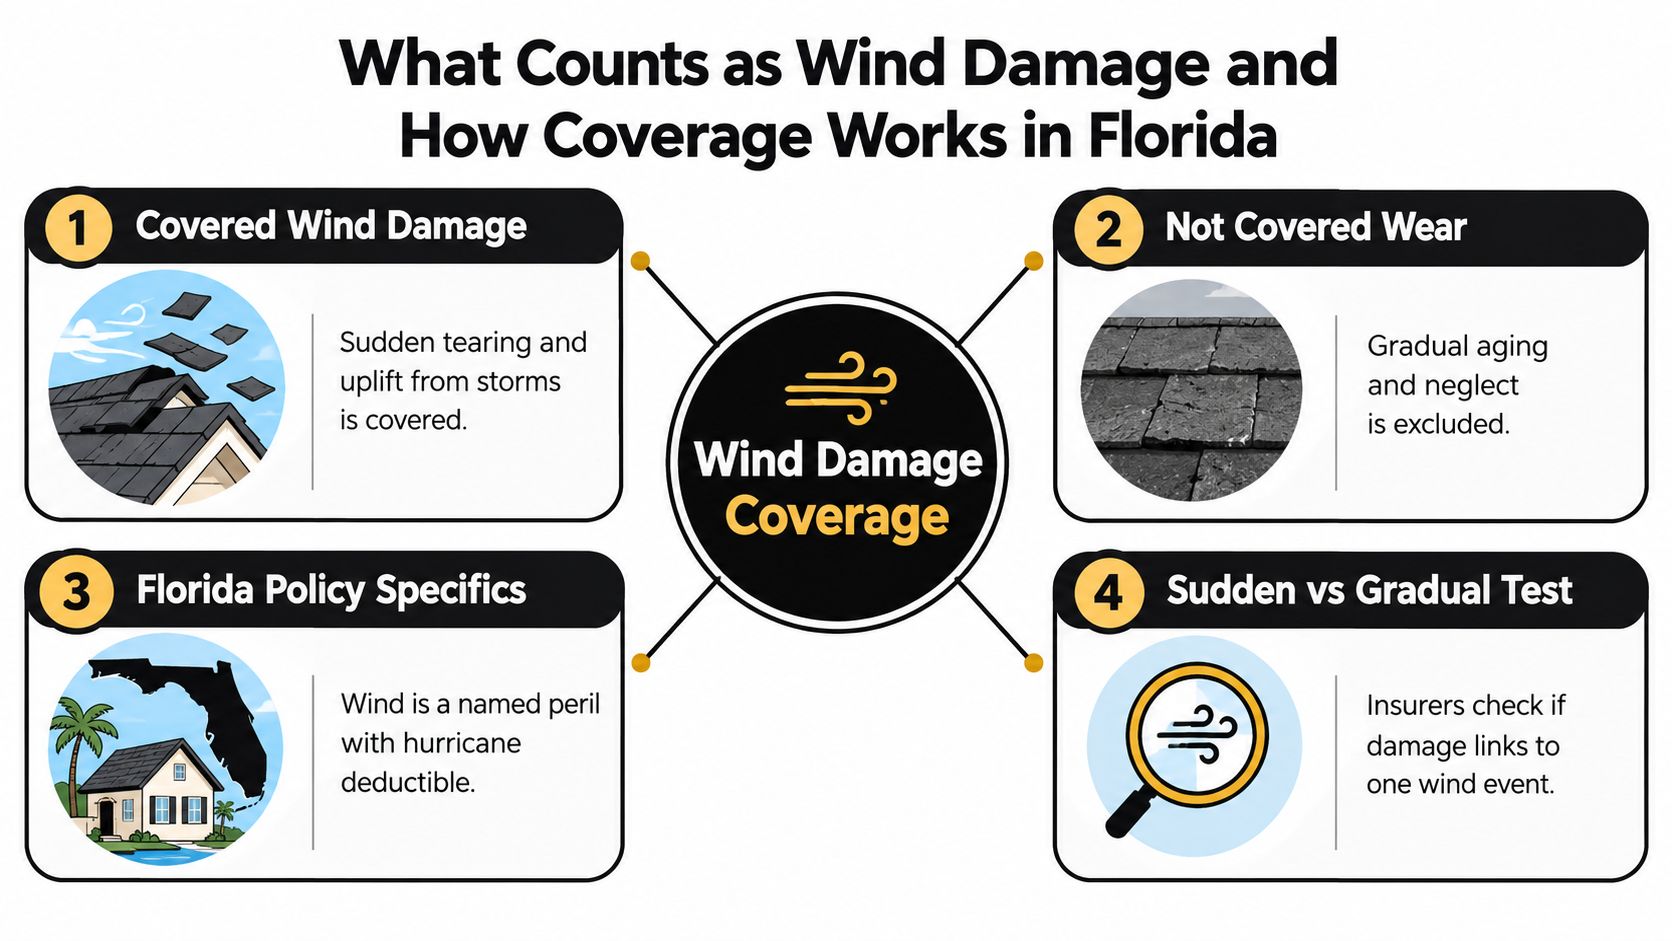
The deductible can change the decision
Florida homeowners should read the wind and hail section of the declarations page before deciding whether to file. A standard policy often uses a separate wind or hail deductible instead of the usual flat deductible. These deductibles are commonly set at 1% to 5% of the home's insured value. For example, a $300,000 home with a 2% wind or hail deductible has a $6,000 deductible, meaning the first $6,000 of a covered loss remains the homeowner's responsibility (Insurance Database explains wind and hail deductibles).
That calculation applies to the insured value, not necessarily to the repair invoice. A roof problem that looks expensive may still fall close to the deductible, so get a factual inspection and understand the policy before making assumptions.
For a visual reference when evaluating roof condition, homeowners can review this roof inspection comparison image.
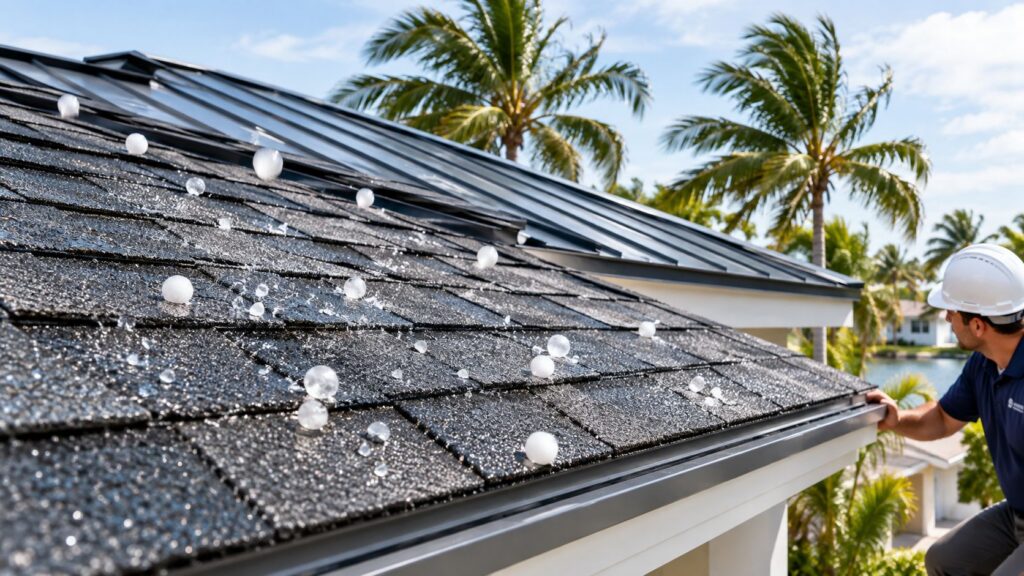
Practical rule: Wind nearby isn't enough. The claim needs a credible connection between the event and a repair-required impairment.
Immediate Safety Checks and Emergency Protection for Your Roof
Start with safety, not the roof surface. Don't climb onto a wet, damaged, or steep roof after a storm. Wind can loosen shingles, tiles, metal components, and tree limbs, while hidden structural damage can make a walking surface unsafe.
From the ground, photograph the roof elevations, visible missing materials, fallen debris, damaged vents, and gutters. Use binoculars or a camera zoom rather than a ladder if you can't inspect safely. Then check the attic with a flashlight. Look for damp insulation, water tracks, daylight through the roof deck, or active dripping, but don't touch wet electrical components.
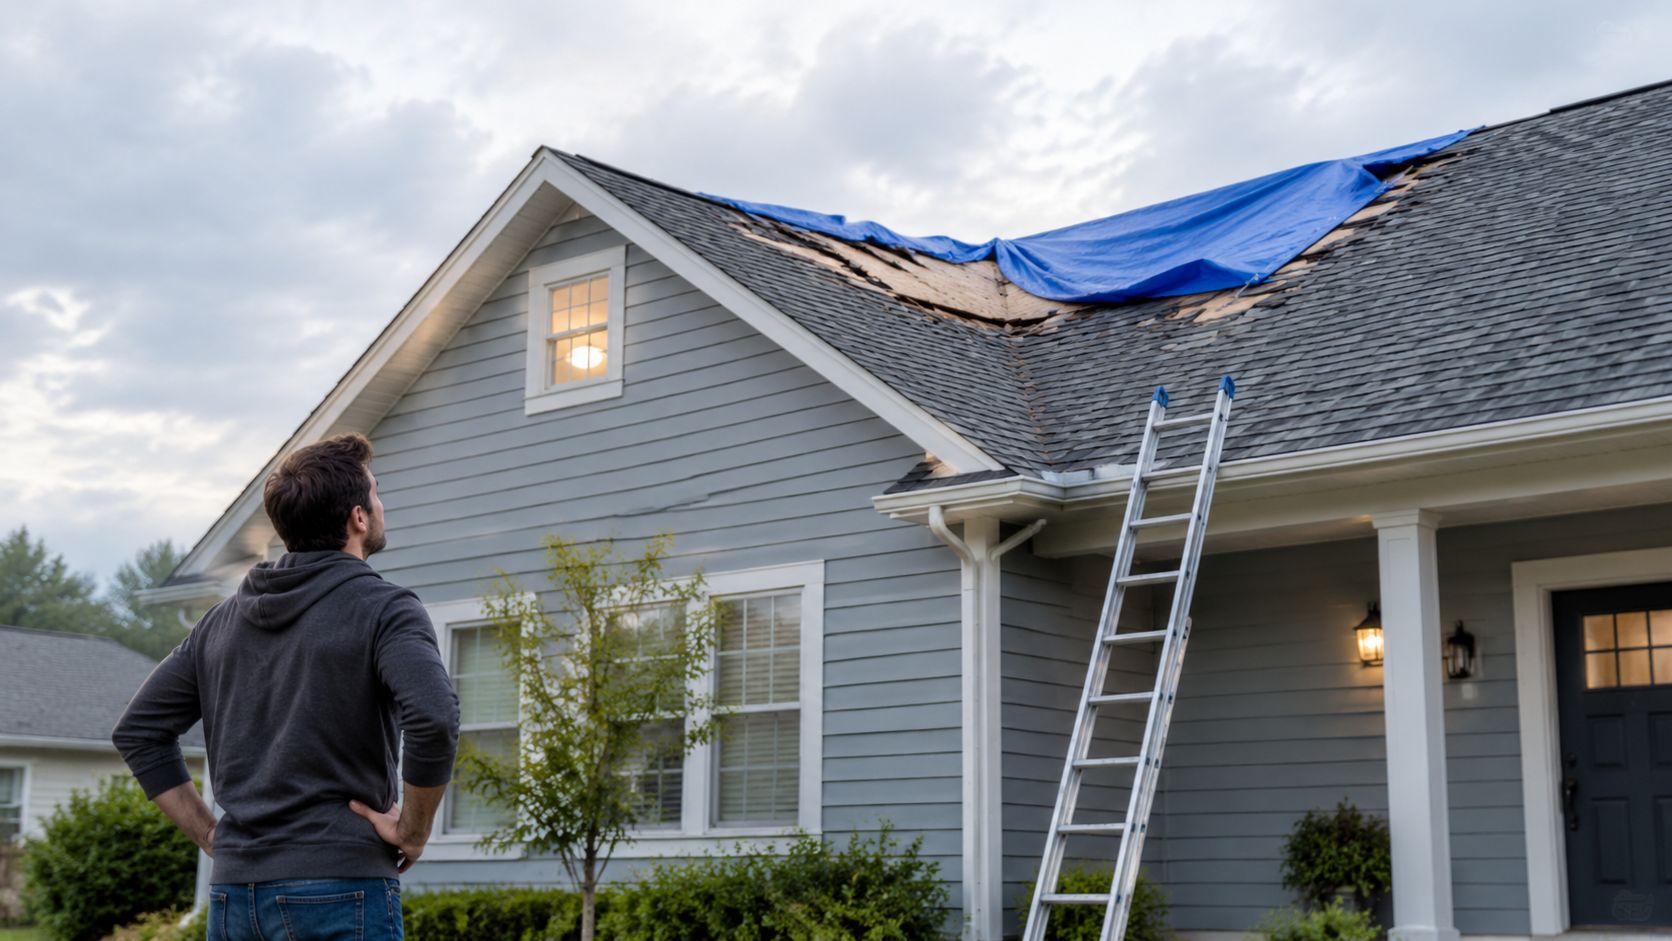
Stop additional interior damage
If water is entering, move furniture and valuables away from the affected area. Place containers under active leaks and photograph the interior before cleanup. A qualified professional can install emergency protection, such as a tarp, over the exposed area. Keep every invoice and receipt tied to the loss.
Temporary mitigation serves two purposes. It protects the building while you wait for an inspection, and it demonstrates that you took reasonable steps to prevent additional damage. Don't make permanent repairs, discard damaged materials, or replace the entire roof before the carrier has an opportunity to inspect unless an immediate safety issue requires it. Photograph the condition first and preserve removed materials where practical.
If the storm also created electrical hazards, stay clear of downed lines, wet electrical equipment, and damaged service components. For urgent electrical concerns, a homeowner may need a qualified 24/7 emergency electrician alongside the roofing response.
Keep the emergency record clean
Write down the storm date, when you noticed the problem, who inspected the home, and what temporary work was completed. Save photographs, invoices, and messages in one claim folder. Avoid signing documents that promise guaranteed approval or assign broad rights before you understand the terms.
A preventive inspection reference can also help homeowners understand roof maintenance priorities. Review this roof inspection maintenance image for examples of the type of condition information worth retaining before the next storm.
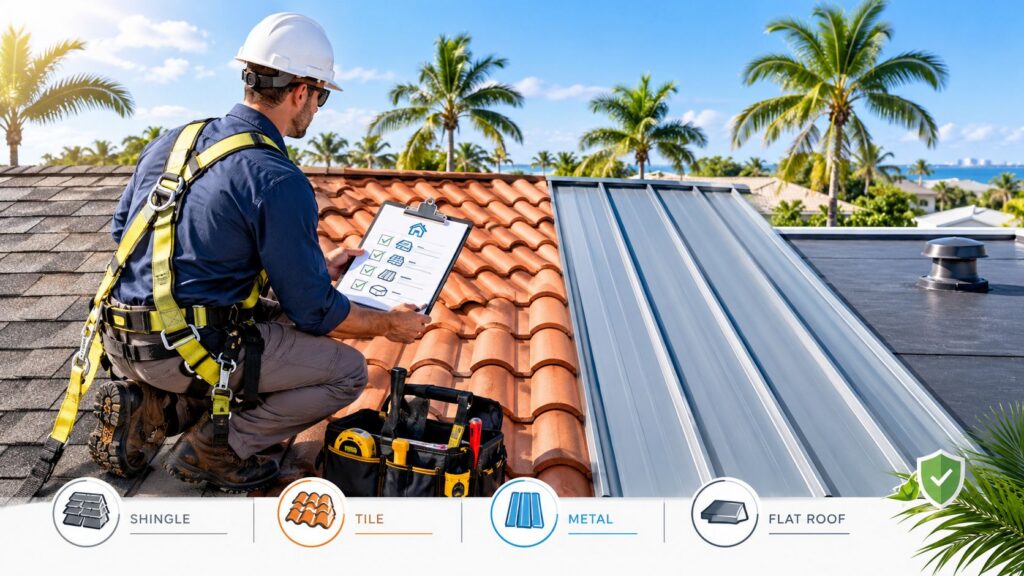
How to Document Wind Damage So Your Claim Holds Up
The strongest evidence answers four questions: when did the damage occur, where is it located, what does it look like, and how does it affect roof function? A few close-up photographs of a dirty or aged shingle rarely answer all four.
Begin from the ground before anyone touches the roof. Take wide photographs of every roof slope and elevation, including the surrounding yard, gutters, fences, and fallen debris. Then photograph close details of lifted, creased, torn, or missing shingles; displaced tiles; separated flashing; exposed underlayment; and other changes that appeared after the wind event.
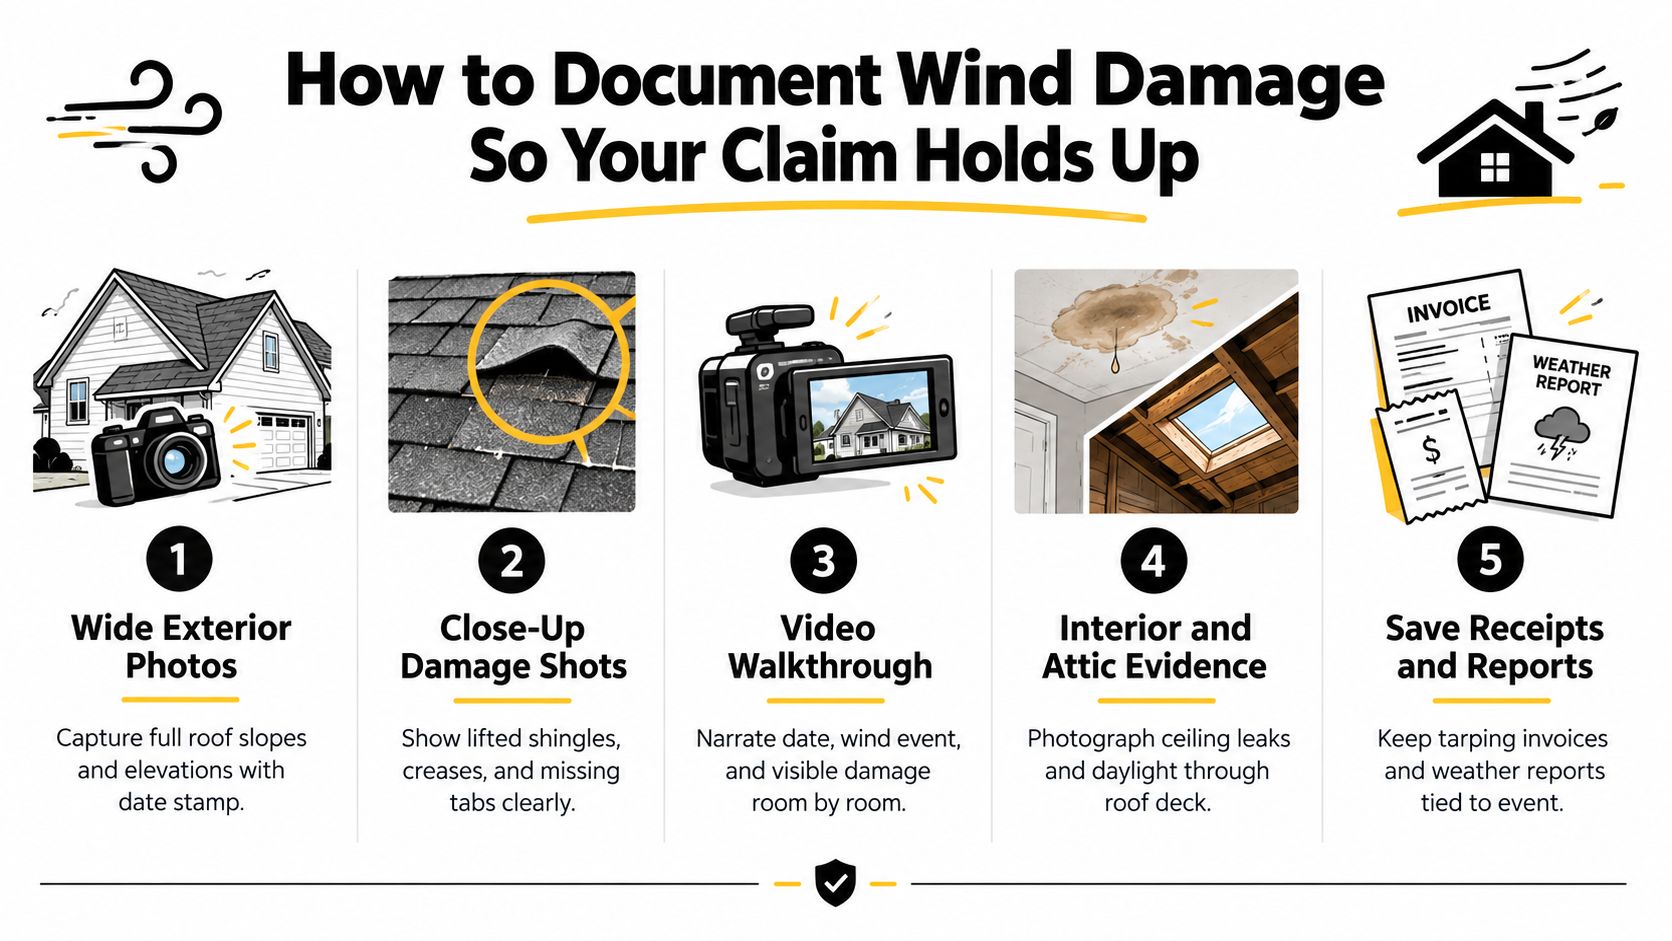
Build evidence in layers
Use a video walkaround to connect the individual images. Narrate the date, the weather event, the affected elevation, and the rooms where water appeared. A continuous record helps the adjuster understand that the photos belong to one property and one loss, rather than a collection of unexplained close-ups.
Interior evidence matters because it can show functional consequences. Photograph ceiling staining, wet insulation, damaged drywall, water tracks on rafters, and daylight visible through the roof deck. Don't paint over stains or remove wet materials before recording their condition unless necessary to prevent a health or safety problem.
A complete packet should contain:
- Wide exterior photos: Show each roof slope and elevation before cleanup.
- Close damage photographs: Capture lifted shingles, creases, missing tabs, torn flashing, and exposed areas.
- Attic and interior images: Connect roof openings or water paths with indoor effects.
- Weather documentation: Save weather data for the loss date and identify the relevant wind event.
- Professional findings: Obtain a written inspection describing wind-specific patterns and the affected components.
- Mitigation records: Keep receipts for tarping, water extraction, temporary covering, and other emergency work.
Good wind-damage claims depend on proof that ties the loss to the storm. Strong claim packets typically include dated roof photos, weather data for the loss date, a roofer inspection describing wind-specific damage patterns, and receipts for emergency tarping or temporary repairs (WeatherShield Roofers outlines claim documentation).
Prove impairment, not just appearance
Cosmetic change and functional damage aren't always treated the same way. A surface mark may not affect water shedding, while a lifted shingle, broken seal, torn flashing joint, or exposed roof assembly can create a repair requirement even before a large interior leak develops.
Ask the roofer's report to identify the component, location, observed condition, likely mechanism, and functional consequence. The report should distinguish fresh storm-related findings from pre-existing wear instead of labeling the entire roof as damaged.
Direction matters. If wind came from a particular side, the inspection should note whether the damage pattern appears consistent with uplift or displacement on the exposed elevations. Evidence is stronger when the photographs, weather information, and technical inspection tell the same story.
For a visual aid when considering whether localized repairs or broader work may be appropriate, see this roof repair and replacement comparison.
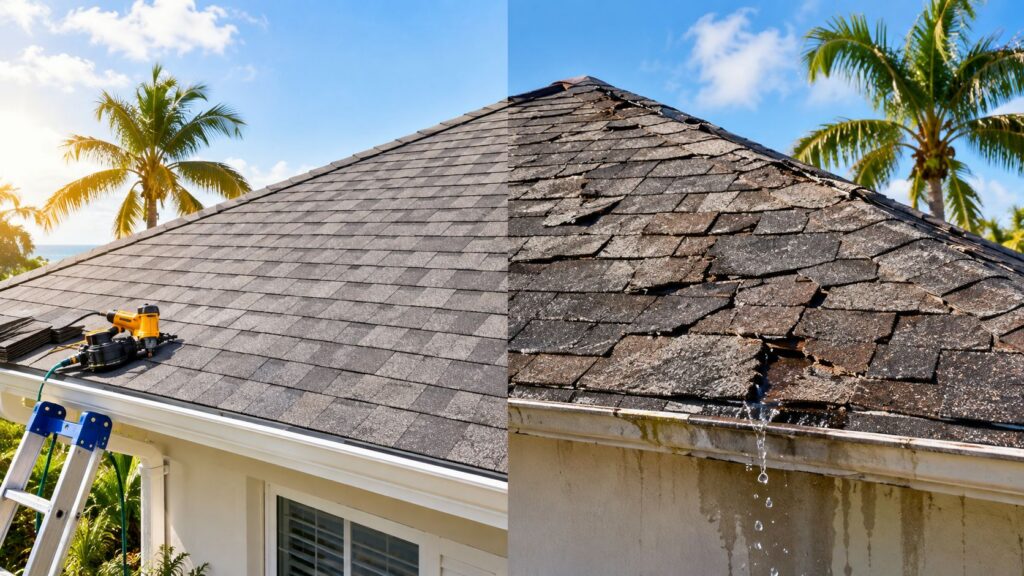
A clean claim file doesn't prove damage by volume. It proves damage by connection.
Filing Your Claim and Working With the Insurance Adjuster
Once you've documented the condition and protected the interior, notify the carrier through the method stated in your policy. Provide the date of loss, a concise description of what changed, photographs, emergency invoices, and your contact information. Ask for the claim number, the assigned adjuster, the inspection date, and any documentation deadline that applies under your policy.
Don't speculate about the cause beyond what you observed. Say that wind occurred and that specific roof or interior conditions appeared afterward. The adjuster's job is to evaluate cause, scope, and coverage. Your job is to provide accurate evidence and make sure the inspection considers all affected areas.
Prepare for the inspection
Have the roof accessible only through safe professional methods. Mark interior stains and identify the attic locations that correspond to visible exterior damage. Keep your dated photographs available, and ask the roofer who performed the inspection to explain wind-specific findings without overstating uncertain conclusions.
The cause-of-loss review often turns on shingle condition, impact or lift patterns, granule loss, flashing, and decking water intrusion. Those details help the adjuster separate a sudden event from ongoing deterioration (ClaimFlow describes the wind-damage claim process).
A practical sequence is:
- Document from the ground and attic.
- Complete emergency mitigation.
- Notify the insurer.
- Attend the inspection with your evidence organized.
- Compare the carrier's estimate with an independent roofer's scope.
- Submit support for omitted or newly discovered covered work.
Straightforward wind claims are sometimes resolved within 60 to 90 days from first notice of loss to settlement, according to the same industry guidance. Treat that as a possible process range, not a promise. Disputes over causation, scope, policy language, or supplemental damage can extend the timeline.
Compare scopes line by line
| Line Item | What to Verify |
|---|---|
| Roof covering | Confirm the listed slopes, quantities, material type, and whether damaged areas are repairable. |
| Flashing and penetrations | Check vents, walls, skylights, valleys, and other transition points for wind-related damage. |
| Underlayment and decking | Verify whether water intrusion or exposed areas require additional inspection or replacement. |
| Interior damage | Match ceiling, drywall, insulation, and attic findings to documented water entry. |
| Temporary protection | Confirm that tarping and emergency mitigation invoices are included or addressed. |
| Labor and disposal | Check that removal, installation, hauling, and cleanup reflect the actual scope. |
If the carrier estimate leaves out an item, don't argue that the estimate is too low. Identify the exact location, provide the photograph and inspection explanation, and request a written scope review. When hidden decking damage appears after removal, document it immediately and submit a supplement before closing the project.
Homeowners dealing with a different Florida market can also review these practical Jacksonville roof insurance claim steps for additional filing context.
Common Reasons Wind Claims Are Denied and How to Avoid Them
A denial usually reflects an evidence or coverage dispute, not merely the absence of wind. The carrier may accept that weather occurred but conclude that the roof failed because of age, maintenance, installation defects, or a condition excluded by the policy.
The market context makes that distinction more important. Verisk reported that roof-related line items represented more than a quarter of all residential claim value in 2024, while wind and hail were the predominant drivers, accounting for more than half of all residential claims (Verisk data summarized by The Roofing Brief). Insurers therefore have a strong reason to examine roof-loss causation and scope carefully.
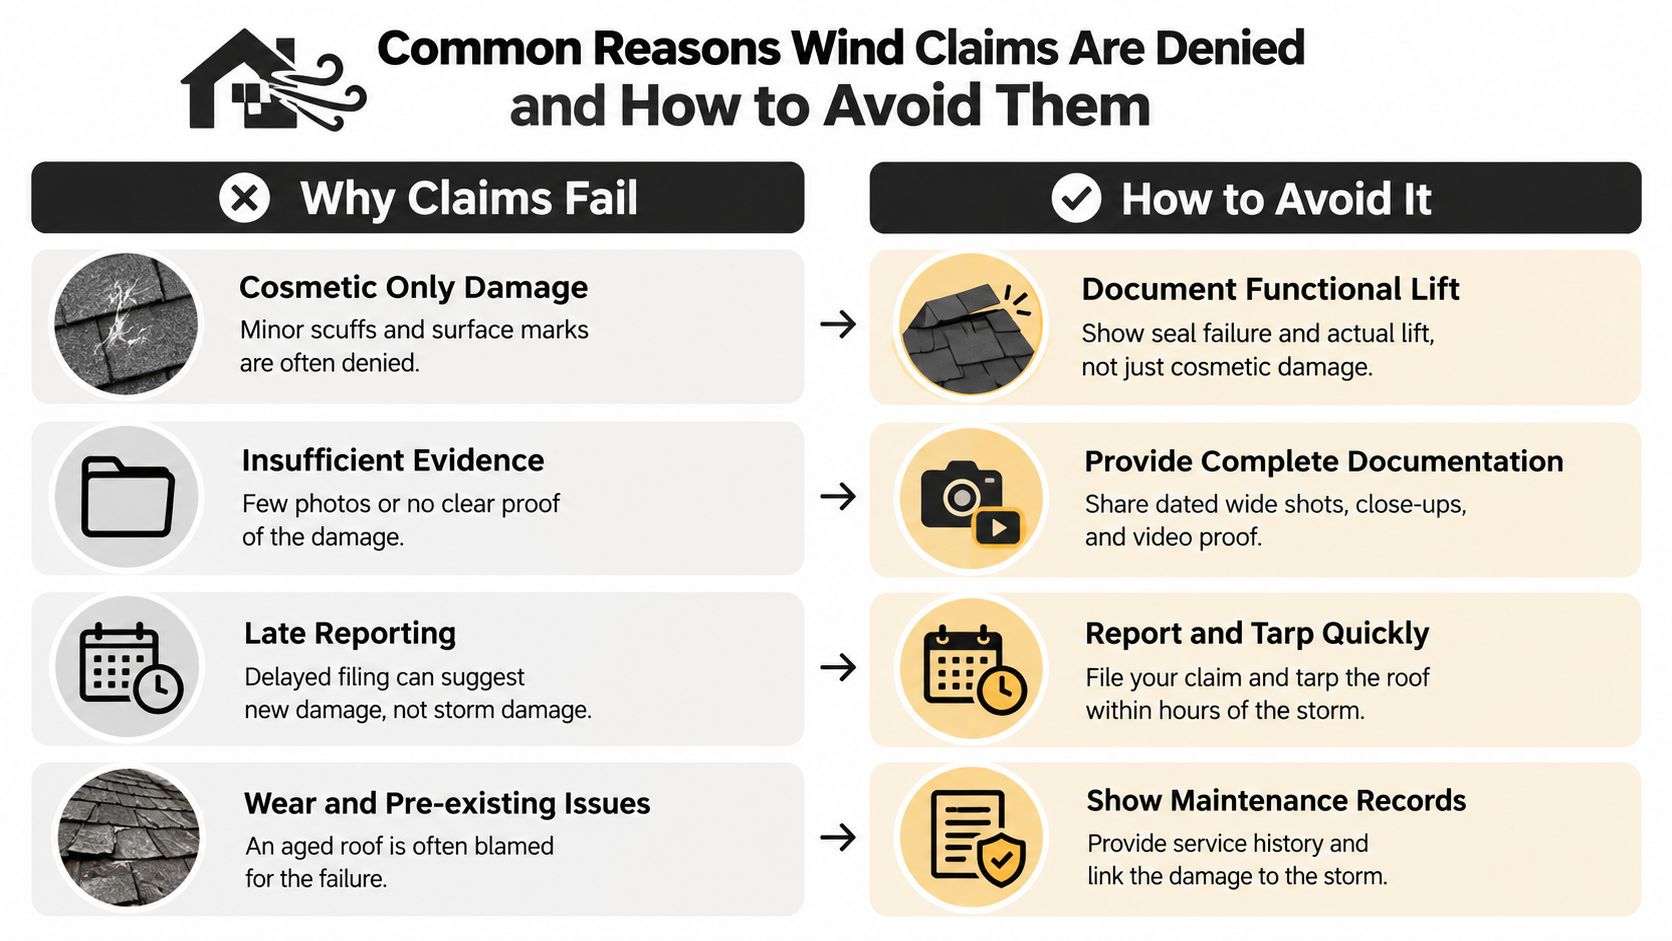
Cosmetic-only damage
A claim may fail when the evidence shows appearance changes but not impaired performance. Surface scuffs, discoloration, or isolated granule loss can be difficult to connect to a repair requirement without a technical explanation.
The answer isn't to exaggerate the damage. Ask for a professional inspection that identifies whether shingles are lifted, creased, unsealed, torn, or otherwise unable to perform their intended water-shedding function. For tile, metal, or flat roofs, the report should identify displacement, cracking, seam failure, puncture, membrane separation, or related functional problems when present.
Insufficient documentation
A handful of undated photographs leaves too many unanswered questions. It doesn't establish the pre-loss condition, the event timing, the affected elevations, or the relationship between exterior damage and interior water intrusion.
Build the packet described earlier, then preserve the original files. Include a written timeline, weather information tied to the loss date, emergency invoices, and a roofer's report. Clear evidence is more useful than a large folder of repetitive images.
Wear and pre-existing issues
Older roofs require a more precise explanation, not an automatic claim and not an automatic denial. The inspection should separate brittle or aged materials from fresh wind patterns and identify whether the storm created a new opening or worsened an existing condition.
Maintenance records, prior inspection photographs, repair invoices, and pre-storm listings can help establish what was present before the event. Don't claim old deterioration as storm damage. Instead, document the specific change that occurred and let the policy analysis address what portion, if any, is covered.
Late reporting and policy disputes
Delay can blur the timeline and allow later rain or additional wind to alter the condition. Report promptly, protect the home, and keep a communication log with dates, names, claim numbers, and written responses.
Policy language can also control the result. Review the wind, hail, hurricane, cosmetic, matching, valuation, and roof-age provisions with your insurance professional. If the carrier denies or under-scopes the claim, request the decision in writing, submit event-specific evidence, and ask whether a reinspection or formal review is available. A public adjuster or attorney may be appropriate when the dispute involves substantial scope or coverage questions.
Final Checklist to Maximize Your Approved Coverage
A defensible wind damage to roof insurance claim is orderly from the first hour. Homeowners in Broward, Miami-Dade, and Palm Beach should focus on accurate evidence and necessary repairs, not on promising a particular payout.
Use this closing checklist:
- Protect people first: Stay off the damaged roof and avoid electrical hazards.
- Record the condition: Photograph wide roof elevations, close damage, attic conditions, ceiling stains, and debris.
- Mitigate promptly: Use professional temporary protection when water is entering, then retain every receipt.
- Notify the carrier: Provide the loss date, claim description, photographs, and mitigation records.
- Prepare for inspection: Keep your timeline and report available, and identify every affected room and roof area.
- Check the deductible: Confirm whether a percentage wind or hail deductible applies to the insured value.
- Compare scopes: Match the carrier estimate against an independent inspection and request support for omitted items.
- Separate repair from replacement: Repair may be appropriate when damage is localized and materials can be restored properly. Replacement may be necessary when the roof system cannot be repaired consistently or when the documented scope requires broader work.
- Keep communication records: Save emails, letters, inspection notes, estimates, and supplement submissions.
- Meet policy deadlines: Your policy controls the required notice and documentation timeline, so don't wait for the problem to worsen.
Wind and hail made up 40.7% of homeowners property claims in 2022, and the average paid wind-and-hail claim was $13,511, according to Insurance Information Institute data summarized by industry publications (Oakes Roofing summarizes the benchmark data). The practical lesson is simple. A storm claim deserves the same care as any major repair decision, with clear records, honest scope, and prompt protection of the home.
If your roof in Broward, Miami-Dade, or Palm Beach shows possible wind damage, Paletz Roofing and Inspections can document roof and interior conditions, provide a written damage assessment, and prepare a free quote for repair or replacement. Visit Paletz Roofing and Inspections to arrange an inspection before the carrier closes the scope.