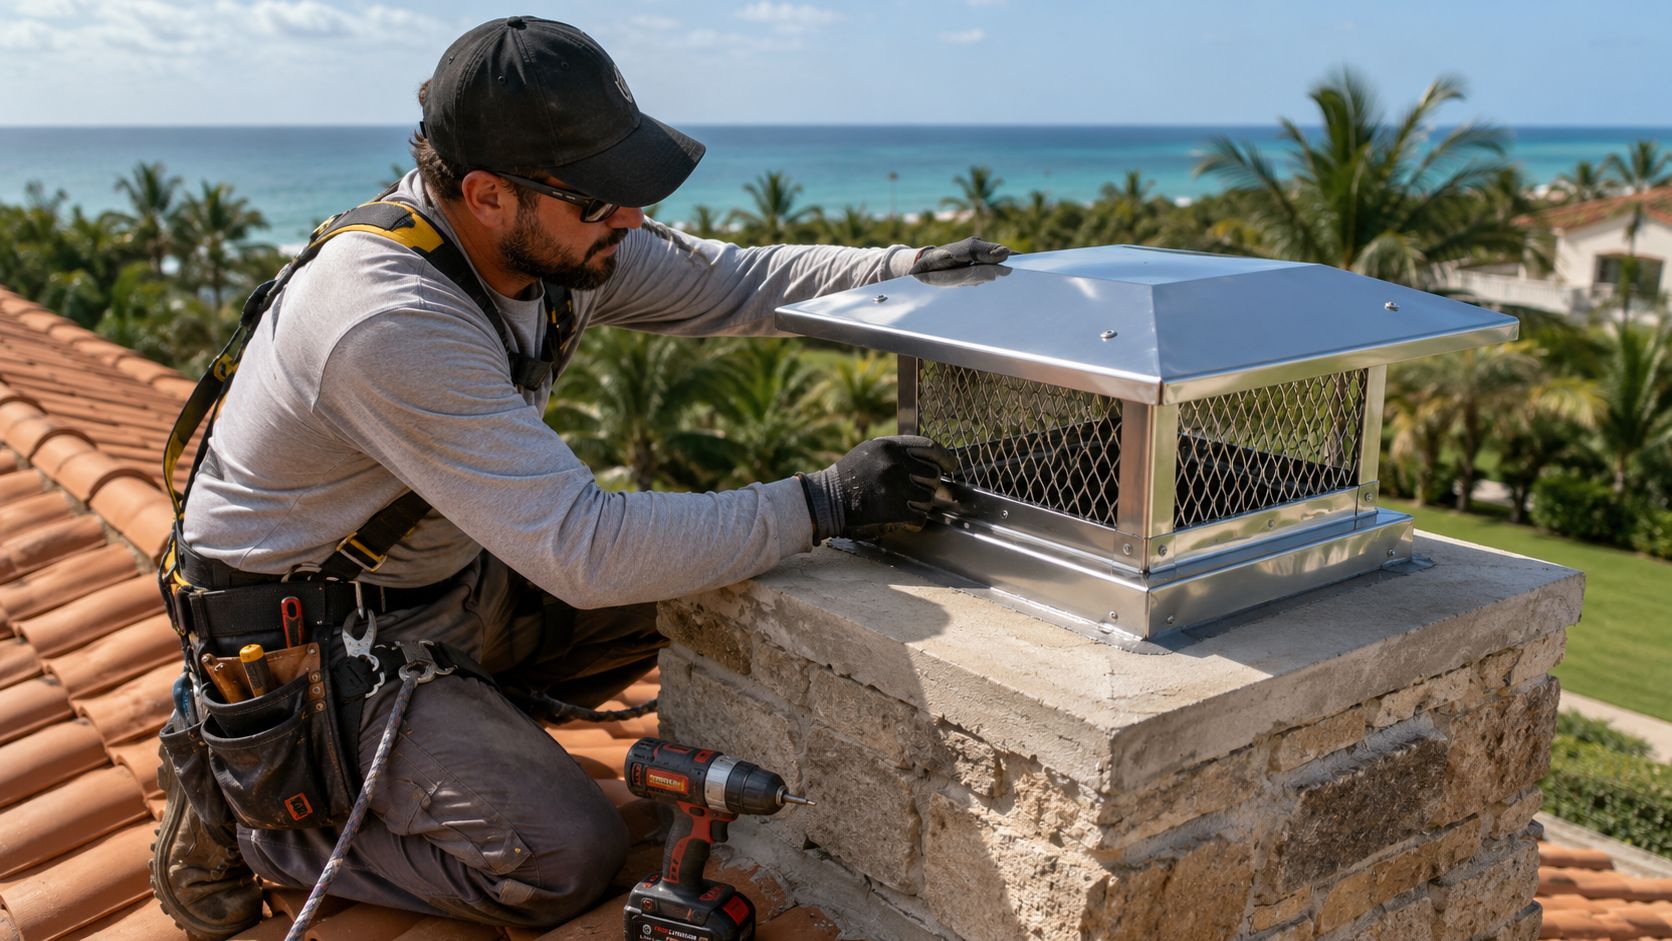
You're usually looking at one of two things when a chimney starts getting attention in South Florida, a ceiling stain after a hard summer rain or a homeowner who finally noticed rust, birds, or debris around the flue. Both deserve the same response, don't treat the cap as a decorative add-on. Chimney cap installation is the last piece of a roof-and-chimney condition check, because the cap only works when the crown, flue, flashing, and masonry underneath are sound.
A cap is supposed to do real work. It helps keep rain out, blocks animals and leaves, reduces downdraft, and adds a layer of spark control. In Broward, Miami-Dade, and Palm Beach, that matters more than it does in a dry inland market, because salt air, tropical downpours, and hurricane winds punish small roof details fast.
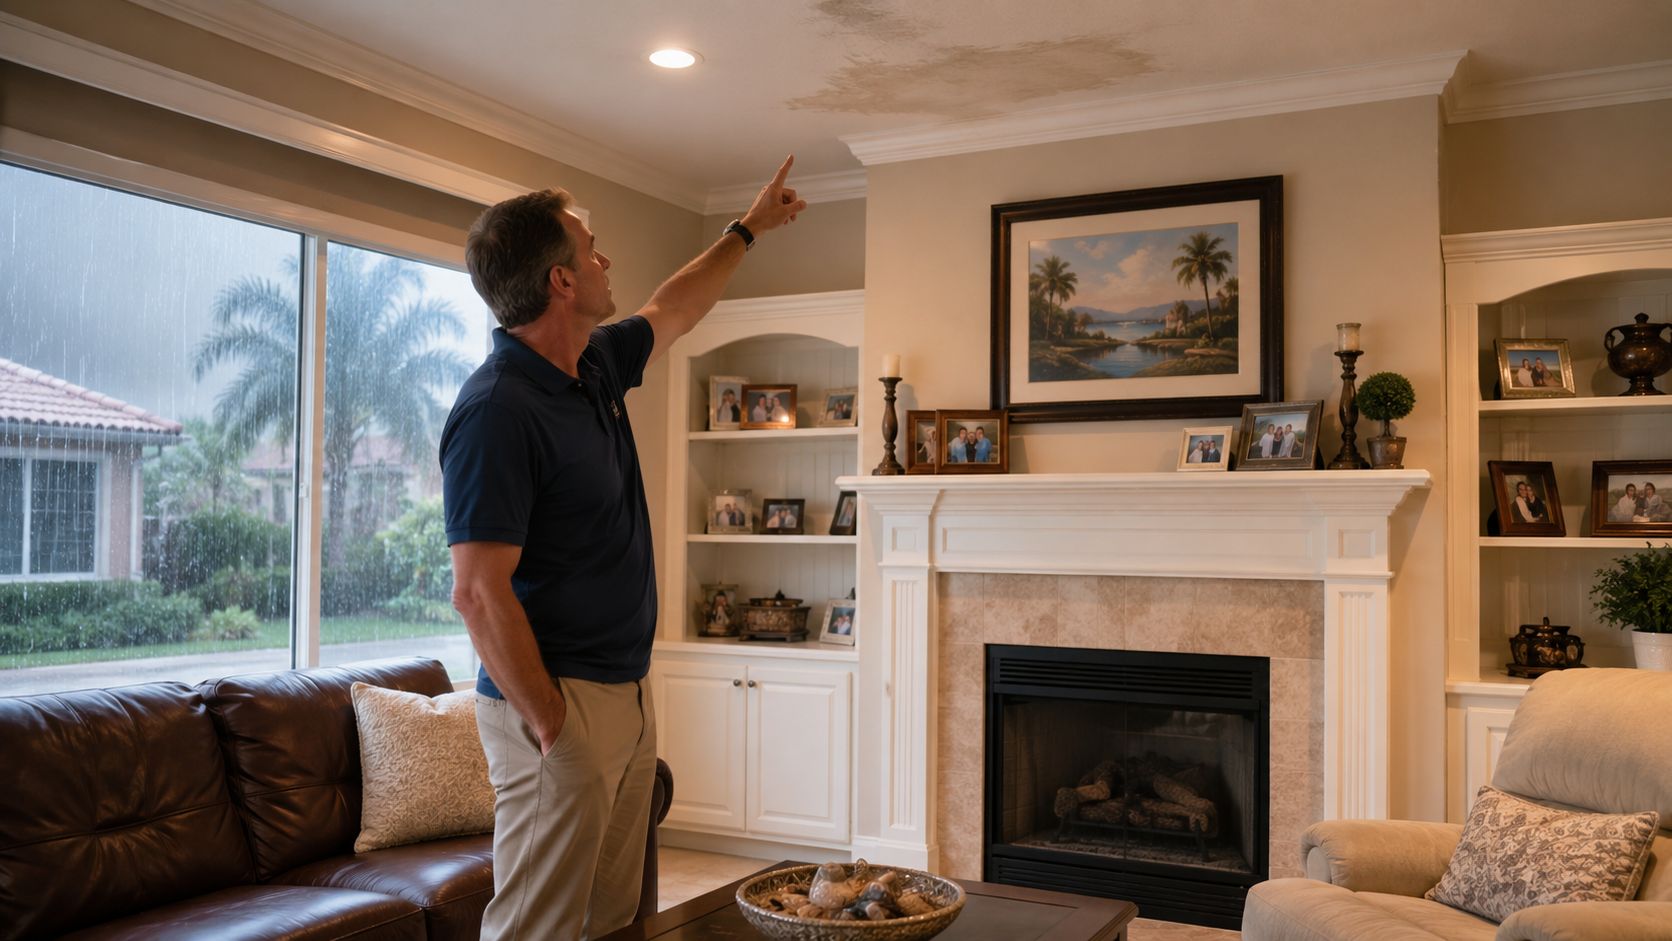
If your fireplace area already smells damp or the ceiling line near the chimney looks off, protect your home air quality with guidance from protect your home air quality. That's the right mindset here, inspect first, install second.
Table of Contents
- Why Chimney Cap Installation Matters in South Florida
- Chimney Cap Types and Materials That Hold Up Coastally
- Pre-Installation Inspection Checklist Before You Climb
- Step-by-Step Chimney Cap Installation on a Masonry Chimney
- South Florida Codes, Climate, and Real Cost Ranges
- Common Chimney Cap Problems and How to Troubleshoot Them
- Maintenance Rhythm and When to Call Paletz Roofing and Inspections
Why Chimney Cap Installation Matters in South Florida
A South Florida homeowner usually notices chimney trouble after a storm, not before it. Water marks show up near the fireplace, rust streaks appear on the crown, or a bird keeps finding its way back to the top of the chimney. Those aren't cosmetic annoyances. They're signs that the top of the chimney has stopped shedding water and keeping the opening protected.
A cap is a small metal component, but it protects a big opening in the roof system. It keeps direct rain from entering the flue, limits animal intrusion, helps block leaves and palm debris, and can reduce downdraft when wind hits the chimney. In a coastal market, that top opening is exposed to wind-driven rain and airborne salt, so a loose or corroded cap can turn into a recurring leak point quickly.
Practical rule: if you're seeing water staining below the chimney, don't assume the cap is the only issue. Check the crown, masonry, and flashing first, or the new cap can just hide the real problem.
The cleanest way to think about chimney cap installation is as preventive infrastructure. The cap should be the final, deliberate step after the chimney itself passes a basic soundness check. A cap over damaged masonry can trap moisture and make the underlying problem worse.
For homeowners worried about smoke performance and indoor air movement, the same top-of-chimney protection also affects how the system breathes. A cap that fits properly supports the chimney's function, but it's only one part of the system, not a cure-all. That's why the best installs start with the condition of the chimney, then move to hardware.
Chimney Cap Types and Materials That Hold Up Coastally
South Florida homeowners usually see a few practical choices on a quote, single-flue, multi-flue, top-mount, and outside-mount caps. The right one depends on the chimney shape, the flue count, and how exposed the roof is to wind and salt. A cap that fits a simple one-flue masonry stack won't always make sense on a wider, more exposed chimney with multiple exits.
The sizing detail matters more than commonly expected. One trade-reference guide recommends choosing a cap only 1/2 to 1 inch larger than the flue dimensions, which helps preserve fit tolerance and avoid binding during install. That small allowance keeps the cap from rocking, sticking, or landing crooked when fasteners go in.
| Material | Typical Lifespan | Salt-Air Performance | Best Use |
|---|---|---|---|
| Galvanized steel | Varies by exposure | Weak in coastal air | Budget installs in less exposed settings |
| Aluminum | Varies by exposure | Better than plain steel, but still needs proper fastening | Light-duty residential use |
| Stainless steel | Varies by exposure | Strong for coastal conditions | South Florida roofs with salt exposure and wind |
| Copper | Varies by exposure | Excellent corrosion resistance | Premium look, custom fabrication, exposed chimneys |
A coastal homeowner should think about corrosion first, then appearance. Galvanized steel may work inland, but salt air punishes standard fasteners and finishes. Stainless steel is the practical middle ground for many South Florida jobs, while copper is usually a custom choice that changes the budget fast.
For a visual comparison of roof-metal durability, this internal reference is useful, galvalume standing seam metal roof context. It helps frame why corrosion resistance matters so much in this climate.
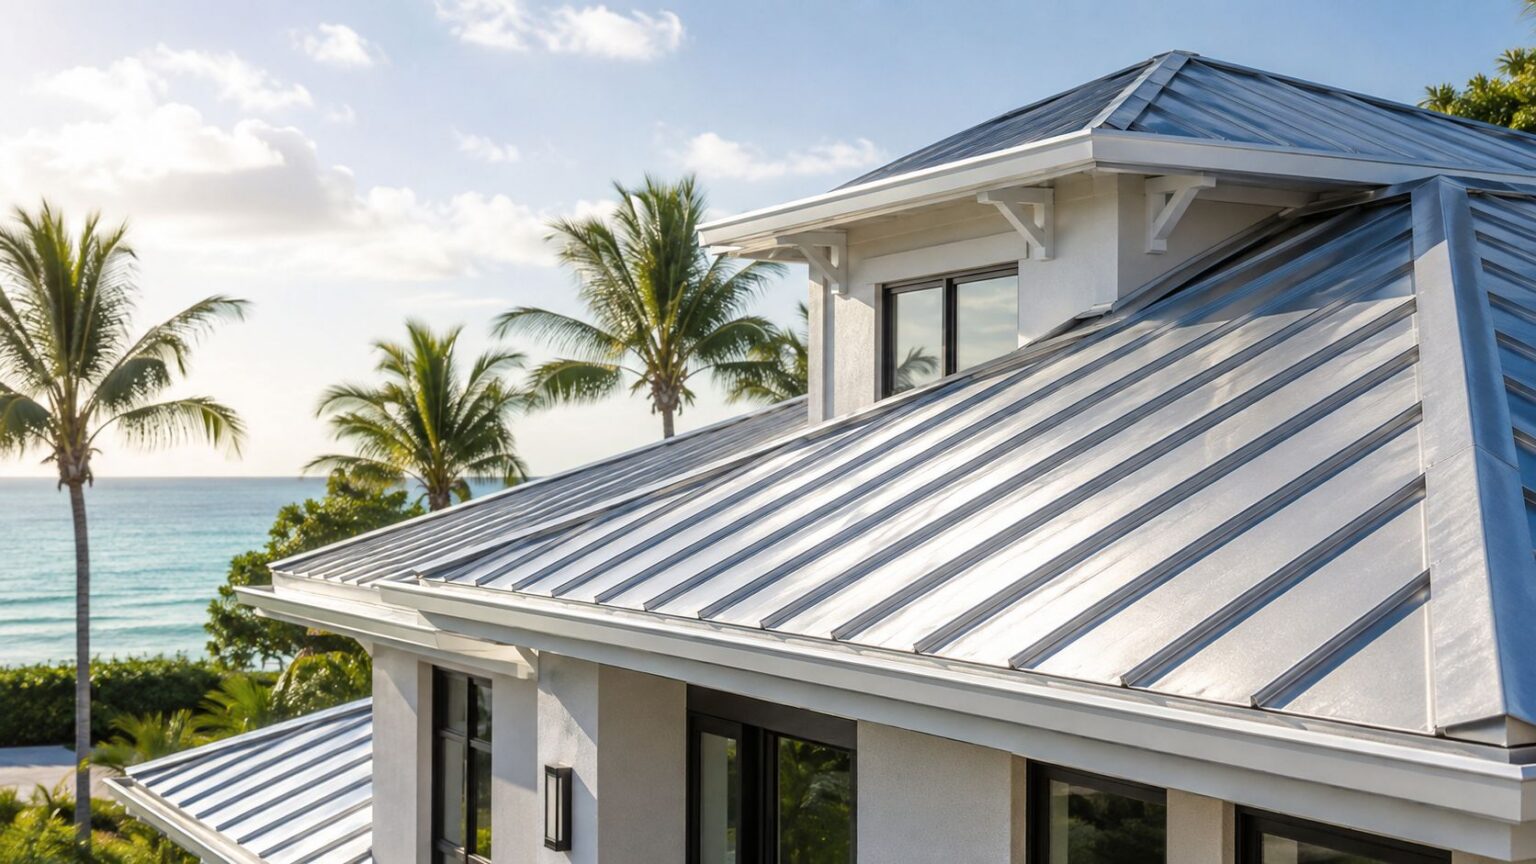
A cap isn't selected by price alone. It has to match the flue shape, the exposure, and the fastening method, or it becomes a maintenance item instead of a solution.
Pre-Installation Inspection Checklist Before You Climb
Inspection should happen before anyone grabs a drill or a ladder. From the ground, look for cracked crown material, missing mortar, rust staining, bird activity, and any leaning or uneven chimney lines. If you can safely view the top from a ladder position, confirm whether the flue tile looks intact and whether the masonry around it is sound enough to accept a new cap.
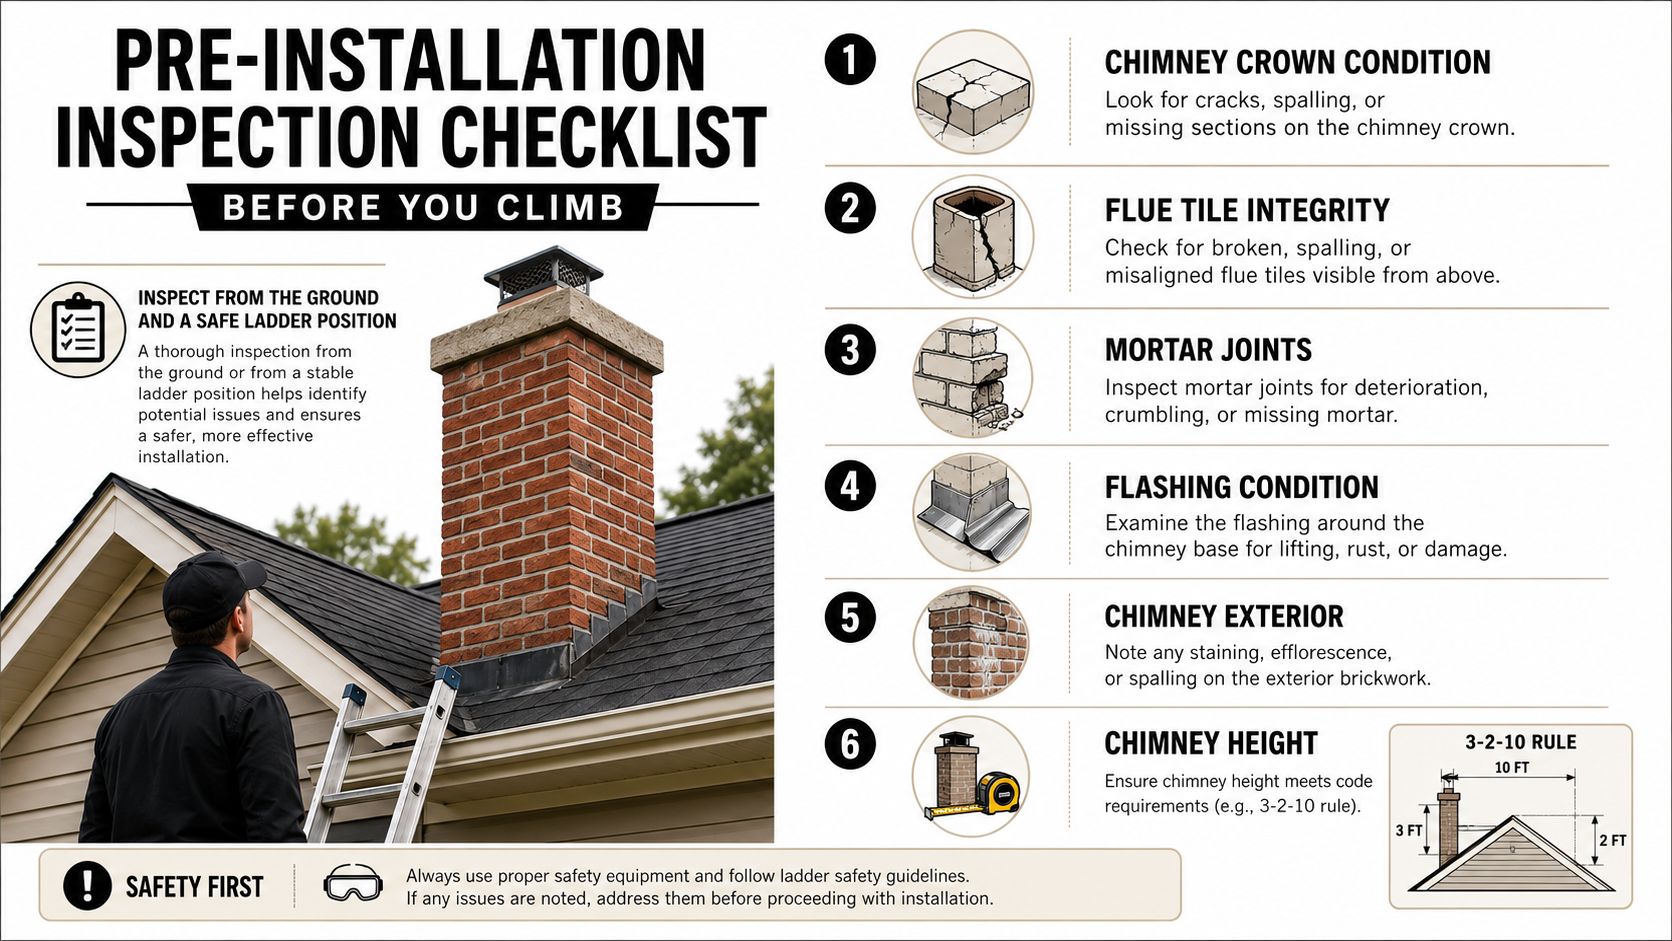
A cap is the wrong fix when the chimney crown is cracked, the flue tile is broken, the brick is spalling, or there's an active leak from masonry damage. In those cases, the right next step is repair work, crown repair, tuckpointing, flue liner replacement, or in severe cases a rebuild. Installing a cap over a failing structure can trap moisture, hide the source of the damage, and make future repairs more expensive.
Here's the homeowner-safe sequence I'd use before any install:
- Start from the yard: Look for visible cracking, stains, missing mortar, or signs of nesting.
- Use a stable ladder only if conditions are safe: Stay off steep or wet roofs without proper fall protection.
- Check the crown and flue area: You're looking for breakage, separation, or obvious gaps.
- Inspect the base of the chimney: Flashing movement or rust can point to a roof issue, not a cap issue.
- Decide whether the chimney is sound: If it isn't, stop and plan repairs first.
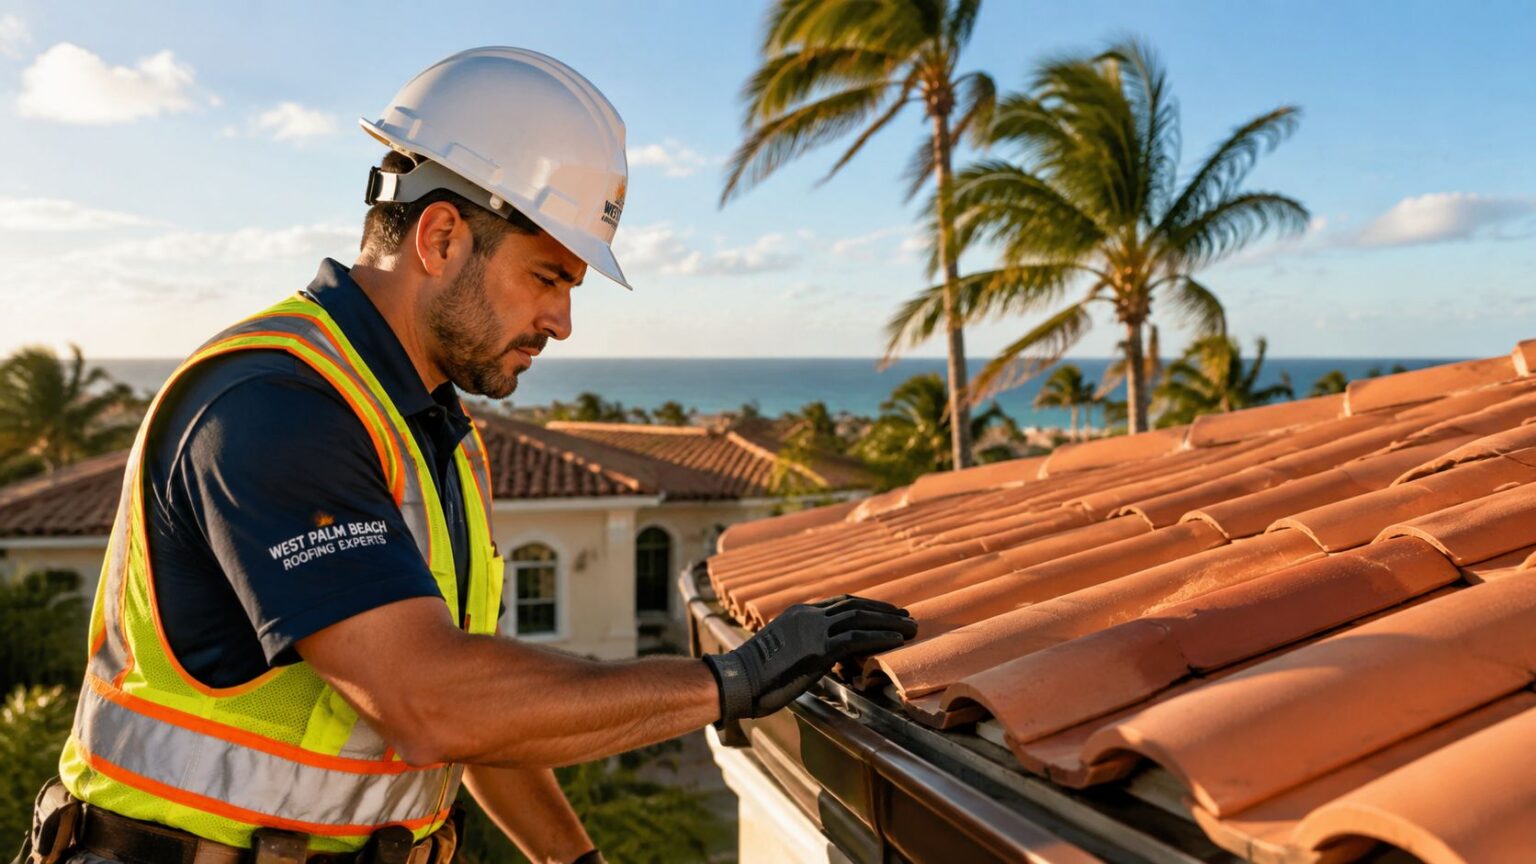
If you want a refresher on safe access and harness basics, the Growth 4 Trades safety harness roofing guide is a sensible place to start. For a closer look at how roof-condition checks tie into chimney work, this internal photo reference helps, roofing company West Palm Beach inspection context.
Step-by-Step Chimney Cap Installation on a Masonry Chimney
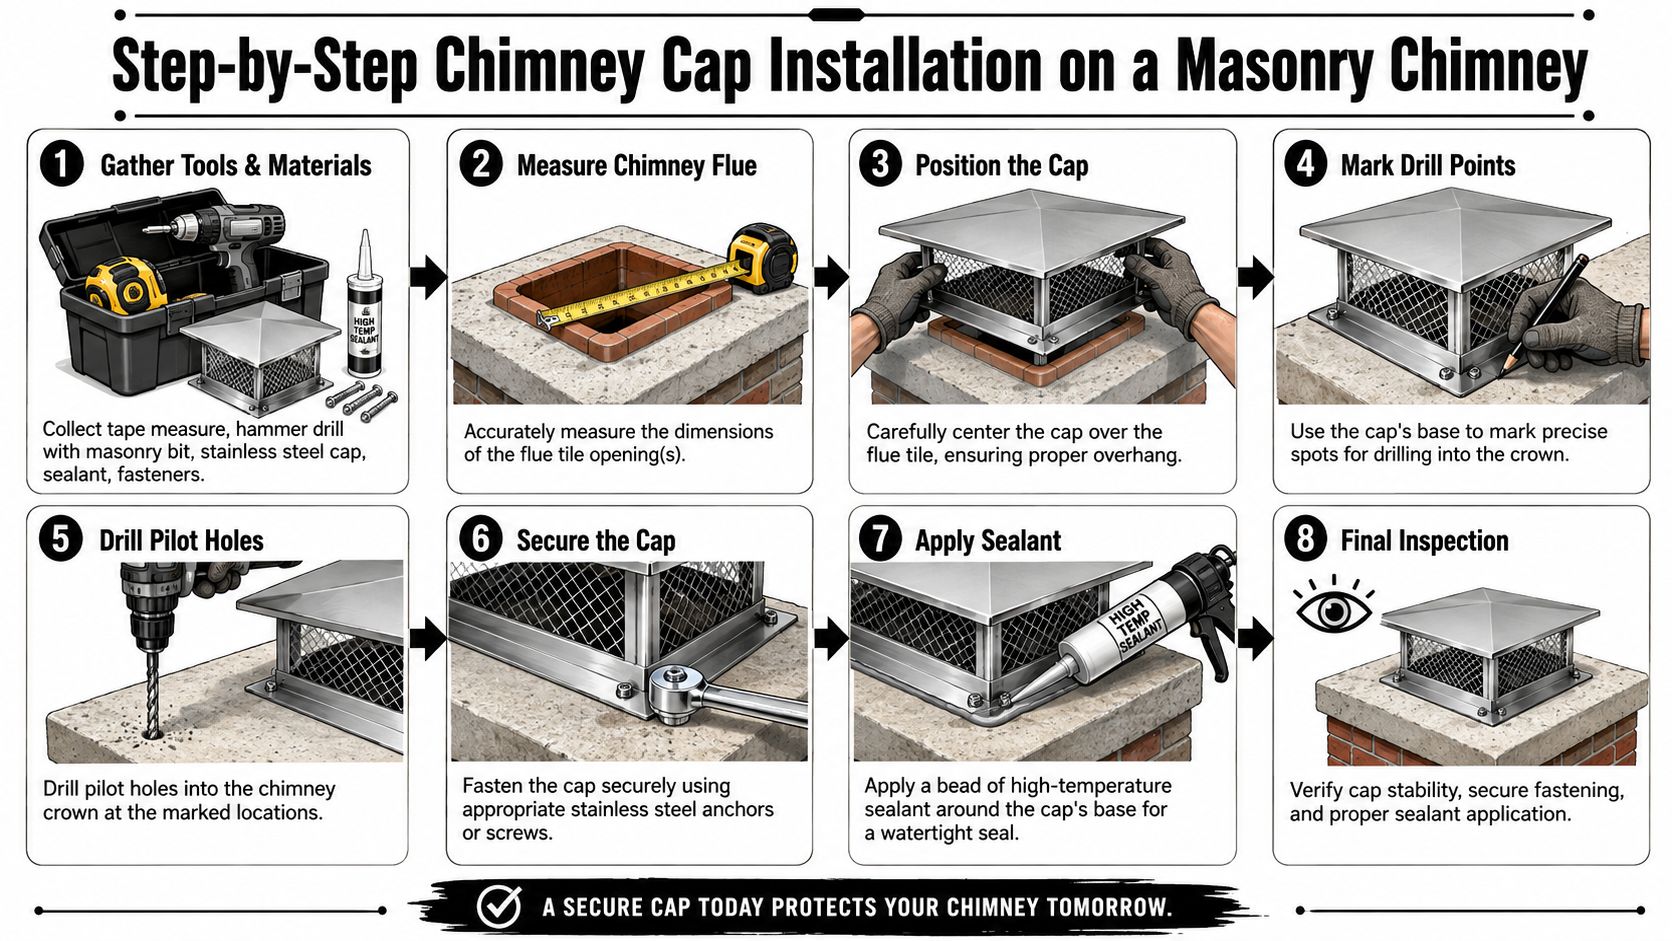
A masonry chimney install is straightforward if the dimensions are right and the crown is in good shape. The job gets sloppy when someone rushes the measurement or forces the cap to fit a flue that's slightly off. That's where most leaks and crooked installs start.
Tools and materials that belong on the roof
You want a tape measure, hammer drill with a masonry bit, stainless or masonry screws, high-temperature silicone sealant, safety harness, non-slip shoes, and a ladder stabilizer. For a coastal roof, the fastener choice matters as much as the cap itself, because standard hardware doesn't hold up well to moisture and salt.
The install sequence that actually works
Dry-fit the cap first so you can verify the fit before drilling. Mark the mounting points, then drill pilot holes with the masonry bit. A practical guide puts those pilot holes at about one inch deep on masonry chimneys, and that's usually enough for a secure bite when the substrate is sound.
After the holes are set, apply a continuous bead of high-temperature sealant along the base flange. Seat the cap, then tighten the screws evenly so the cap lands level and doesn't rack to one side. The cap should sit cleanly, with the flue tile projecting at least four inches above the cap surface per masonry industry guidance, and more if local code demands it chimney checklist technical bulletin.
On-site truth: measurement and hole placement are the two steps that usually create callbacks. If the cap is even slightly off, the fasteners don't seat right and the sealant can't do its job.
For a typical masonry roof, the final check is from the ground. Confirm the cap sits level, the mesh or hood isn't distorted, and there's no obvious gap at the flange. If it looks twisted from the driveway, it probably is.
South Florida Codes, Climate, and Real Cost Ranges
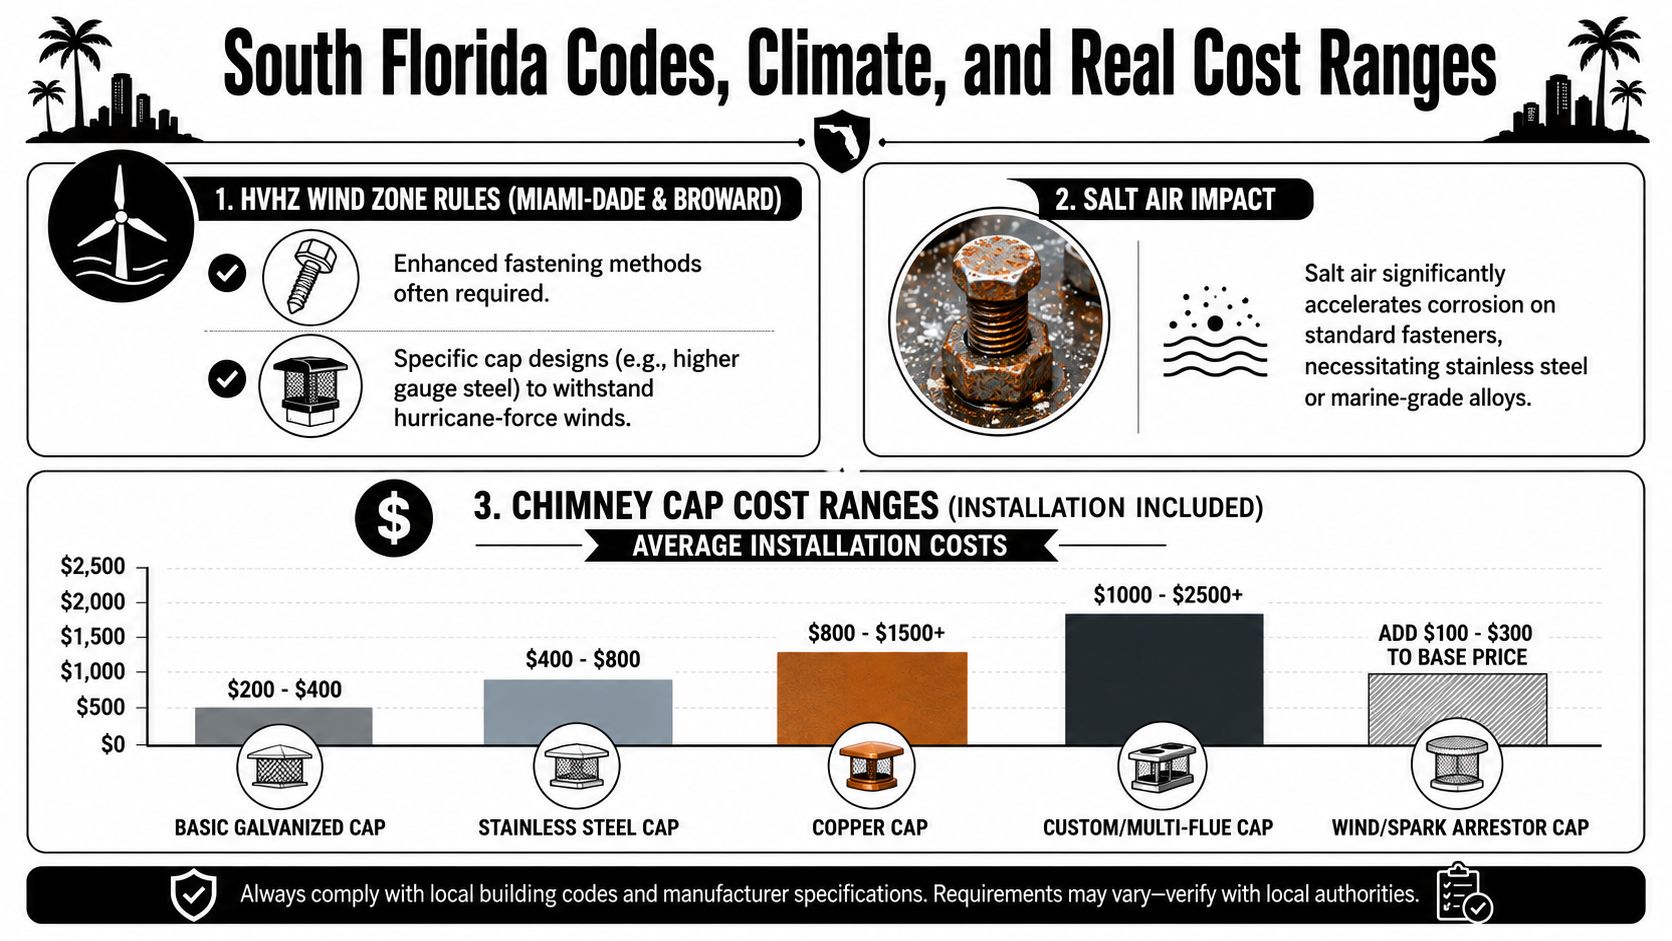
A chimney cap in South Florida is the last piece of a roof-and-chimney check, not a standalone weekend add-on. The chimney has to survive salt air, tropical downpours, and hurricane wind, and Miami-Dade and Broward sit inside the HVHZ wind zone, where fastening and cap design have to match that exposure. A cap that looks fine inland can loosen, rattle, or corrode fast on a coastal roof if the fit or hardware is wrong.
Climate pressure changes the material choice
Salt air eats at ordinary fasteners and thin coatings, so stainless steel or marine-grade hardware makes more sense on coastal roofs. Tropical rain will also expose weak sealant lines quickly, which is why the cap should be installed with sound flashing and masonry that is already in good condition. Hurricane winds raise the risk again, because any loose metal at the chimney top can turn into a repair call after the next storm.
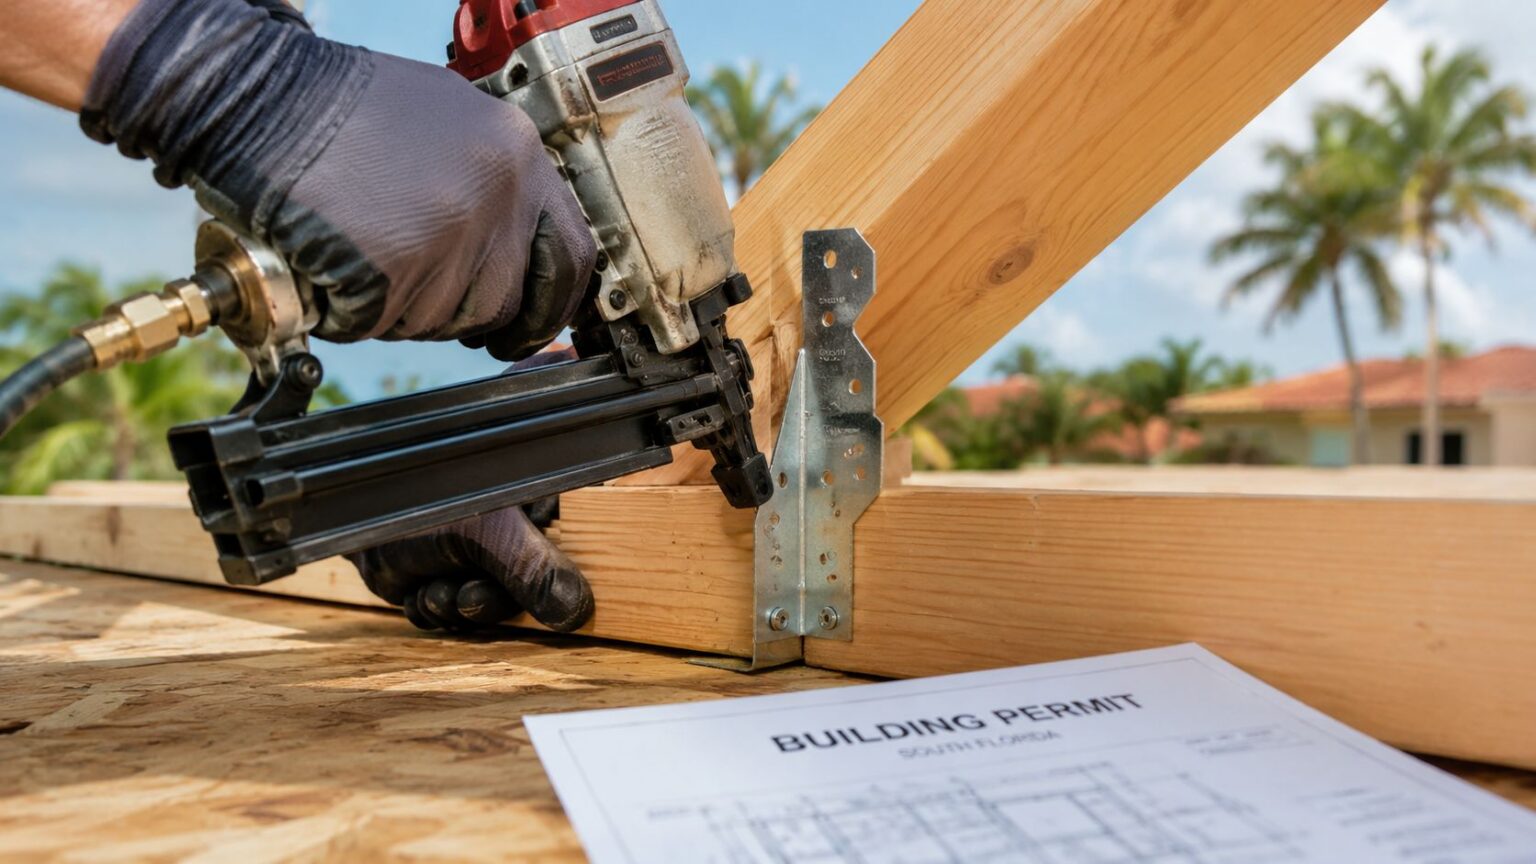
For a coastal roof, the fastener choice matters as much as the cap itself, because standard hardware does not hold up well to moisture and salt. hurricane clip installation construction context
Budgeting with real market numbers
Pricing varies for a reason. National home-services estimates from Angi cost guide place the average installed cost at about $300, with common ranges from $75 to $1,000. The same guide puts standard single-flue installs at $375 to $549, while custom multi-flue caps can reach $1,400 to $2,500+.
Market data also shows this is a real maintenance category, not a one-off odd job. A market report places the global chimney-caps market at about USD 96.66 million in 2025 and projects growth to USD 109.85 million by 2034 at 4.5% CAGR, while another estimate in the same research puts it at USD 102.76 million in 2025 and USD 148.34 million by 2035 at 3.74% CAGR. The same report says about 1.5 million chimney cap units were sold in the U.S. in 2023, with 80% in residential applications and about 300,000 units installed in the Northeast that year.
For a South Florida homeowner, the quote should separate the cap itself from labor, roof pitch, chimney height, and custom fabrication. Two similar homes can still end up with different install totals because access and wind-zone hardware change the job.
Common Chimney Cap Problems and How to Troubleshoot Them
A chimney cap isn't a one-and-done part. It can fail in predictable ways, and South Florida weather exposes those issues fast. Rust streaks, wind noise, re-entry by birds, and water after storms usually point to a fixable cause, but not always the same one.
Rust streaks usually mean the cap material or fasteners have aged out, especially on galvanized hardware in salty air. Wind-driven rattling points to loose fasteners, a poor fit, or a cap that's too light for the exposure. Water bypassing the cap often comes from a weak sealant bead or a warped flange, while animals getting back in can mean the mesh is damaged or the cap style doesn't match the flue shape.
Interior staining after a storm is the one that deserves the fastest attention. If the cap was installed over a cracked crown, the cap may have slowed the leak but didn't solve it. That's why a ceiling stain after the fact should send you back to the chimney condition check, not straight to a hardware tweak.
If the cap moved in the last storm, don't wait for the next one. Movement is a warning sign, not a cosmetic issue.
A homeowner can tighten accessible fasteners, inspect for loose mesh, and look for obvious gaps at the base. Once the cap is rusting through, lifting in wind, or sitting over masonry damage, replacement and repair belong in the same scope. That's the line where troubleshooting becomes a roofing and chimney repair job.
Maintenance Rhythm and When to Call Paletz Roofing and Inspections
A good maintenance rhythm is simple. Check the cap visually from the ground each hurricane season, look again after any named storm, and pair chimney-top work with the annual roof inspection. On masonry caps, the base flange may need resealing over time, especially where heat and weather keep working the joint.
Some jobs belong with a licensed, insured South Florida roofing company from the start. That includes two-story chimneys, steep-slope or tile roofs, visible masonry damage, post-storm movement, or any situation where the homeowner isn't comfortable climbing the ladder. In those cases, a roof inspection should separate cap work from crown repair so the wrong fix doesn't get sold as a quick answer.
For homeowners who want a cleaner intake process, automated roofing lead capture is useful background on how reputable contractors keep inspection requests organized and respond faster after storms. But the bigger point is simple, the right scope starts with the roof and chimney condition, not just the cap.
Paletz Roofing and Inspections handles roof inspections, roof repairs, and the chimney-adjacent conditions that determine whether a cap can be installed safely. If the cap is the wrong first move, the inspection should show that before anyone drills into masonry. Book the inspection during the dry season, get the scope in writing, and protect the chimney, the roof, and the interior before the next storm line rolls through.
If your chimney cap is leaking, loose, rusted, or overdue for inspection, contact Paletz Roofing and Inspections for a roof and chimney evaluation in Broward, Miami-Dade, or Palm Beach. They can inspect the masonry, confirm whether the cap is the right fix, and handle the install or repair work in one written scope.