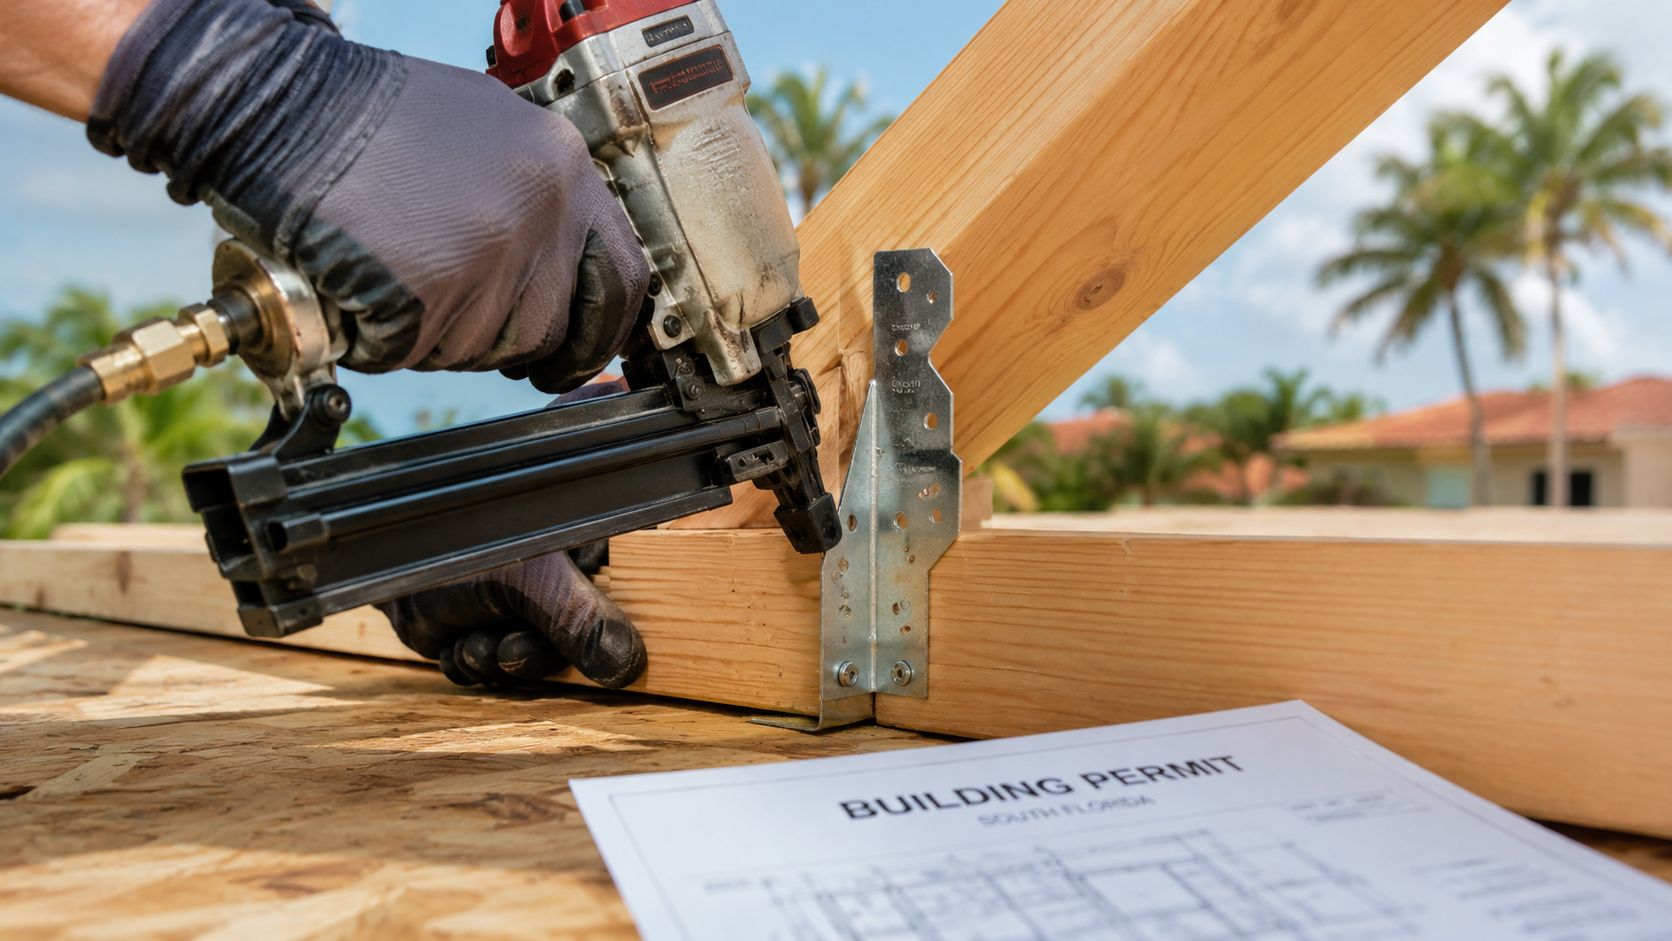
If you live in South Florida, you already know the feeling. The forecast changes, the cone shifts, and suddenly you're standing in the driveway looking at an older roof, wondering whether those roof-to-wall connectors are really there or just something the last owner mentioned once and forgot about. That's where hurricane clip installation stops being a code phrase and turns into a practical decision about how much your home can take when the wind starts working at the edges.
In Miami-Dade, Broward, and Palm Beach, this isn't just about peace of mind. After Hurricane Andrew in 1992, roof-to-wall failures pushed hurricane clips and similar connectors into the center of high-wind construction, especially in the High Velocity Hurricane Zone, where roof connections are closely inspected and mandated in new homes. The job is simple in concept, tying the roof framing to the walls so wind can't peel the structure apart, but the details matter enough that shortcuts fail fast when the weather turns ugly reference material on the Andrew-era shift and installation cost.
Table of Contents
- Why South Florida Homes Need Hurricane Clips
- How Hurricane Clips Actually Resist Wind Uplift
- Installing Clips During a New Roof or New Build
- Retrofit Options for Homes With an Existing Roof
- Code, Permits, and Inspections in the High Velocity Hurricane Zone
- What Hurricane Clip Installation Costs
- Common Installation Mistakes and How to Hire the Right Pro
Why South Florida Homes Need Hurricane Clips
A Broward County homeowner with a 1990s roof has a very specific problem. The shingles may still look fine from the street, but the key question is whether the roof framing is connected to the walls in a way that satisfies modern wind expectations, especially if the next insurance renewal asks for proof of reinforcement. In a place where storms are part of the calendar, that question isn't academic.
What the connector actually does
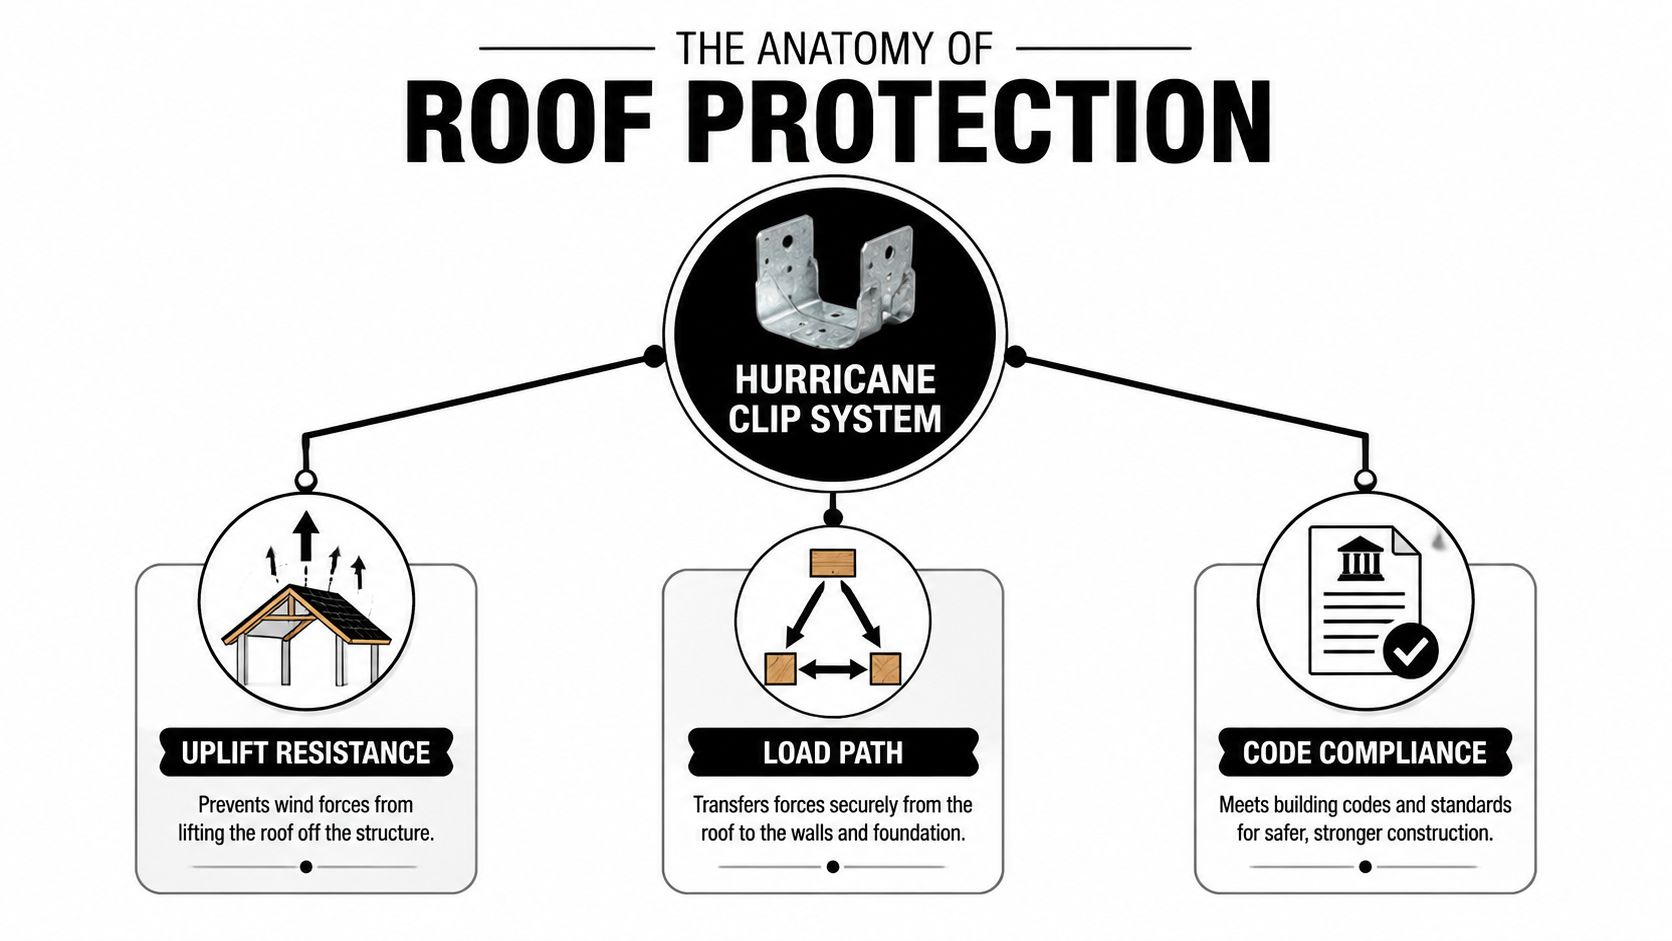
A hurricane clip is a small metal connector that ties the truss or rafter to the wall plate. A strap does the same job in a different form factor, often wrapping over or embedding into the framing connection. Both are meant to keep the roof from lifting away when wind pressure gets underneath the assembly.
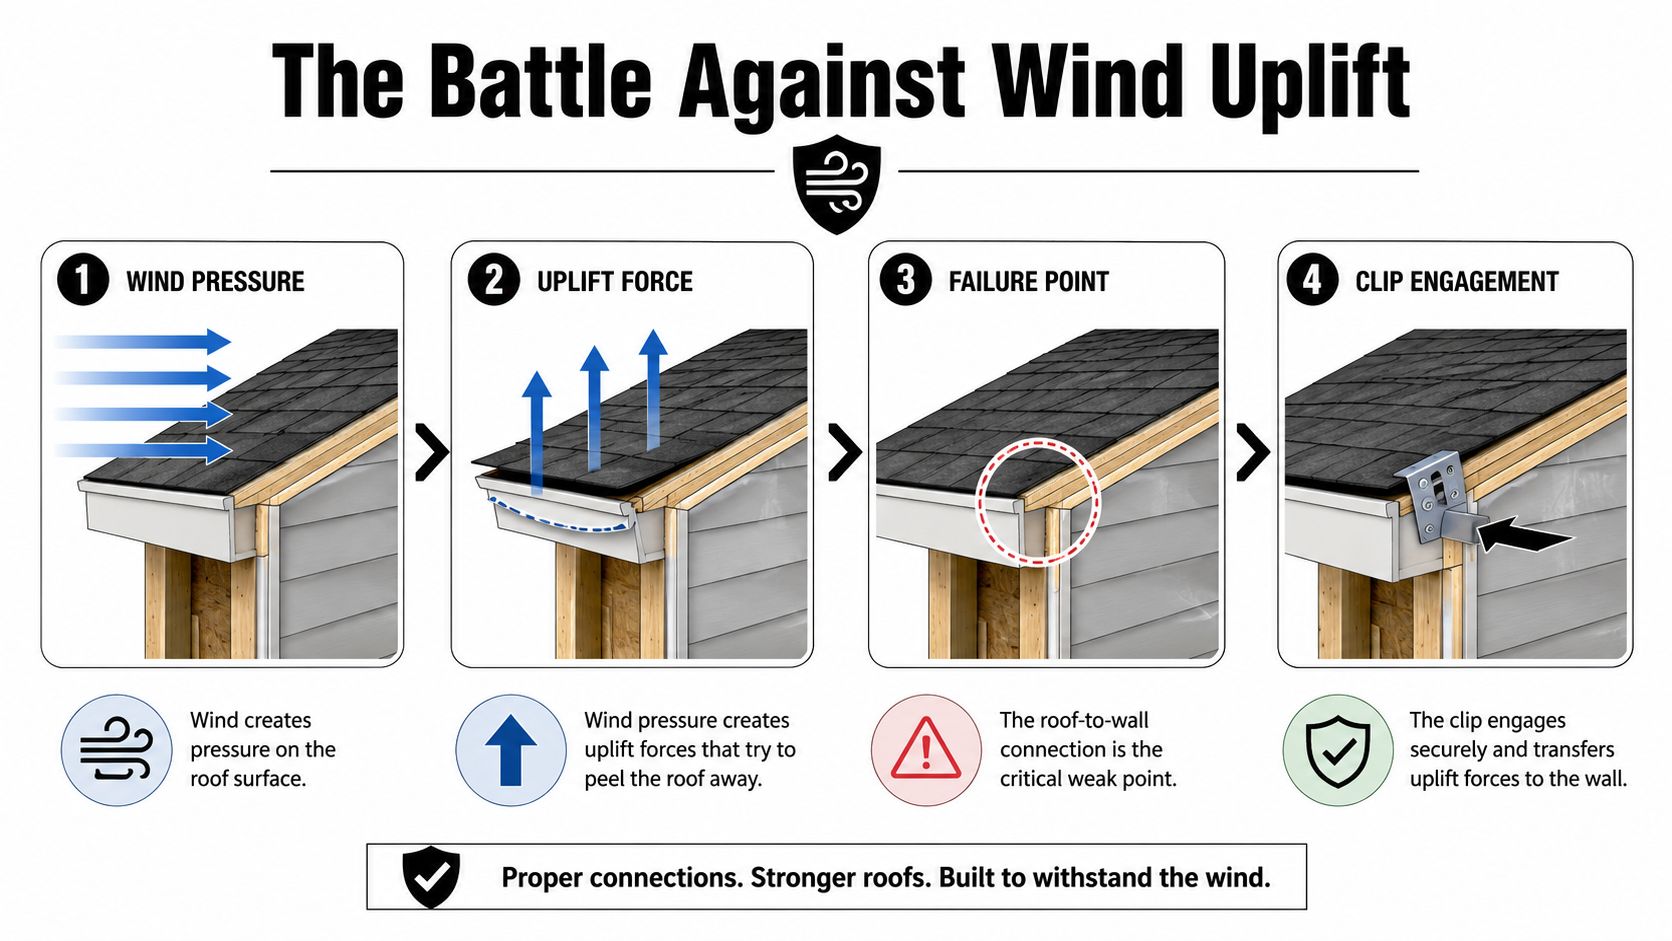
That roof-to-wall joint is the weak point people underestimate. The wind doesn't need to tear the whole house apart to cause big damage, it only needs one failed connection to start a chain reaction. Once that happens, the roof opening lets the storm work inside the structure, and the repair bill grows fast.
Practical rule: if you can't verify the connection, treat the roof as vulnerable until a roofer or inspector confirms what's actually in place.
Why the region treats it as mandatory
South Florida's code environment changed after Andrew because builders and regulators saw what roof-to-wall failure looked like in the world. In the High Velocity Hurricane Zone, roof connections are closely inspected and required in new homes, so clip work isn't a nice upgrade, it's part of the structural baseline for the market.
That's also why homeowners in Miami-Dade and Broward tend to hear about clips during reroofs, inspections, and insurance conversations. The connector itself is only one piece of the story, but it's the piece that keeps the roof tied to the house when the storm tries to separate them.
For homeowners comparing materials, the terminology matters. “Clip” usually means a toe-nailed connector at the framing junction. “Strap” usually means a longer connector that wraps or ties differently into the framing path. Either way, the point is the same, keep the roof on the house when the wind starts pulling upward.
How Hurricane Clips Actually Resist Wind Uplift
Wind doesn't push on a roof like a hand on a door. It creates pressure differences that try to peel the roof upward, and the first place that stress shows up is usually the roof-to-wall joint. That's why the connector has to be part of a continuous load path, not just a piece of metal sitting near the framing.
The load path has to stay intact
A roof load path moves force from the shingle to the decking, then to the truss or rafter, then through the wall plate, and finally into the structure below. The clip sits at the point where the roof framing meets the wall framing, which makes it a critical handoff point in the chain.
A clip is only as good as the weakest part of the joint around it.
That's why installers care so much about seating, alignment, and fastener pattern. If the clip doesn't sit flat, if the holes are missed, or if the fasteners don't match the required spec, the connector can't move uplift loads the way it was tested to do.
A useful way to think about this is that uplift-rated connectors are tested as a system, not as generic metal hardware. If the product spec calls for a certain orientation and a certain fastening schedule, improvising with nail placement defeats the point of using the connector in the first place.
For homeowners shopping parts or comparing options, a product page like Nuvo Iron 2 rafter clips from XTREME EDEALS INC. can help you see how a clip is sized and sold, but the job is always the same, it has to match the framing, the code, and the engineer's fastening requirements.
What fails first in the field
The failure pattern is usually boring, and that's what makes it dangerous. A nail is underdriven. A hole gets skipped. The clip sits skewed instead of flush. The roof may look finished, but the connection can't transfer load evenly across the joint.
If you want a clean comparison point, think of this as more than fastening wood to wood. The connector has to bridge a specific structural junction, and the installation has to preserve that bridge under uplift. Once the geometry is off, the load path becomes less reliable, even if the metal is still there.
Installing Clips During a New Roof or New Build
On a new build or a full reroof with the deck open, the work is direct because the framing is visible. Every rafter-to-wall plate junction can be checked, the connector can be placed where the load path belongs, and the clip can be seated before the roof assembly gets buried under the next layer. In South Florida, that early access matters because the High Velocity Hurricane Zone expects the connection to be right the first time, not patched around later after the roof is closed.
The sequence that passes inspection
The roofer starts by identifying the framing junction and confirming that the connector matches the framing type and the approved product. The clip is then set so it fully bridges the truss or rafter to the wall plate, and it has to sit flat and fully seated before any fasteners go in. That part sounds basic, but many inspection problems start with a clip that is slightly off, tilted, or forced into place.
Florida guidance commonly expects each clip to be secured with a minimum of three nails, and the connection has to leave less than 1/2-inch gap from the blocking or truss or rafter. Those two details work together, because a clip that is present but not seated correctly cannot transfer load the way it should Florida building-related guidance on clip fastening and gap tolerance.
What good field work looks like
The installer drives the prescribed fasteners through every designated hole, not through random points in the metal. With connector work, the strength is in the specified fastening pattern, so an unused hole or a misplaced nail is not a minor miss, it changes how the connection performs under uplift.
A practical layout benchmark from market guidance puts high-wind residential spacing at 2 to 4 feet, with the highest-wind zones sometimes requiring ties every 2 feet market guidance on clip spacing and counts. For a homeowner, that means the work is repetitive and methodical, not a one-off hardware add-on.
The job also benefits from tight quality control. Installers should check for a snug fit, a flush seat, and full fastener engagement before the assembly gets covered up. That is what separates a connection that merely looks installed from one that is ready for inspection and storm loading.
A contractor doing this work right will usually welcome a pre-close inspection. If you are comparing crews, ask whether they document the fastening schedule and whether they are willing to show you the installed clips before the roof is closed.
For homeowners trying to visualize the broader roof work that usually happens alongside this, this roof installation reference image helps show the scale of a typical open-deck project.
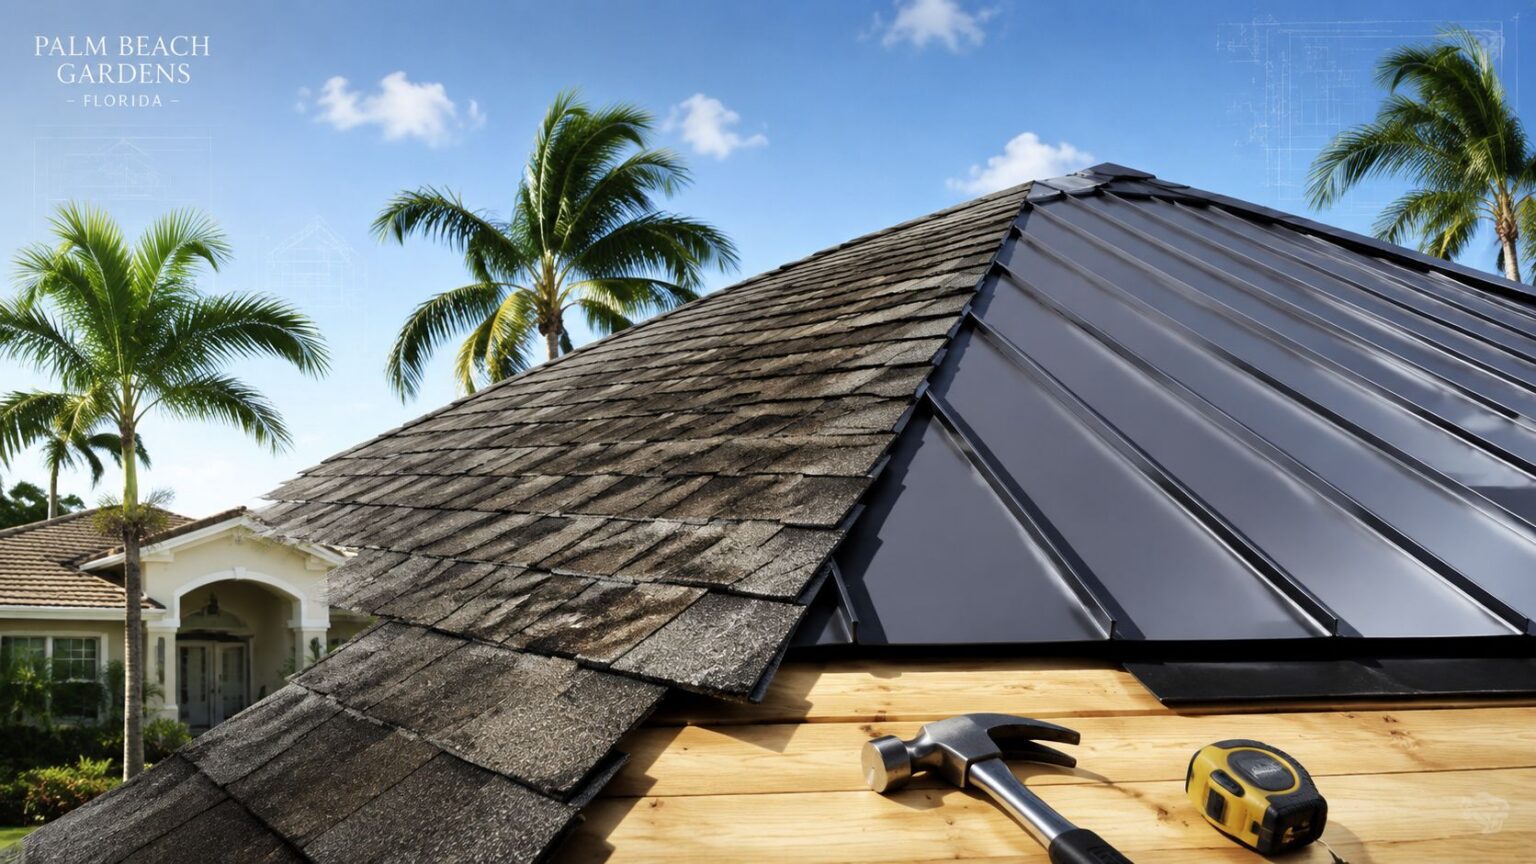
If the framing is exposed, that is the cleanest time to do the job. Every layer below it makes access harder.
Homeowners who are buying tools for a reroof often ask about nailers, and open-box Ridgid nailer discounts can be relevant to the broader roofing setup. The important part is still the same, the tool has to support the connector spec, not replace it.
Retrofit Options for Homes With an Existing Roof
The big homeowner question is simple. Can clips be added after the roof is already finished? Sometimes yes, sometimes no, and the right answer depends on how much access the roofer can get without opening more of the house than necessary.
The three realistic access paths
Attic access is the least disruptive when the framing is reachable from inside. A contractor can work at the roof-to-wall junction from below, but the attic has to be accessible, and the layout has to give enough room to place and fasten the clip correctly. If the attic is tight, low, or cluttered with old insulation and ductwork, the job gets slower and more limited.
Soffit removal gives a crew access from the eaves. That can work well when the framing is close enough to reach from the edge, but it adds exterior finish work and usually means more labor to restore what got opened. Homeowners should expect the contractor to explain how the soffit will be removed, how it will be closed back up, and whether any patching will be visible.
Partial tear-off is the cleanest structural answer when the roof covering is already near the end of its life or the connection can't be reached any other way. In that case, clipping becomes part of the reroof process instead of a separate retrofit task.
When a clip-only retrofit makes sense
A clip-only retrofit is most realistic when the roof covering still has useful life, the attic is accessible, and the contractor can reach the framing junction without major demolition. That's the scenario people hope for, because it keeps the job narrower and usually avoids bringing drywall repair into the picture.
Retrofit work is a trade-off between access and disruption. The more hidden the framing is, the more opening and repair the job usually needs.
For a homeowner trying to see what a contractor sees, this roof repair inspection reference is a good mental model. The primary question isn't whether the roof is old, it's whether the connection is reachable, inspectable, and worth opening without turning a targeted retrofit into a larger rebuild.
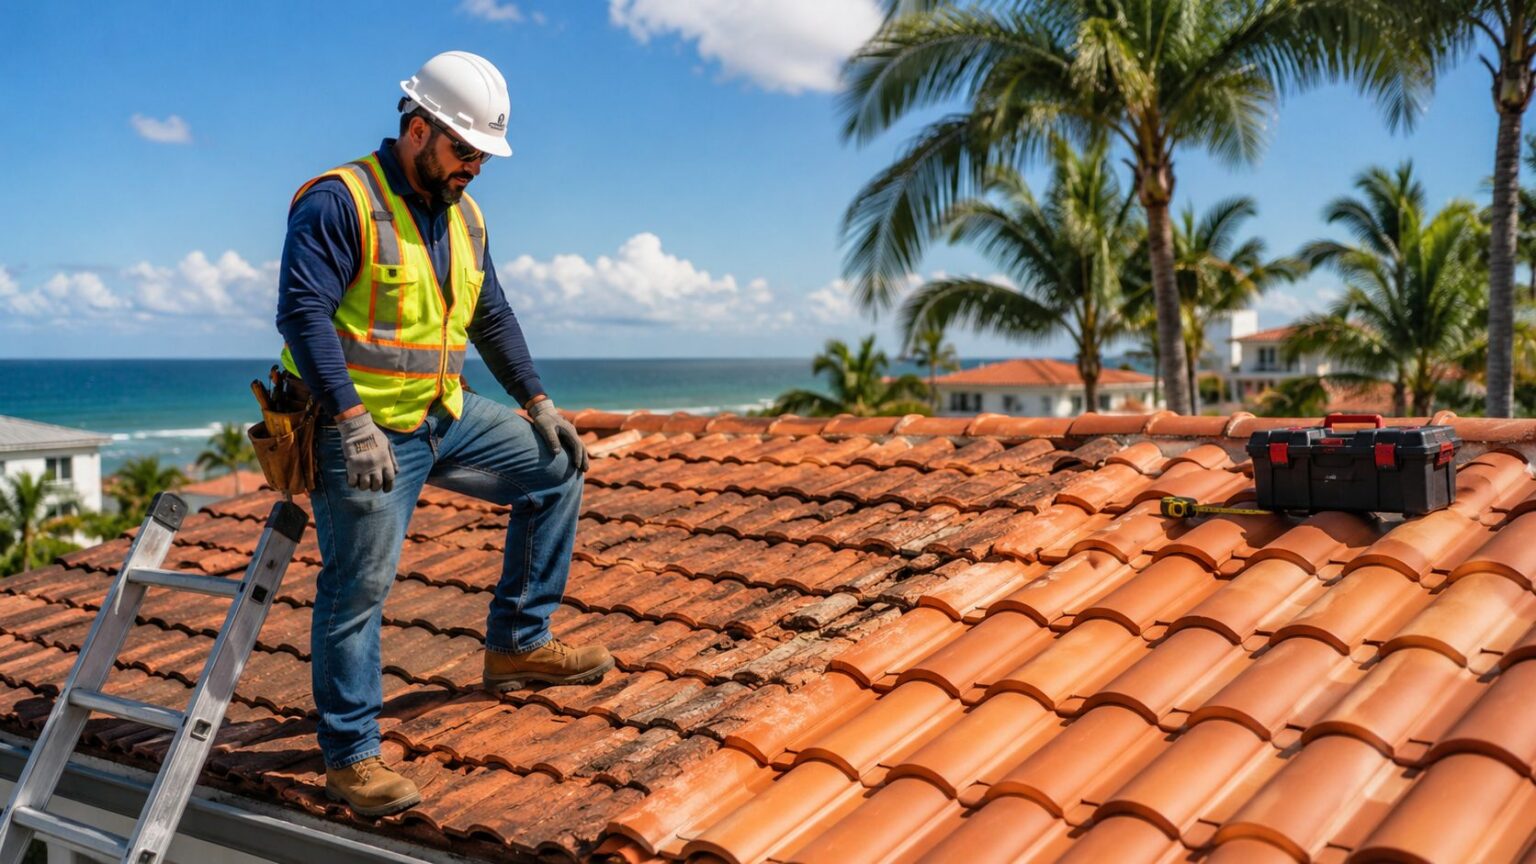
A seasoned roofer will also tell you when to stop forcing a retrofit and plan a reroof instead. If the existing covering is already nearing replacement, opening the roof for clip work can cost more in access and restoration than bundling the reinforcement into the next roof project.
Code, Permits, and Inspections in the High Velocity Hurricane Zone
In the High Velocity Hurricane Zone, the job starts with the paperwork as much as the hardware. After Hurricane Andrew, South Florida stopped treating roof connections as a casual detail, and that history still shows up in how inspectors handle clip work today. The key questions are simple: whether the connector is approved for the zone, whether the installation matches the approved plan, and whether an inspector can verify the fastening and corrosion details before the roof gets closed.
What the building department looks for
Miami-Dade and Broward product approvals matter because the clip has to match the wind zone and the approved use case. The building department is not just checking that metal is sitting at the joint. It is checking whether the connector is the right one, installed the right way, with the right fasteners, and tied into the structure the way the approval requires.
A permit may be required when the work changes the structure or when the reroof triggers inspection and approval. Contractors should sort out the permit path before the job starts, not after the first sheet of decking is already open. Some retrofits also trigger engineering review, especially when the existing roof assembly, access method, or fastening plan does not fit a simple off-the-shelf install.
Corrosion matters in coastal air
Coastal homes fight wind and salt air at the same time. That is why corrosion-resistant fasteners matter, and why visible severe corrosion is a problem in clip inspections. Florida building-related guidance commonly expects the clip to be secured to the truss or rafter with a minimum of three nails, attached to the wall top plate or embedded in the bond beam, and installed with less than 1/2-inch gap at the connection point, with visible severe corrosion not allowed. For the approval side of the job, Miami-Dade's product approval records and wind-resistant construction requirements are the documents contractors and inspectors rely on, not guesswork.
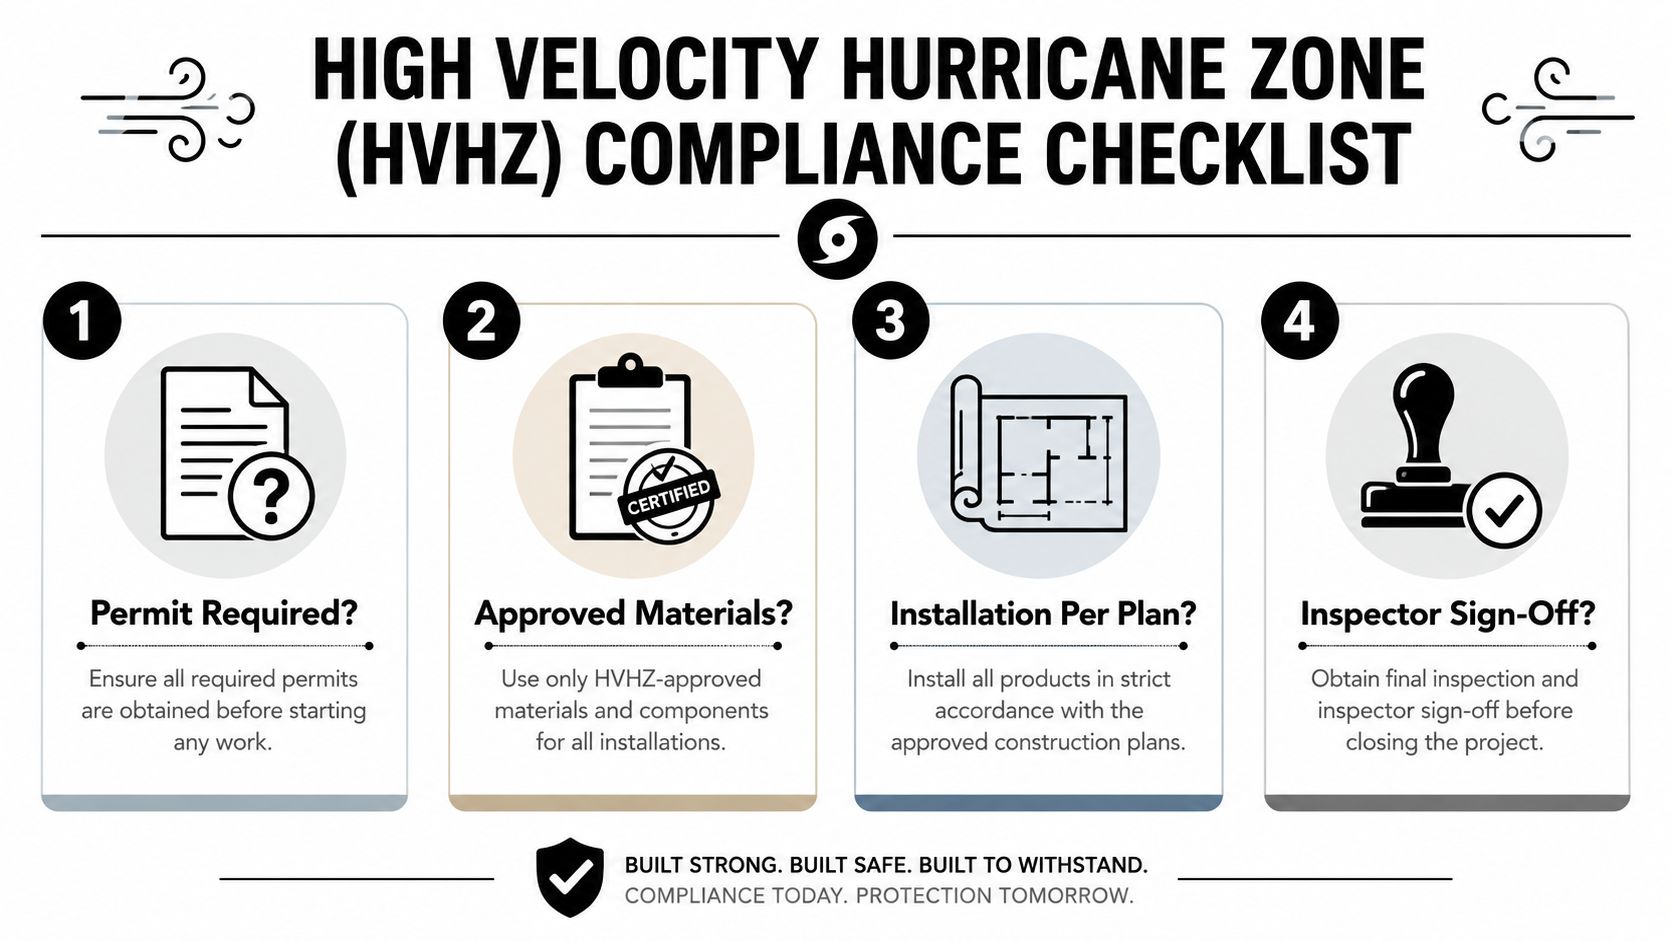
If you want the work to help later with insurance conversations, keep the permit, product approval, and inspection records together. That paper trail matters because the value of the work is not just the metal, it is proof that the structure was reinforced in a code-compliant way.
What Hurricane Clip Installation Costs
Clip work gets priced differently depending on whether it is tied to a reroof or handled as a retrofit on an existing roof. During a roof project, one industry source puts clips or straps at about $1,000 to $2,000, while broader retrofit work can run from a few thousand dollars to $5,000 depending on access and home design installation cost reference.
How to read a quote without getting burned
A clean quote separates labor, fasteners, access work, and any restoration tied to soffit or interior openings. If a contractor hides all of that in one line, you cannot tell whether the price reflects real structural work or a pile of vague allowances.
South Florida homeowners should also expect the bid to reflect the job site, not just the connector itself. A roof in the High Velocity Hurricane Zone can demand different labor than the same hardware on a dry inland house, especially when the crew has to work around sealed attic spaces, finished ceilings, or older framing that does not line up cleanly with current fastening schedules.
For a broader read on connector pricing and market pressure, a market report values the global hurricane clip market at $1.2 billion in 2025 and projects it at $1.9 billion by 2034 at a 5.8% CAGR market projection. That does not set a South Florida quote, but it does show this is a mature building category driven by code, not a novelty item.
The part homeowners often miss is the paper trail. If the work is being done for wind-mitigation value, keep the permit, product approval, and inspection records together, and make sure the installer can point to the approved clip and fastener schedule for the exact roof condition. That is the difference between metal on wood and reinforcement that stands up in a code conversation later.
Hurricane Clip Installation Cost Ranges in South Florida
| Scope | Typical Cost | Best For |
|---|---|---|
| Clip work during a reroof | About $1,000 to $2,000 | Homes already opening the roof deck for replacement |
| Broader retrofit with limited access | A few thousand dollars to $5,000 | Existing roofs where attic or soffit access is possible |
| Full reinforcement bundled with other wind-mitigation work | Varies by access and home design | Owners pairing clips with related structural upgrades |
The size of the home still matters, but only as a starting point. Market data for a typical home with a 2,500-square-foot roof area estimates roughly 180 to 240 clips, and material costs around $150 to $400 depending on clip type and specification market sizing and material estimate. Labor, access, corrosion protection, and restoration are what move the final bill.
For homeowners comparing trades, a deck hardware guide is a useful reminder that connectors only perform when the fastening pattern matches the load path. Roof clips are different hardware, but the rule is the same. The connector is part of the structure, not decoration.
Common Installation Mistakes and How to Hire the Right Pro
The mistakes that fail inspections are usually plain to a trained eye. Underdriven nails, missed nail holes, skewed clips, over-spacing, and unrated fasteners in coastal air are the ones that create real trouble, because they weaken the connection before the wind ever shows up.
What you can spot before the roof gets covered
If you can safely look in the attic, check whether the clip sits flat against both members and whether the fasteners look fully driven. A crooked connector or a visible gap at the joint is a warning sign, not a cosmetic issue. The same goes for any obvious corrosion around the hardware.
For anyone who likes comparing structural hardware across trades, a deck hardware guide from Utah Deck Supply can be a useful reminder that connectors only work when the right fastening pattern matches the load path. Roof clips are different hardware, but the principle is the same, the connector is part of the structure, not decoration.
Questions that separate pros from pretenders
Ask whether the contractor is licensed and insured in the counties where the work is being done. Ask who handles the permit, who signs off on the inspection, and whether the crew will use the approved connector and fastener schedule for the specific roof condition. If they can't answer those questions clearly, keep looking.
A written proposal should spell out the connector type, fastening count, access method, restoration scope, and inspection process. If it mentions only “install clips” without those details, it's too thin to compare fairly against a real structural bid.
A low number means nothing if the contractor cuts the fastening schedule or skips the access work needed to do it right.
For homeowners comparing bids, this roofing inspection reference image is a good reminder that the job should end with a clear inspection path, not a guess.
If your roof is due for a check or you need a clear answer on retrofit versus reroof, Paletz Roofing and Inspections can inspect the roof-to-wall connection, review the access path, and handle the repair or reroof work that goes with it. Visit Paletz Roofing and Inspections to schedule a roof inspection and get the clip question answered before the next storm cycle starts.