The storm has passed, but the essential work often starts when you notice the lifted shingles, the stain spreading across a bedroom ceiling, or the drip that wasn’t there yesterday. In South Florida, that moment puts you on a clock. If you handle the next few days well, your claim has a much better chance of moving cleanly. If you guess, wait, or let the wrong person control the story, you can end up fighting over scope, cause, or value.
This is how to file a roof insurance claim the way seasoned roofers handle it after hurricanes and wind events in Broward, Miami-Dade, and Palm Beach. The goal isn’t just to open a claim. It’s to document storm damage clearly, protect the house from further loss, and keep the insurer from reducing a roof problem into a patch job that doesn’t match the actual condition of the system.
Navigating Your Roof Claim After a South Florida Storm
The calls usually sound the same after a bad storm. A homeowner hears wind all night, sees debris in the yard in the morning, and then notices a leak hours later when the ceiling starts to discolor. Another walks outside and spots ridge pieces on the lawn. Someone else doesn’t see anything obvious until water shows up around a vent stack two days later.

In South Florida, roof claims aren’t routine paperwork. They’re high-friction claims in a market where insurers, adjusters, contractors, and homeowners all know storm volume can explode overnight. That matters because roof-related issues account for nearly one in five homeowners insurance claims, and after major events the pressure on the system gets intense. The same source notes that Hurricane Ian in 2022 caused over $112 billion in damages across Florida, with roof claims surging, and that policies often require reporting damage within 24 to 72 hours. You can review that context in this roof insurance claim process guide.
Why South Florida claims get extra scrutiny
Salt air, heat, UV exposure, and repeated wind events age roofing systems differently here than they do in milder climates. Insurers know that. If there’s any room to argue that damage came from wear, deferred maintenance, or an older roof reaching the end of its service life, they may use that opening.
That doesn’t mean valid claims can’t get approved. It means your claim has to be built on facts, not assumptions.
Practical rule: In South Florida, the first version of the story usually sticks. If the file starts with weak photos, vague dates, or casual guesses about the damage, it’s hard to clean that up later.
What works and what backfires
Homeowners do best when they treat the process like evidence collection from day one. They struggle when they do one of these things:
- Waiting for a leak to get worse: Water intrusion that spreads after the storm can create arguments about preventable secondary damage.
- Calling the insurer before documenting the roof: Once the claim starts, every later detail is measured against what was reported first.
- Letting anyone promise a “free roof” without proof: South Florida sees enough storm traffic that bad advice travels fast.
A solid claim puts the home back together. A sloppy one turns into weeks of back-and-forth over missing line items, code issues, and whether the carrier will even pay for matching materials. That’s why the steps before the first claim call matter so much.
First Response What to Do Before You Call Your Insurer
The first mistake after a storm is climbing onto the roof. The second is assuming no visible leak means no claim. Handle the house safely, gather the basics, and get a roofer’s eyes on the damage before the insurance conversation starts.

Start with safety and stabilization
After any hurricane or wind event, walk the property from the ground. Don’t get on ladders if the roof is wet, if power lines are down nearby, or if tree limbs are hanging over the structure.
Use this ground-level checklist:
- Look for displaced materials: shingles, tile fragments, metal trim, ridge caps, flashing pieces, and fasteners in the yard.
- Check the ceiling line inside: stains, bubbling paint, damp drywall, wet insulation smell, or active drips.
- Inspect vulnerable transitions: valleys, ridges, skylights, vents, chimney areas, wall flashings, and flat-roof penetrations.
- Watch for sagging or structural warning signs: if decking may be compromised, keep people out of the affected area.
If water is entering, mitigate it. Tarping, emergency patches, moving furniture, and catching interior water are common first steps. Keep every receipt and take photos before and after the temporary work.
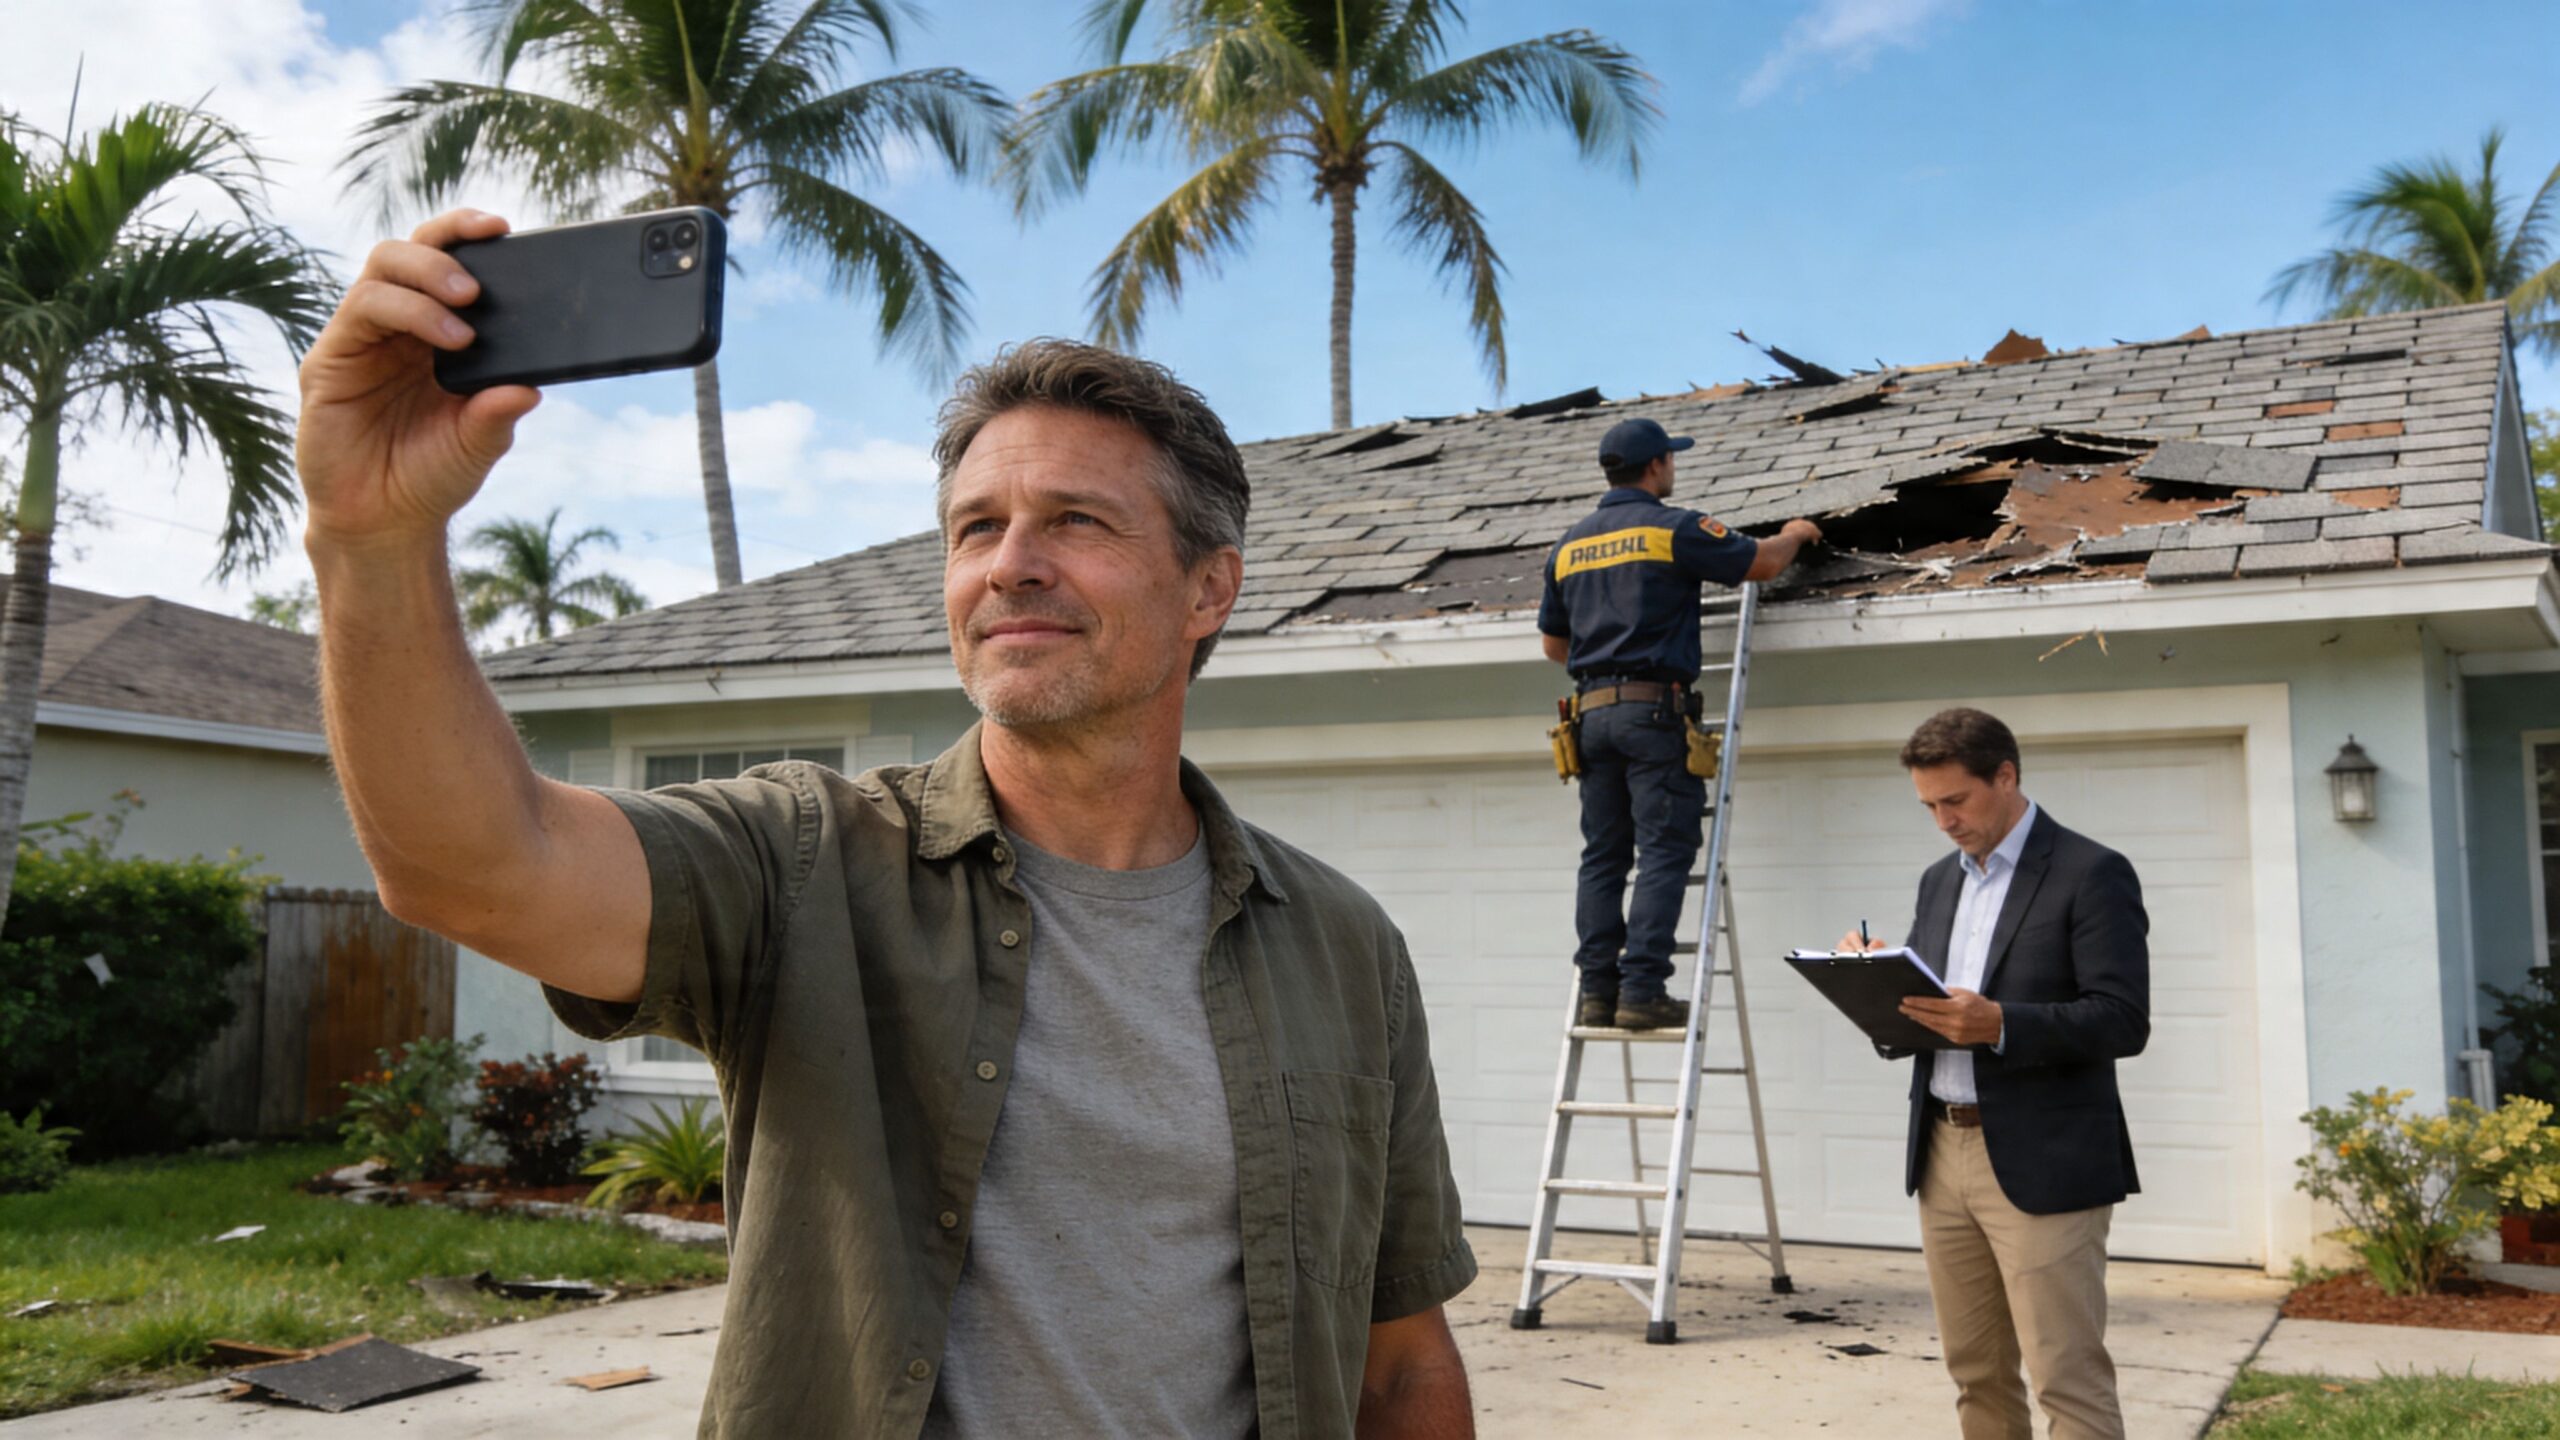
Why the contractor call should come first
A licensed roofing contractor gives you a baseline before claim language starts shaping the file. That matters because homeowners often underreport what they’re seeing. They’ll mention “a small leak” when the actual issue includes lifted shingles, broken seals, damaged flashing, wet underlayment, and interior staining.
A contractor also helps separate likely storm damage from older roof conditions. In South Florida, that distinction matters more than people realize because coastal weather ages roofs unevenly. A wind event can exploit an older weak point, but the claim still has to show what the storm did, not just what the roof looked like beforehand.
One option in this market is Paletz Roofing and Inspections, which provides roof inspections and damage assessments for claim documentation. The key is not the company name by itself. It’s using a licensed local roofer who understands South Florida roof systems, local code issues, and what adjusters tend to miss.
The deadline problem most homeowners learn too late
Many people assume the filing clock starts when they discover the leak. In South Florida, that assumption can hurt them. This South Florida roof damage claim guidance notes that the clock starts from the date of the storm, not the date you noticed the damage. It also notes that during peak hurricane season, adjusters may take 60+ days to inspect even though your filing window stays fixed.
If a storm hit on Friday and you found the leak on Monday, the storm date is still the date that matters.
That’s why I tell homeowners not to wait for certainty. If the roof likely took storm damage, move immediately.
A simple first-day sequence
This order works well in the field:
- Make the home safe. Stop active water entry if you can do it safely.
- Photograph everything before cleanup. Yard debris, roofing pieces, ceiling stains, wet contents.
- Call a licensed roofer for an inspection. Ask for photos, marked damage areas, and a written report.
- Pull your policy information together. You’ll need the policy number and carrier details handy.
- Then notify the insurer. Give facts, not guesses.
What doesn’t work is calling three storm-chasing sales teams, signing paperwork you haven’t read, or assuming the insurer’s adjuster will build the full claim for you. The adjuster evaluates the loss for the carrier. Your roofer documents the roof from your side.
Building Your Evidence A Guide to Flawless Documentation
Most claim problems aren’t caused by the storm. They’re caused by weak evidence. If you want to know how to file a roof insurance claim without leaving obvious holes in the file, this is the part to get right.

The strongest claims show three things clearly. What was damaged, when it was damaged, and why the damage points to a covered event instead of age or neglect.
The five pieces adjusters look for
South Florida claims get stronger when the file includes the evidence categories identified in this roof insurance documentation guide: wide-angle and close-up photos, a firm date of loss established through storm records, a professional contractor’s report, a detailed repair estimate to compare against the adjuster’s offer, and receipts for temporary repairs. That same source notes that South Florida labor rates are 15% to 25% higher, which is one reason a contractor estimate matters when the carrier’s pricing comes in light.
What to photograph and how to do it
Homeowners often take a few close-ups and think they’re done. That’s not enough. The file needs context and detail.
Use this approach:
- Start wide: capture each roof slope, each elevation of the home, detached structures, fences, screens, and fallen debris patterns.
- Then move tight: photograph torn shingles, lifted tabs, cracked tiles, damaged flashing, punctures, exposed underlayment, and impact points.
- Document the interior: ceiling stains, wet trim, damaged insulation, warped flooring, damaged personal property.
- Include scale when useful: a glove, tape measure, or other visible reference can help show the size of damage.
- Keep originals: don’t filter, crop aggressively, or overwrite metadata.
If you can safely do a video walkthrough from the ground or attic, narrate it plainly: the storm date, where you’re standing, what you’re seeing, when the leak was first noticed, and whether temporary mitigation has been installed.
Good documentation is boring on purpose. Clear dates, clean labels, and plain descriptions beat dramatic language every time.
Build a claim file like a contractor would
Create one digital folder for the claim and split it into subfolders. Keep it organized from the start.
Suggested folders:
- Storm date evidence
- Exterior roof photos
- Interior damage photos
- Temporary repair receipts
- Contractor inspection report
- Carrier communications
- Estimate comparisons
If you want cleaner measurements before anyone argues over size or slope, tools based on satellite roof measurements can help you verify roof geometry and reduce disputes about facets, pitch changes, and total area. They don’t replace a field inspection, but they can support it.
Homeowners also benefit from keeping a visual baseline image of the property with the file. Even a simple reference image like this roof condition snapshot can help organize before-and-after records if you label it correctly.
Roof Damage Claim Documentation Checklist
| Evidence Category | What to Collect | Pro Tip |
|---|---|---|
| Roof overview | Wide shots of every slope and roof section | Take photos before tarping if safe to do so |
| Damage detail | Close-ups of missing, creased, cracked, or lifted materials | Photograph the same area from more than one angle |
| Date of loss | Storm date, time, and any weather records tied to your address | Use one date consistently across every form and email |
| Contractor findings | Written inspection report with marked damage areas | Ask the roofer to distinguish storm damage from older wear |
| Temporary mitigation | Tarp, patch, drying, and cleanup receipts | Photograph the emergency work before and after |
| Interior impact | Ceiling stains, wall damage, attic moisture, damaged contents | Match each interior issue to the area of roof above it |
| Claim communications | Emails, claim number, call notes, names, and dates | Keep a running log after every call |
Keep a communication log
Many otherwise solid claims frequently encounter difficulties at this juncture. Every time you speak with the insurer, contractor, desk adjuster, field adjuster, or mitigation company, write down:
- who you spoke with
- date and time
- what was discussed
- what documents were requested
- what deadlines were mentioned
- what the next promised action was
That running log becomes useful when a carrier says they never received photos, when an adjuster changes, or when a supplement needs to show that a missing item was raised earlier.
What weakens a file fast
A few habits can undercut good evidence:
- Mixing old and new damage photos together
- Using uncertain language like “I think” or “maybe hail”
- Throwing away broken roofing material before it’s documented
- Submitting estimates with vague descriptions instead of line items
Strong claims don’t depend on one dramatic image. They depend on a complete record that makes it hard for anyone to say the cause, scope, or timing is unclear.
Engaging Your Insurer and Managing the Adjuster Visit
Once the evidence is organized, open the claim. Keep the report factual. Then prepare for the adjuster visit like it matters, because it does.

What to say when you file
The first notice doesn’t need a speech. It needs accurate basics.
A clean version sounds like this:
“I’m reporting roof damage from the storm that hit on [date]. I’ve observed roof material displacement and interior water intrusion. I’ve taken steps to prevent further damage and I’m requesting an inspection.”
That wording does three smart things. It identifies the event date, describes observed conditions, and avoids guessing about repair cost or technical cause before inspections are complete.
Don’t volunteer theories if you don’t know. Don’t say the whole roof needs replacement unless a qualified inspection supports that. Don’t minimize the issue either.
The adjuster visit is not a passive appointment
A lot of homeowners think the adjuster is coming to find every problem and write a complete scope. Sometimes they do a thorough job. Sometimes they miss damaged accessories, skip code-related items, or focus on the easiest visible sections.
That’s why contractor presence matters.
The strongest setup is to have your roofer there during the inspection with the photo package, damage map, and estimate framework ready. This creates a side-by-side review of what the carrier sees versus what your inspection found.
A helpful homeowner resource on how to deal with insurance adjusters is worth reading before that meeting, especially if you’re not used to claim conversations.
Why the AOC can change the pace of the claim
This is one of the few paperwork decisions that can directly affect speed. The Assignment of Claim guidance explains that signing an AOC immediately after a roofer’s inspection authorizes the contractor to speak directly with your insurer and adjuster. That formalizes communication and can reduce the 7 to 14 day delays that happen when adjusters keep waiting for homeowner approvals or clarifications.
That doesn’t mean every homeowner should sign every form put in front of them. It means you should understand what the document authorizes and when direct contractor communication will help the file move.
How to run the inspection day
Keep the appointment controlled and well documented.
Bring or prepare:
- Your claim file: photos, notes, receipts, contractor report
- A written list of observed issues: leaks, ceiling stains, detached materials, emergency repairs
- Access points: attic hatch, locked gates, garage, electrical access if needed
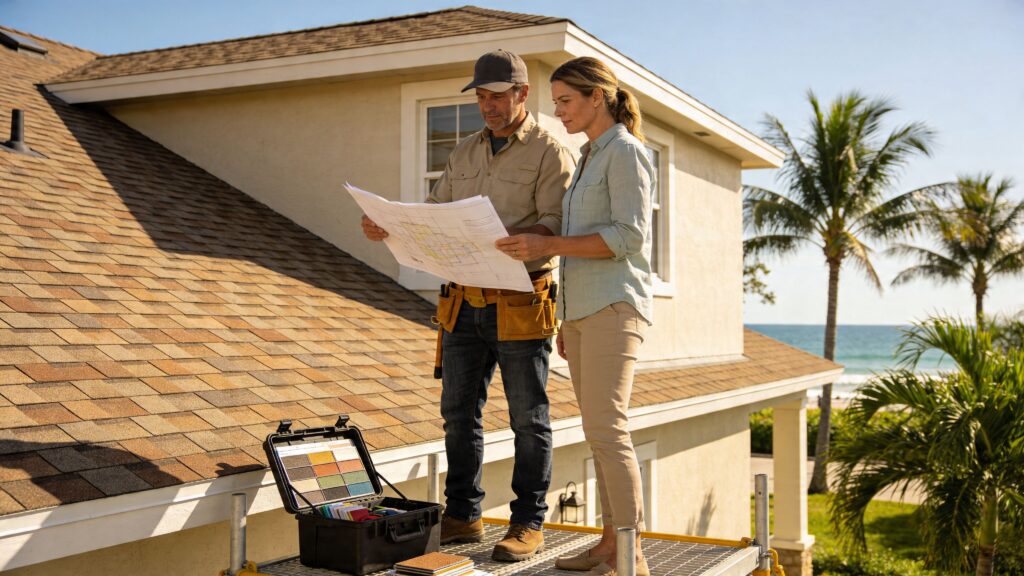
- A comparison image set: a clear reference file such as this inspection prep image can help keep roof areas and elevations organized during discussion
During the inspection:
- Walk the adjuster through the storm date and observed timeline.
- Point out interior damage first if water intrusion is active or visible.
- Have the roofer identify roof components and damage locations specifically.
- Ask what the adjuster documented.
- Ask when to expect the estimate or coverage decision.
Ask direct questions. “Did you inspect every slope?” and “Did you include flashing, underlayment, and code-related items?” are better than “So, are we good?”
Common adjuster friction points in South Florida
The disputes that show up most often are familiar:
- Wear versus storm damage
- Repair versus replacement
- Matching issues
- Missed accessories and metal work
- Interior damage being treated as separate or secondary
- Pricing that doesn’t reflect local conditions
When the contractor is present, those issues surface immediately instead of weeks later in a supplement fight. That alone can save time, stress, and reinspection problems.
From Settlement to Shingles Decoding Your Offer and Starting Repairs
When the carrier’s paperwork arrives, don’t focus only on the check amount. Read the estimate line by line. A roof claim can look approved on paper while still being under-scoped in practice.
ACV and RCV matter more than most homeowners think
One of the biggest settlement issues is the difference between Actual Cash Value (ACV) and Replacement Cost Value (RCV). In plain terms, ACV reflects depreciation. RCV is tied to the cost to replace with covered materials and scope, subject to policy terms.
That distinction drives confusion on older roofs, especially in South Florida where insurers often scrutinize age, condition, and remaining life. If the carrier frames the loss through depreciation too aggressively, the first payment may fall far short of what the roof needs.
Compare scope before you compare dollars
Homeowners often make the mistake of comparing only the total at the bottom of the page. The key question is whether the insurer and contractor are pricing the same job.
Look for these issues:
- Missing line items: underlayment, flashing, drip edge, vents, ridge materials, disposal, permit-related work
- Wrong material assumptions: a scope written for basic replacement when the existing roof system requires a different match
- Code gaps: items the contractor knows are necessary for compliance but the insurer didn’t include
- Patch logic on a compromised system: repair language that doesn’t match the actual storm impact or roof condition
If the roofer’s estimate is higher, that doesn’t automatically mean the carrier is wrong. But if the contractor’s scope is fuller and more technically accurate, that gap needs to be addressed with a supplement, not ignored.
Low offer or denial, what now
Some denials are legitimate. Many disputes come down to cause, age, maintenance history, or whether the roof can be repaired instead of replaced. South Florida homeowners run into another problem on older systems. As noted in this roof damage insurance claim guide, public adjusters typically charge 10% of the claim, and in this region “roof aging” denials are common for roofs over 15 years old. The same source notes that a public adjuster or a strong contractor advocate may be necessary when an unfair denial or low valuation turns on an ACV versus RCV dispute.
That doesn’t mean you hire a public adjuster automatically. It means you use a decision framework.
Good reasons to consider one include:
- the denial cites aging but ignores documented storm-created openings
- the estimate leaves out major roof components
- the carrier insists on spot repairs that your contractor can technically rebut
- communication has stalled and the file keeps cycling through adjusters
When to push back before repairs begin
Don’t rush into permanent repairs if the scope is unresolved and the work may affect evidence. Emergency mitigation is one thing. Full replacement is another.
A practical sequence is:
- review the carrier estimate against the contractor scope
- identify missing or underpriced items
- submit a supplement with supporting photos and explanations
- escalate only if the gap remains unresolved
A fair settlement should cover all covered damage, not just the easiest part of it. Once the scope is right, scheduling the work gets much simpler.
Your Long-Term Roofing Partner in South Florida
A successful roof claim usually comes down to three habits. Act fast, document like the claim will be questioned, and make sure a qualified roofer is involved before the file drifts off course.
That approach matters even more in Broward, Miami-Dade, and Palm Beach because roofs here take year-round punishment. Wind-driven rain, UV exposure, humidity, and salt air don’t just shorten roof life. They create exactly the kind of gray areas insurers look at when they’re deciding whether damage came from a sudden event or long-term deterioration.
What long-term protection actually looks like
The homeowners who have the easiest time after storms usually do a few things before the next one arrives:
- Keep inspection records: annual or post-storm roof checkups help establish condition history
- Save repair invoices: prior maintenance can rebut neglect arguments
- Photograph the roof in calm periods: baseline images help show what changed after a storm
- Address small failures early: loose flashing and minor leaks become claim complications later
A roof isn’t just shingles, tile, or membrane. It’s a system of materials, penetrations, drainage paths, edge metal, and attachments. Ongoing care makes future claims cleaner because the file starts with proof that the roof wasn’t ignored.
For homeowners who want a simple visual reminder to keep with their property records, this roof maintenance reference image can serve as part of that baseline file.
The best time to prepare for a roof claim is before the next storm gives you one.
Common Questions About South Florida Roof Insurance Claims
Should I file if the leak seems minor
Yes, if the leak appeared after a storm or you see signs of roof damage. Small interior symptoms can come from larger roof failures that aren’t visible from the ground. Report facts and get the roof inspected quickly.
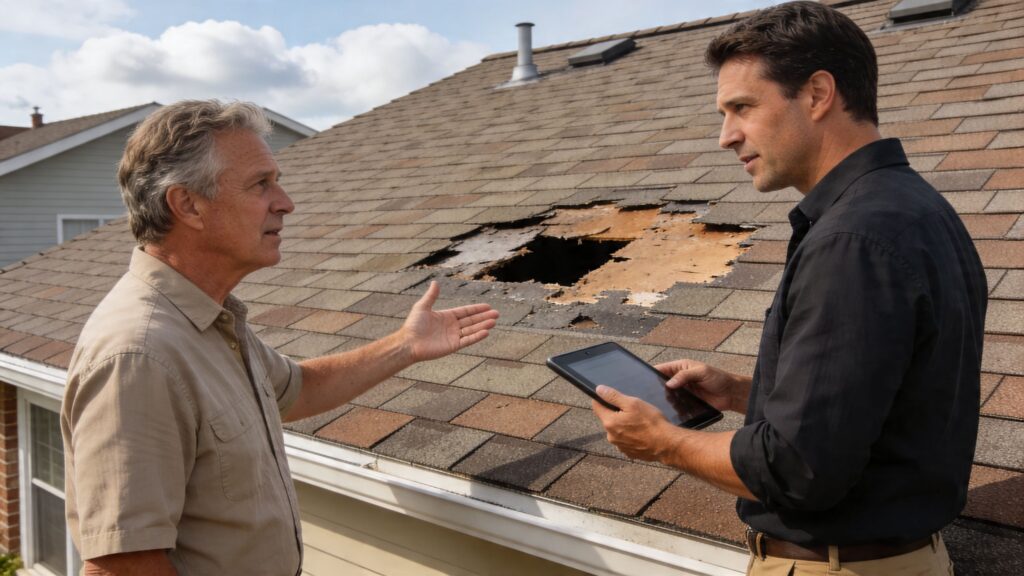
What if my roof is older
Older roofs can still suffer covered storm damage. The challenge is proving what the storm did versus what age had already done. That’s why clean documentation, maintenance records, and a contractor report matter so much on older systems.
Should I let the insurer inspect before I call a roofer
No. A roofer’s inspection helps you understand the damage before the insurer frames the claim. You’re not looking for a sales pitch. You’re looking for a defensible description of the roof condition.
What if the adjuster says it’s repairable but my roofer says it isn’t
That’s a scope dispute. Ask for the carrier estimate, compare line items, and have the contractor explain exactly why the proposed repair is inadequate. The strongest rebuttals are specific. They point to materials, slope areas, flashing details, code items, and matching concerns.
Are temporary repairs a problem for the claim
No, if they’re done to prevent further damage and you document them properly. Take photos before and after, save receipts, and avoid permanent work that could erase evidence before the insurer has inspected or the scope has been resolved.
Do I need a public adjuster right away
Not always. If the claim is moving, the inspection was thorough, and the estimate is close to the actual scope, you may not. If the file is denied, underpaid, or stuck in repeated disagreement over age, depreciation, or repairability, then the math may justify bringing one in.
What’s the biggest mistake homeowners make
Waiting. Waiting to inspect, waiting to mitigate, waiting to document, waiting to report. In South Florida, delay gives water more time to spread and gives the claim more chances to get complicated.
If your roof took storm damage and you need a clear next step, contact Paletz Roofing and Inspections for a no-obligation inspection. A local inspection can help you document the damage, understand whether the roof is repairable or headed toward replacement, and move into the claims process with evidence instead of guesswork.